Upcycle Thrifted Ginger Jar! Blue And White Chinoiserie Decoupage Magic
Want to breathe new life into thrift store finds? This step-by-step tutorial will teach you to create a stunning Blue and White Ginger Jar. You’ll be amazed at how easy it is to turn this inexpensive ginger jar vase from plain to fabulous. Follow along as I teach you the simple steps to applying napkin decoupage to create a Chinoiserie Ginger Jar.
You can find old ginger jar vases for cheap at thrift and consignment shops. Many are less than aesthetically appealing. However, don’t despair because you can create stunning home decor accessories with a quick and easy makeover.
(Posts on The Ponds Farmhouse may contain affiliate links. As an Amazon Associate, I earn from qualifying purchases. See the full disclosure details here.)
What Is A Ginger Jar Vase Used For?
Ginger Jar Vases began as a way to store and transport spices and oils in Ancient China. Later, they became popular as decorative decor. Many antique ginger jars are handpainted and given as gifts for special occasions. The blue and white Chinoiserie Ginger Jars represented double happiness and were given as wedding gifts.
Is A Ginger Jar Valuable?
Should you stumble across an antique ginger jar that is handpainted porcelain, it will likely be valuable. However, many are now mass-produced and don’t hold their value. If you should luck up and find a handpainted porcelain blue and white one at a thrift store, grab it. LOL
How To Look For Ginger Jars At Thrift Stores
If you are searching for a ginger jar vase to makeover, you want something inexpensive.
Begin by determining what you want to use your jar for. Then, determine the size you need.
Once you find the desired size, be sure the jar isn’t cracked or damaged.
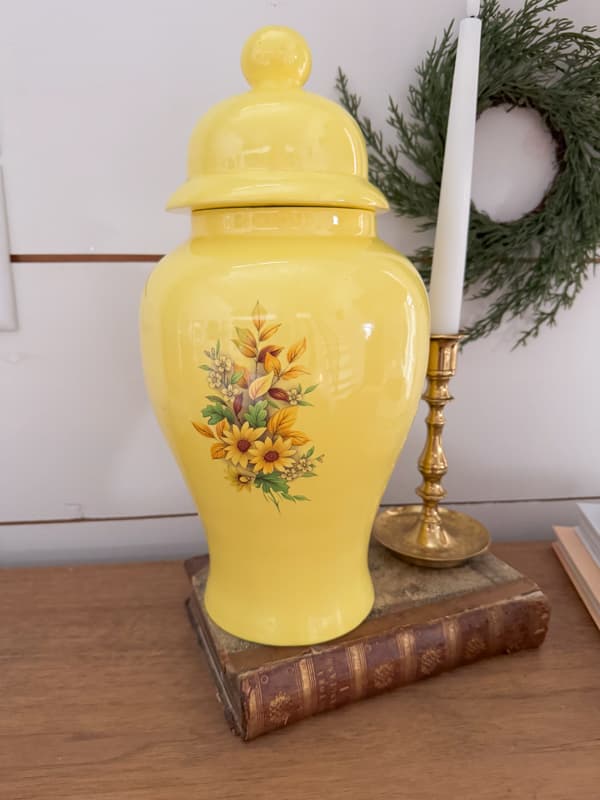
The jar I found appears to be an inexpensive ceramic piece, and the size is perfect for my intended purposes. Plus, it was only $8.00.
How To Upcycle A Ginger Jar
Now that you have found your ginger jar vase, you are ready to upcycle and transform it into a Chinoiserie Blue and White Vase.
You will want to purchase some Chinoiserie Blue and White napkins, mod podge, and spray paint.
Paint the Ginger Jar White
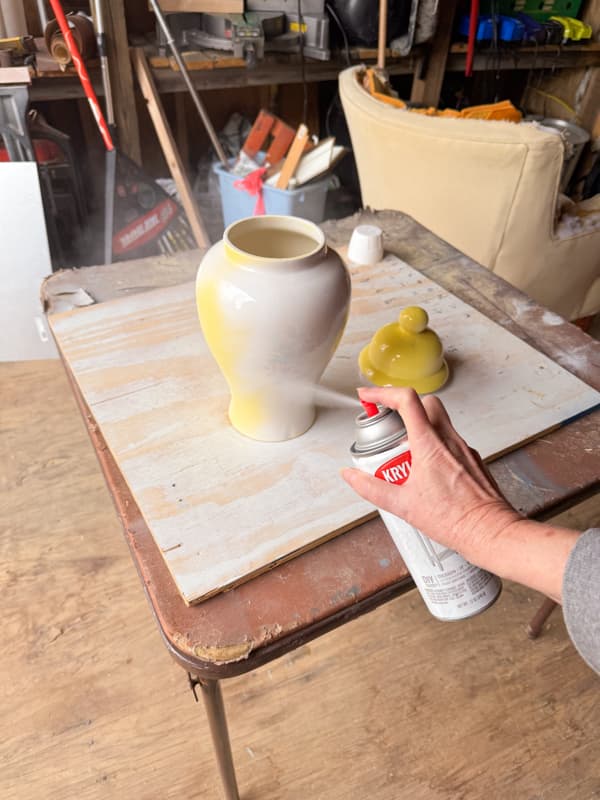
Begin by using white spray paint that will adhere to glass or ceramic. I used the Chalky White Spray Paint.
Place your jar in a well-ventilated space and spray lightly to prevent any drips or runs.
Depending on the original color of your jar and design, you may need to apply 2-3 coats of paint.
Prepare Napkins For Decoupage
Once the paint dries, you will be ready to apply the napkin decoupage. I found these Chinoiserie Napkins for my Blue and White Ginger Jar makeover.
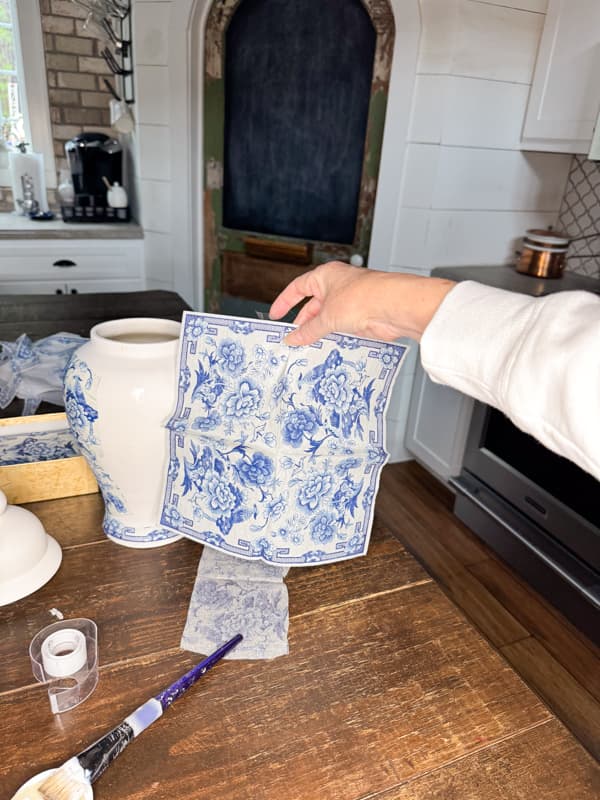
Separate the layers of the napkin. You will only need the top decorative layer. Use a piece of tape to help separate the layers.
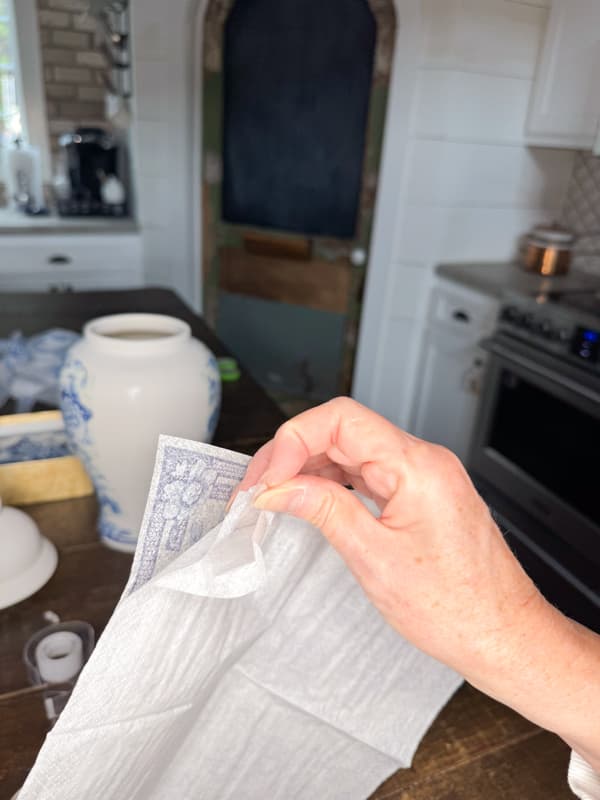
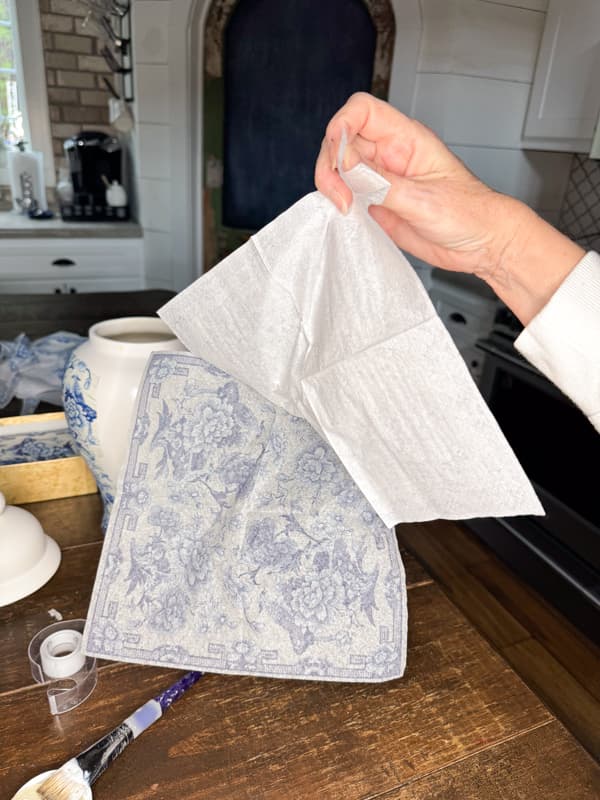
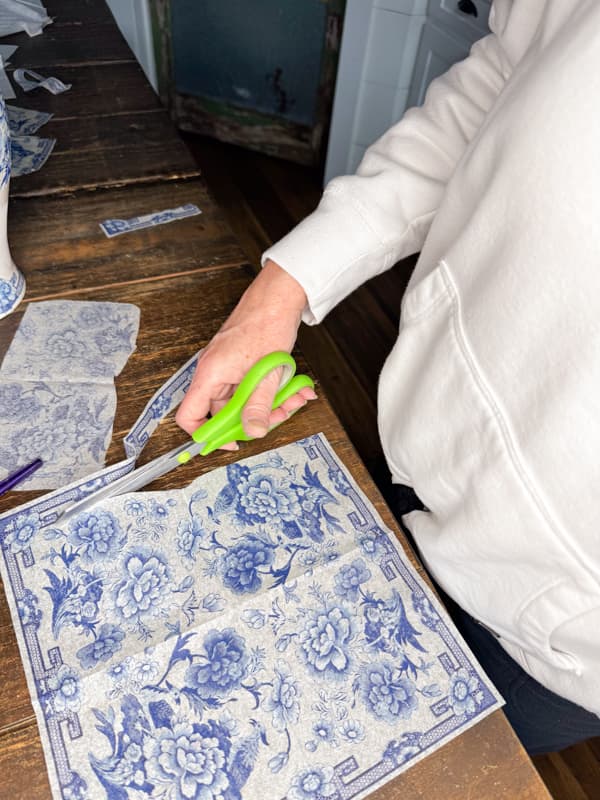
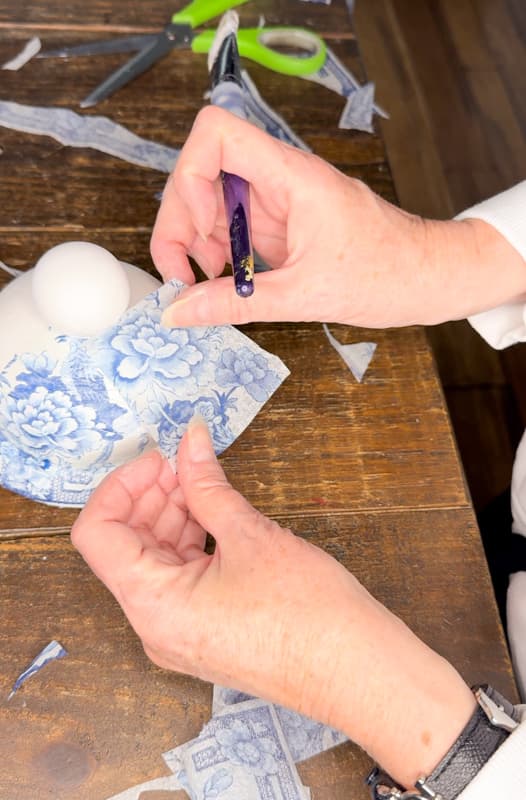
Next, cut the decorative napkin layer into pieces to apply to the ginger jar. You can apply larger pieces to the open areas of the jar but will need smaller pieces for the curvy areas.
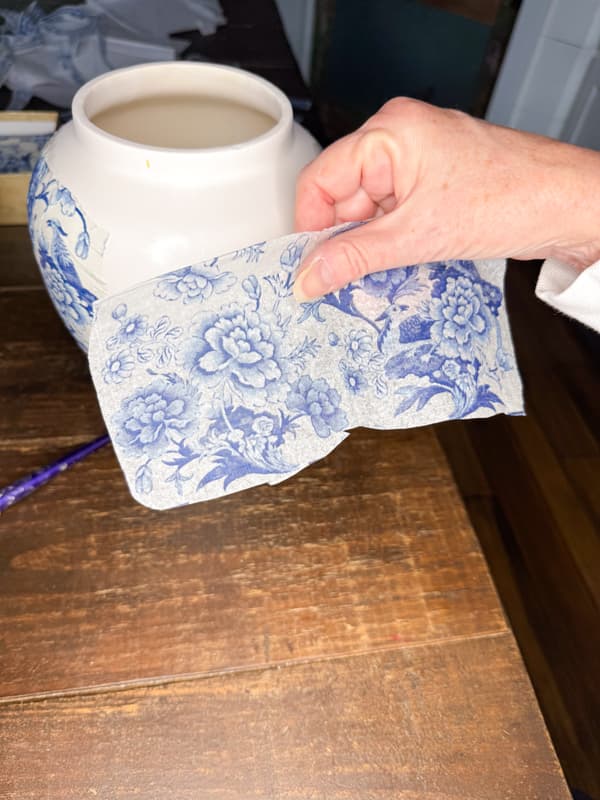
Insider Tip
Before starting to decoupage the jar, lay the pieces out to determine the pattern you want for the jar. Once you start adding the pieces, you want them to work together in a harmonious pattern.
Apply the pieces, starting with the larger sections first and building out from there.
Apply Mod Podge To Ginger Jar
Begin adding small sections of mod podge to the ginger jar. I like to start at the center of the jar at the widest part.
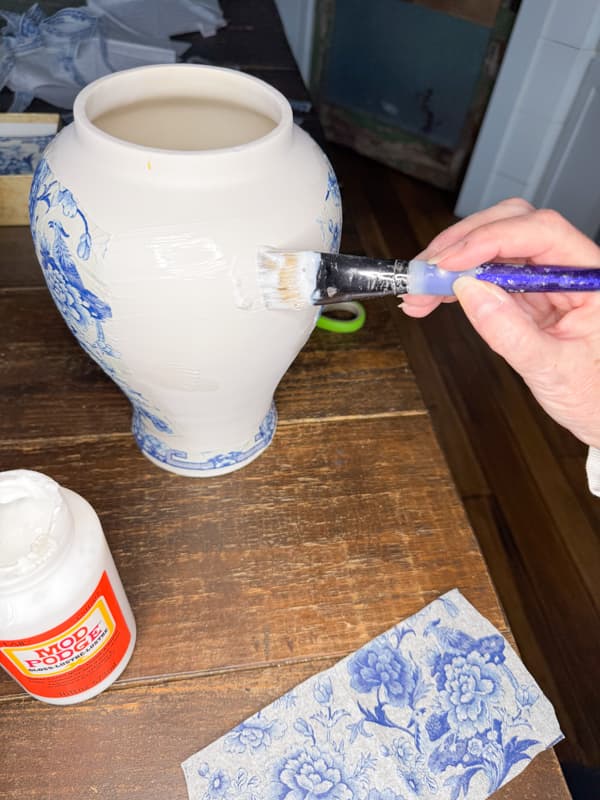
As you apply the napkins, be gentle because they are very fragile and easy to tear. Press each section onto the jar and use your brush to smooth the pieces. You can add more mod podge over the top as you go along.
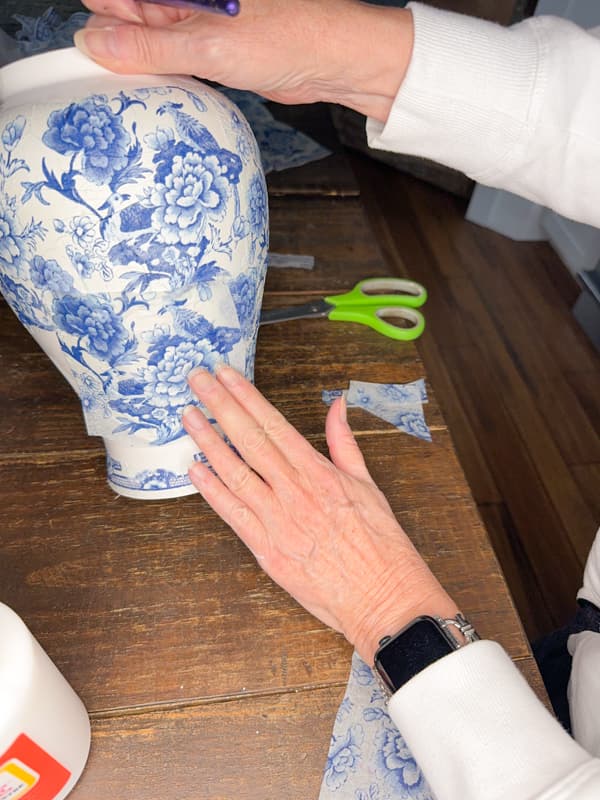
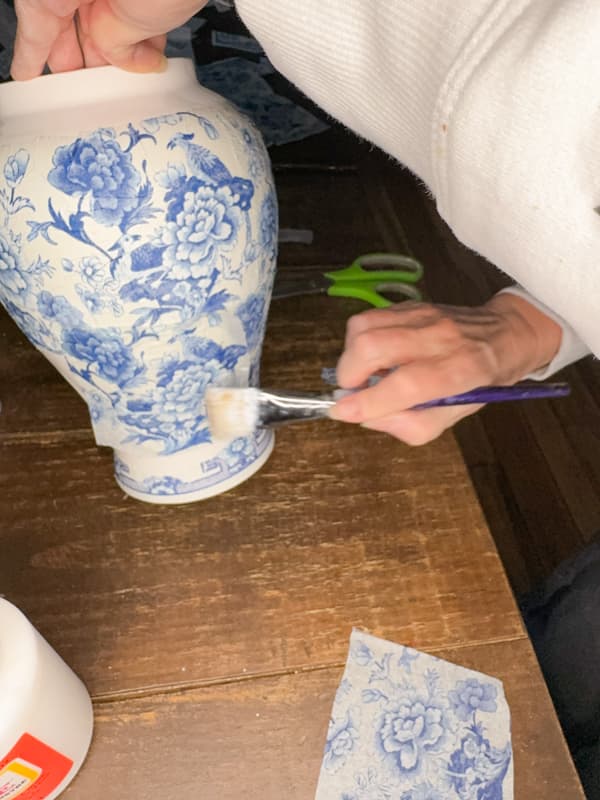
Once the entire jar is covered, apply another coat of mod podge to seal.
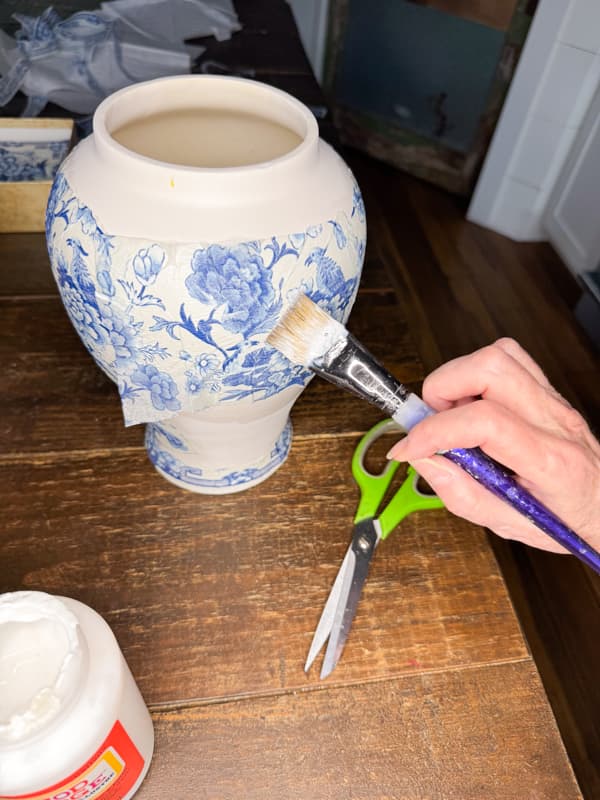
Insider Tip
It is easy to tear the napkin, and if you do, don’t worry because there’s an easy fix.
Just remove the damaged area and smooth around the edges as much as possible. Then, cut another piece of napkin to fit the area and apply. You’ll never know the difference.
Repeat the process on the lid. Allow all pieces to dry.
Chinoiserie Blue and White Ginger Jar Vase
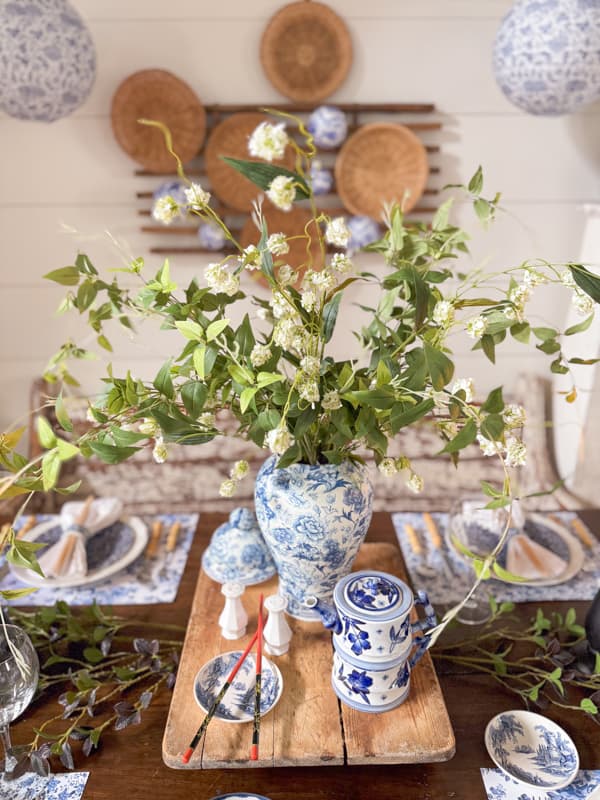
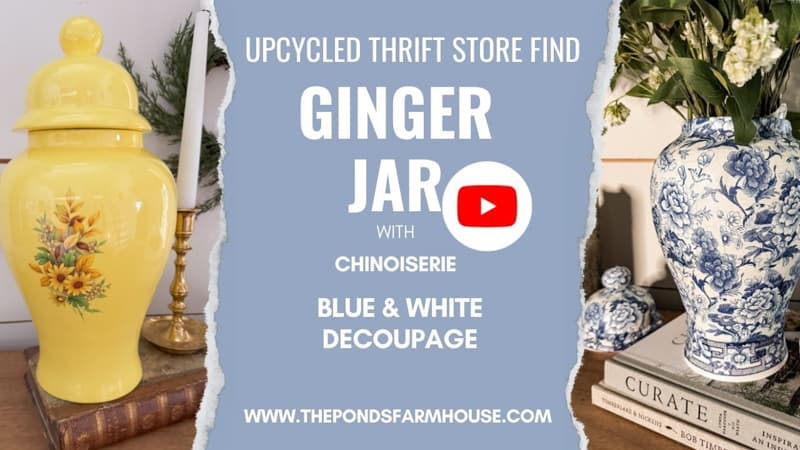
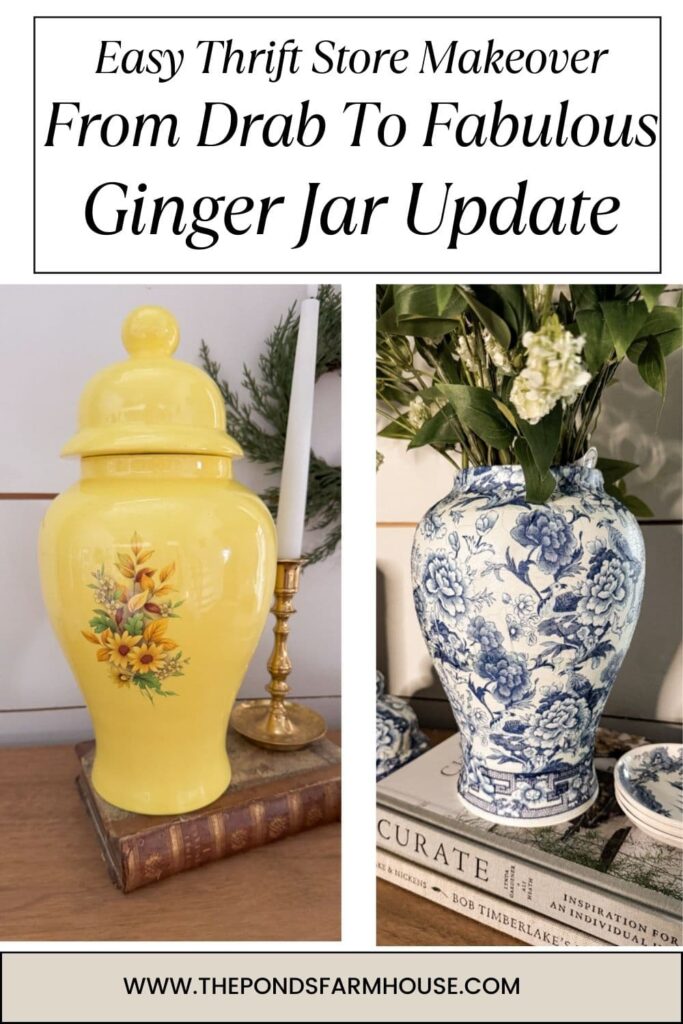
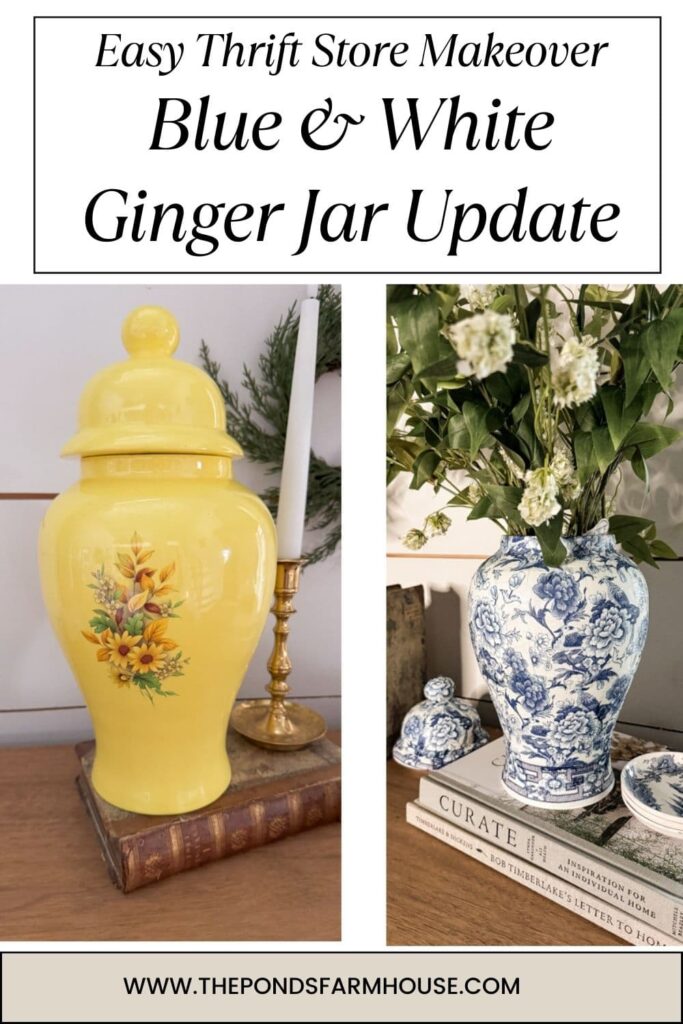
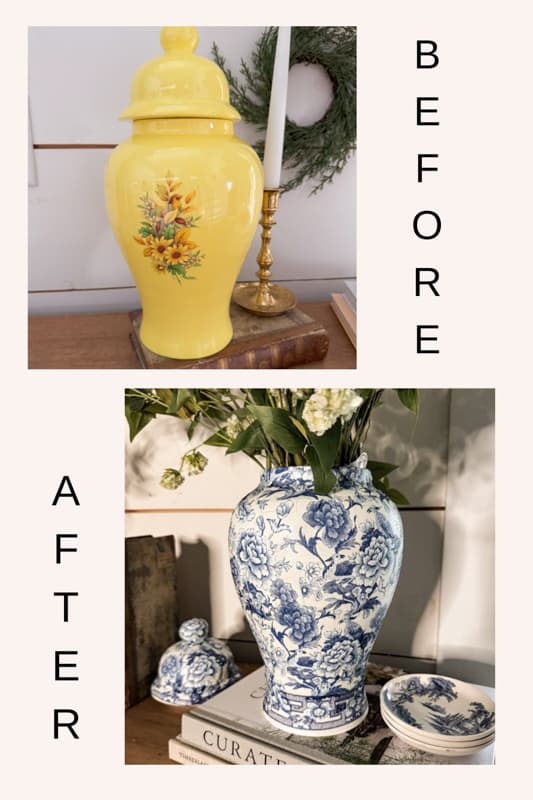
Who would ever guess this is the same vase? It has all the elements of an authentic Chinoiserie Blue and White Ginger Jar. The upcycled thrifted jar update only cost $8.00 and was completed in less than 1 hour.
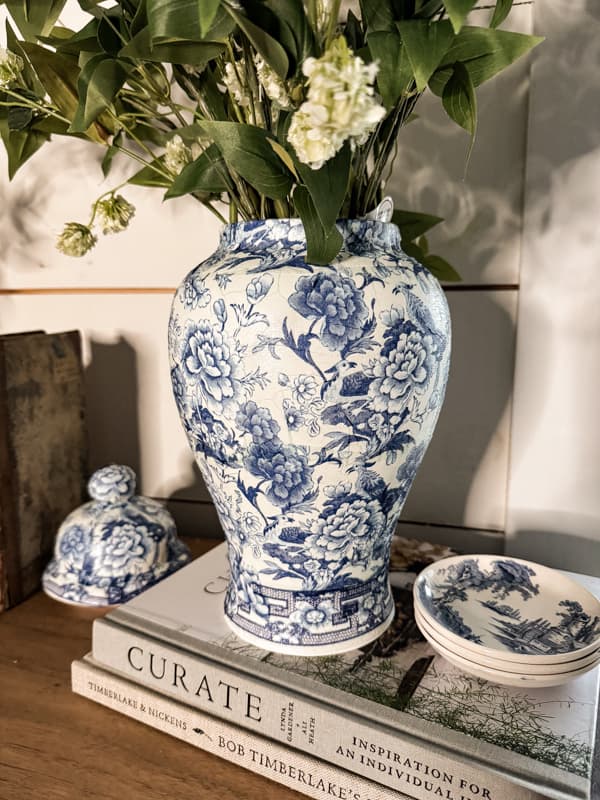
It looks so fresh and stylish, filled with vines and flowers.
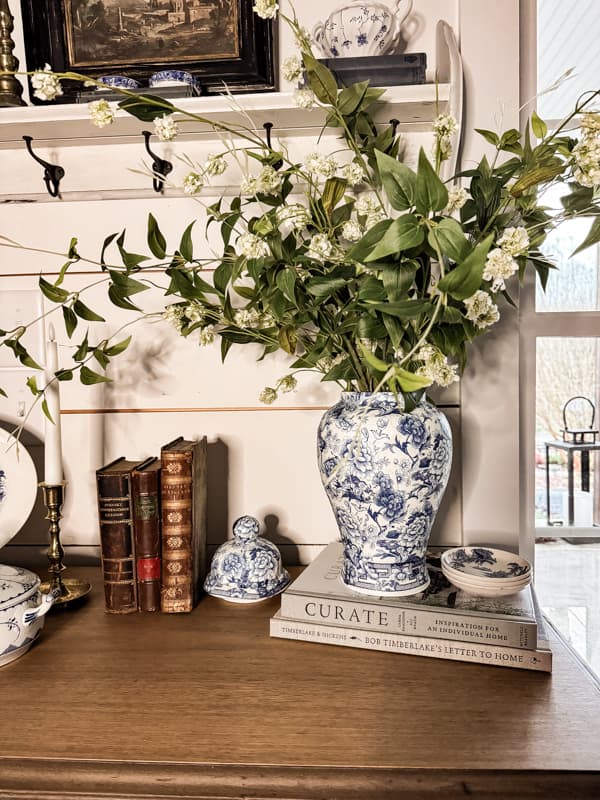
I had planned to use the upcycled ginger jar on an upcoming tablescape, but I’m loving it here on the entry table.
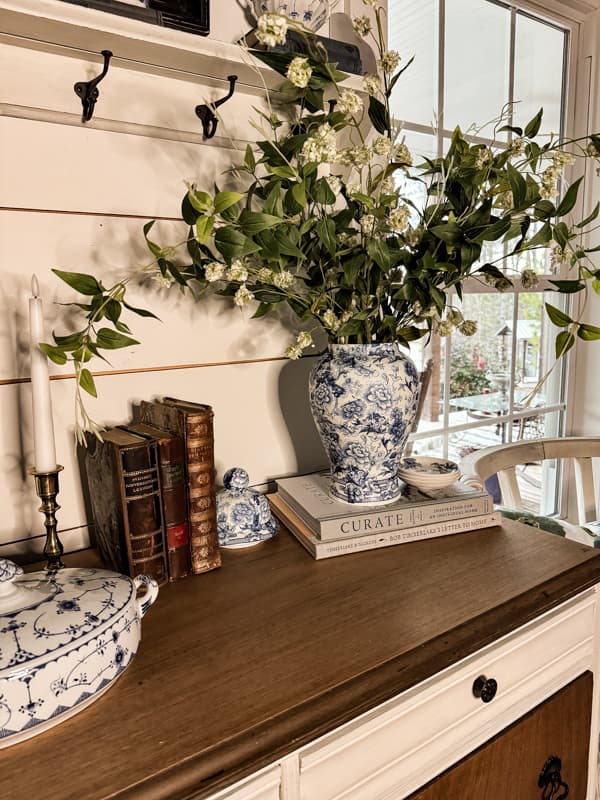
It looks right at home, combined with vintage and thrifted blue and white finds.
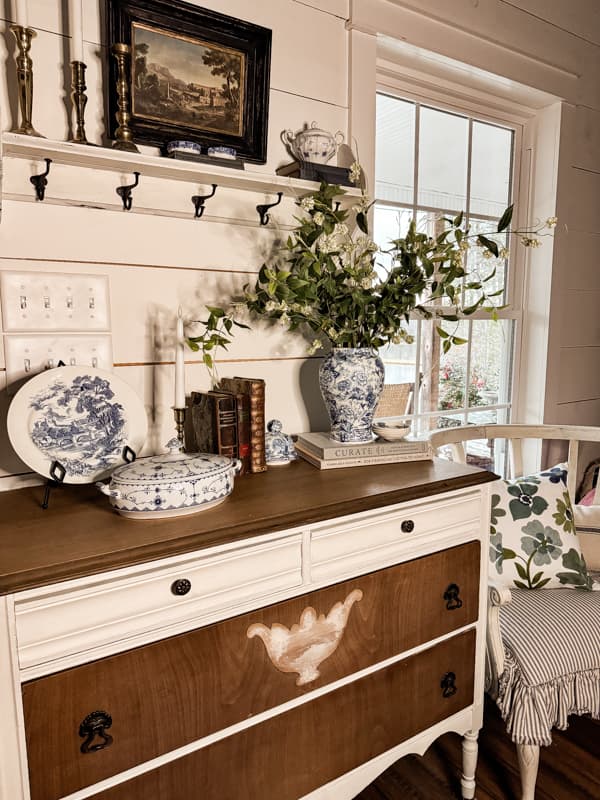
I hope you enjoyed this quick and easy DIY Napkin Decoupage Upcycle project.
See how it looks on our Supper Club Chinese Inspired Blue and White Tablescape.
Easy Thrifted Ginger Jar Makeover With Blue and White Napkin Decoupage

Take a drab thrift store ginger jar and upcycle it into a stunning Chinoiserie-inspired blue and white Ginger Jar Vase. Easy napkin decoupage for fresh home decor.
Materials
- Thrifted Ginger Jar Vase
- Blue and White Napkins
- Mod Podge
- White Spray Paint
Tools
- Small Paint Brush
Instructions
- Paint the Ginger Jar with White Spray Paint
- Apply as many coats of paint as are necessary to cover the original finish.
- Separate the napkin layers. You only need the top decorative layer. Use a piece of tape to help make the separation easy.
- Cut the napkin and lay out a plan for your design.
- Apply mod podge in small sections
- Press the napkin pieces gently into the mod podge.
- Use the brush to smooth out any bubbles, and press the napkin securely onto the jar.
- Apply another coat of mod podge over the top of the napkins.
- Allow to dry approx. 1 hour before moving.
- Decorate and enjoy.
Resources:
Click on images for details and to shop.
Other Napkin Decoupage Ideas
Here are some other napkin decoupage ideas you will love.
- Distressed Lamp Makeover with Napkin Decoupage
- Decoupage Easter Eggs with Napkins and Old Book Pages
- How To Make A Decorative Wood Box with Decoupage
- Decoupage Tin Can Centerpiece
- DIY Napkin Decoupage Thrift Store Napkin Rings
- Easter Lambs Napkin Decoupage Tutorial

Pin It To Remember It
Did you find some great ideas you’d like to save for future reference? Hover over the images you’d like to save and pin to your favorite Pinterest Boards when you see the PIN button.



Rachel! This is such a BEAUTIFUL makeover! You have inspired me to thrift a ginger jar!! I love it!
Heather,
I’m so glad you like it. Thank you.
Beautiful! Thanks for sharing.
Candy,
I’m so glad you like it. Thank you.
This is gorgeous! I will share it on my Friday newsletter.
Renae,
I appreciate you doing this. Thank you.
It’s absolutely breathtaking! I collect Currier & Ives “The Old Grist Mill” pattern dishes, which are blue and white, and have mounted quite a number of the larger serving pieces, platters and whatnot, on my wall as an art collection. Something like that would be stunning alongside!!! I must find one of these!!! Yours turned absolutely gorgeous (and THANK YOU for all of the detailed pictures to show cutting the napkins into smaller bits to create a cohesive pattern. I read “napkin decoupage” and I thought for certain it would be overlapping, etc. It makes so much sense, seeing how you actually did it!). Lovely!! ~Chrissie
Chrissie,
Thank you for stopping by. I’m glad you found the tutorial helpful.
Rachel, I just love your thrifted blue and white chinoiserie ginger jar. It’s so beautiful! Thanks for the great idea! I am definitely going to do this to one of the white ginger jars in my stash! Have a great day and thanks, once again, for a fabulous DIY!
Mary-Ann
I’m so glad you like it and found it helpful. Let me know how your jar turns out.
Stupendous!
Barbara,
I really appreciate this.
Rachel, what a great transformation! No one would have guessed the humble beginnings of this elegant ginger jar! I have used those same napkins in the past! I had a lovely ceramic Easter bunny that ended up with an ear broken off. I glued the ear on but the crack still showed. By decoupaging those same napkins I was able to transform him into an elegant chinoiserie bunny!
Chloe,
Thank you so much. That is so funny, I’ve just decoupaged some thrifted lambs and a bunny. They turned out so cute. Thanks for stopping by.
Great job, Rachel. I have used that same napkin to make several chinoiserie-style projects. Have the perfect pattern.
Carol,
Yes, I’ve also used it on previous projects. Thanks for stopping by.
I can’t believe the difference after your upcycle project. It’s beautiful Rachel. I need to start buying more of the ugly thrift store finds!
Kim,
Yes! They are usually cheaper and therefore a great project purchase.
This is gorgeous, Rachel. I can’t believe how much this looks just like real chinoiserie. It’s been forever since I’ve been to the thrift store so I’m super excited to share this post on Friday and to drop by there to see what I can find. Ideas like these are perfect for spring when you want to refresh some of the spaces in your home. Big hugs, CoCo
CoCo,
You are so kind. I really appreciate you.