Stunning Metal Christmas Tree Bow Tutorial: Easy Tree Topper
Have you seen the elegant gold metal Christmas bows that many retailers are selling this year? Want to learn how to make easy Christmas tree bows? I’ve been admiring the ones from Ballard Design and McGee and Company. I decided to try making a similar one using metal banding. I made three Christmas bows with just a few supplies, which only took a few minutes. I love how they turned out, and the best part is you can customize the size and colors. You will love them, so let me show you the full tutorial.
(Posts on The Ponds Farmhouse may contain affiliate links. As an Amazon Associate, I earn from qualifying purchases. See the full disclosure details here.)
Table of contents
How To Make A Christmas Bow Out Of Metal Strapping
I have used inexpensive metal strapping for several projects. Large rolls are available at most hardware stores for less than $20.00. I’ve used it for DIY pumpkins, bows, and strapping on our DIY planters. So when I saw these adorable metal bows, I decided to get busy and make a few. I intend to use one as my bow tree topper and the others on my porch light fixtures. They are easy to make, and the flexible metal is easy to bend into the shape of a bow. Here’s what you will need.
Supplies
- Metal Strapping
- Gold Leaf Spray Paint
- Glitter Blast Gold (optional)
- Rustic Metal Stars
- Tin Snips
- Nut and Bolt Set
- Drill Press or Cordless Drill with a drill bit the size of your bolts.
- Hot Glue Gun
- Galvanized wire
Step One – Cut Metal Strapping
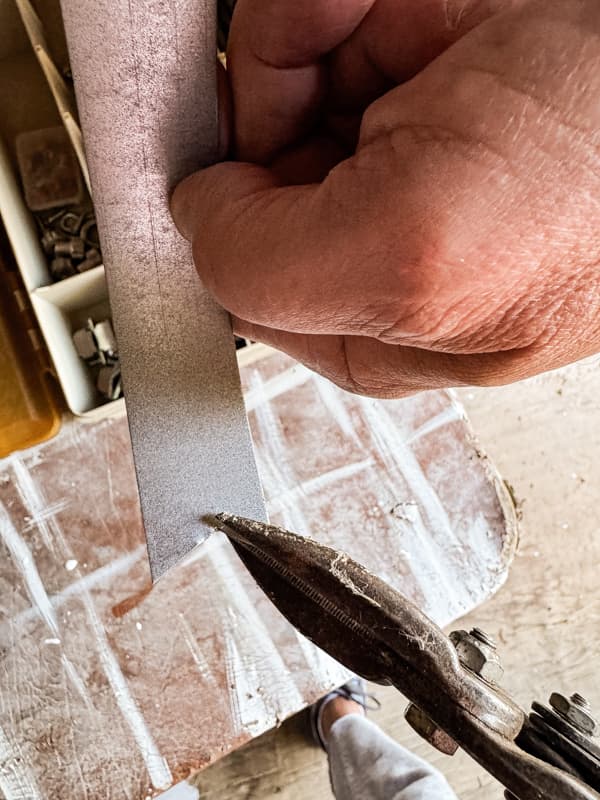
Begin by determining the size of your Christmas tree bow. I used the measurements and materials listed below for each of my bows, which are approximately 8 inches wide and 11 inches tall. Use the tin snips to cut the metal strapping.
- 2 – 13 inches long for the bow
- 2 – 9 inches long for the tails
- 1 – 10mm bolt and nut
- 1 – metal star
You can cut one end of the bow tail at an angle or at a point.
Step Two – Drill Holes
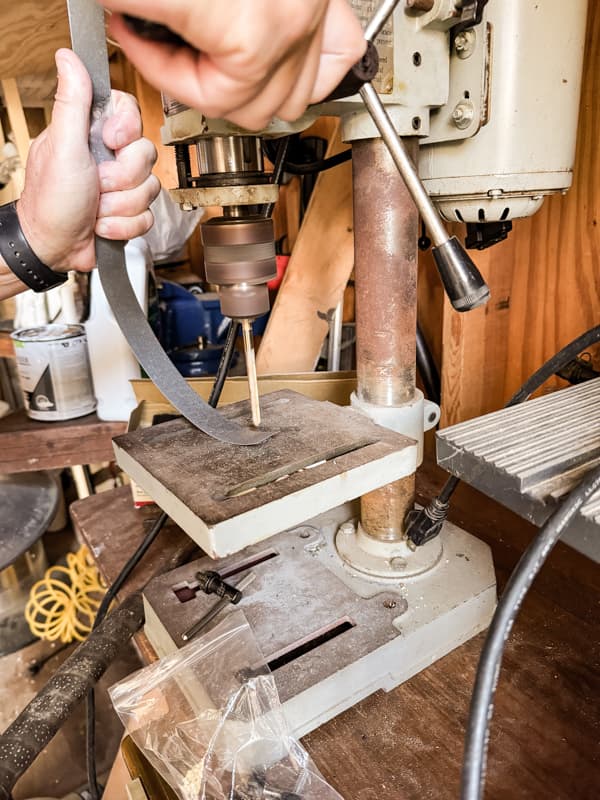
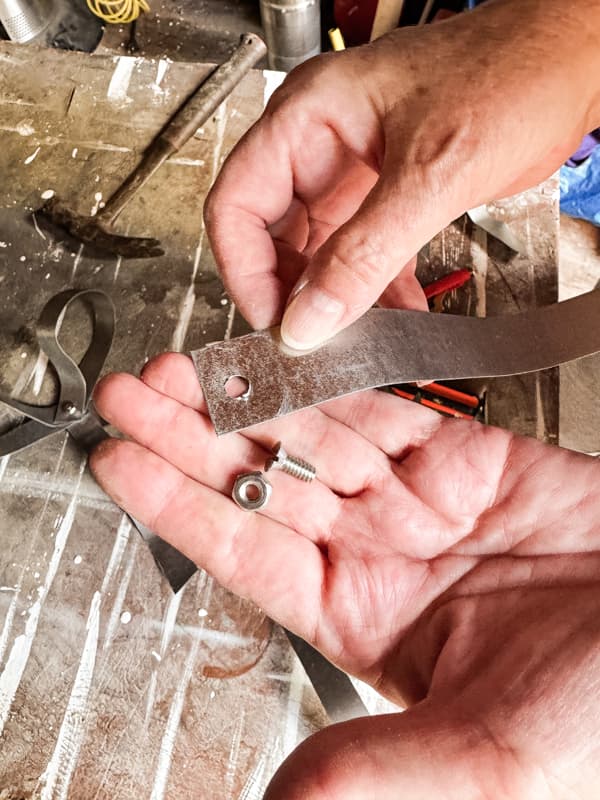
Next, with a little help from Brad, we drilled the holes. He has a large drill press, but this can be done with a small press or cordless drill. You will need to drill a hole at both ends of the 13-inch metal strapping and at one end of the 9-inch strapping.
Step Three – Create A Christmas Bow
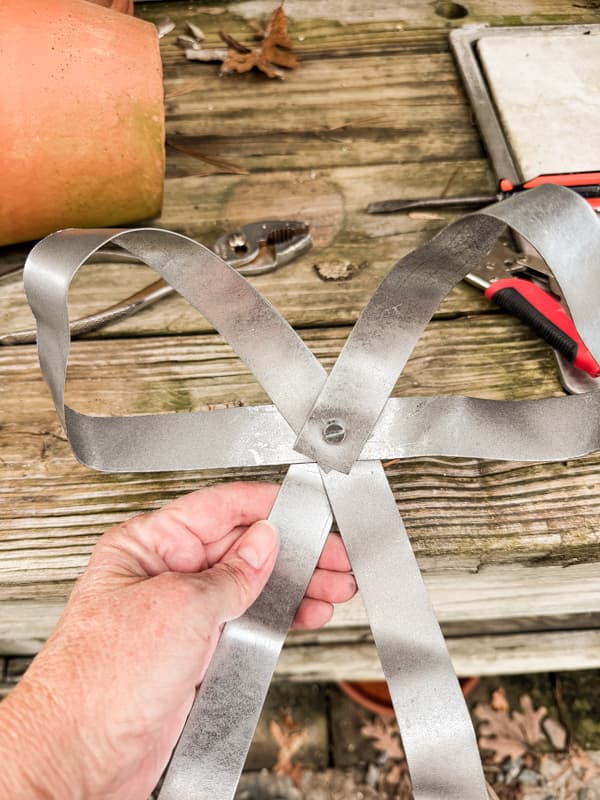
I began by bending the two 13-inch pieces into the shape of a bow. Have your bolt ready to place in the metal holes. I interchanged the ends as I brought them together and lined up the holes. Add the two 9-inch tails to the back of the bow.
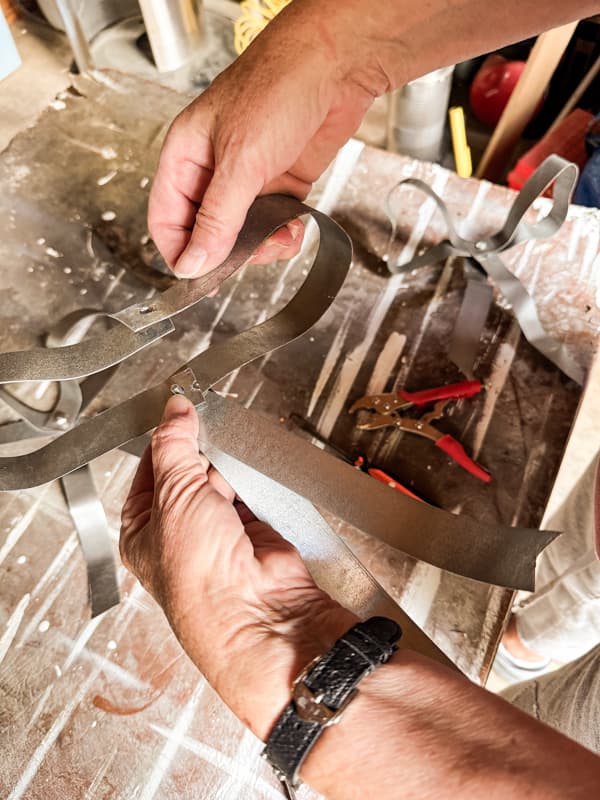
I used pliers to hold the pieces together until I could tighten the bolt nut.
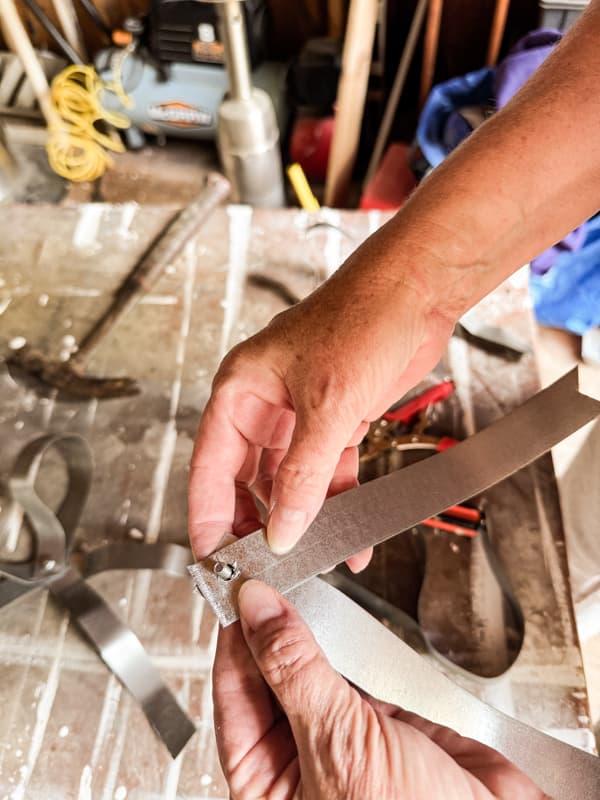
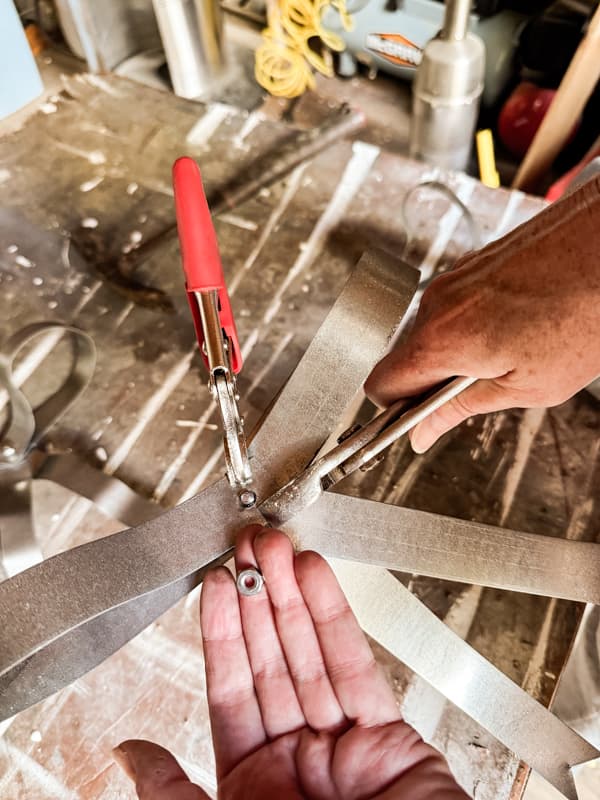
Insider Tip – Hindsight Correction
I would change one thing in the tutorial. After I had finished the bows, I added a wire to hang the tree toppers. Instead, I’d attach the wire before tightening the bolt nut. Although my bows will work fine, adding the wire at this point would be more secure and professional looking.
Step Four – Shape The Bow
Once the bolt is tightened, you can bend the metal Christmas bow into the desired shape.
Step Five – Add Star To Center of Christmas Bow
I purchased several metal stars a few years ago and have used them on multiple craft projects, so when I was looking for something to decorate the center of the Christmas bow, they were an easy choice. However, you can use a half-round bead or other embellishment to hide the bolt.
To cover the bolt head, I applied hot glue over the bolt and pressed the star in place.
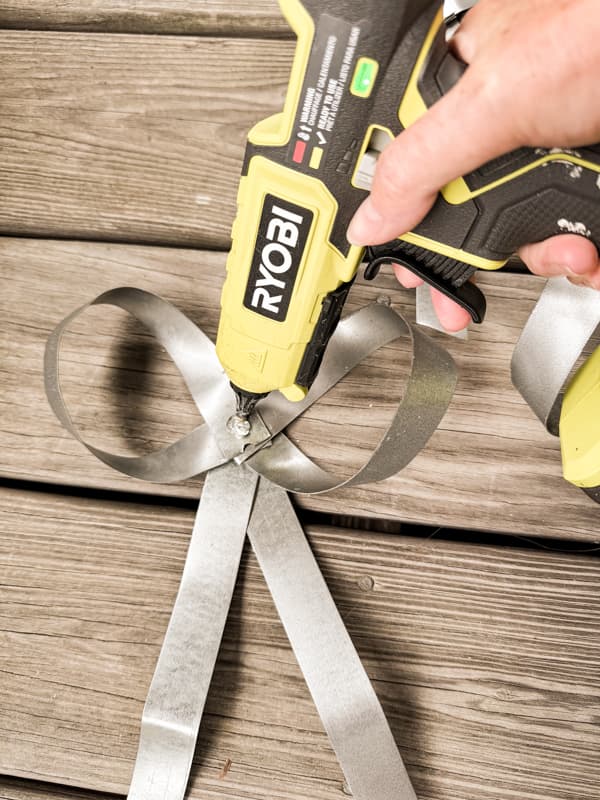
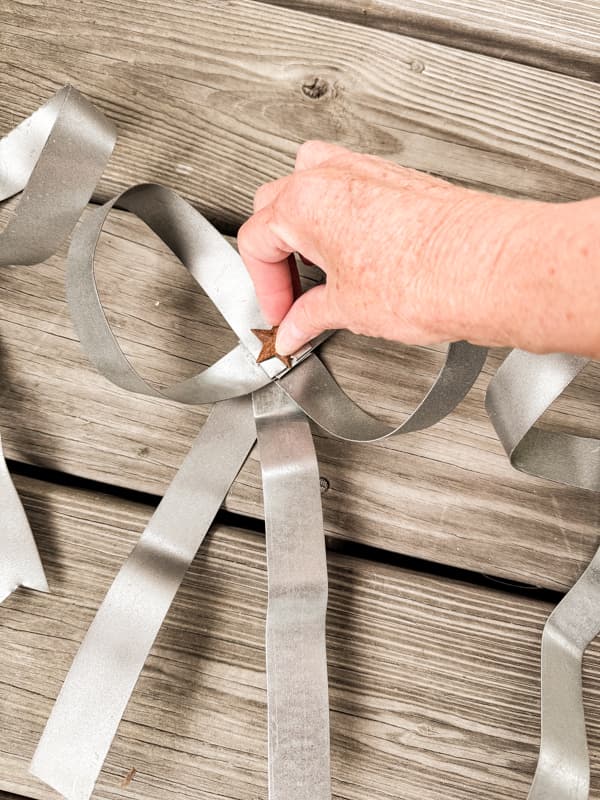
Be sure to shape your metal bows, and then you are ready to finish your Christmas tree bows.
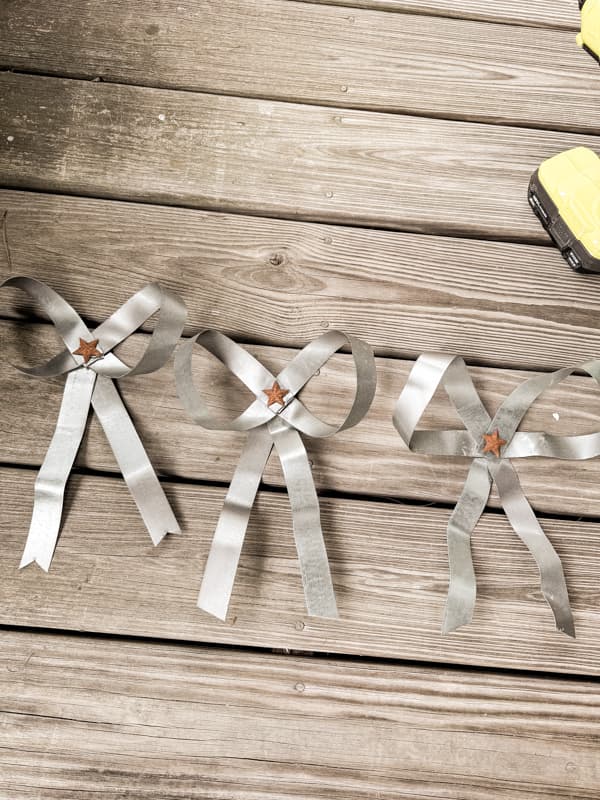
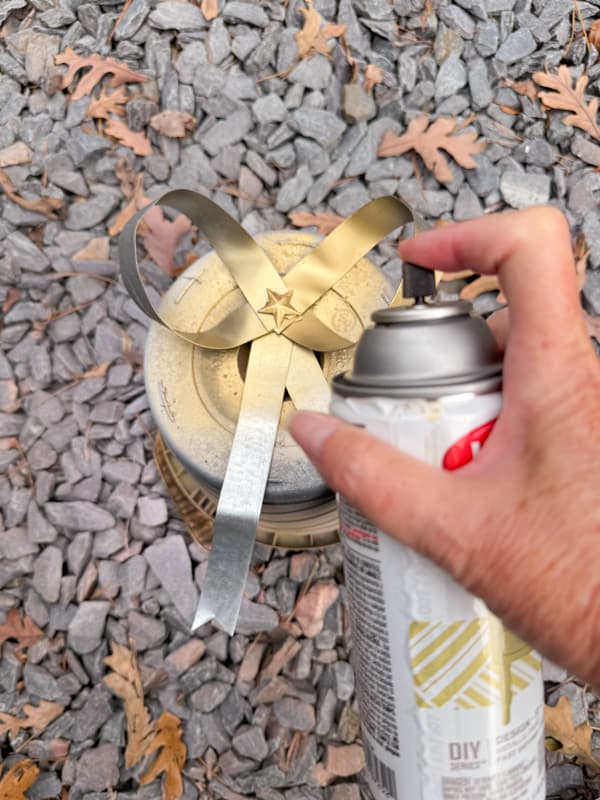
Step Six – Spray Paint Christmas Tree Bow
I decided to paint my bow tree topper with gold leaf spray paint. Place in a well-ventilated area and ensure that you cover all the metal with gold paint. Then I added a quick burst of gold glitter blast to add a little sparkle to the Christmas bow.
Step Seven – Add Hanger
Finally, once the paint was dry, I added wire to the back of the bow to secure it around the tree or light fixture.
I wrapped a 10-inch lightweight galvanized wire between the metal strapping pieces at the bolt. In hindsight, I could have added the wire before tightening the bolts for a more secure attachment. Fortunately, it still worked fine.
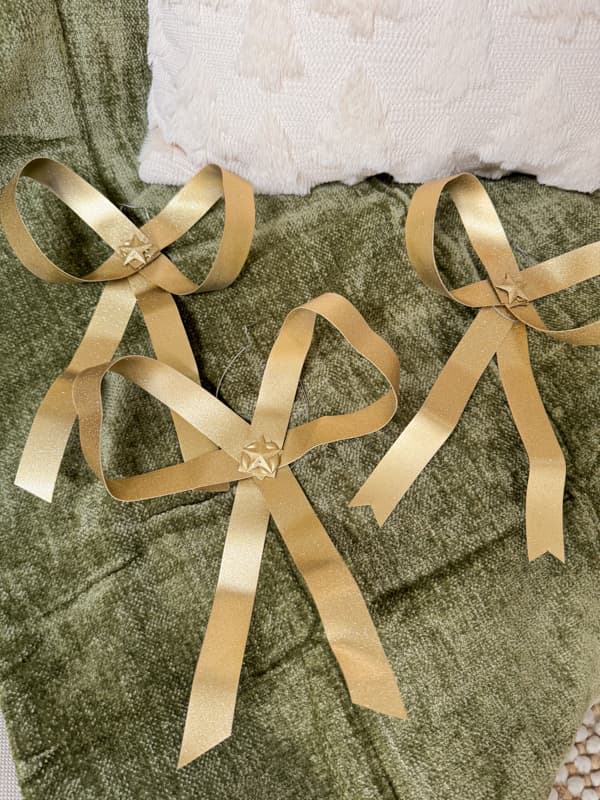
How To Decorate With Christmas Tree Bows
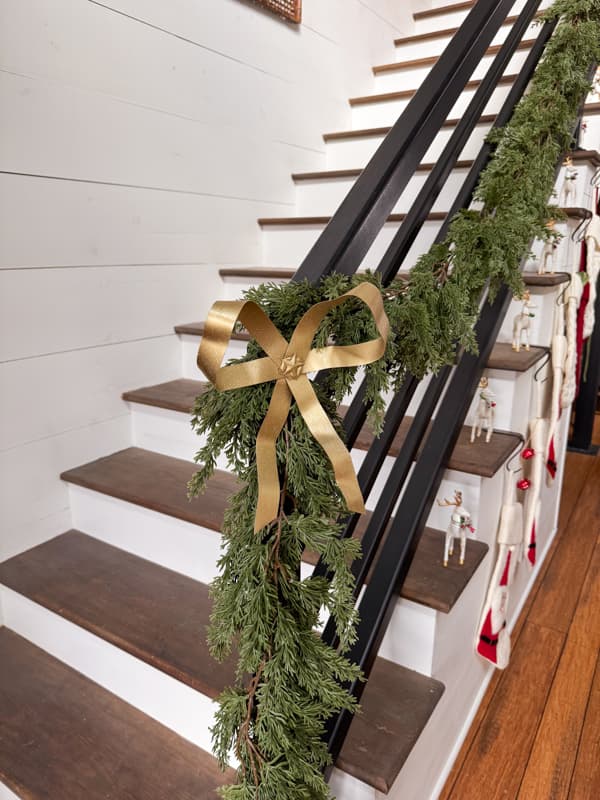
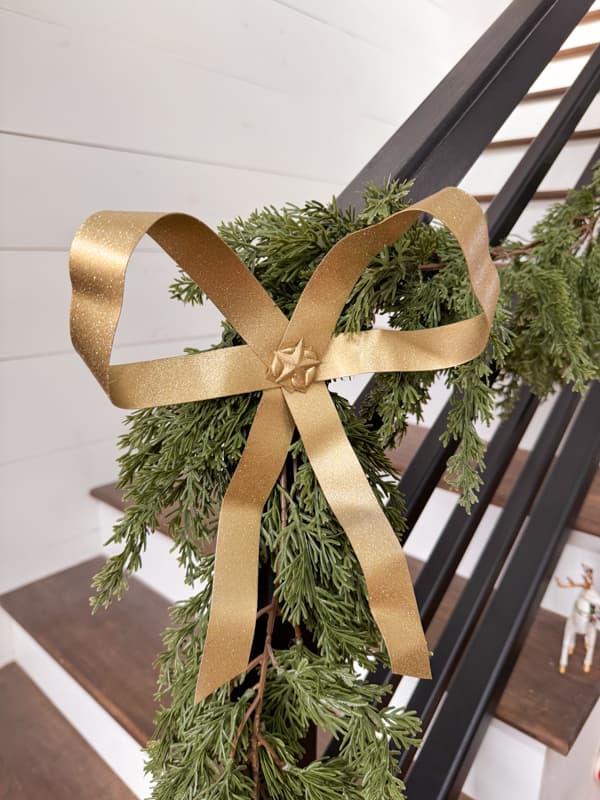
I have several ideas for decorating with Christmas bows. Once I have my tree in place, I plan to add one as a bow tree topper. However, take a look at the bow on my banister. It really makes a stunning statement. I may wish I’d made more bows. LOL
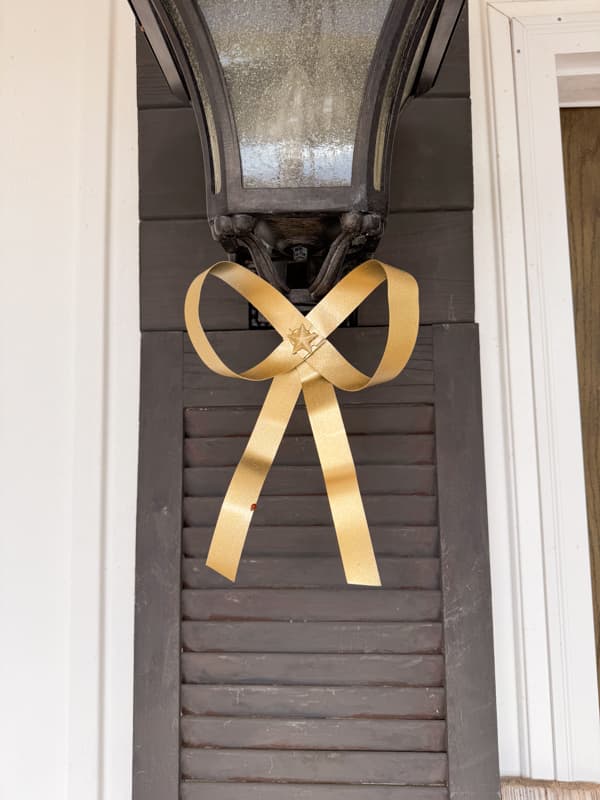
I plan to use the other two Christmas bows on my porch light fixtures. Once I add my greenery and fill my planters, the gold bows will look amazing here.
Optional Christmas Tree Bow Finishes
I decided to go with the gold Christmas tree bow finish, but there are many options. Here are few ideas I have for other bow tree toppers.
- Use a rust spray paint for a Rustic Metal tree topper.
- If you have a blue Christmas theme, paint the bow blue and add a diamond glitter blast.
- A white Christmas tree bow would be stunning on almost any tree.
- Silver or Pink would also be adorable.
- Another option would be adding longer tails floating down the tree.
If you make the Christmas bow, please let me know. I’d love to see your choices.
Related Articles
Thank you for stopping by today.

Pin It To Remember It
Did you find some great ideas you’d like to save for future reference? To save, hover over the images and pin to your favorite Pinterest Boards when you see the PIN button in the upper left-hand corner.

