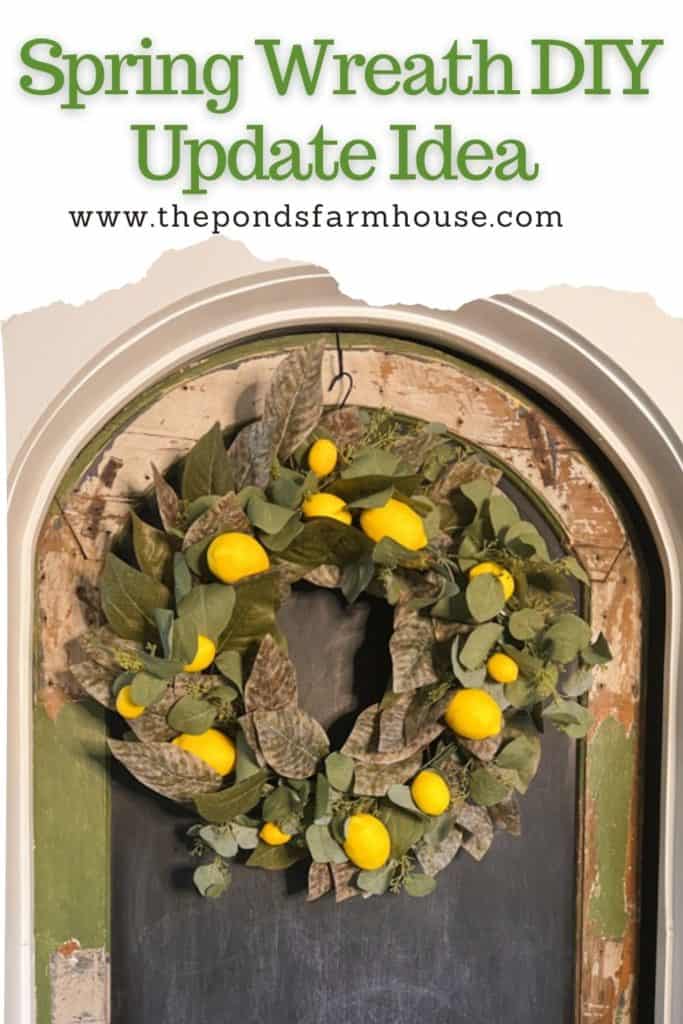
Spring Wreath DIY Update Idea
I was looking for a new DIY spring wreath idea when I had a light bulb moment. Instead of working on a new wreath, I decided to update an existing magnolia wreath with these Ideas.
Therefore, instead of purchasing a new wreath or making one from scratch, I decided to update an older one and save money.
Here are the easy steps to create a new wreath by adding a few items. There are many possibilities, but I hope you like my update.
Table of contents
Spring Wreath DIY Update Ideas
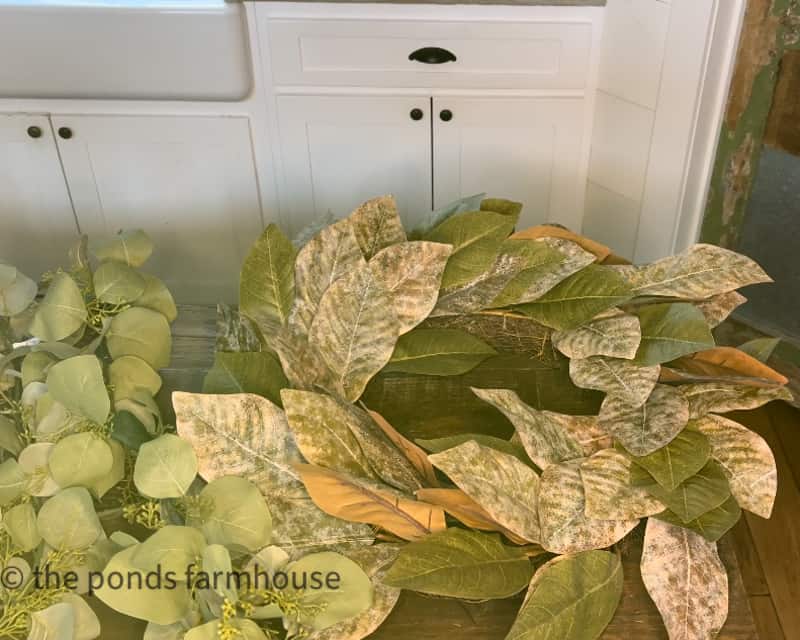
To begin this project, you need a wreath. I have a magnolia wreath that I’ve used for several years. It’s still in great shape, and I prefer to use it primarily during the holidays.
However, I’d like to have a wreath that has a more spring-like feel.
You can use any existing wreath for this project. If you don’t have one, check with thrift stores and consignment shops because they usually have great deals on old wreaths.
Don’t let existing ornaments on an old wreath scare you! They are usually easy to remove, and if the base of the wreath is good, you’ll save a lot of money. You can find more thrift store tips here.
(Posts on The Ponds Farmhouse may contain affiliate links. As an Amazon Associate, I earn from qualifying purchases. See the full disclosure details here.)
What Do You Add To Wreath?
To begin, I needed some additional greenery and wanted to add some individual stems.
However, once I saw the garland was on sale and realized it would be easier to work with, I purchased a eucalyptus garland at Hobby Lobby. Here is a similar silver dollar eucalyptus garland that would work as well.
It has the benefit of lush greenery as well as tiny buds for additional fullness.
How To Update Magnolia Wreath
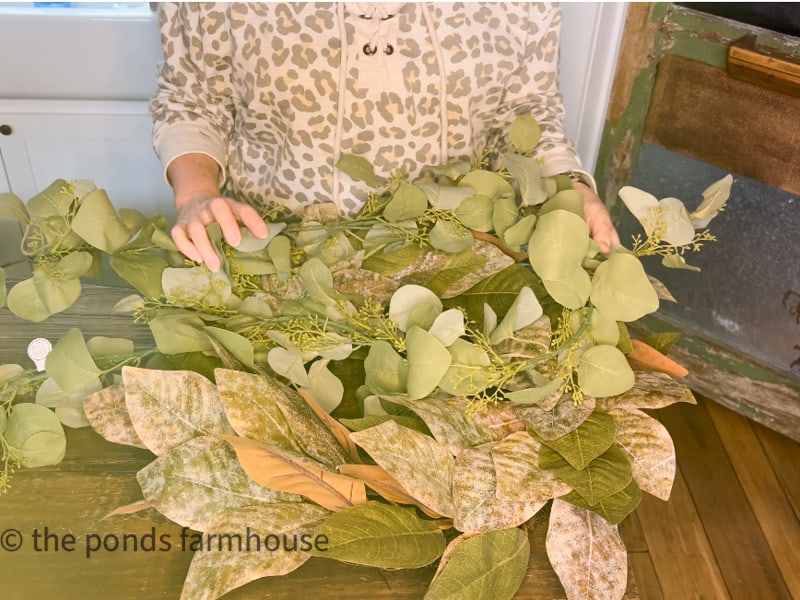
Adding the garland was so simple and much easier than adding individual stems.
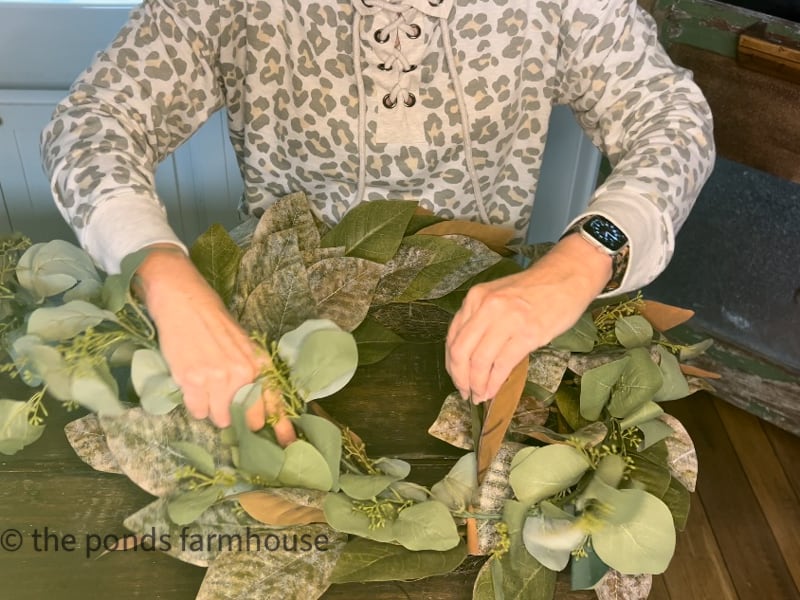
Just weave the garland in and around the existing magnolia leaves by lifting the leaves and securing the garland around the existing stems.
The garland was longer than the wreath’s diameter, and I considered cutting the excess off. However, in the end, I just continued around the wreath until all the garland was attached.
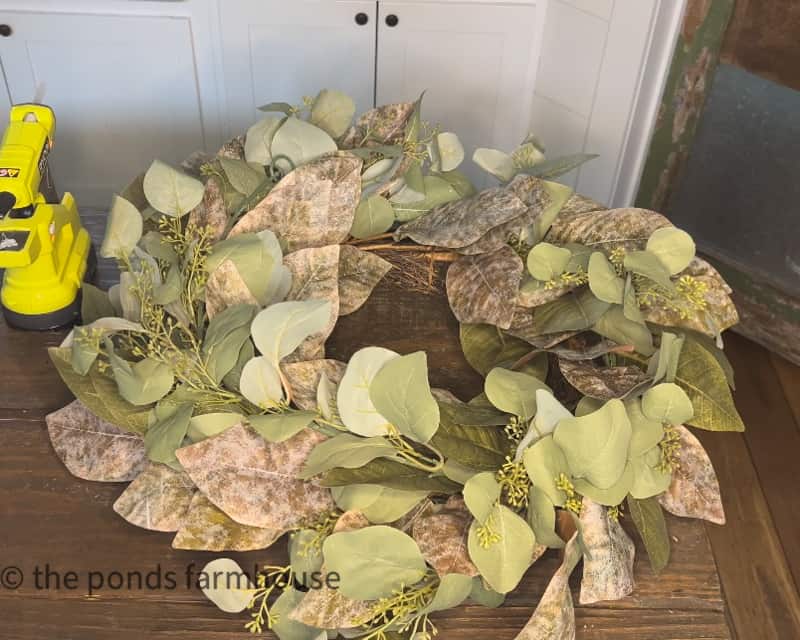
I love how full and fresh the wreath looks already.
Add Lemons to existing wreath
Next, I added several faux lemons to the wreath.
As I mentioned before, I didn’t want to damage the original wreath because I like using it as it is.
Therefore, I used a hot glue gun to attach the faux lemons to the garland but not the magnolia leaves.
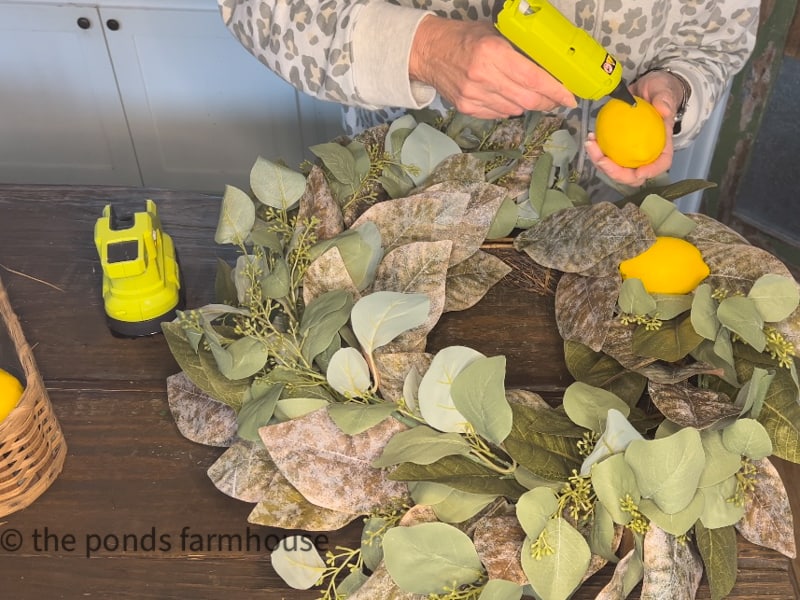
Note: If you plan to add weight to the garland by adding lemons or other heavy items, you must firmly secure the garland to the wreath base. I recommend using twine or twist ties to tie the garland securely.
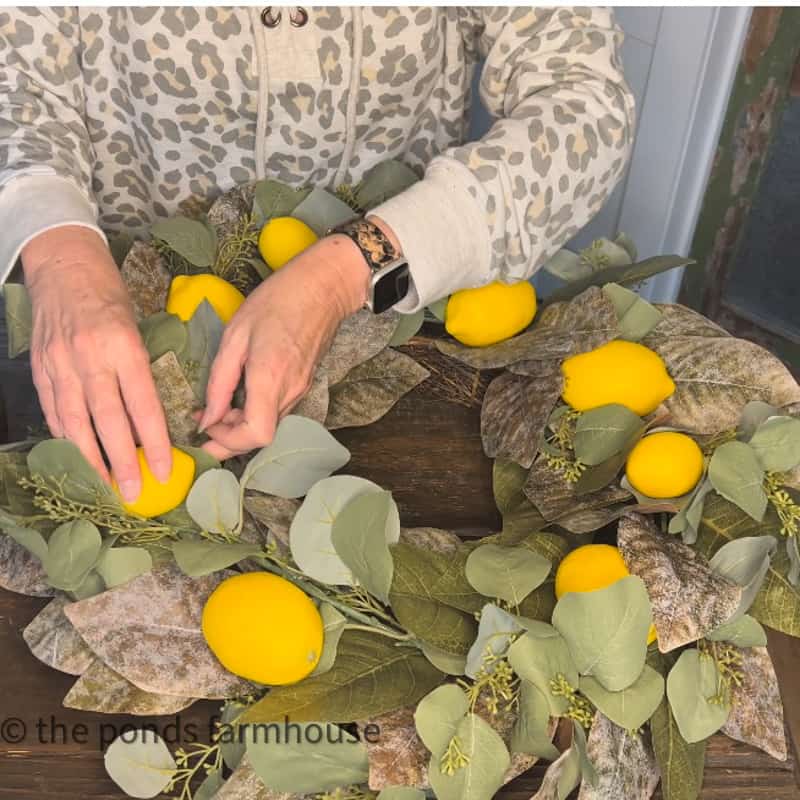
OOPS
Oops! Once the lemons were attached, the garland wanted to pull away from the original wreath.
As stated above, I corrected my mistake, but I recommend attaching firmly before adding the lemons.
Supplies Used for Wreath Update
Easy & Inexpensive DIY Spring Wreath Ideas
This was such an easy and inexpensive DIY Spring Wreath Idea.
Remember that you can substitute lemons for flowers or other fruit choices. Get creative with your repurposed wreath.
The additional items cost only $14.00 as they were on sale. Plus, I can remove the fruit and garland after the summer and still use the original wreath as intended.
In addition, it only took about 10 minutes to update a new Spring Wreath.


Click To Shop
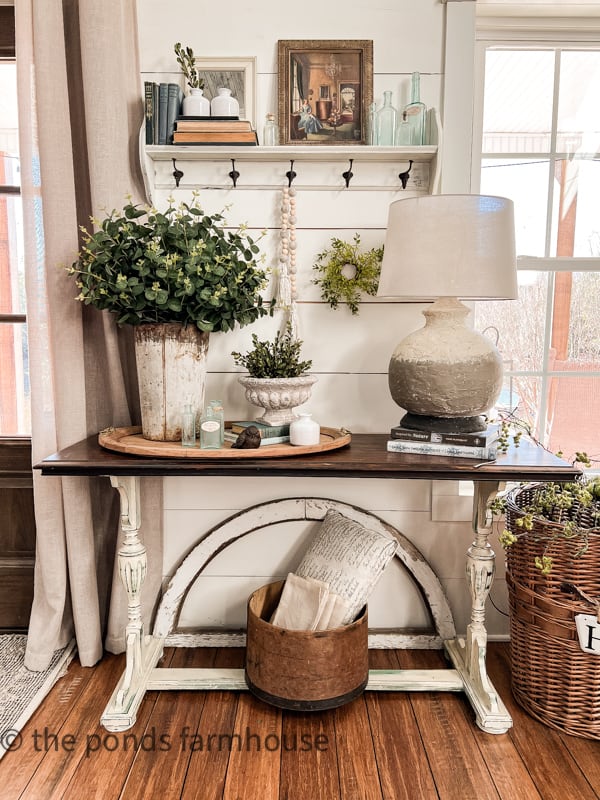
I’ve added the Spring DIY Wreath Update to a flat woven basket behind my dining table.
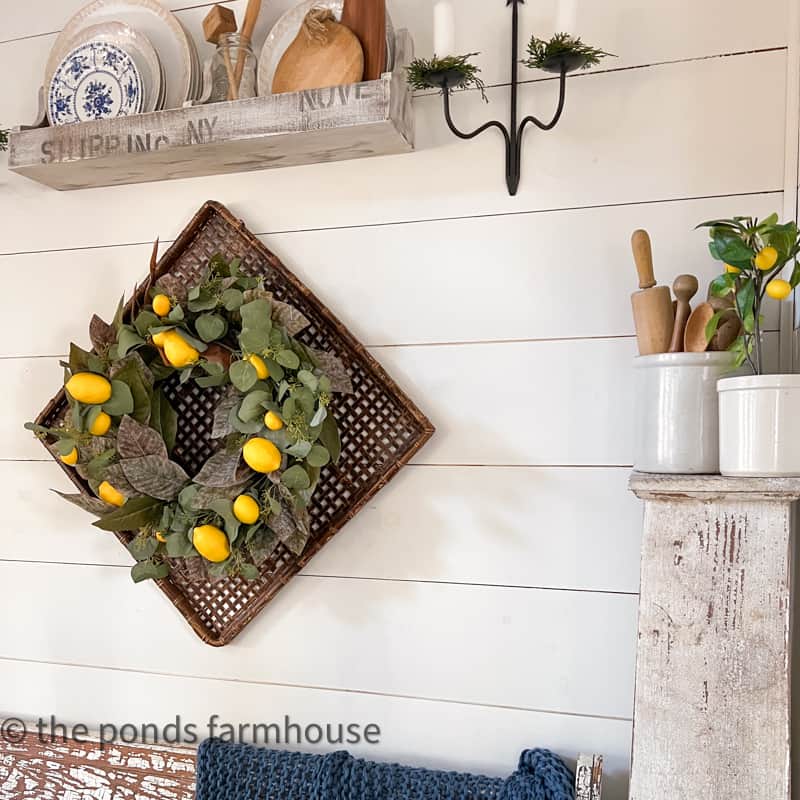
This update was made to decorate for an Italian Supper Club theme, and you can see the full table details on How To Set A Creative Italian Dinner Table. Also, please take a look at these DIY Fresh Boxwood Topiaries made to complete the table centerpiece.
Thanks so much for joining me today. I look forward to sharing my next adventure with you.

Pin It To Remember It
Did you find some great ideas you’d like to save for future reference? Hover over the images you’d like to save and pin to your favorite Pinterest Boards when you see the PIN button.
Click Wreath to Shop


Timely for me. I have several sad looking wreaths that need some love!
Linda,
Oh, great. I’m so glad this was helpful.
Absolutely gorgeous, my friend. I love the lemon projects that you are doing. They look so fresh, I love the Italian feel to them. Hugs to you
Renae,
I can’t wait for you to see the table setting.
This is such an amazing transformation, Rachel! Your wreath is gorgeous, and what a budget-friendly makeover too. I love the eucalyptus you added and all the lemons as well. They add such a cheery touch. Loving and pinning as always, CoCo
CoCo,
I really appreciate this.
really pretty! the garland idea is brilliant and love the lemons too. now I need to hunt for a garland for the several old ones I have laying around!
Debra,
I know. It was a light bulb moment just in the nick of time. LOL
Brilliant idea on the lemons!!!!
Happy weekend!
KariAnne,
I really appreciate this.
I really like this idea, Rachel. I have some faux lemons and a few worn out wreaths—so an update is on the list! Thanks for sharing, Sandra
Sandra,
I’m so glad you liked this idea. Thanks for stopping by.
Great idea to update what we already have and I love lemon anything! ! I’m currently organizing my faux flowers…I am ridiculous…and thinking up new ways to use them this Spring.
Jennifer,
I feel the same and then bought new ones. LOL
So pretty, my friend. I love it.
Renae,
I really appreciate this comment.
I love your wreath, Rachel. Such as smart update and I love how affordable it is. The lemons add the perfect pop of color for spring. I’m going to share a photo and link to your post in my weekly recap on Saturday. I think a lot of my readers will be inspired to give some of their old wreaths a bit of love, too!
Jen,
Thanks for your sweet comments and I appreciate the share.
Great idea! It looks gorgeous.
Debbie,
I’m so glad you like it.