Rustic Pinecone Christmas Tree Centerpiece: Budget-Friendly Craft
Looking for a unique and budget-friendly way to decorate your home for the holidays? Why not gather some free pinecones and create a unique centerpiece? This DIY rustic pinecone Christmas tree centerpiece is the perfect whimsical holiday project. With just a few simple free materials and a little creativity, you can create a stunning centerpiece that can be used on a dining or coffee table, mantel, or entry table.
As we were hiking through the woods, I found these fun pinecones. Instead of just seeing a pinecone, I envisioned miniature Christmas trees. I also had a tree limb that I initially thought about making a candleholder out of. As my idea came together, I gathered more pinecones, the tree limb, and some small twigs from the yard. Here’s how it came together. I hope you like it.

(Posts on The Ponds Farmhouse may contain affiliate links. As an Amazon Associate, I earn from qualifying purchases. See the full disclosure details here.)
Table of contents
DIY Pinecone Christmas Tree
I love using pinecone Christmas decorations. First, they are free and there are so many ways to use them. I decided these small pinecones needed a little shaping to create the whimsical Christmas trees I envisioned.
How To Prepare The Pinecones
First, I cleaned the pinecones with a small paint brush to remove any debris and froze them for a few days to ensure no bugs were inside. The Foraging Safety Guide and Tips provide more options for bringing foraged materials into your home.
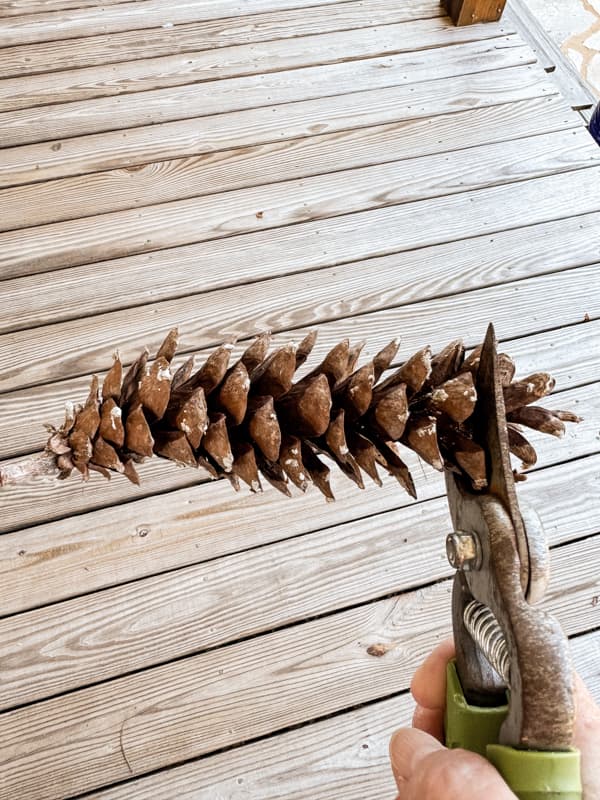
Now, you can begin to trim the pinecones’ tops. For small pinecones, you can use simple pruning shears. Cut the tops and remove any loose scales. I wanted a variety of tree heights, so I also gathered some twigs to add to a few of the cones. You can cut the twigs with the pruning shears to create different lengths.
Supplies
Here are the additional supplies I used to create the pinecone Christmas decoration.
- Hot Glue Gun
- Cordless Drill
- Large Drill Bit the diameter of the twigs
- Lightweight spackling compound
- Rustic Metal Stars
Foraged Materials
- Tree Limb
- 12-14 Small Pinecones
- Twigs
How To Add Twigs To Pinecones
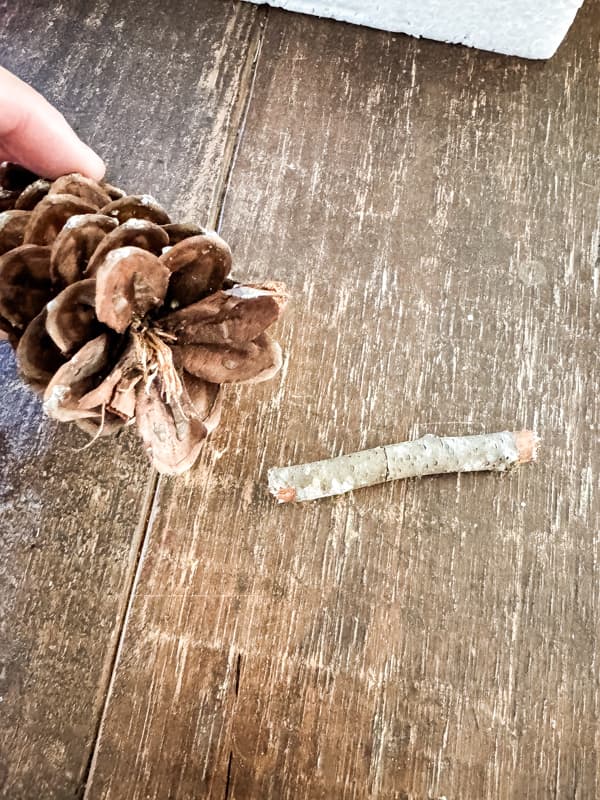
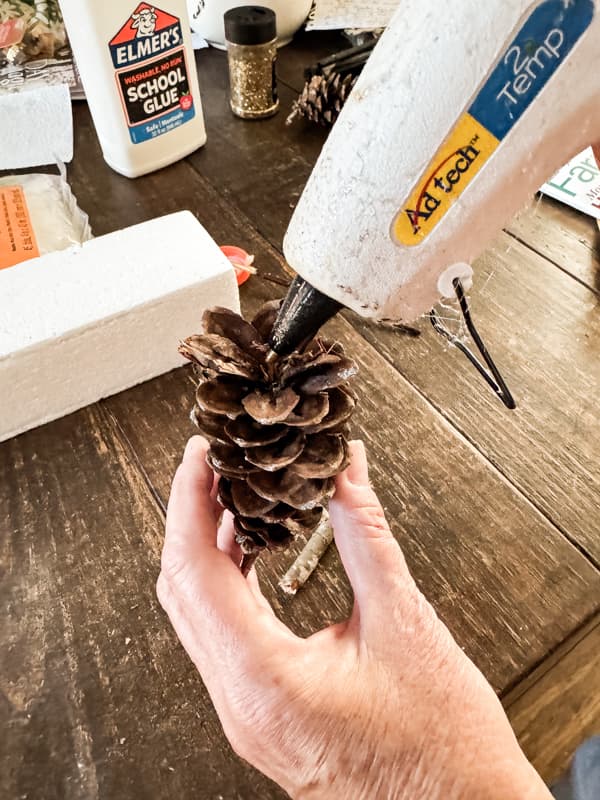
To add the twigs to the pinecones, begin by spreading the scales where you cut them to create a flat area. Then, cut the twig to the desired size. Add a good amount of hot glue to the center of the pinecone base. Add the twig and hold it in place until the glue is firm. For a safe measure, apply another application of glue around the stick.
I added a variety of lengths to six of my pinecone Christmas trees. Some trees are applied directly to the tree branch without a twig base.
How To Embellish The Pinecone Christmas Trees
There are several ways you can embellish your pinecone Christmas trees. I decided on a rustic, snowy centerpiece. I also had some rustic stars from another project and decided to use them as tree toppers. Just add a drop of hot glue to the pinecone stem and hold until the glue sets. I didn’t add a star to every tree.
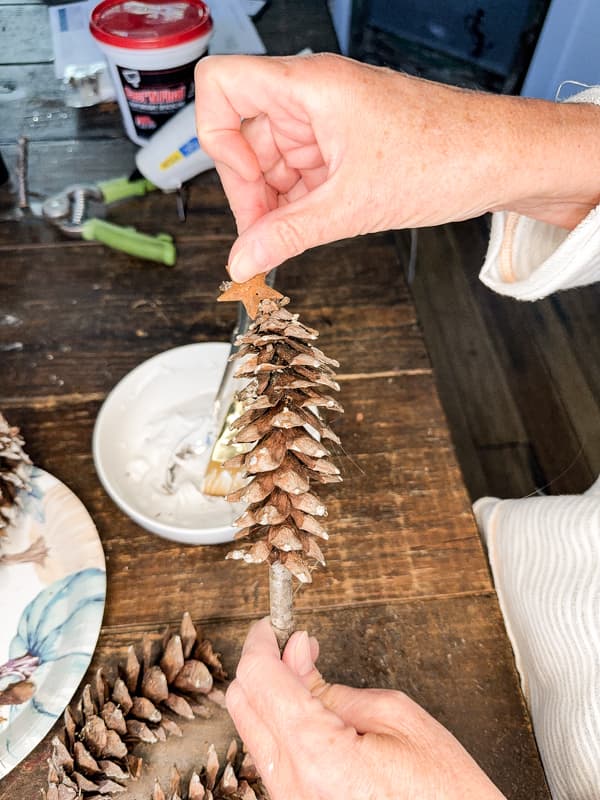
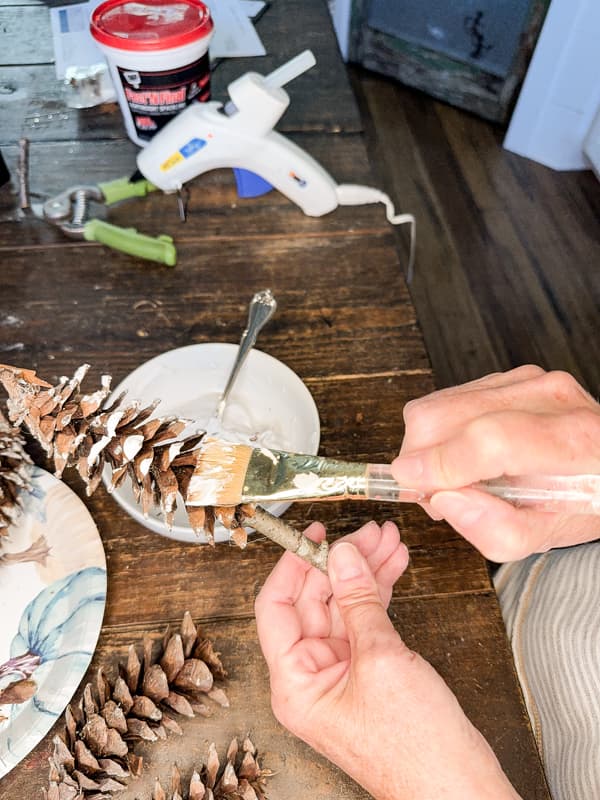
Next, I added some fake snow to the tips of the scales. For this step, you can use lightweight spackling compound to make long-lasting fake snow. Add a small amount of water and blend until you have an easy-to-spread mixture with a consistency similar to mayonnaise. See How To Add Fake Snow To Christmas Decor in 2 Easy No-Mess Steps for more details.
Once you have your mixture, use a small brush to hit the tips of each scale.
Optional Embellishments
In addition to the rustic stars and fake snow, you can embellish your pinecone Christmas trees in many ways. Here are a few ideas I had.
- Spray-paint the trees to match your color scheme
- Add beads to the tips of the scales
- Wrap tinsel or cording around the trees like a garland.
- Add glitter to the tips of the scales.
- Cover the tree branch with reindeer moss or Spanish moss.
- Add moss to the trees for a Spring or Summer Centerpiece.
Let your imagination soar. There are so many creative options.
How To Assemble Pinecone Christmas Decoration
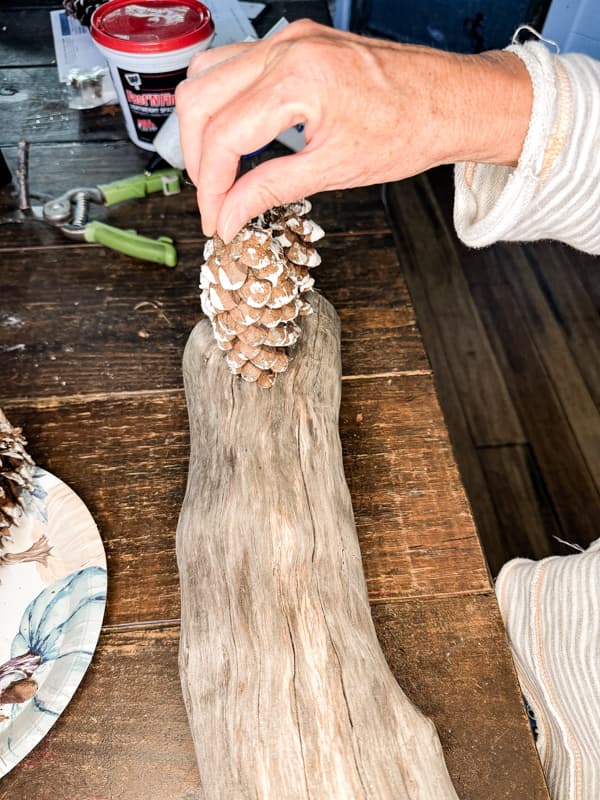
Once all your pinecone Christmas Trees are embellished and dry, you can add them to the tree branch. At one end of the tree branch, I added one of the pinecone trees that didn’t have a twig attached. I added a generous amount of glue to the bottom of the scales and pressed it onto the wood until the glue was set.
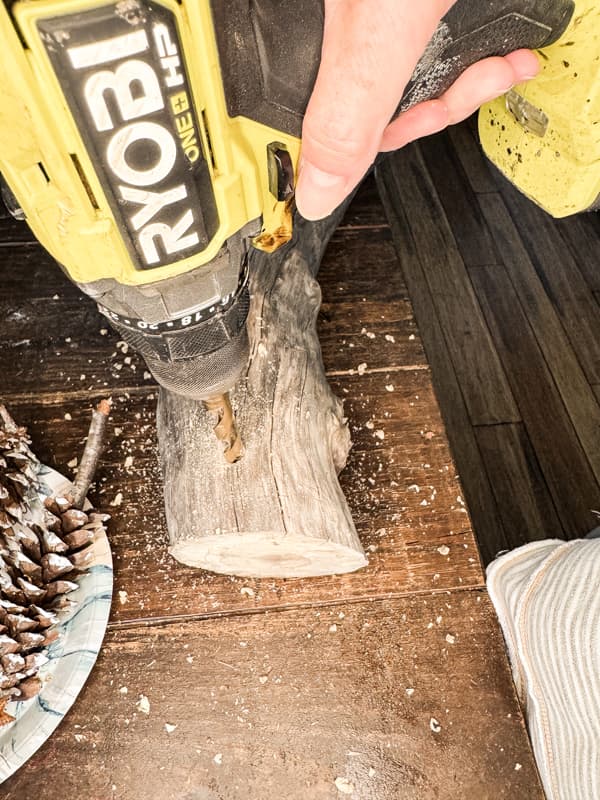
Next, I drilled a hole for the second tree at the other end of the branch. The hole was approximately 1/2 inch deep, so the twig would fit inside. Then, I added hot glue to the hole.
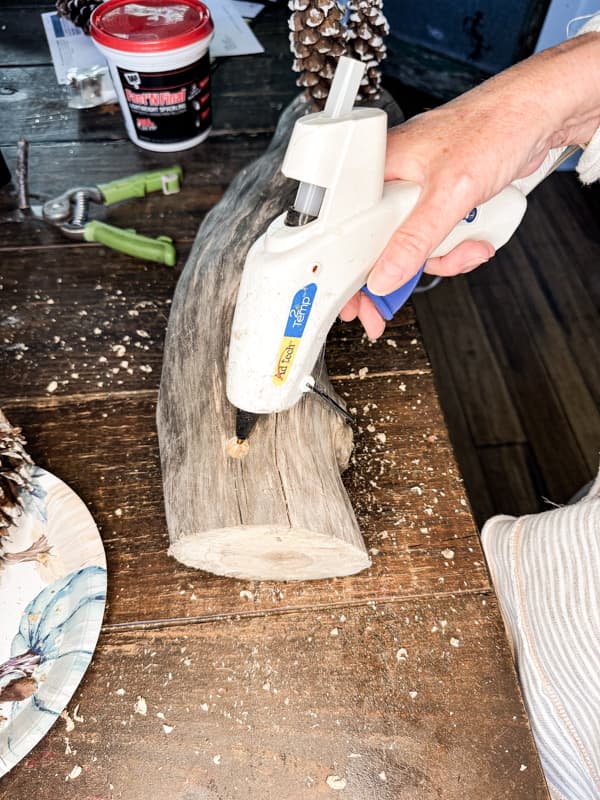
Secure the pinecone Christmas tree in the hole and ensure it stands straight.
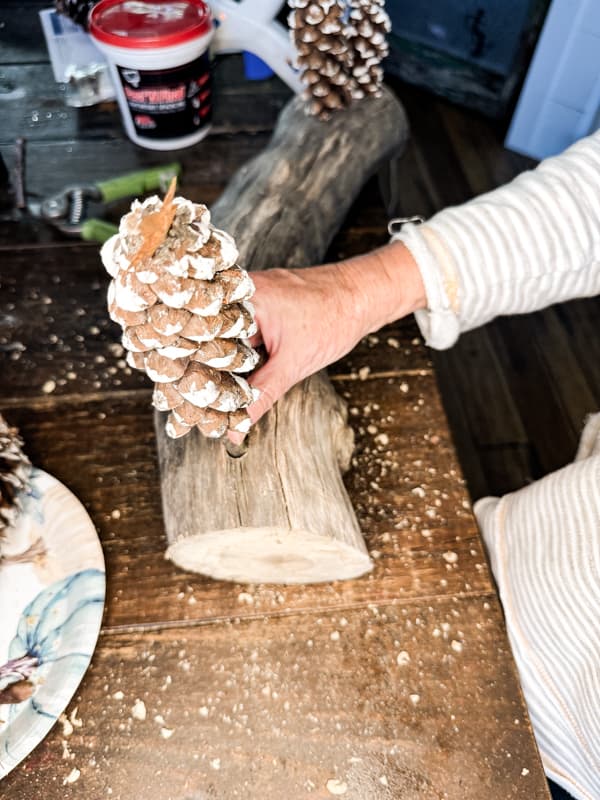
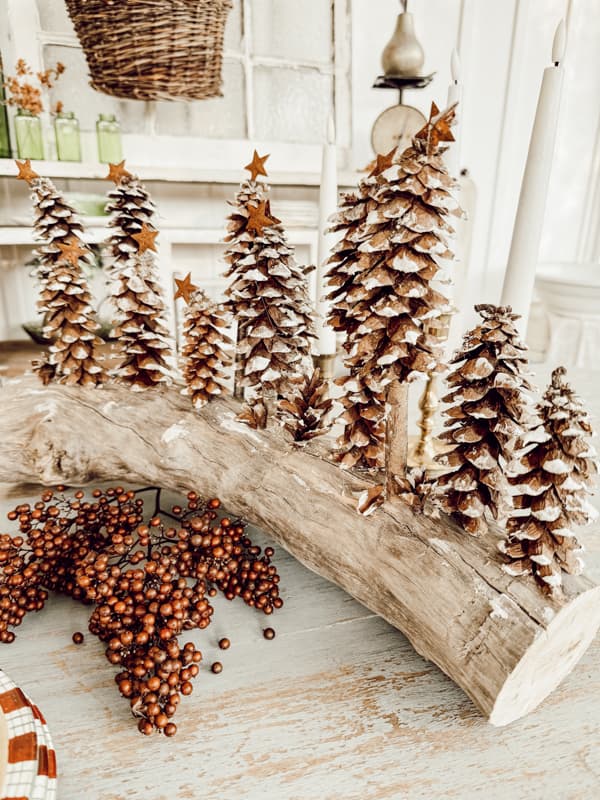
Next, I began to fill in around each tree, varying the heights of the trees as I went. I drilled the holes based on where I wanted the taller trees to be. Once I had all the trees in place, I added a few extra pieces of pinecone from the tops that I cut away in the beginning. I also added a few swipes of fake snow to the tree branch.
Insider Tip
When foraging for a tree branch for the pinecone Christmas decoration, look for one large enough to hold several trees and one that will lay steady on your table. You don’t want a branch that can roll easily. In addition, be cautious about a branch with bark still attached. The bark may loosen with age, and the pinecones may become unsteady.
Pinecone Christmas Trees Centerpiece
Don’t you love the whimsical look of the pinecone Christmas trees?
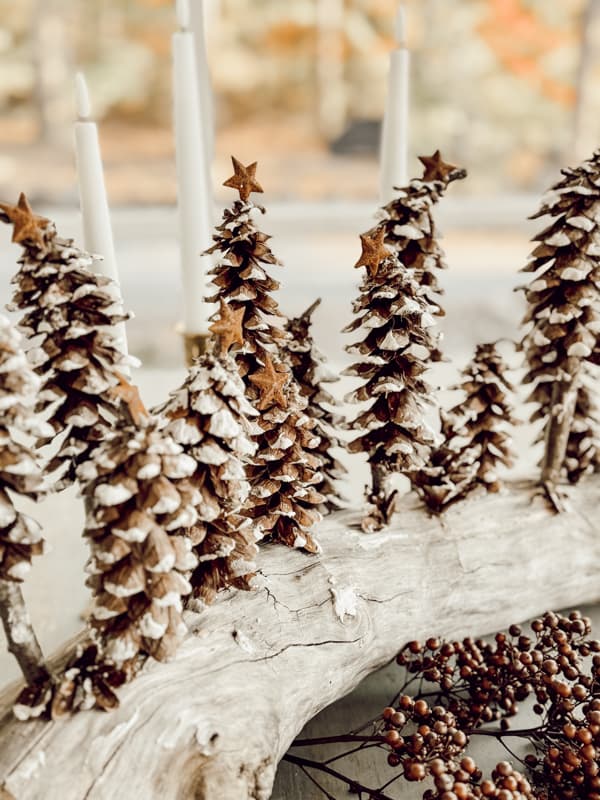
I plan to use the rustic pinecone Christmas centerpiece on our screen porch table.
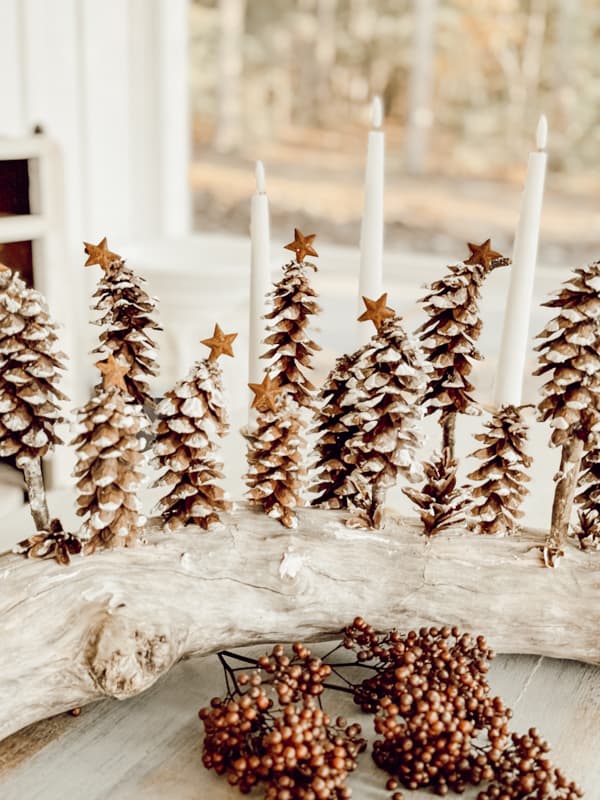
However, I tried it out on the living room coffee table and mantel to see if it worked, and I loved it everywhere.
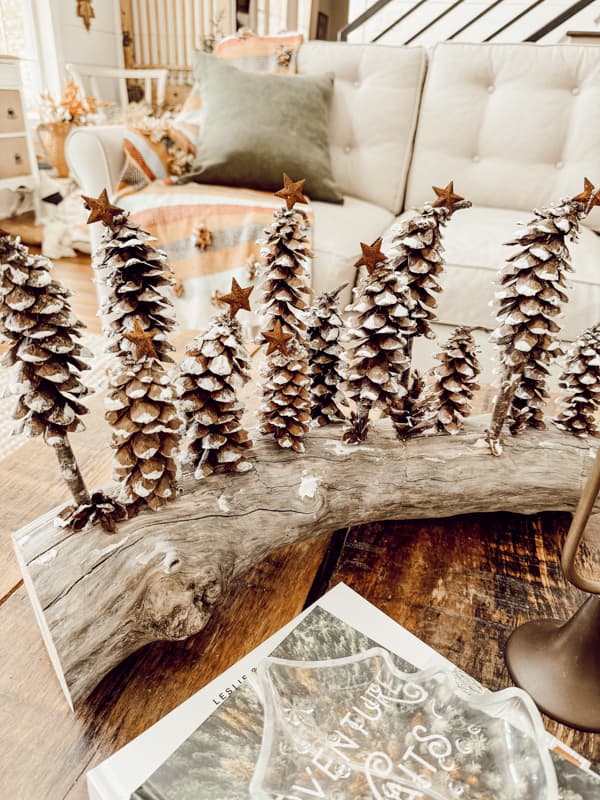
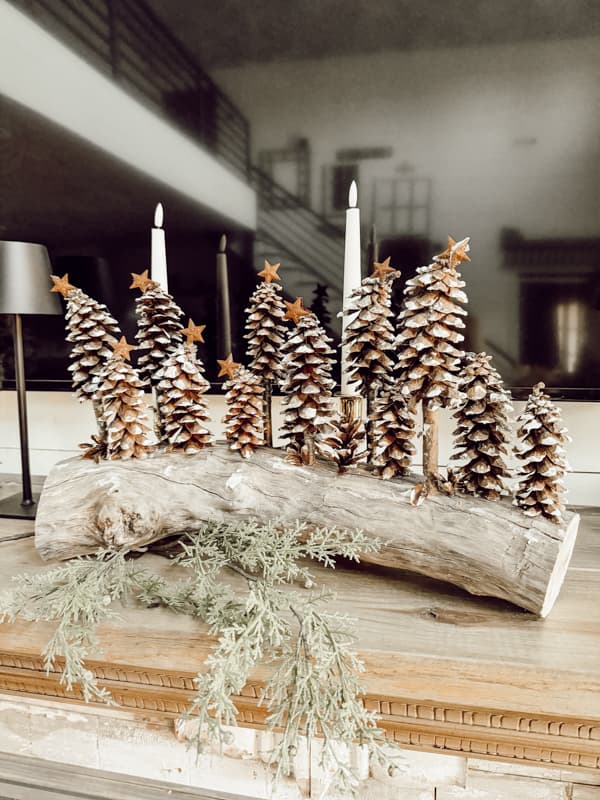
The whimsical curve at the top of these pinecones is unique and adds to the centerpiece’s rustic charm.

Related Articles
Here are some other rustic DIY Christmas ideas you may enjoy.
- Rustic Birch Bark Christmas Angel Transformation
- Create A Rustic-Chic Greenery and Pheasant Feather Centerpiece
- How To Upcycle Old Book Pages for a Magical Christmas Village
- How To Make A Christmas Tree Pillow Cover
Video
Thank you for stopping by, and I look forward to sharing my next adventure with you.





Rachel, I absolutely love these pinecone trees! They are just “the cutest”! I am going to make some of these. I have all the items I need. You are just “the greatest” DIYer. Do you ever rest? Ha! Ha! You are always so busy finding all these wonderful ideas for us. I just love all your posts. Have a great weekend! Appreciate you so much, Rachel!
Cheryl,
I am so glad you liked this project. It’s one of my favorites also. I’m so thankful for your kind words and for following along.
Rachel, this is freakin adorable! I will have to re-read it because i need to know if you trimmed the pinecone to look skinny. I always have to read directions twice. hehe. You are so creative.
Cheryl,
I am so glad you liked this project. It’s one of my favorites also. I’m so thankful for your kind words and for following along.
I just love the funky rustic vibe from your pinecone tree centerpiece, Rachel! The driftwood base is perfect! Thanks for sharing your creativity! Beth
Beth
So glad you like it. Thank you!
Really cute!! Also love the tablescapes with lots of white
Colleen,
I’m so glad you like it. Thank you for stopping by.
Hi Rachel
Thank you for the tutorial. I’m at my beach house thus week, recovering from a broken shoulder. I intend to do some beach walks with my puppy Lexi, and hopefully find some nice driftwood to make this Xmas Tree centrepiece.
Anne,
Good luck with the hunt. I hope you recover quickly and have a wonderful Thanksgiving and Christmas.
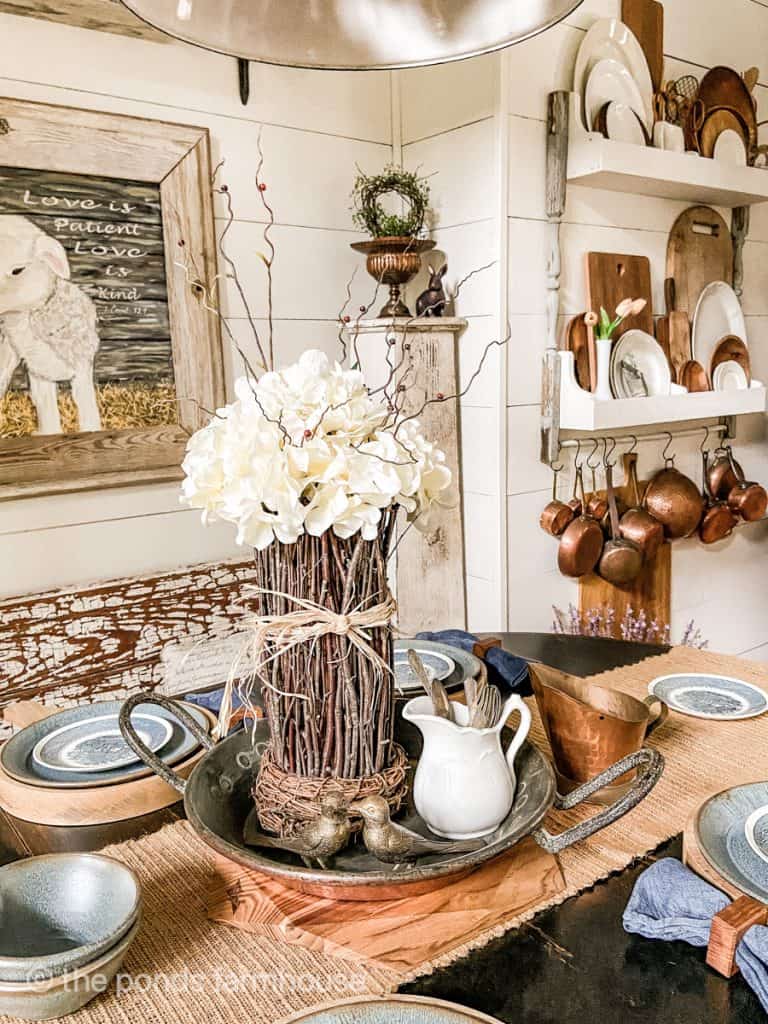
Rachel, absolutely charming, cozy, inviting! I’ve so enjoyed each project you’ve shared as you created “the look” for your 2024 Christmas Home! One of my favorites is your Pinecone Tree center piece! Thank you for reminding me to use the top of my cabinets too. And your copper pans are like jewelry above the sink. Can’t wait to see what you do with the rest of your property. 𖣔𖣔𖣔𖣔
Jan,
Wow, what a sweet compliment and your encouraging words made my day. I hope you’ll continue to follow along as I have more ideas that I can’t wait to share with you. I shared more details about the dining table and surrounding area today on my blog. I hope you’ll check it out.
Hi Rachel,
Just wanted to let you know that I made a pinecone forest because I thought yours was adorable. It is my entryway. I had flocked a tree a couple years ago and still had flocking left so used it. Still searching for the right size deer or two to wander through the forest. Thank you for the idea. I live surrounded by 40 acres of wood but it took me a couple searches to find the perfect curved log and a couple weeks to dry it out. Long project but turned out so cute. Merry Christmas and a blessed New Year.
Vicky,
Thank you for sharing. I’d love to see a picture of your creation. I hope you have a blessed and Merry Christmas!