Recycle Wine Cork Christmas Tree Tutorial: Eco-Friendly Christmas Craft
Looking for a creative and sustainable way to decorate for Christmas? This recycle wine cork Christmas tree tutorial is perfect for you! Made from upcycled wine corks, this tree is a unique and eco-friendly wine cork Christmas craft that will enhance your holiday decor.
This tutorial is easy to follow and only requires a few basic supplies. You can customize your tree to any size or color you like, and it’s sure to be a hit with your family and friends.
(Posts on The Ponds Farmhouse may contain affiliate links. As an Amazon Associate, I earn from qualifying purchases. See the full disclosure details here.)
Table of contents
How Can You Recycle Wine Corks?
Wine corks can not be reused for wine due to bacterial concerns; however, there are many ways to recycle wine corks.
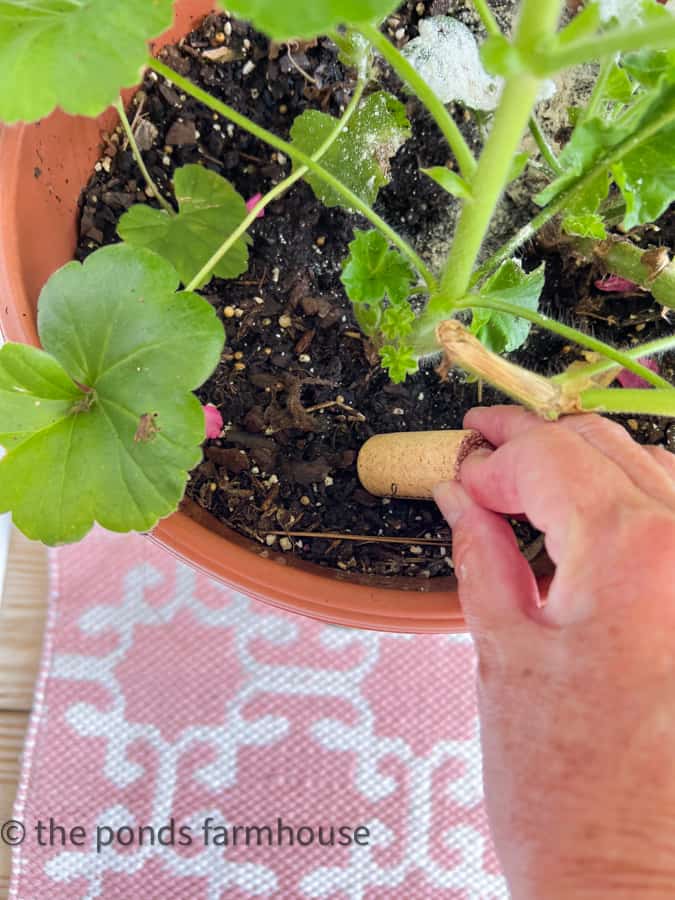
Are Wine Corks Good For Plants?
Yes, cork helps to hold moisture in the soil. You can break them into pieces or leave them whole. Either way, they will help to keep your soil moist.
You can also slice corks into pieces and glue them to the bottom of your plant containers to cushion against scratching your floor or table.
Home Decor
Recycling wine corks for home decor is another great option. Coasters, trivets, push pin cork boards, and more are practical ways to reuse old corks.
Wine Cork Christmas Crafts
Finally, you can use your old corks to make fun Wine Cork Christmas Crafts. There are many fun ornament ideas, from reindeer to snowmen. However, I’m sharing how to make an easy Wine Cork Christmas Tree to enhance any area of your home this holiday season.
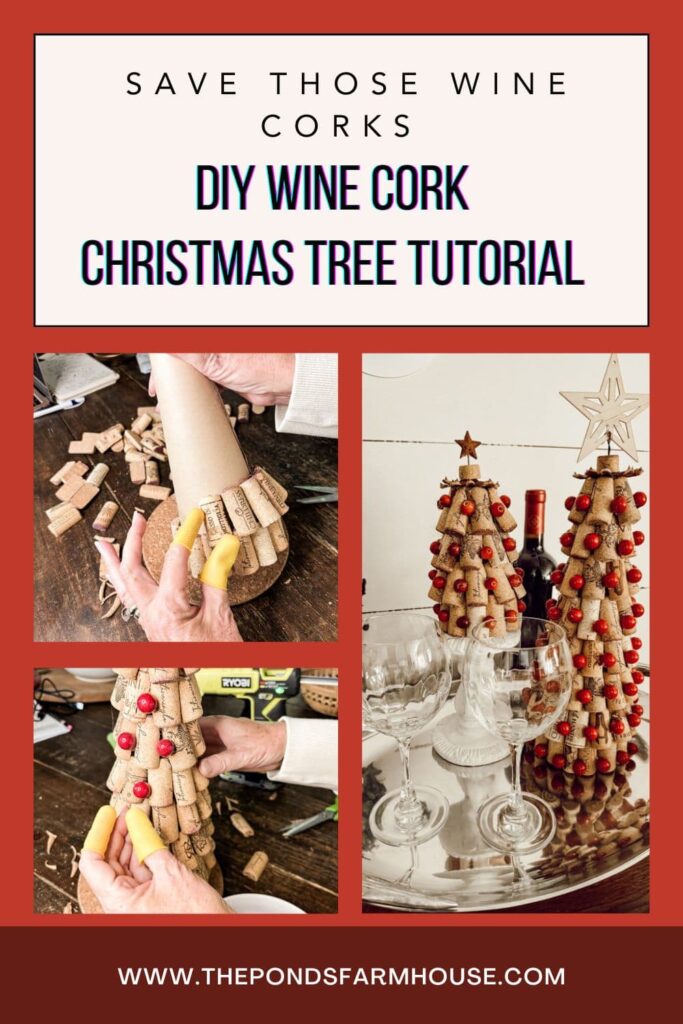
Wine Cork Christmas Tree Tutorial
I was looking for cute Christmas decor for our wine bar this holiday. I wanted something stylish but in keeping with the wine theme. Therefore, I decided to recycle some wine corks into trees.
There are several options for creating a Wine Cork Christmas Tree; however, I think you’ll agree this is the cutest idea.
I made two trees, and I’ll share the supplies for each.
Tools & Supplies
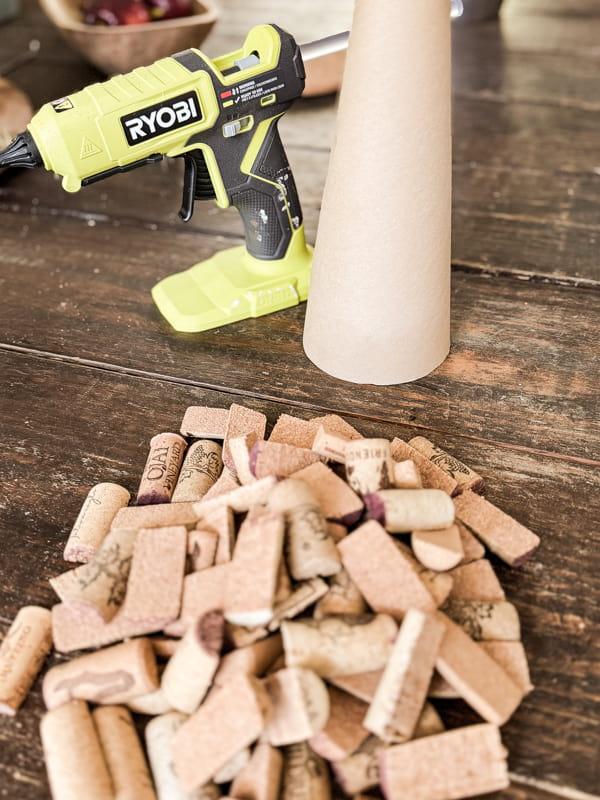
Here are the tools we used to work easily with the corks.
- Scroll Saw
- Hot Glue Gun
- Hot Glue Finger Protectors
- Scissors
- Sharp Knife
- Kraft Paper
- Pinecone Scales
- Optional – Paper Mache Cones
Supplies based on size
17 – 18 Corks –Metal Star – 36 –Berries
32 Corks – Wooden Star – 86 –Berries
How To Prepare To Recycle Wine Corks
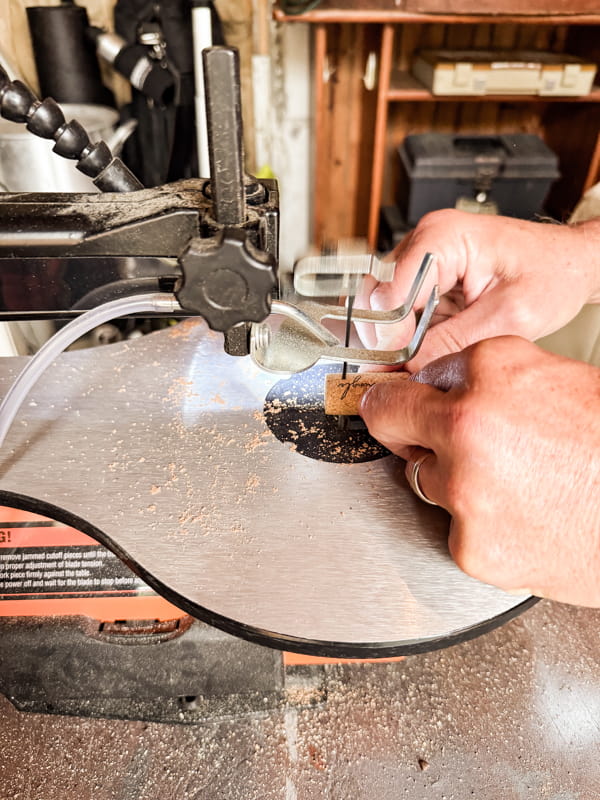
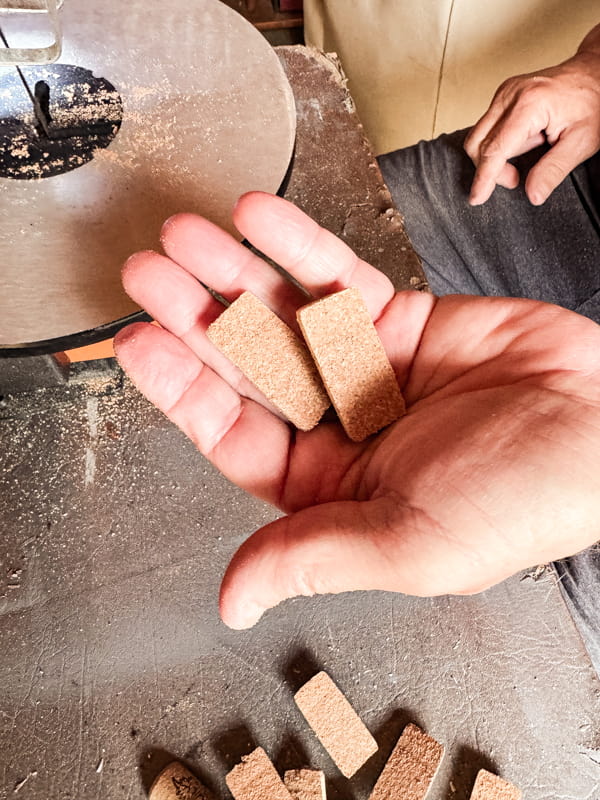
First, the wine cork Christmas tree looks best if the corks are cut in half. However, this was the tricky part of the project. We attempted to cut them with a sharp knife without success. We eventually found the method that worked for us was using a scroll saw to slice the corks. The saw quickly cut all the corks, but I recommend using it with caution.
NOTE OF USE EXTREME CAUTION: Use all safety precautions when using the scroll saw. The corks should be held securely to avoid any vibration of the saw to prevent slicing your fingers.
Wine Cork Craft Tutorial
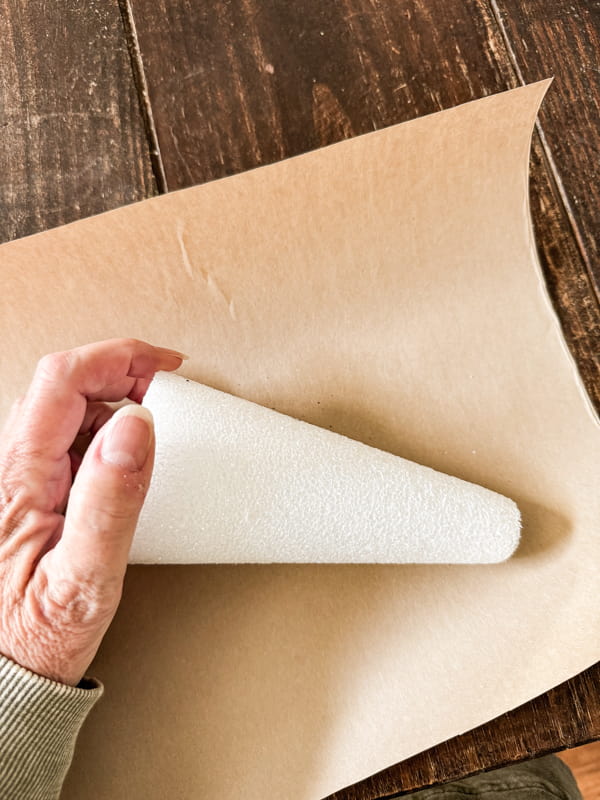
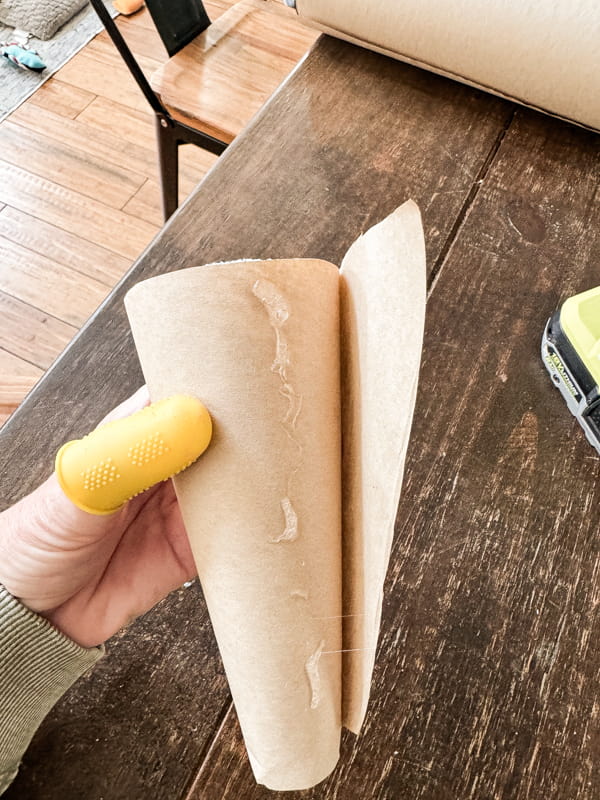
The next step is to cover the styrofoam cone with kraft paper. This will allow the corks to adhere more easily, and the gaps between the corks will be less visible.
Wrap the cone tightly with the kraft paper and secure it with hot glue.
Cut any excess paper from the top and bottom of the cone.
Attach Corks
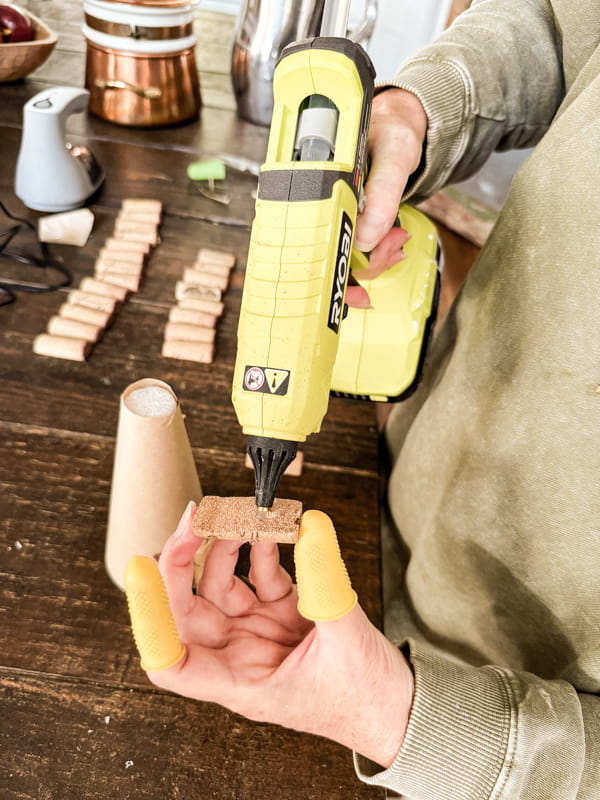
To attach corks, add hot glue to the flat side of the sliced cork. Then, begin at the bottom of the cone and align the corks evenly around the cone’s diameter.
Make sure the corks are standing straight. This may leave small gaps toward the bottom of the cone.
Note: Be sure to wear hot glue finger protection for this project.
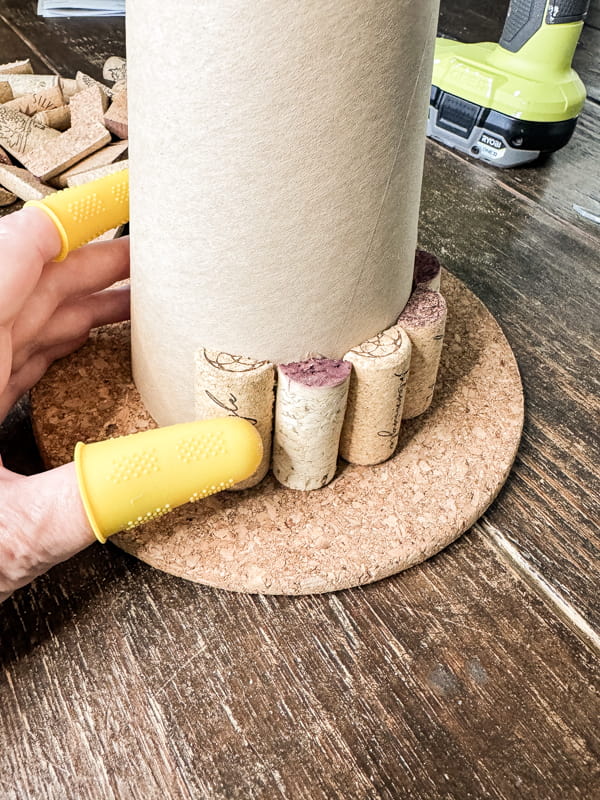
Next, begin adding a second row of corks. For this step, you will need to add hot glue to the top and bottom flat side of the cork. Overlap the first row slightly and hold it in place until the glue sets.
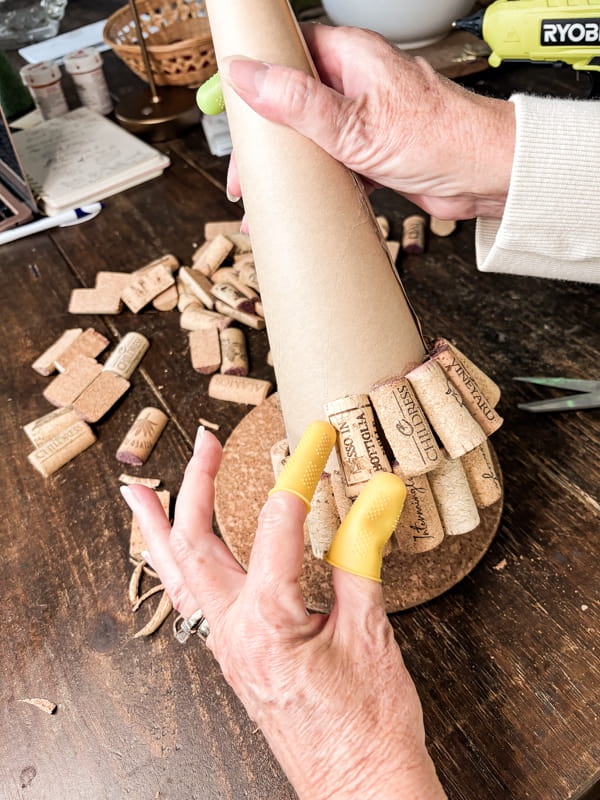
As you work around the cone, you may find it necessary to trim the top edges of a few corks.
Use scissors to slice a wedge off the two corners, allowing the corks to fit snuggly around the cone.
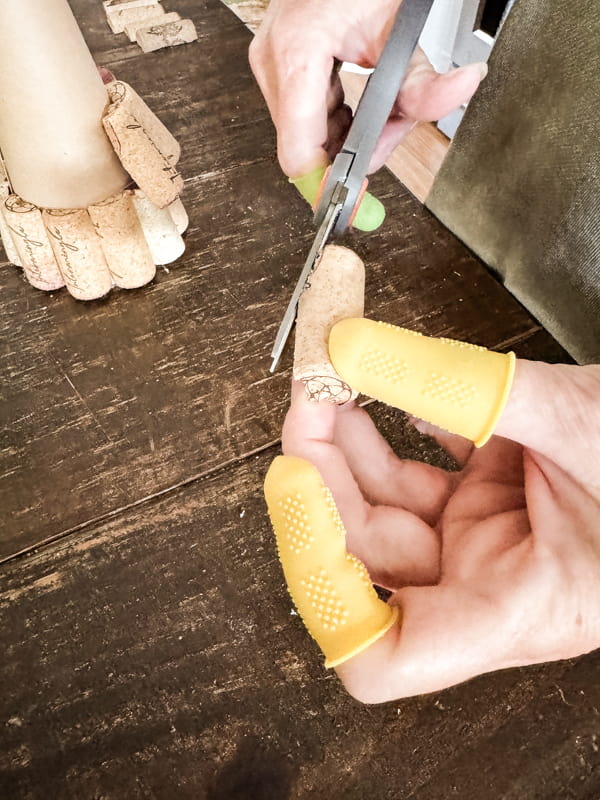
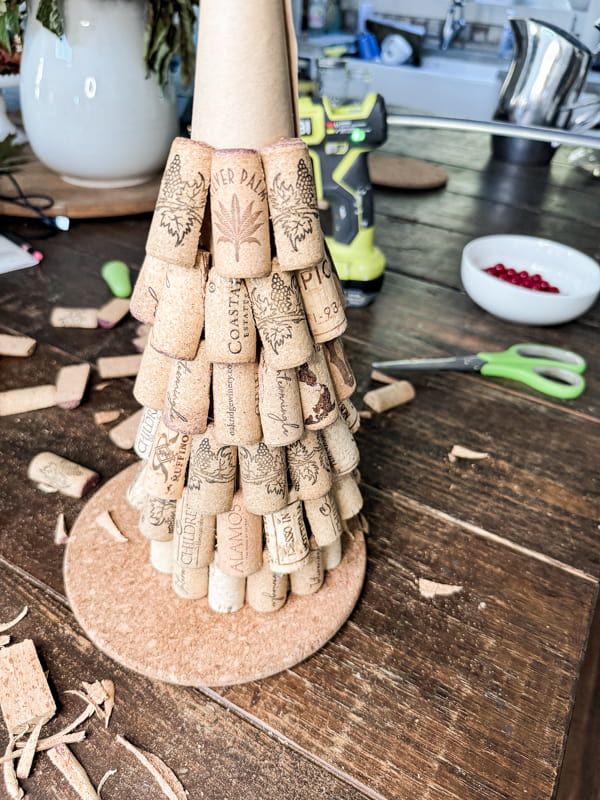
You will find that trimming the corners will be more critical as you continue to add rows of corks.
Four rounds of corks are on the 6-inch cone, and eight are on the 12-inch cone.
Pinecone Idea
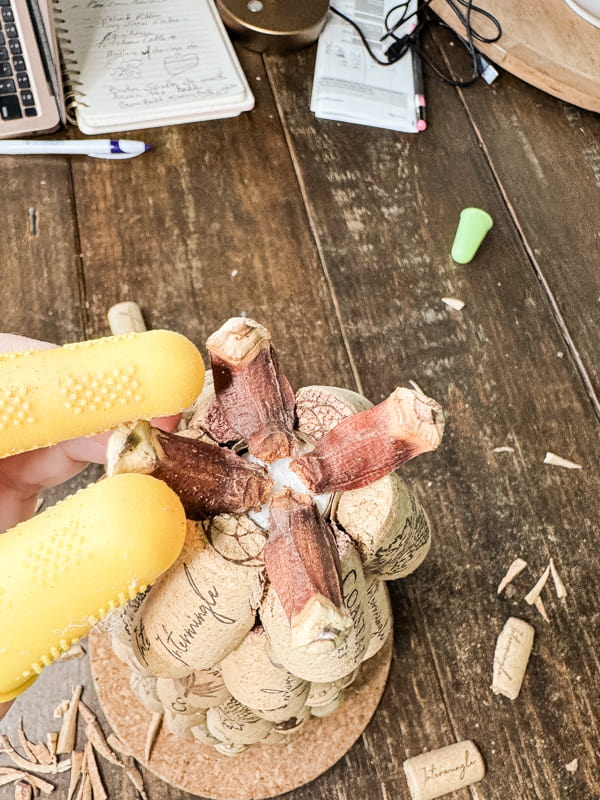
When I reached the top of the tree, I was unsure about how to finish the top. Since I have an abundance of pinecones, I decided to add a few scales to the top of the tree.
Just break a few larger scales from a pinecone and add hot glue to the small end. Form a circle at the top of the Wine Cork Christmas Tree. Be sure to leave a small opening at the center to attach the star.
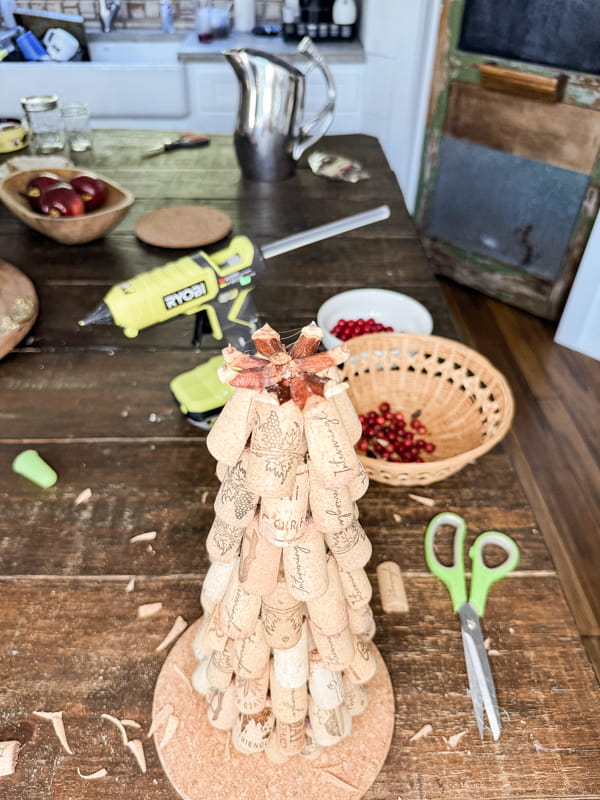
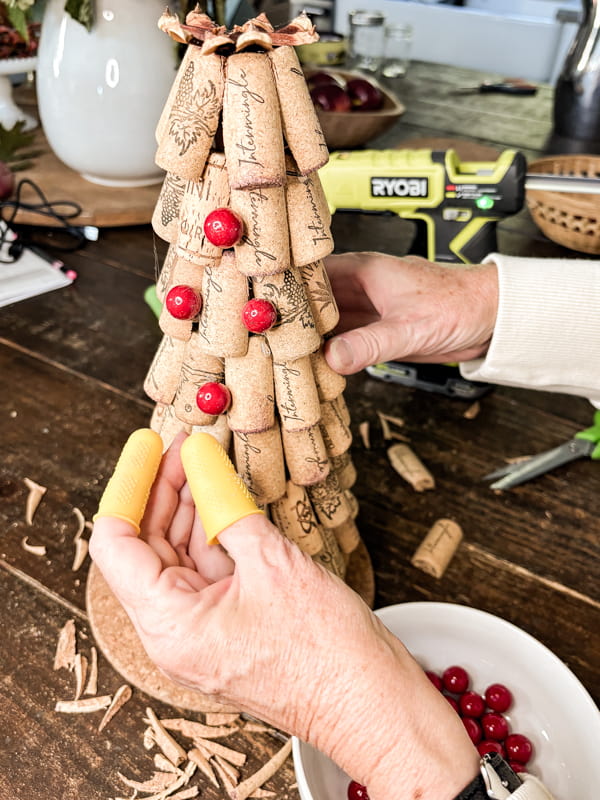
Trim The Tree with Berries
To trim the tree, use hot glue to attach a berry to each space between the corks. This will help to adorn the tree and help to hide gaps.
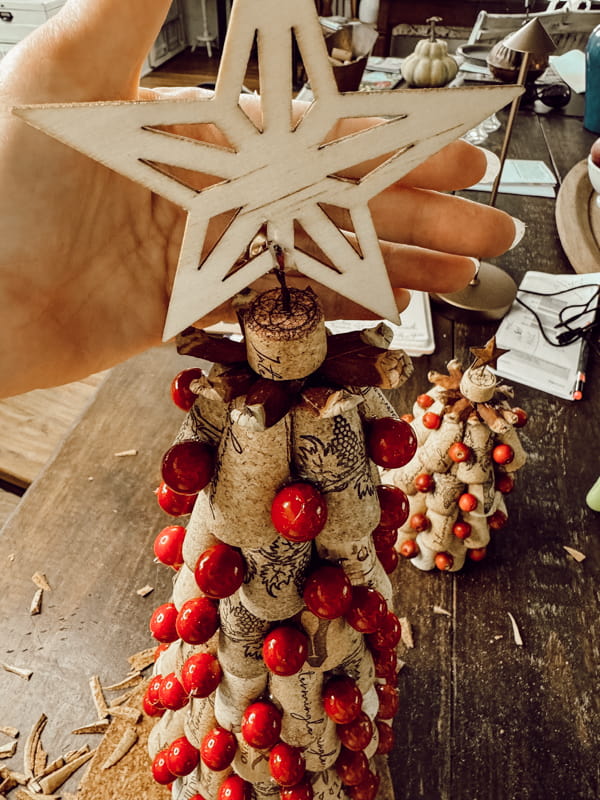
Top The Wine Cork Christmas Tree
Now, it’s time to top the tree. I decided to use the stars in my craft supplies for this step.
Begin by slicing the end of a wine cork with a sharp knife. Cut it approximately 1/4 – 1/2 inches.
Then, use an ice pick to punch a hole in the center.
Add a piece of wire to your stars with hot glue. I used two metal stars for the small tree and placed the wire in between with hot glue. Then, slide the wire into the cork, leaving at least an inch coming out the bottom.
Add hot glue to the top of the cone and push the wire into the top. Press the star and cork slice until the glue sets to secure the star to the top.
Decorate with Recycle Wine Cork Christmas Trees
Now, you are ready to decorate with your DIY Christmas trees.
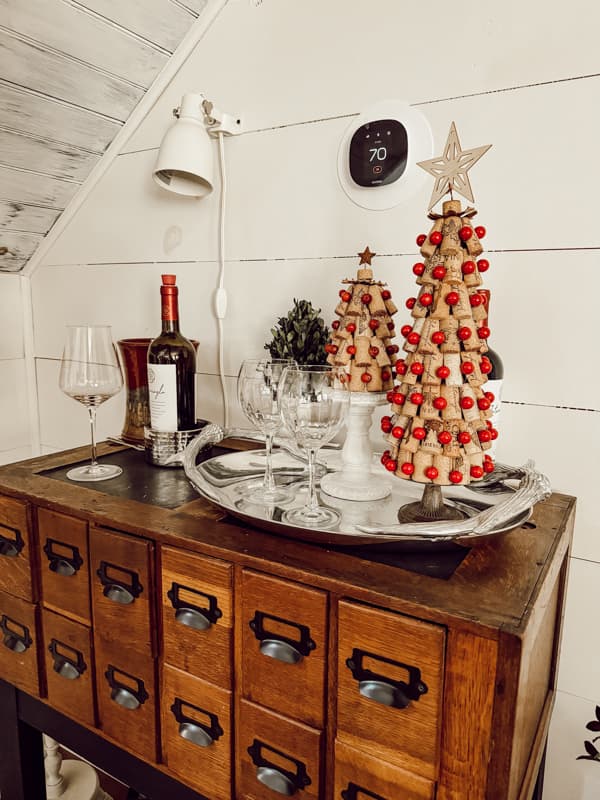
They are the perfect addition to the wine bar.
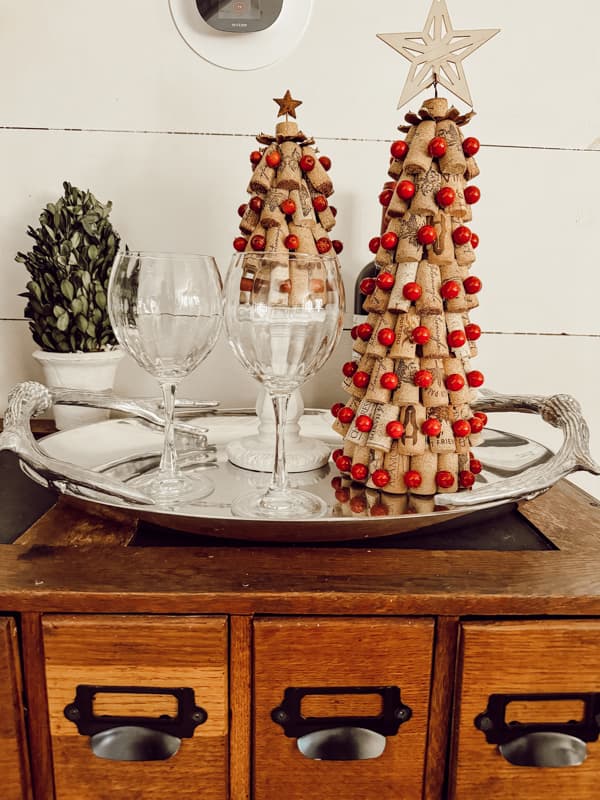
Recycle Wine Cork Christmas Tree Tutorial
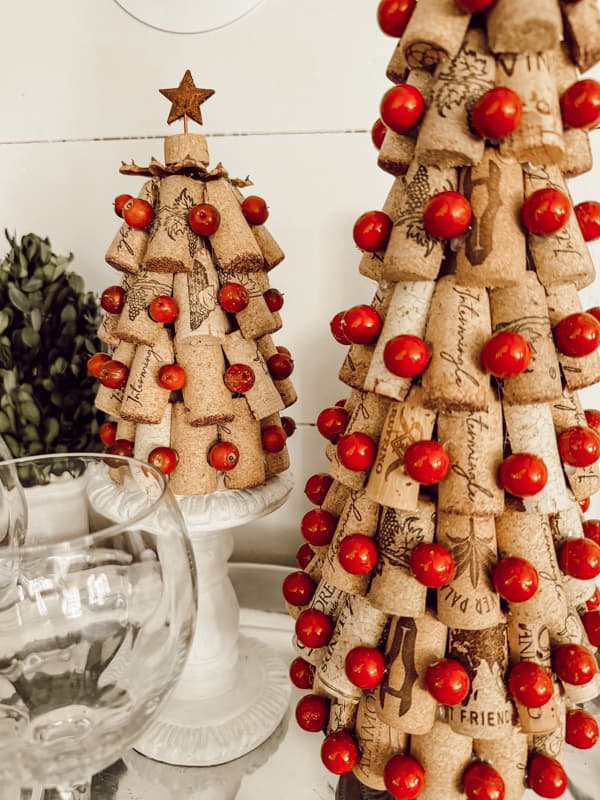
How To Recycle Wine Corks to Make a DIY Wine Cork Christmas Tre
Materials
- Wine Corks 17 for 6 inch tree
- Small Styrofoam Cone 6 inches
- Red Berries
- 2 Rusty metal stars
- Kraft Paper
Tools
- Hot Glue Gun
- Scroll Saw
- Hot Glue Finger Protectors
- Scissors
Instructions
- Wrap the styrofoam cone with kraft paper and adhere it with hot glue
- Cut corks in half with a scroll saw ( use caution )
- Apply hot glue to the backside of the corks and adhere to the bottom of the cone.
- Continue adding corks with a slight overlap until the cone is covered. Be sure the corks are aligned upright. This may result in slight gaps. Cut top corners from corks to allow them to fit together with minimum gaps.
- Add pinecone scales to the top of the cone.
- Add a star to the top with a piece of cork to hold it steady.
Notes
Follow safety precautions when using the scroll saw to cut corks.
You can add them to pillar-size candleholders, or they can sit without a riser.
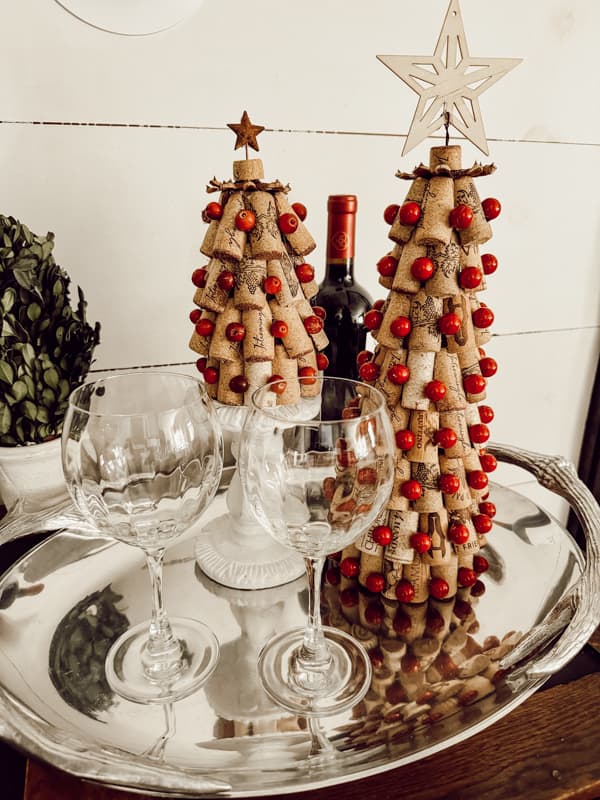
They will also look stylish decorating in other areas of your home as well.
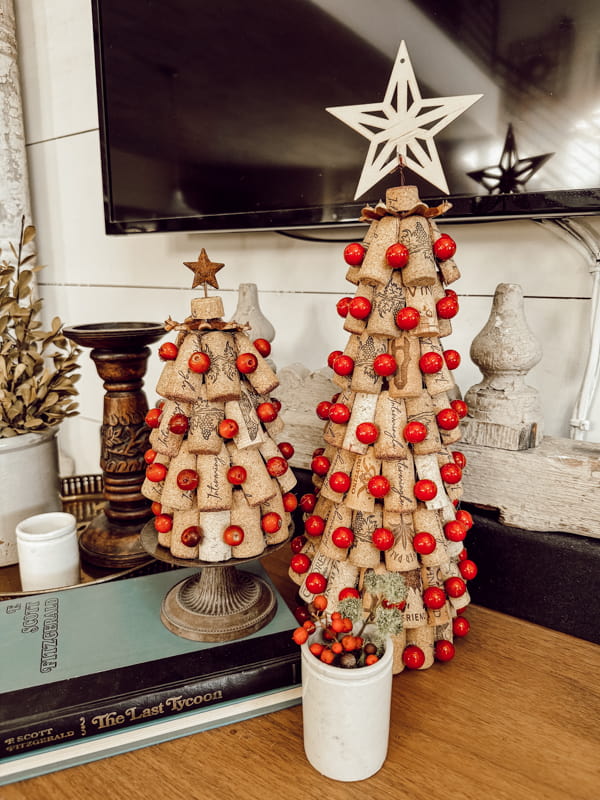
Additional Sustainable and Eco-Friendly Christmas Ideas
- 3 Eco-Friendly DIY Ornaments for Christmas
- Ways To Use Fresh Greenery for Eco-Friendly Christmas Decorating
- 19 Sustainable Christmas Craft Ideas and Trends
- 5 Sustainable and Cheap Christmas Tree Decorating Ideas
- 27+ Easy And Creative Christmas Crafts To Make Now
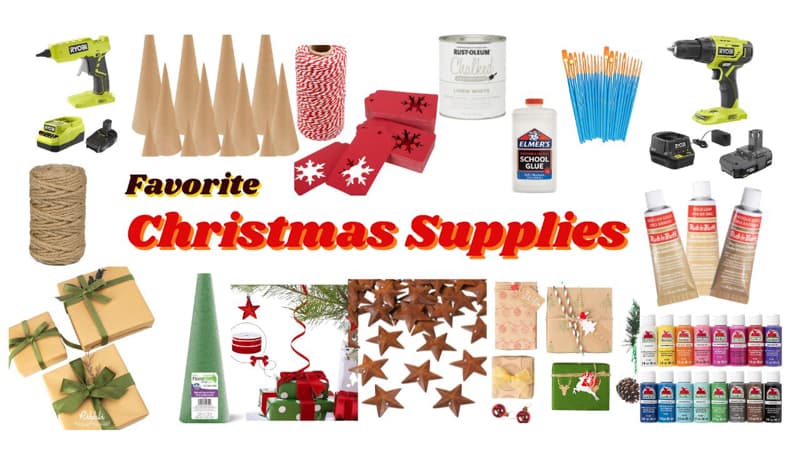
Resources – Click the image below to shop
Did you know that I have an Amazon Storefront? I have a list of my favorite craft supplies and tools, which I update on a regular basis. Click below to see my recommendations.

Pin It To Remember It
Did you find some great ideas you’d like to save for future reference? Hover over the images you’d like to save and pin to your favorite Pinterest Boards when you see the PIN button.


Such a great idea…can’t wait to try.
Oh, I can’t wait to see your version.
You are absolutely right. These cork trees are “So stinking cute”! One would be great added to a bottle of wine or bar gift! Thank you for sharing your talent!
ps I had no idea cork to help with my plants.
Jan,
Thank you so much. I’m glad you like them and yes, use any left overs in your plants.
@Jan, they also made a beautiful and artistic mulch in your flowerbed.
Yes and they help to keep moisture in.
So darn cute Rachel! I have tons of corks, I better get to work. I will share on my next share post.
Wendy,
I’m so glad you like this. I appreciate you for sharing
Thank you for sharing.