Quickly Turn Cheap Thrifted Picture Frames Into Stylish Decor With Hot Glue
Y’all know I love shopping thrift stores, and it’s hard to leave quality picture frames behind when they are so cheap. However, some are a little drab and need a makeover to achieve that stylish, high-end decor look we desire. So if you’d like a quick and inexpensive way to update boring picture frames, check out this hot glue gun solution. Let me show you how fast and easy it is to completely transform your thrifted finds.

(Posts on The Ponds Farmhouse may contain affiliate links. As an Amazon Associate, I earn from qualifying purchases. See the full disclosure details here.)
Thrift Store Picture Frames
I’m forever picking up thrift store picture frames for less than $2.00 each. I like to look for good quality wood frames and find it difficult to leave a great deal behind. However, many of the frames I find still need a little updating to make them work with my decor.
So if you are like me and have a collection of old secondhand frames, you will love how easy it is to transform them into boutique-worthy, stylish picture frames. Let me show you what you need to get started.

Supply List
- Thrifted Frames
- Silcone Molds – These are the molds I used. I’ve used this mold for another project
- Hot Glue Gun
- I like these crystal clear glue sticks for this type of project.
- Antique Gold Rub N Buff
- Metallic Gold Paint
- White Craft Paint
- Scissors
How To Prepare Picture Frames For Makeover
To begin, disassemble the picture frames by removing the back and glass. If the frames are dirty, clean them with a gentle cleanser and allow them to dry. Clean the glass with a window cleaner and place it in a safe place until the makeover is complete.
How To Create Hot Glue Designs
You will need to choose a silicone mold to create the hot glue designs. I used these molds that came in a set because there are several design options. In addition, ensure that you have a good supply of hot glue sticks available.

Heat Hot Glue Gun
Begin by heating your hot glue gun. If you have a high and low setting, I recommend using the high setting. The hot glue gun must be hot before beginning to fill the molds.
How To Fill The Silicone Molds
Once your glue gun is hot, determine which design you plan to use. Begin at one end of the mold and fill it with hot glue, ensuring it gets into all the corners and edges. Set aside and allow the glue to dry.
Once the glue is dry, remove the design and repeat. Continue until you have enough of the design to cover the area of the frame you wish to decorate. I created four of each style for my small frames.

Paint Thrifted Picture Frames
While the hot glue dries, you can paint the picture frames your desired color. I painted both frames with white craft paint. I only painted one coat at this point and allowed it to dry.

How To Add Hot Glue Design To Frames
Once you have all the hot glue designs, add them to the thrifted picture frames. First, I trimmed the excess glue from the edges of the designs with sharp scissors. Next, I measured the designs on the frame and cut them to fit.


Finally, I used hot glue to attach the pieces to the frames. Apply the hot glue to the frame where you want to add the design piece. Quickly press the design in place.

Paint The Hot Glue Design
Now it’s time to paint the hot glue design and touch up the paint on the frames. I used the same white craft paint and a small brush to get the paint into the intricate design.

Next, after the white paint dried, I added the metallic gold paint to the raised design. This step is optional. I wanted the gold paint to get deep into the intricate design instead of just on the raised areas.

Finish Design With Rub N Buff
To finish the picture frame makeover, I used antique Rub N Buff around the edges of the frames and on the raised design. I added the Antique Gold to a paper towel and rubbed it over the design until I achieved the desired results. I didn’t want to completely cover the white paint so I only added one application.


Finished Thrift Store Frames Makeover
I paid less than $2.00 for both of these thrift store frames, which now look like high-end picture frames that would cost a minimum of $20.00 each. The makeover was quick and easy, as the hot glue dies quickly, and the Rub N Buff is so easy to work with.

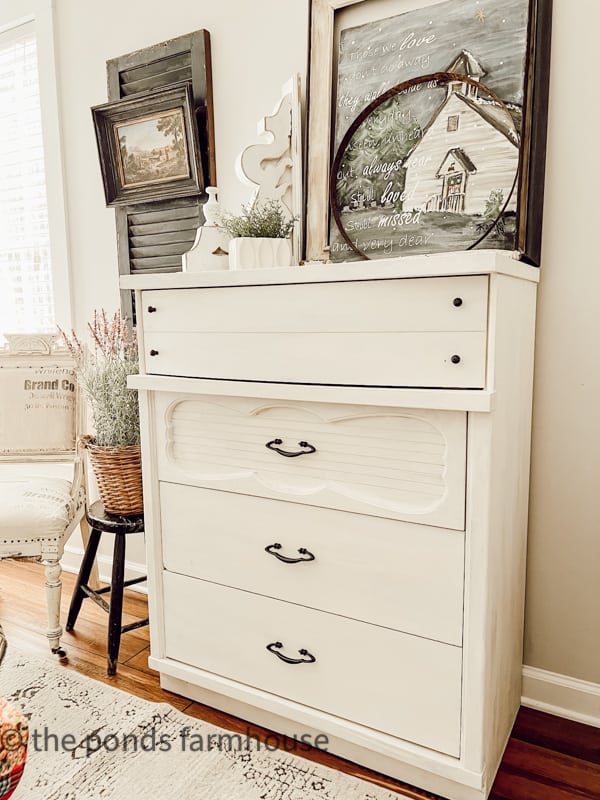
I’ve replaced the glass and added some family photos to the frames. Then I placed them on side tables in my living room. For the square frame, I added a vintage photo of my aunt, and the other frame holds a family photo of our last Christmas gathering with my mother.


This hot glue gun technique is so versatile. You can create so many designs and colors. Both frames were made with the one purchased mold, but look completely unique and stylish.

Resources: Shop This Post
I hope you enjoyed today’s thrift store frame makeover, and I look forward to sharing more adventures with you soon.