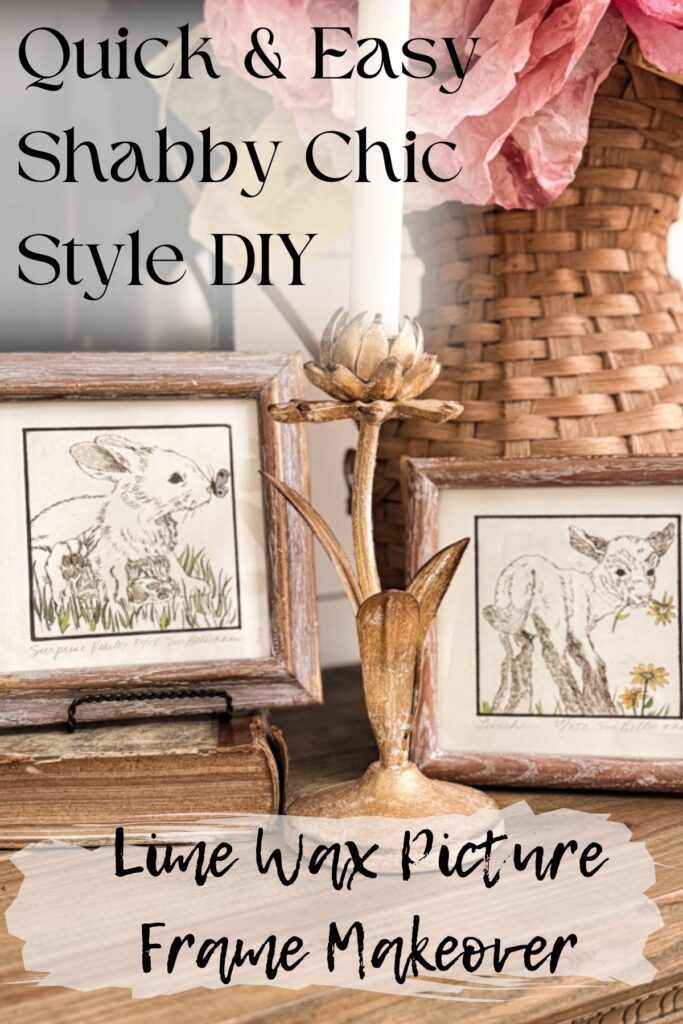
Quick Shabby Chic Style DIY: Lime Wax Picture Frame Makeover
Hey friends, are you looking for a quick, easy way to makeover old picture frames? Remember the frames on the thrifted art I found last week? Well, I promised that I’d share how to update the frames. I can’t wait to share how just a little lime wax with a touch of Rub n Buff can turn boring oak frames into shabby chic style decor in no time. If you want a fast way to get a shabby chic look on wood, let me show you how easy it is.
(Posts on The Ponds Farmhouse may contain affiliate links. As an Amazon Associate, I earn from qualifying purchases. See the full disclosure details here.)
Thrift Store Art
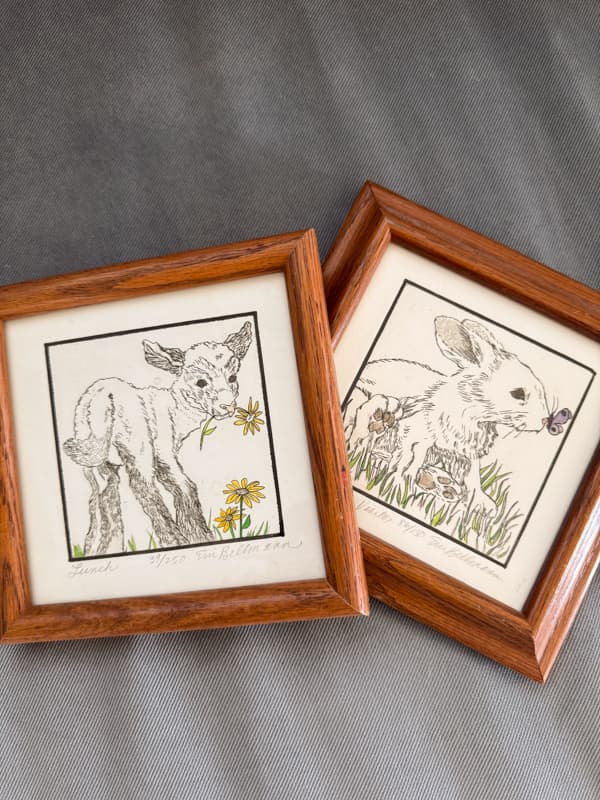
Y’all, when I saw these adorable bunny and lamb framed art, I knew they were coming home with me. However, the frames were not my style. The art was professionally framed, so I didn’t want to replace the frames. However, I felt certain I could do a quick makeover on the oak wood to repurpose it. So here’s what I did to create a shabby chic style frame.
How To Use Lime Wax for Shabby Chic Style Makeover
I discovered lime wax years ago when doing a lot of faux finishing on walls and furniture. But like many things these days, I sorta forgot about it. So when I decided I wanted a shabby chic style picture frame, I immediately thought about a whitewash paint look. However, I wanted a more subtle look and remembered the lime wax.
Lime wax gives wood a whitewash look without the paint. It shows off the natural wood grain without covering it like paint does. It’s great for updating oak wood because it has a lot of grain to highlight. I knew it would be perfect since my thrift store finds have oak frames. Here are the supplies I used for my picture frame makeovers.
Supply List
- Lime Wax
- Gold Leaf Rub N Buff
- Painters Tape 2″ wide
- Paper Towels
Step 1 – Prepare Art For Makeover
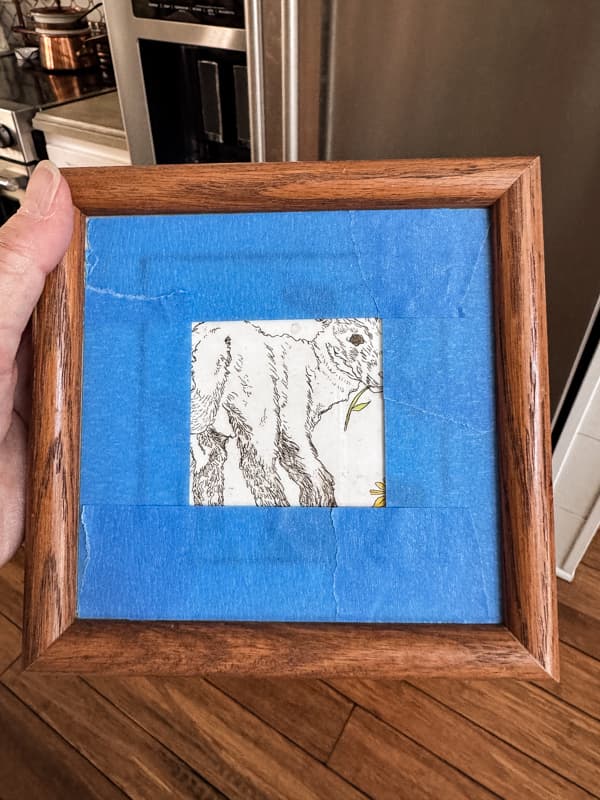
I mentioned that the art was professionally framed, so I didn’t want to remove the frames to add the wax. Therefore, I covered the glass with a two-inch-wide painter’s tape. You want to ensure that you get the tape as close to the frame as possible without covering it with the tape.
Insider Tip
If you purchase thrifted art that is easily removed from the frames, I recommend doing so. You will be able to repurpose the entire frame easily without worry of damaging the art.
In addition, when purchasing art from thrift stores, you may find that many are less than clean. Be sure to clean the frames to remove any oils or dirt before attempting a makeover. Luckily these frames were in excellent condition and only needed a gentle wiping.
Step 2 – Add Lime Wax
To add the lime wax, generously apply it to the wood using a paper towel or soft cloth. Smooth the wax by pressing it into the wood grain as you apply it.
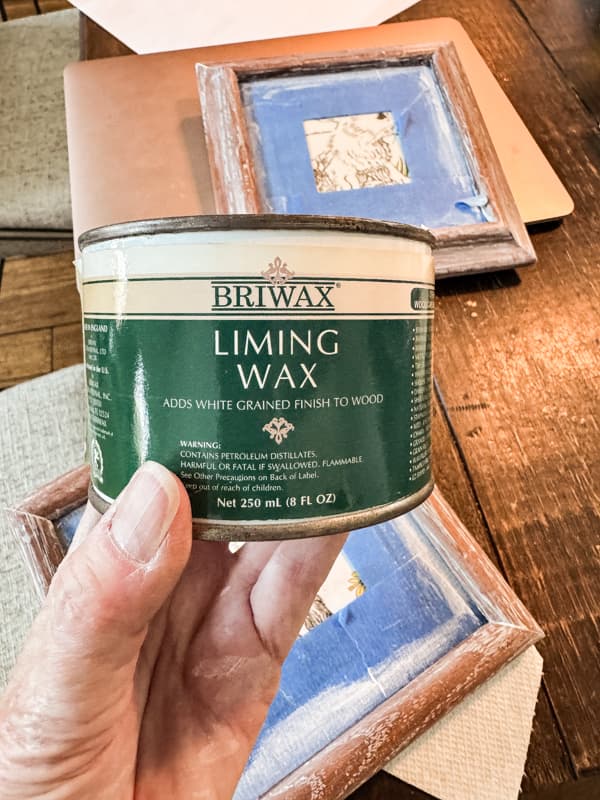
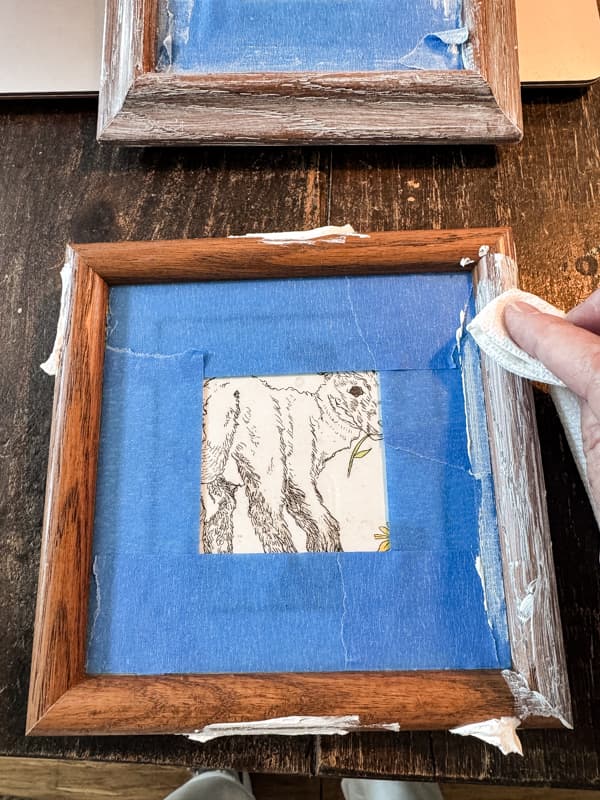
Continue to rub over the frame until you have the desired coverage and remove any excess. Set the frame aside to allow the wax to dry.
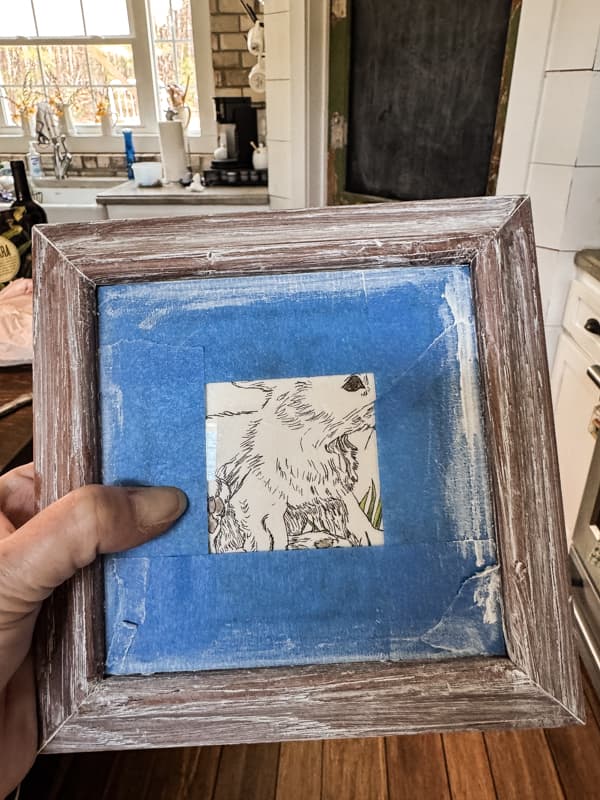

Step 3 – Buff Wax
Finally, when the wax no longer feels tacky, use a cloth to buff the wax until it shines. This step will remove additional excess wax and give the frame a subtle whitewash finish.
Step 4 – Add Rub N Buff (Optional)
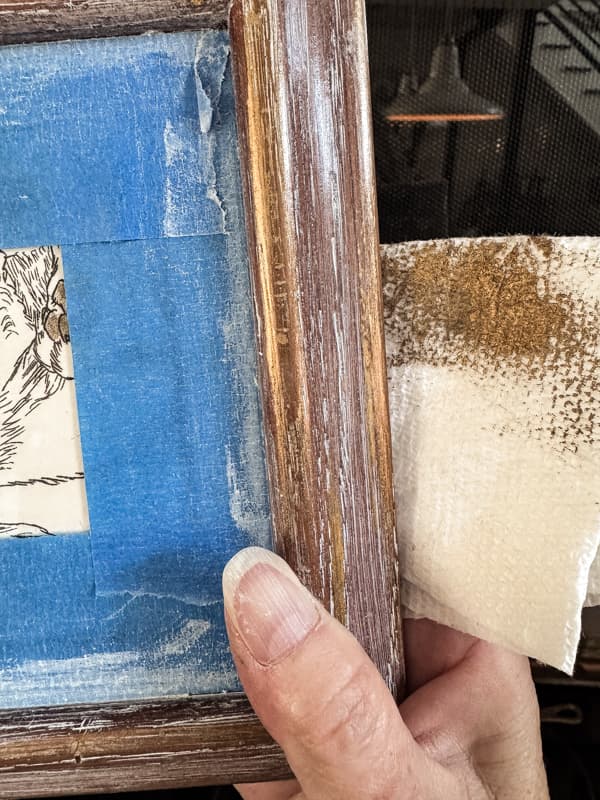
I wanted to add a touch of gold leaf to the frames, so I used my favorite Rub N Buff. I added a small amount of the gold leaf to a paper towel and rubbed it on the edges of the frames to highlight them.
What Are The Advantages of Using Lime Wax Instead of Paint?
There are three main advantages of using lime wax instead of paint to achieve a whitewash, shabby chic style on wood. The technique used on the frames can be applied to repurpose any natural wood project.
- Less messy than paint. If you use paper towels like I did, there’s no cleanup. Just toss the towels in the trash, and you are done.
- Faster drying time. The wax only takes minutes to dry.
- The finish allows the beauty of the natural wood grain to show, whereas paint can easily conceal the wood grain. The effect has an authentic time-worn feel that’s sometimes difficult to achieve with paint.
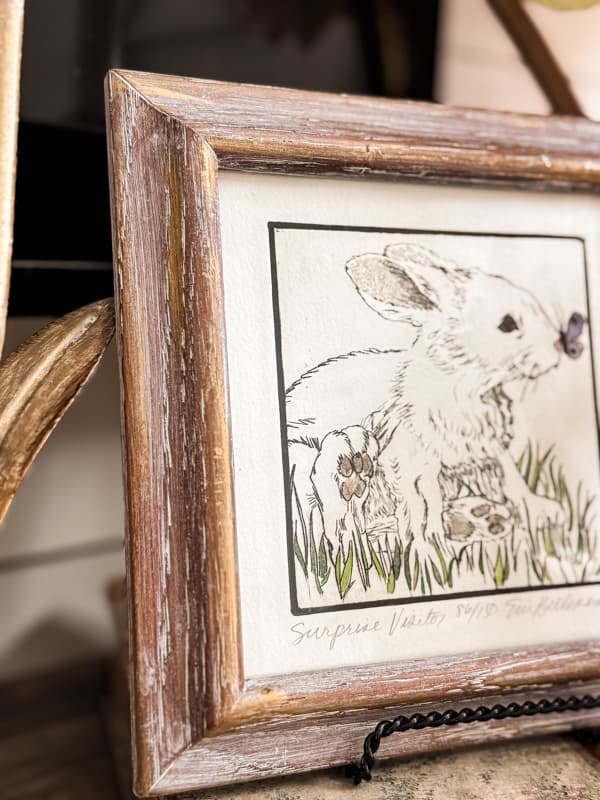
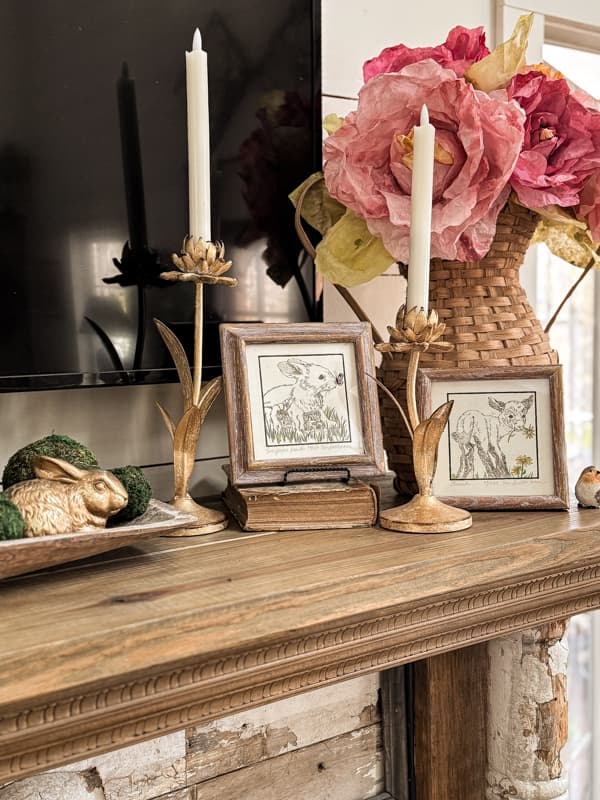
Here is a close-up of the frame after the makeover. The lime wax highlights the wood grain without distracting from it, and the hints of gold leaf help to bring a shimmer of light to the frames.
Shabby Chic Style Thrifted Art
I added the shabby chic frames to a small easel and displayed them on the DIY fireplace mantel we made last year—the metal floral candlestick holders and gold thrifted bunny help to pull the gold from the updated frames. In addition, the battery-operated flicker candles are safe mixed with the DIY coffee filter paper flowers.
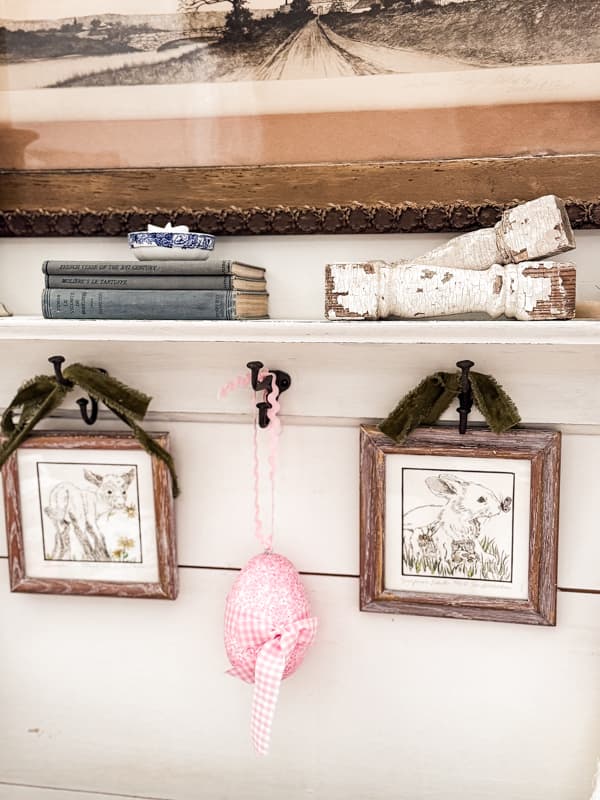
I also tried displaying the thrifted art on my wall shelf, using velvet ribbon to hang it from the hooks. The scrap fabric egg adds a touch of Easter to the shelf. Which display do you like best?
FAQ
Resources: Shop This Post
Thank you for stopping by, and I look forward to sharing my next adventure with you.



Rachel, thank you for showing and teaching about Lime Wax. I have wanted to know how to achieve a finish like you did on the frames. They look lovely on your mantel along with your gorgeous coffee filter flowers and other things you have combined there.
Angie,
Thank you! I”m so glad you found this article helpful. The vintage art is so sweet and I’m glad you like them on my mantel. I’ve been trying to decide where I like them best. I hope you have a wonderful week and thank you for your encouraging comments.
Hi Rachel., I love this technique (and your adorable little springy pics)! I was just wondering if the lime wax is fairly permanent or could you remove it if you eventually wanted to?
Lisa,
The wax gets into the wood grain and therefore, it will be hard to remove completely. I’ve never tried to remove the wax but I imagine it would be harder than removing paint.
I love the way these frames came together, Rachel. They look so good! Thank you for the tip on using rub n buff too. I love the extra layer of patina it adds to these adorable pieces of art. Can’t wait to share and try this too! Big hugs, CoCo
CoCo,
Thank you so much! I appreciate your continued support.