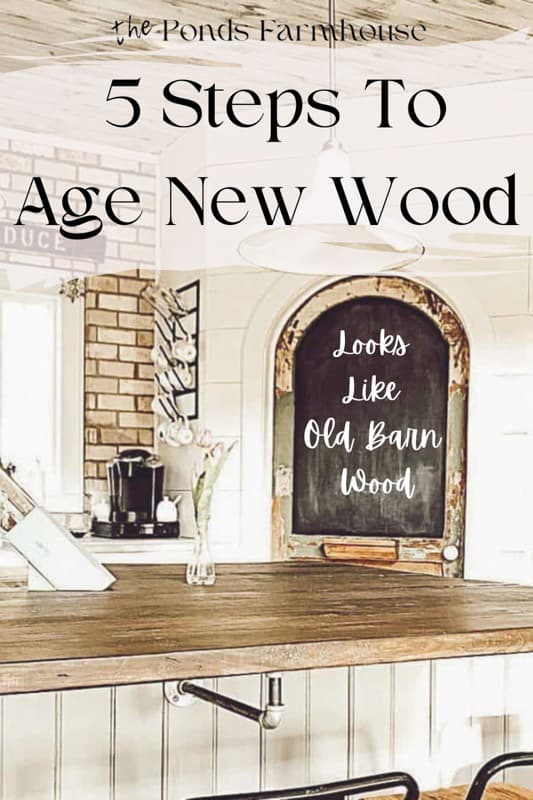
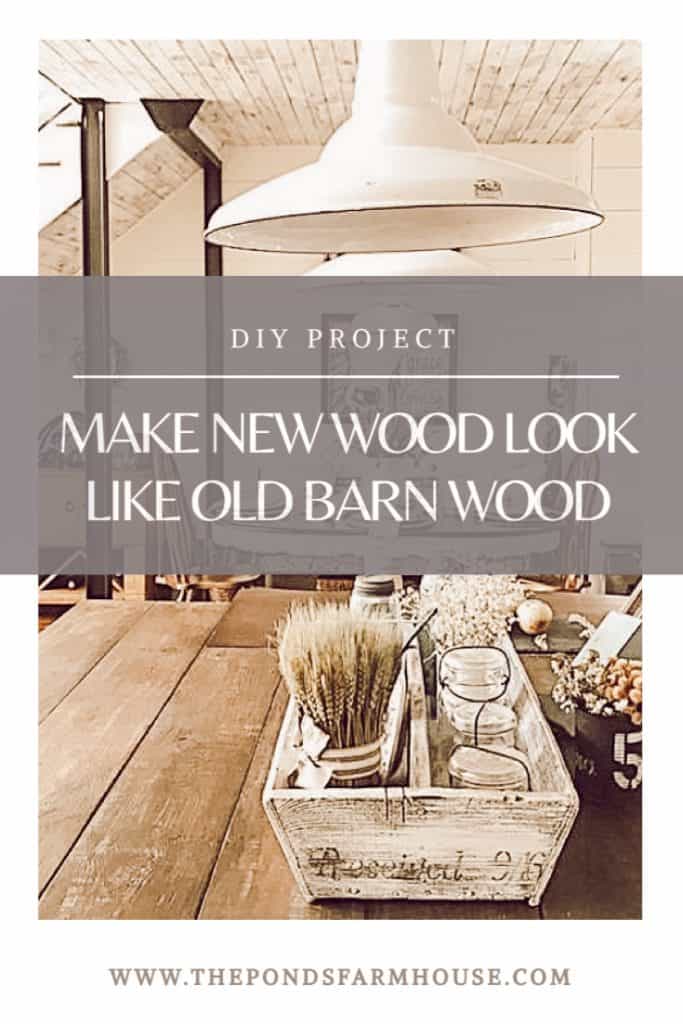
5 Steps To Age New Wood To Look Like Old Barn Wood
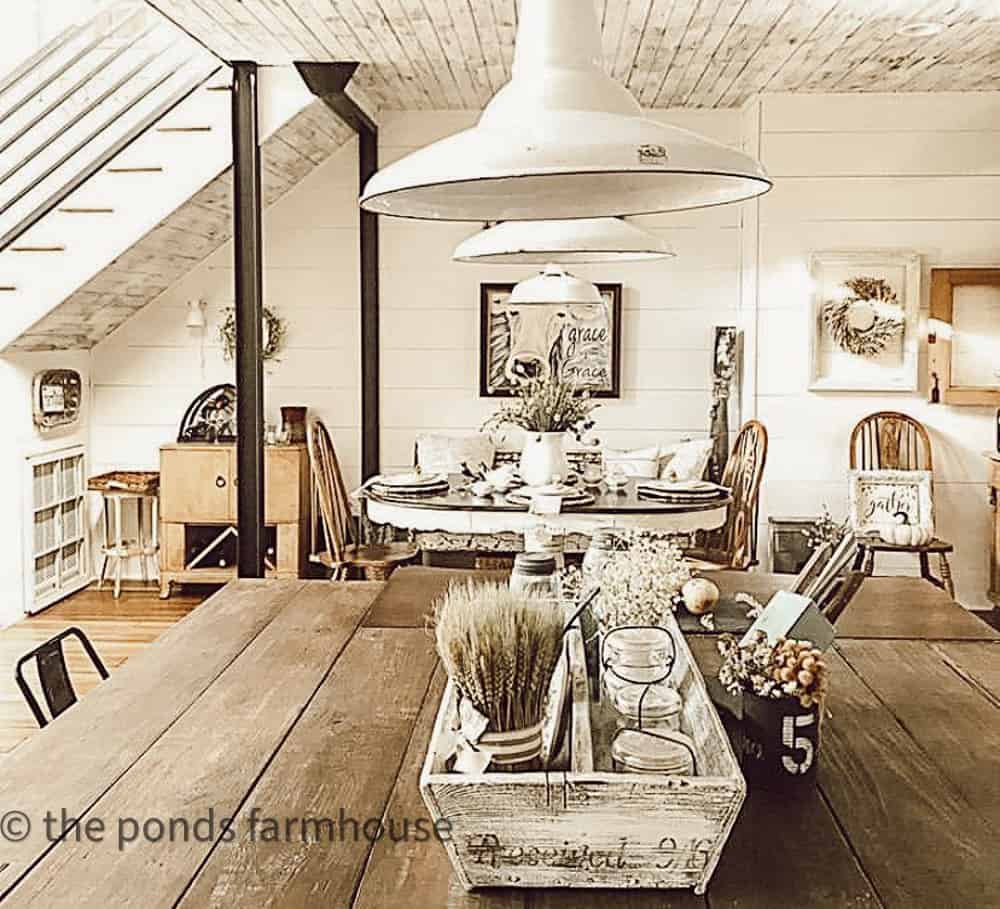
Are you a fan of reclaimed wood or old barn wood? I love the look of the aged lumber. Finding authentic old barn wood is more challenging than you’d think! It can be costly even if you’re lucky enough to find this treasured wood. Since I couldn’t find any barn wood to build my kitchen island top, I made new wood look like old barn wood with distressing techniques.
(Posts on The Ponds Farmhouse may contain affiliate links. As an Amazon Associate, I earn from qualifying purchases. See the full disclosure details here.)
Table of contents
Supplies Needed To Create Old Barn Wood
I love the look of AUTHENTIC old barn wood, but it’s EXPENSIVE! Since I was determined that my kitchen island would have a barn wood top, I had to improvise to stay within our budget! Here are the products and tools used to distress and age the new boards.
- Minwax Classic Grey Stain
- Minwax Gel Stain Walnut
- Old Masters Gel Stain Aged Oak
- Protective Gloves
- Sand Paper
- Hammer
- Nails
- Polyutherine
- Foam Paint Roller
- Tack Cloth
If you are joining boards together, you will need additional supplies.
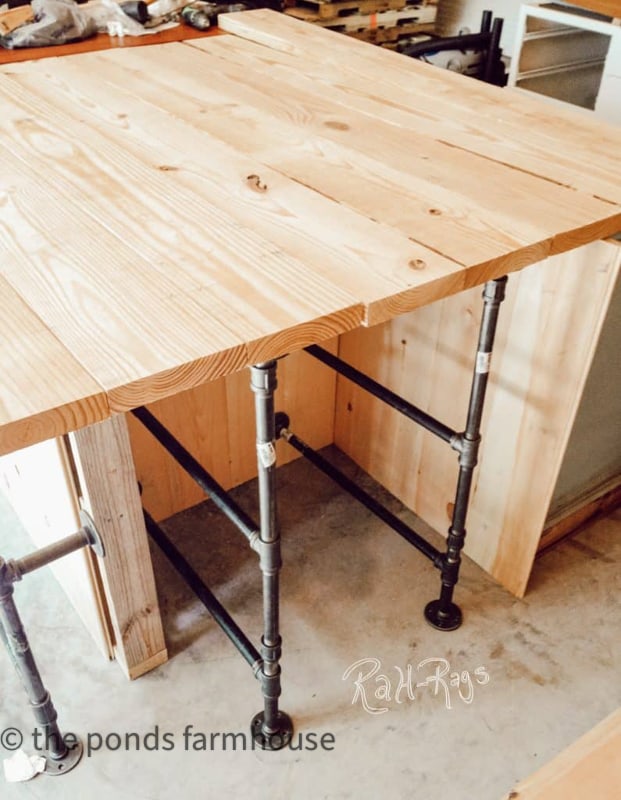
Purchase New Pine Boards
First, determine what wood to use for your countertop, shelving, etc. I like the look of thick old boards, so we chose new 2-inch x 8-inch pine boards. Pine wood is easy to distress because it’s a soft wood compared to oak and birch.
Step One – Prepare The New Wood
The first step is to cut the boards into the desired lengths for your project. If your project is small, you can have the home improvement store cut them to size.
If you are building a counter or tabletop, use a plate biscuit joiner, joining biscuits, and wood glue to attach the boards. You will also need wood clamps to hold the boards until the wood glue has dried.
Use sandpaper to smooth any rough edges and clean with a tack cloth.
Step 2 – Distress New Wood
Once you have prepared your wood, turn these new boards into old barn wood.
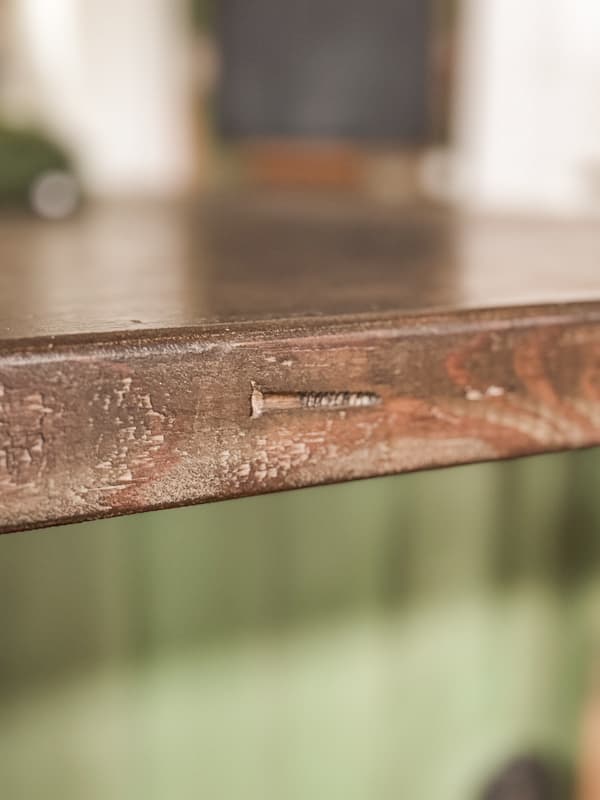
First, the wood is distressed by hammering nails and screws into the surface. Using a file, you can round the edges where the boards are attached. We had pulled some vintage handmade nails from an old door frame, and I embedded some of those nails into the wood. You want scares and nail holes in the wood because that is what you would have if it were pulled from an old barn.
You can see nail and screw marks on the side of the wood.
Step 3 – Stain To Look like Old Barn Wood
The key to achieving an old barn wood look with new pine boards is using layers of stain. The first step is using Minwax Classic Grey Stain. Apply the oil-based stain with an absorbent cloth and protective gloves. This ages the wood to a fine grey finish.
Once the surface is sufficiently covered (not necessarily dry), begin layering with Minwax Gel Stains in two or three colors, mixing them into the original stain and creating light and dark areas on the wood. For this project, I used Walnut and Aged Oak Stains.
I used a cloth to apply the stains and blended until I was happy with the colors.
Step 4 – Buff the Stain
Once you are happy with the colors, use a clean cloth to buff the surface. If an area becomes too light, you can always add more stain.
Step 5 – Seal Aged Wood
At this point, you want stains to dry for approx. one week and then apply a very thin coat of Matt Polyurethane to seal the surface, using a sponge roller.
Note: I always apply a thin coat to start and the second coat of sealer in about three days. Trying to build up the sealer too quickly will result in bubbles and possible peeling of the sealer.

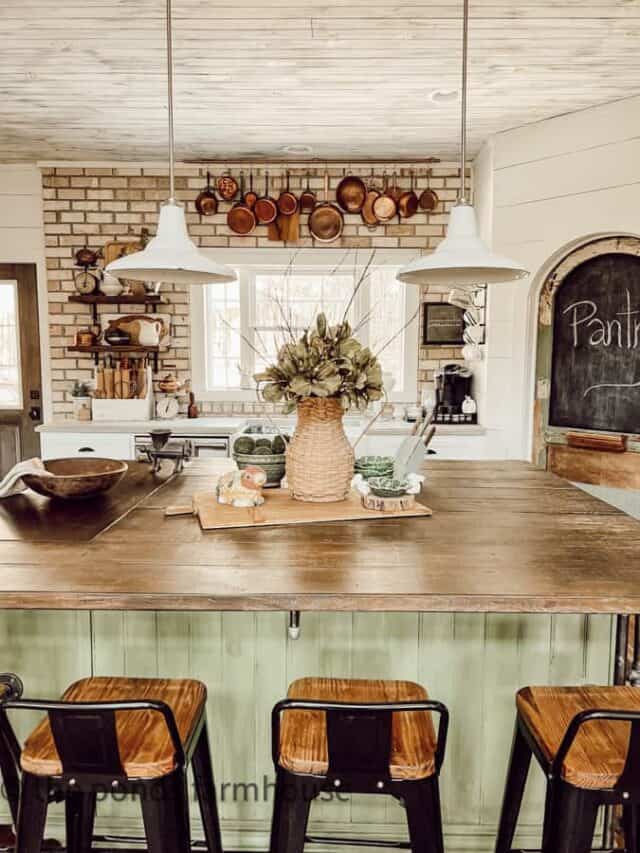
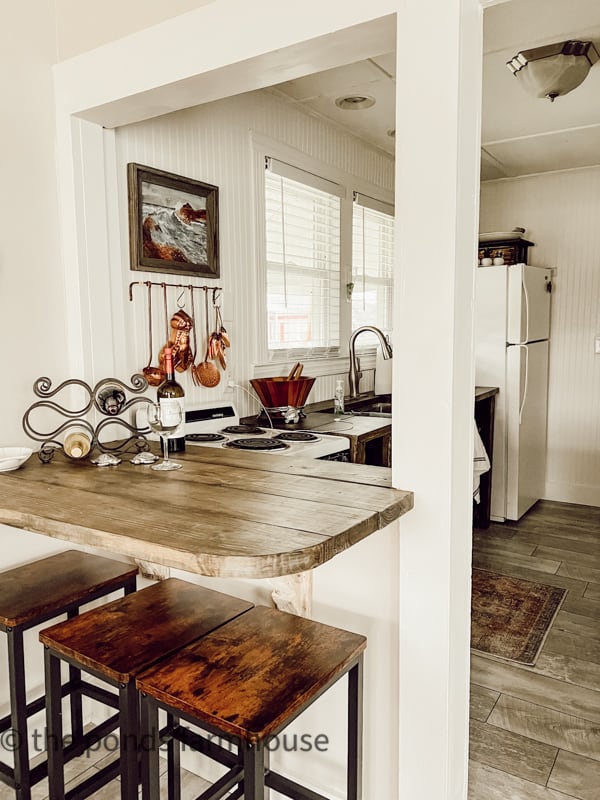
The DIY Kitchen Island is one of our favorite DIY Projects ever, and all the details are in this post! Here is a link to Bar Stools.
We love the results of this project and have used the technique for several other projects, such as our open shelving, stair steps, and front doors.
If you have any questions, please feel free to ask! If you want more DIY projects, you may enjoy How to build a Faux Apothecary Cabinet.
See industrial farmhouse kitchen tour.

PIN IT TO REMEMBER IT


This is so wonderful!! What a great tutorial!
Thanks so much Kristin! I appreciate you so much.
Your ceiling!! – how did you do that?!?! I love it!
Minnie,
Thank you for your response. I began with the same technique as the barn wood island top. But instead of staining after the Gray Stain, I used a dry brush technique to apply the White Dove paint to the ceiling. White Dove by Benjamin Moore is what the shiplap walls are painted..
Hi Rachel,
Love the end result of this project! Can you tell me what was used on the edges of the countertop?
Sondra,
Thanks so much. Are you referring to the island top? If so, there is no edge, it’s just the boards. If you’re referring to the concrete countertops, they are solid concrete. I appreciate you for stopping by.
Rachel
Thank you for your beautiful inspiration and sharing your DIY information
Cheryl,
I’m so glad you found this helpful. Thanks for commenting.
@Rachel,
Looks fabulous Rachel. Thanks for sharing. Our tastes are so similar, I just love waiting for your next idea. Have a wonderful day.
Patty,
Thank you for your kind words.