Make A Rustic Candle Lantern: Easy DIY Dollar Tree Project Under 3.00
Do you like using a rustic candle lantern in your decor? Did you know you can easily make a DIY Dollar Tree Lantern that looks similar to one I recently saw in the Ballard Design catalog? By using a Dollar Tree garden fence and wooden box, you can recreate this style for under $3.00, saving over $100.00.
I’m drawn to black wrought iron decor and loved the look of the Amalfi lanterns as soon as I saw them. However, I would never purchase them at that price. Then I remembered seeing the Dollar Tree garden fence with a similar design and decided to give it a try. It is a surprisingly easy project, and I’ll show you exactly how to make your own Dollar Tree Do It Yourself Craft.
(Posts on The Ponds Farmhouse may contain affiliate links. As an Amazon Associate, I earn from qualifying purchases. See the full disclosure details here.)
Table of contents
Inspiration for DIY Candle Lantern
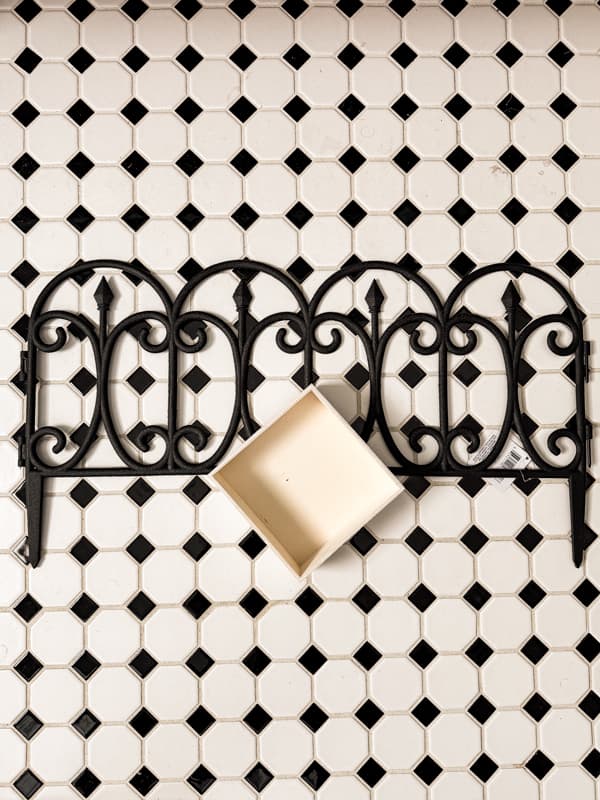
Every time I receive a new Ballard Design Catalog, I find many items that I’d love to use in my home decor and so much inspiration for DIY projects. When I saw the Amalfi lanterns, I remembered seeing the Dollar Tree Garden Fence on my last visit. It doesn’t have the exact design, but it resembles wrought iron, and I knew it could work. But I’d need something as a base. After searching the store, I found a shallow wooden box that was the perfect size. So with a less than $3.00 purchase, I was ready to get started.
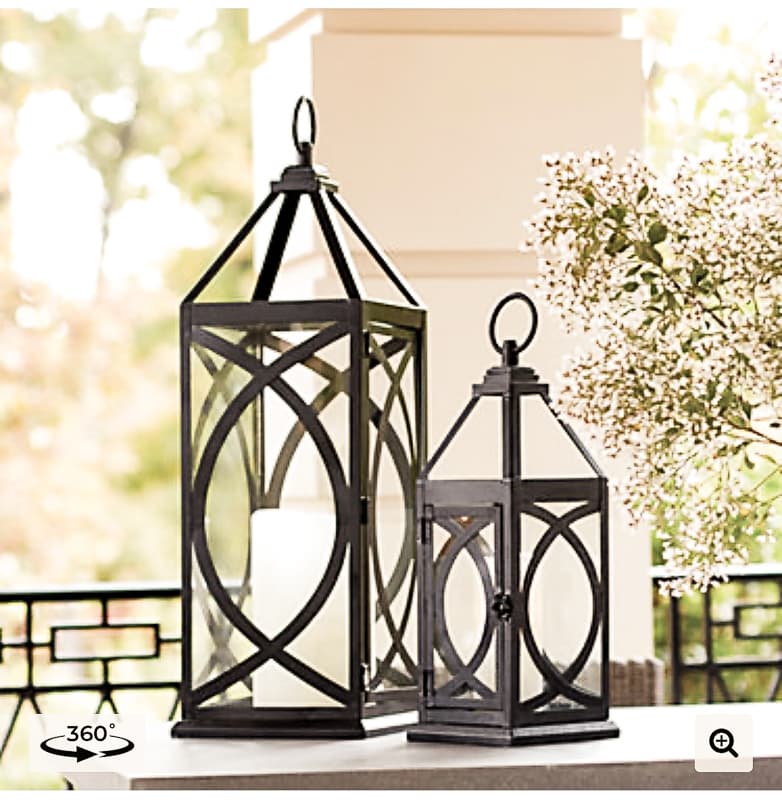
DIY Dollar Tree Lantern
This is an easy project that only takes about an hour to make, including drying time. However, the drying time will depend upon the type of paint you use for the base.
To make the DIY Dollar Tree Lantern, you need one garden fence and one 6″ x 6″ woodcraft box. You will also need permanent glue, such as E6000, a hot glue gun, black paint and brush, snips, and twist ties.
I decided to make two lanterns and worked on both at the same time. It only took slightly over an hour to make both lanterns.
I painted 3 boxes and disassembled two of the Dollar Tree garden fences.
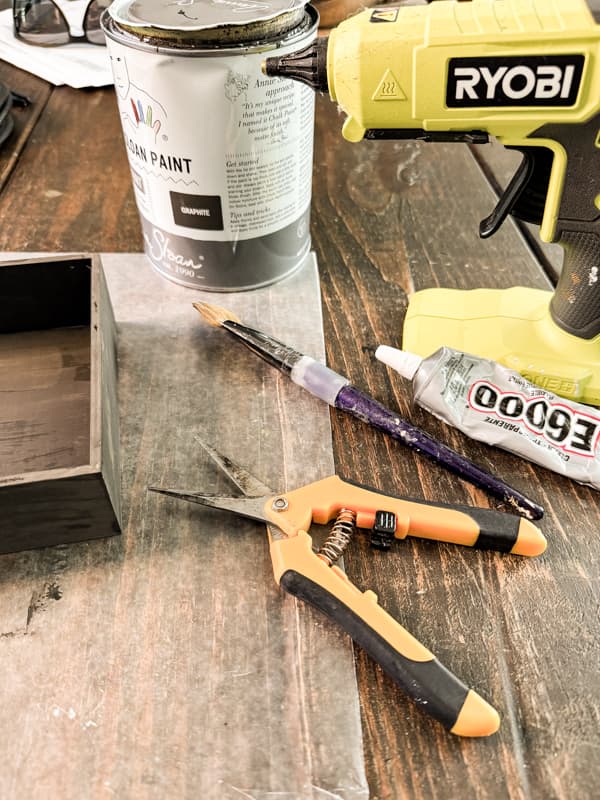
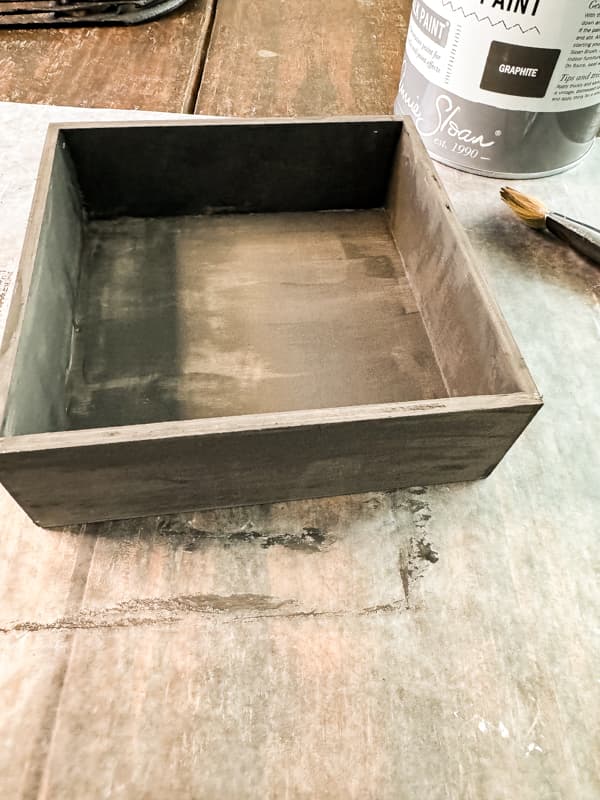
Paint Wooden Box
Protect your workstation with wax paper and begin by painting the wooden box black. Using a small paintbrush, cover the entire area inside and out. You may need to apply two coats to get good coverage. Set aside to dry.
You may decide that you want a different color than black. If so, you will want to paint the box first, and after you assemble the lanterns, you can paint the Dollar Tree garden fence.
Disassemble the Dollar Tree Garden Fence
While the paint is drying, use the small straight snips to cut the Dollar Tree garden fence into sections.
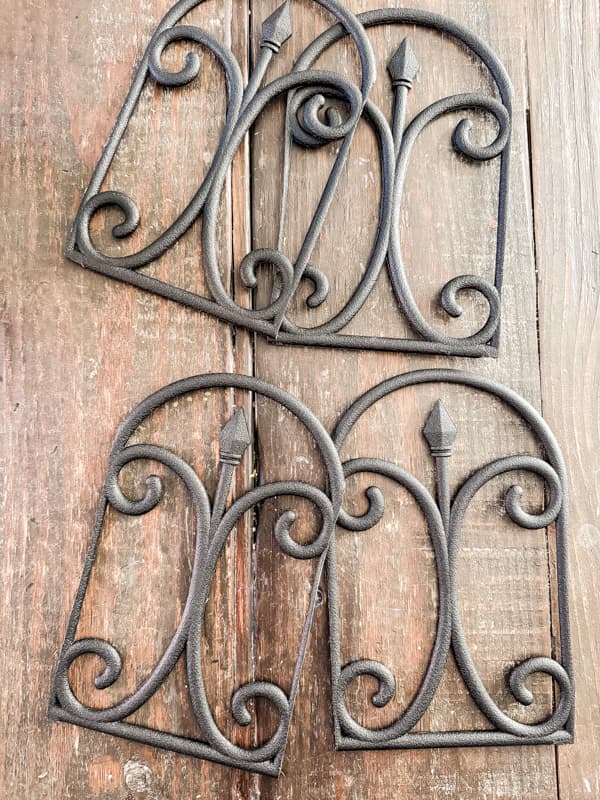
Begin by removing the ground stakes along the bottom. Try to cut them as evenly across as possible. Next, separate each section by cutting between each arch from top to bottom. Once you have all the sections disassembled, remove the hinge ends of the fence.
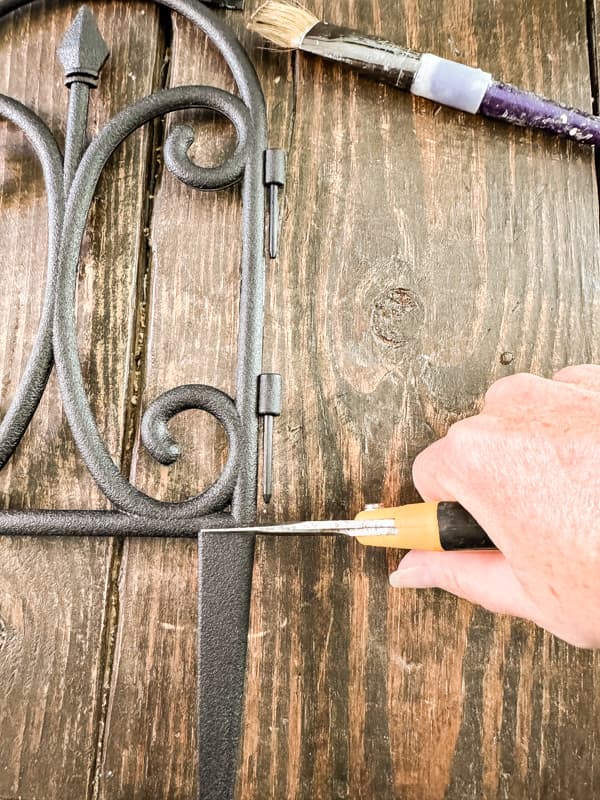
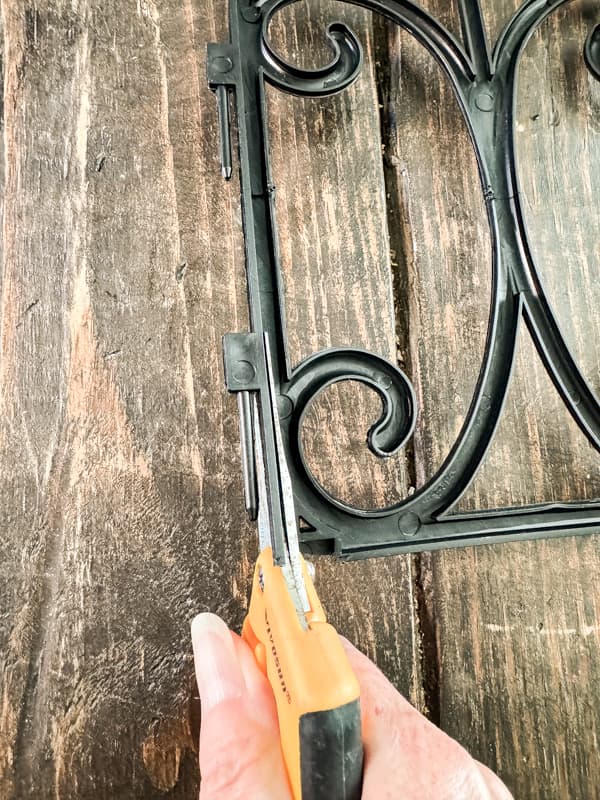
Trim each piece as evenly as possible so that the corners of the Dollar Tree Garden Fence will align and nestle together easily.
How To Assemble The Candle Lantern
The DIY Dollar Tree lantern is easy to assemble, and it creates a candle lantern similar to the inspiration from Ballard Designs.
Once again, protect your workspace surface with wax paper. Begin by applying a bead of E6000 glue along the outside edges, both sides, and the bottom of the wooden box. Do not apply across the top edge of the open box. Be sure the glue is being applied in the area where the garden fence will attach.
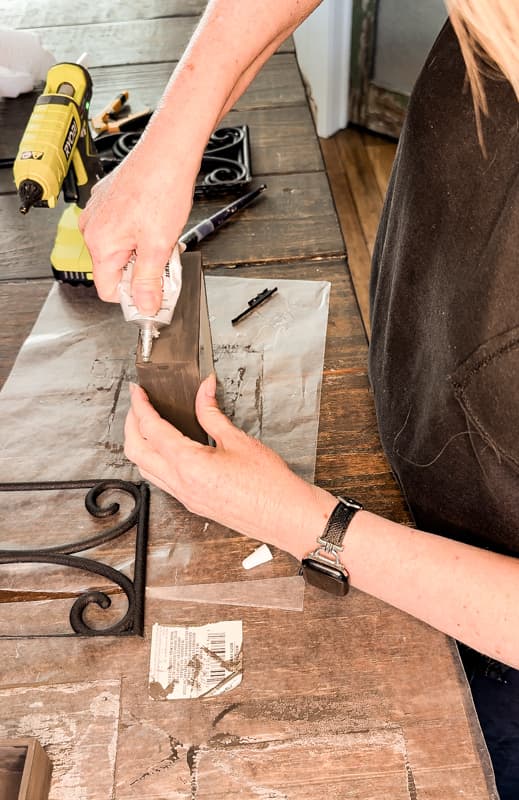
Immediately apply hot glue to the same area as the E6000 glue was applied.
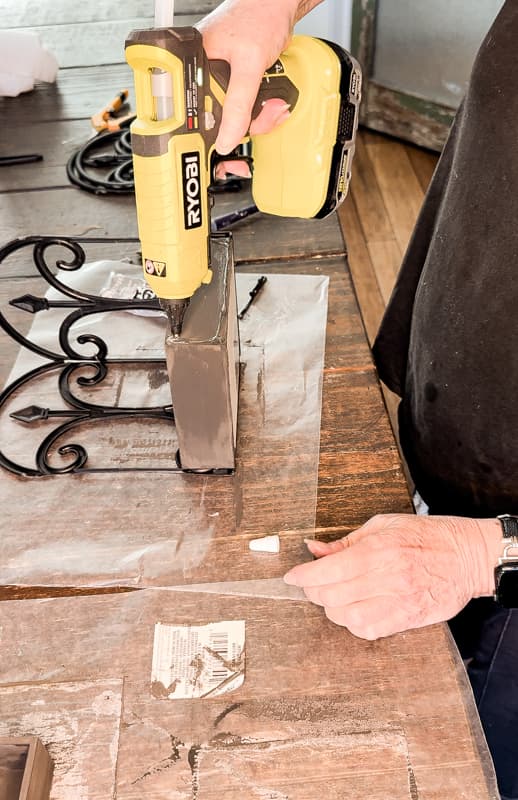
Place the bottom of the garden fence section on the box and press until the hot glue sets.
Be sure that the fence is aligned evenly at the sides and along the bottom.
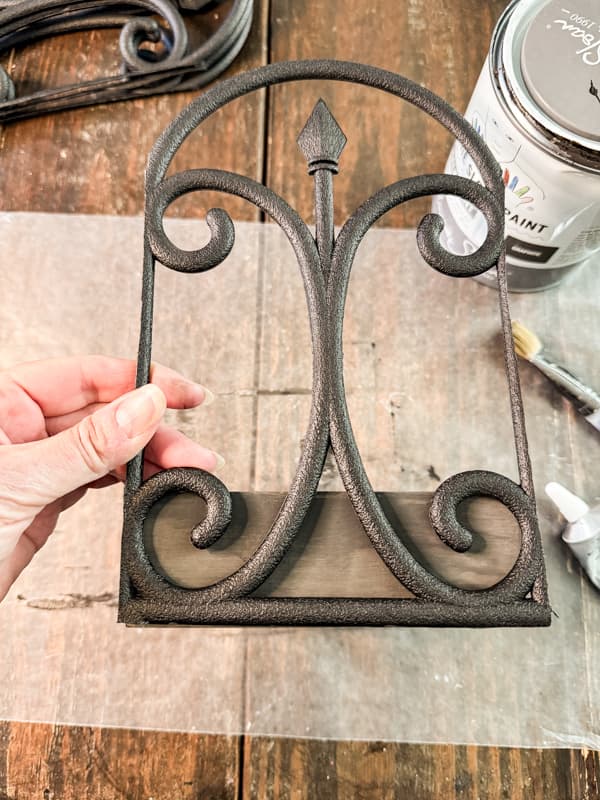
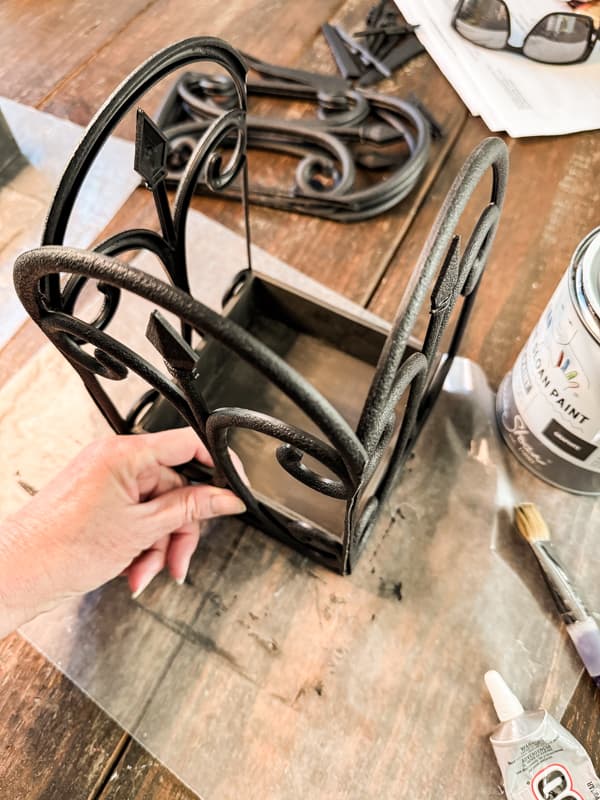
Continue around the sides of the box until you have added all four sections of the fence. As you add each piece, be sure that the corners are aligned. They should nestle together as much as possible. However, if you have some gaps, don’t worry; it will still look great.
Insider Tip
We are using two types of glue. The E6000 glue is permanent but takes a long time to dry. The hot glue dries very quickly. By applying the hot glue at the same time, you can move to the next section within approximately one minute. The hot glue alone may not hold the pieces together for the long term.
Adhere Sides of Candle Lantern
Once you have all four pieces in place, begin adding both glues to the edges. You don’t need to apply from top to bottom, and you don’t want to overfill. A little will go a long way here. Hold the pieces together until the glue sets.
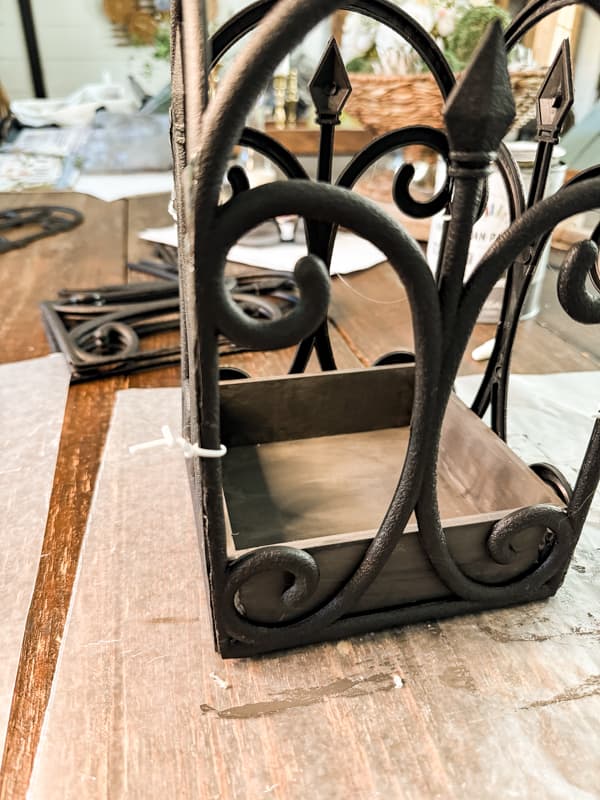
You may find that they don’t want to hold together easily. If so, have some twist ties on hand, and after you’ve applied the glue, add a twist tie to hold until the glue dries.
Decorate with Candle Lanterns
It’s hard to believe these candle lanterns are made from inexpensive Dollar Tree supplies. I decided to paint an extra wooden box to sit under one of the lanterns. Now, they look like two different heights.
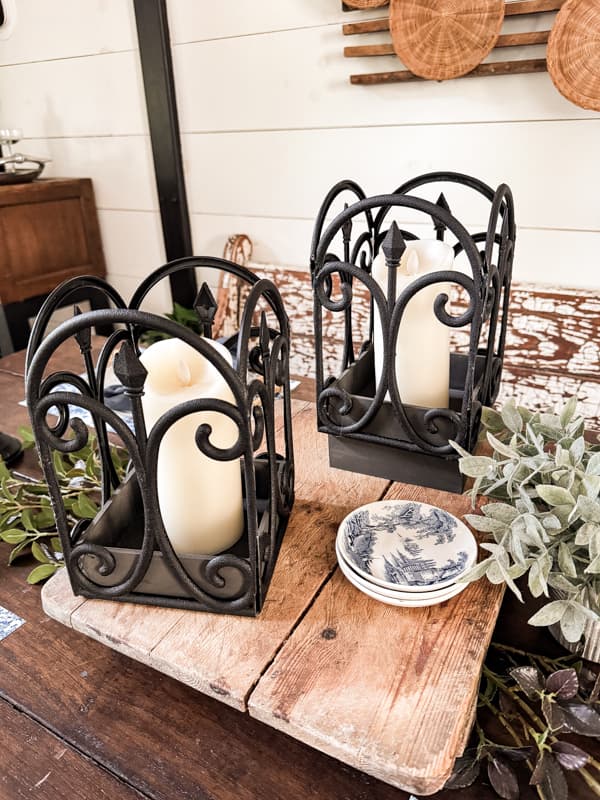
Dining Table Centerpiece
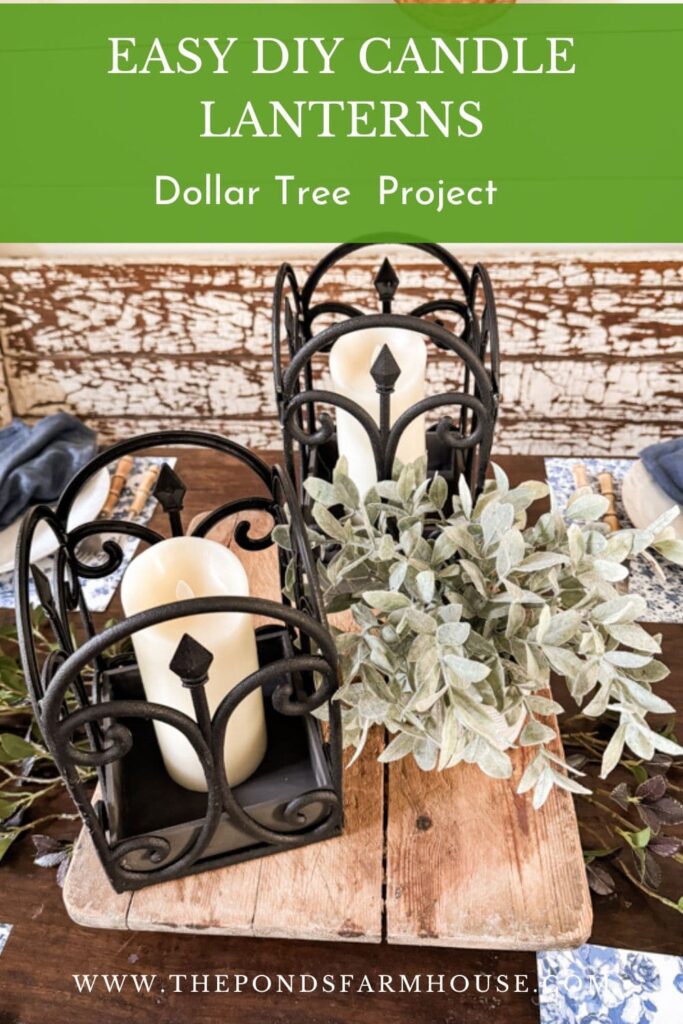
I first styled the lanterns on my dining room table for a rustic centerpiece. I added battery-operated flicker candles to each lantern.
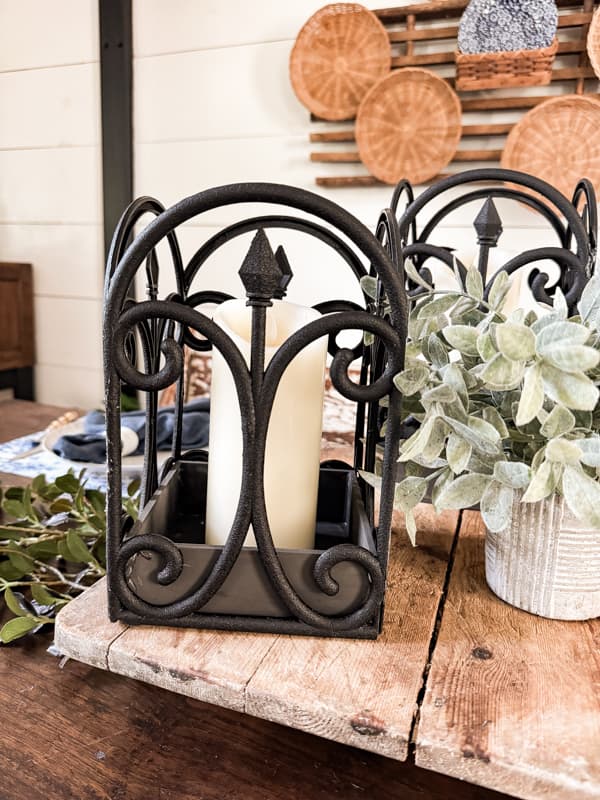
Then, I added a small plant to create a centerpiece on the vintage breadboard.
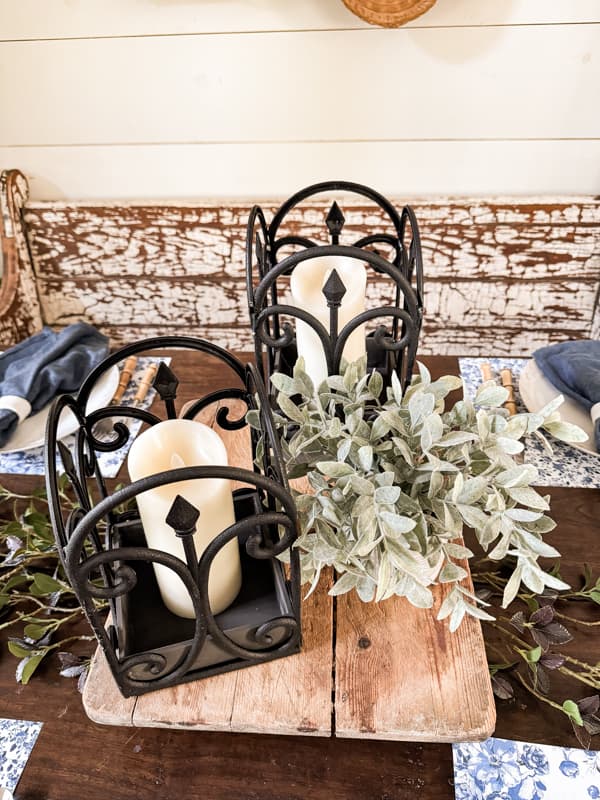
Sofa Table Candle Lantern Decor
Next, I moved them to the sofa table in my living room. They add a rustic charm to the table.
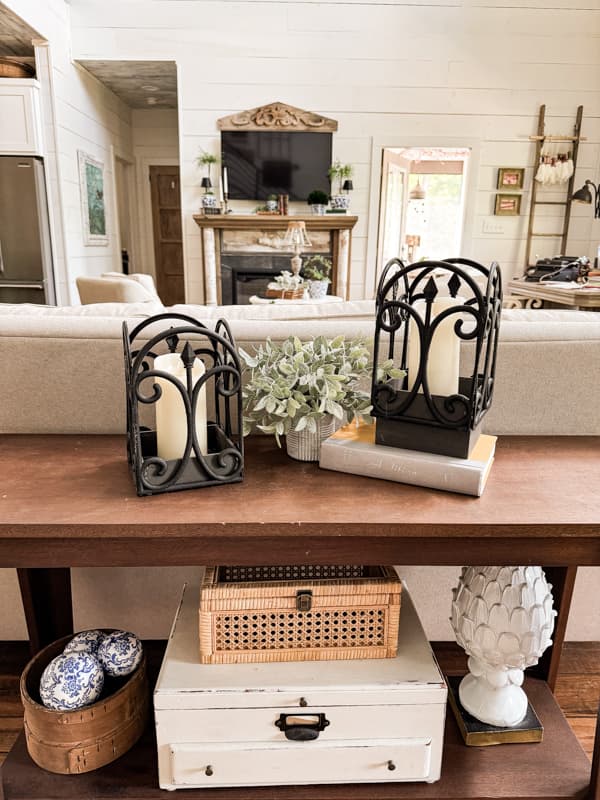
DIY Candle Lanterns on Coffee Table
And then they landed. My final move was to decorate the coffee table with DIY candle lanterns.
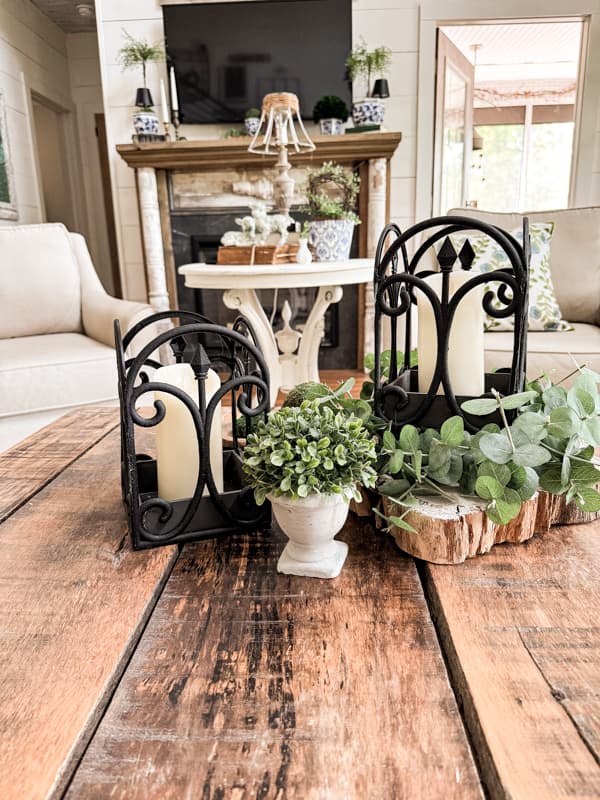
I used a wood slice to raise the one lantern even higher and surrounded the wooden box with a eucalyptus candle ring. A small boxwood arrangement completes the front view of the coffee table vignette.
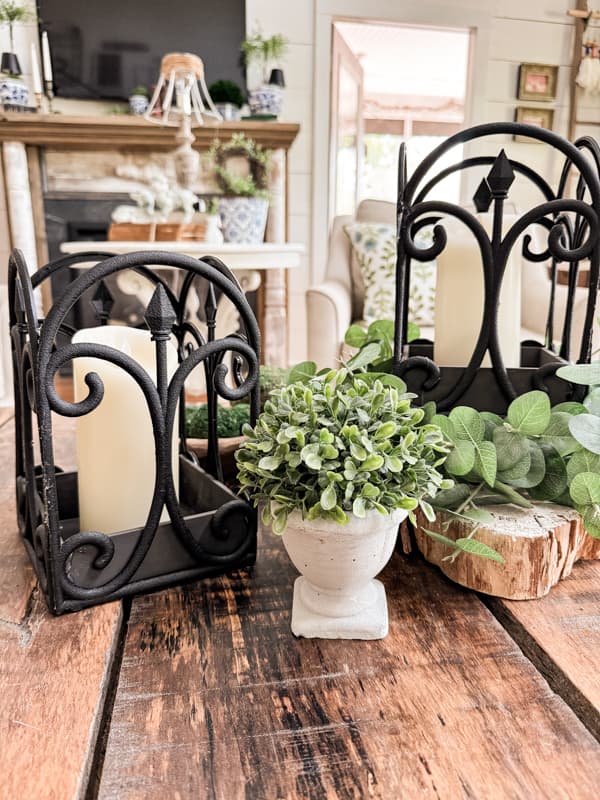
The DIY Candle Lanterns look great from all sides and make them a perfect choice for the center of the room. From this view, you see the small wooden bowl filled with decorative moss balls.
These will also look great on porches, sunrooms, outdoor tables, etc. However, the wooden box isn’t waterproof, so I wouldn’t leave it outdoors in the rain.
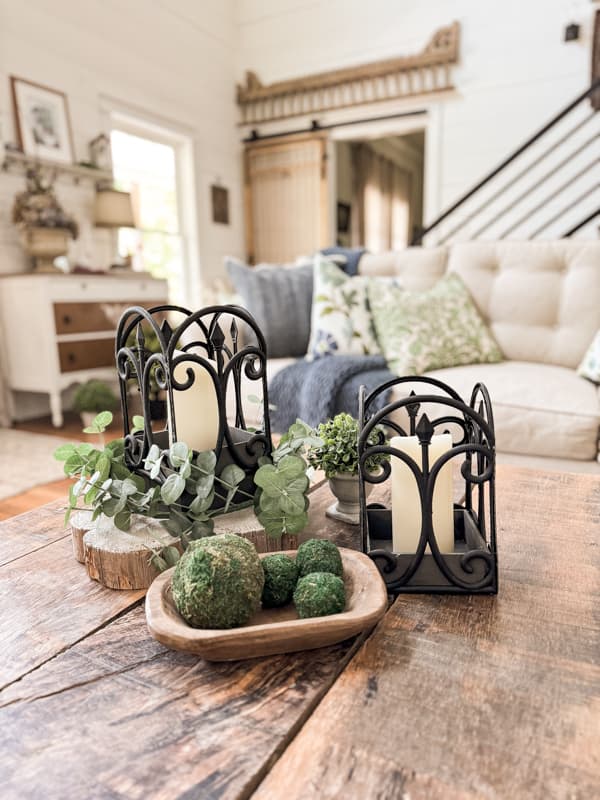
I hope you enjoyed today’s tutorial and that it inspired you to get creative when planning your decor. These lanterns are not exactly like the inspiration pieces but still manage to create the same decor aesthetic as the high-dollar version.
Video

If you liked today’s project, stay tuned for another Dollar Tree idea later this week. Also, check out these similar articles.
Related Articles
- Thrifted to Chic: Create a Textured Lamp with Faux Hobnail Design – Another Ballard Design Copy Cat.
- Budget Pottery Barn Dupe: Egg-Shaped Clay Trinket Bowls
- Pottery Barn Inspired Basket Tray for Less
- DIY Leaf Napkin Rings Pottery Barn Inspired
- DIY Sand Coastal Candle Holder Like Pottery Barn
Thank you for stopping by today and I look forward to sharing my new adventure with you.

Pin It To Remember It
Did you find some great ideas you’d like to save for future reference? To save, hover over the images and pin to your favorite Pinterest Boards when you see the PIN button in the upper left-hand corner.



You are so inventive . I think this is the most exquisite Dollar Tree project ever. Just beautiful. I really enjoy your wonderful talent
Ione,
You are so kind. Thank you for this sweet compliment.
I love how creative you are. The candle lantern is beautiful.
I have never done anything like this but you explained how to do it so well that I am going to try. Thank you
Jackie,
Thank you for this sweet compliment. My husband says I’m an over explainer!! LOL. But maybe that pays off in the long run. I hope you’ll share your design with me.
This is amazing Rachel! I can’t believe you made these lanterns out of $3 fencing!
Kim,
I was very happy with them. Thanks.
What a great idea! I love how they turned out and yes, they look pretty expensive. Gotta love Dollar Tree! Thank you for sharing such cool ideas!!
Karolyn,
I’m so glad you like them. Thanks for your sweet comments.