How To Turn Dollar Tree Vases Into Stunning High-End Glass Candle Holders
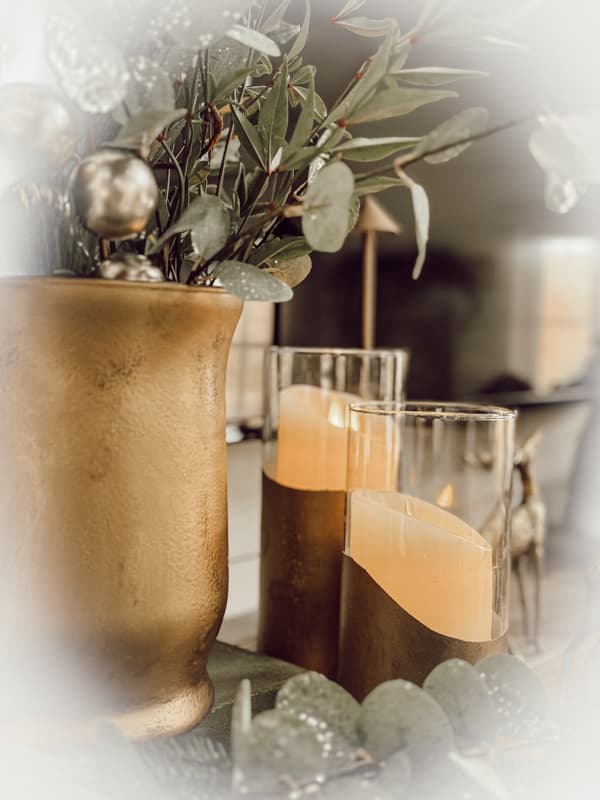
Are you tired of spending a fortune on expensive home decor? I wanted a set of stunning gold glass pillar candle holders for my mantel this year, but when the expensive ones were out of my budget, I started looking for an alternative. Can you believe I found these Dollar Tree Glass Vases in the size I needed? Let me show you how to transform inexpensive Dollar Tree vases into high-end glass candle holders.
(Posts on The Ponds Farmhouse may contain affiliate links. As an Amazon Associate, I earn from qualifying purchases. See the full disclosure details here.)
Table of contents
How To Transform Dollar Tree Vases
There’s no need to spend a fortune on simple glass vases. Dollar Tree Vases can quickly transform into the home decor of your dreams with just a little creativity and simple supplies. I plan to use the vases for the holidays, so I wanted an elegant gold finish. You can create any design you choose; gold or silver will be stunning for the holidays.
Supplies
Here are the supplies I used to create my glass candle holders.
- 2 Dollar Tree Vases Tall Cylinder Shaped in two heights
- Painters Tape
- Kraft Paper
- Chalky White Spray Paint
- Hammered Finish Spray Paint in Brown, Black, or Dark Grey
- Antique Gold Rub N Buff
- Rubbing Alcohol
Clean Vases
Before beginning this project, it’s important to start with clean vases. First, wash with soap and water. Then, clean with rubbing alcohol to ensure there is no oily residue. Allow to dry thoroughly.
Tape Off Glass Vases
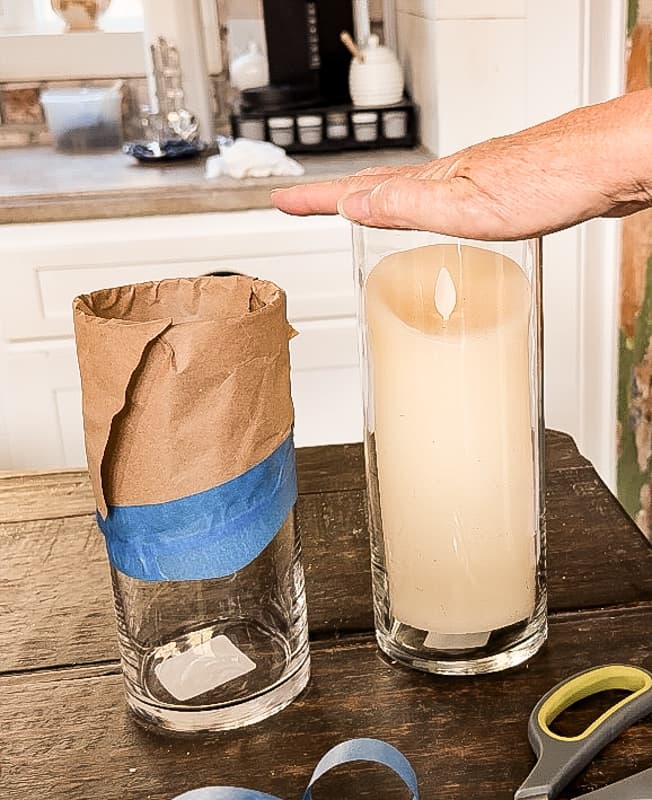
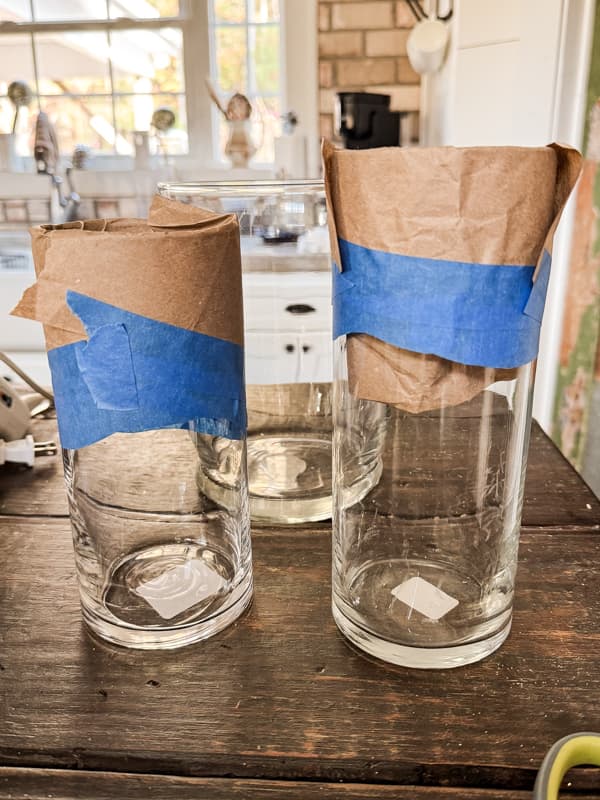
If you want to create a design on your tall glass candle holders, you must cover the unpainted areas with kraft paper and painter’s tape.
I cut one side of the tape to create a wavy edge. Then, I add the tape to the vase to make the design. Once you have your design in place, cover the top of the glass with the kraft paper and hold it with additional tape. Finally, fold the paper inside the vase to cover the top area.
Insider Tip
When planning the design for your glass candle holders, you can get as creative as you desire. I decided to use a simple curved design, but you could create designs on a Cricut or Silhouette machine, such as a row of Christmas trees or some other design. Let your imagination run wide with your creations.
In addition to the two glass candle holders, I wanted a vase with a similar finish. I already had an older large glass vase that would be the perfect size, so I covered it completely.
Spray Paint The Glass Vases
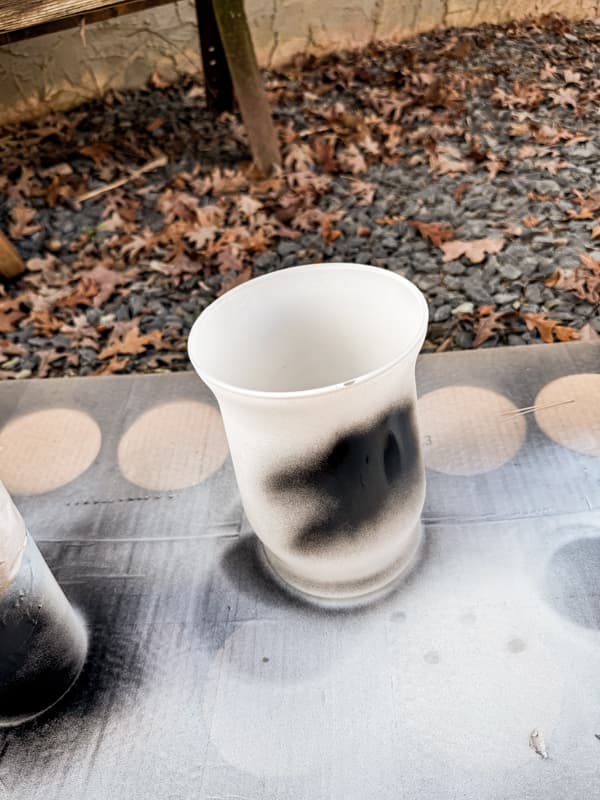
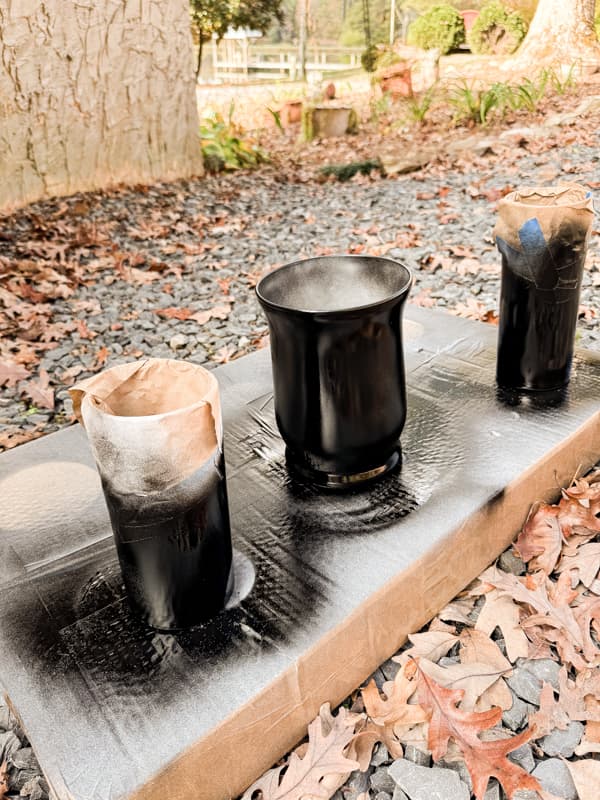
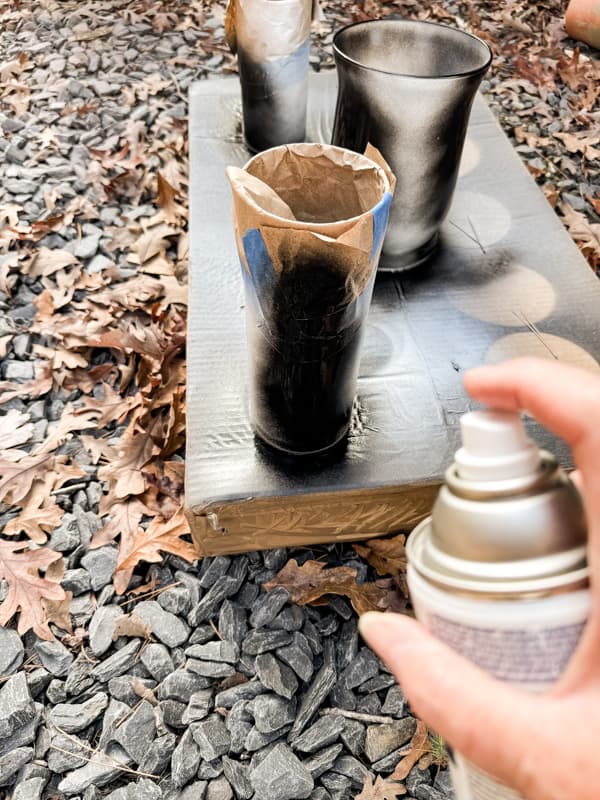
I wanted the inside of my vases white, so I first began with a coat of Chalky White spray paint. This paint adheres easily to glass and is a great base coat.
Once the white paint dried, I applied hammered spray paint over the top. You will want a dark finish, such as black or brown. The hammered finish paint will provide a slightly raised texture to the glass. If necessary, apply two coats of this finish to cover the original white color completely.
Apply Rub N Buff
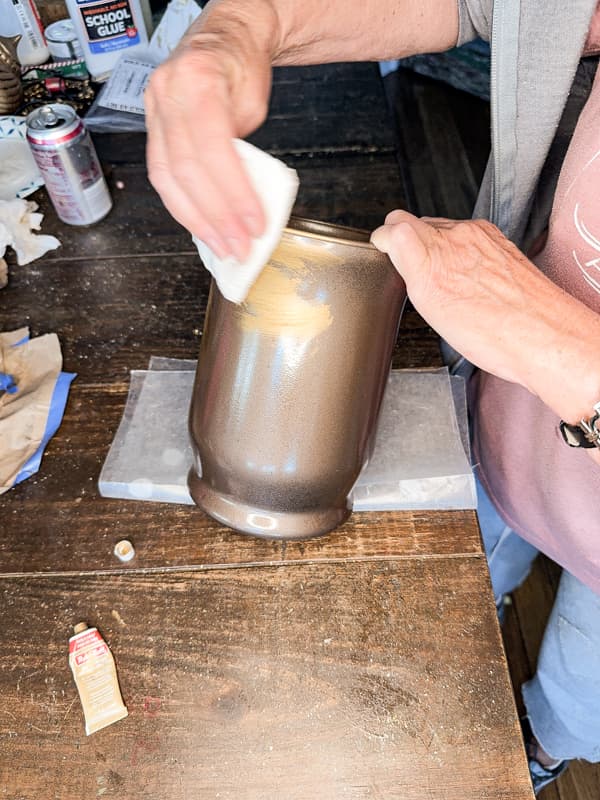
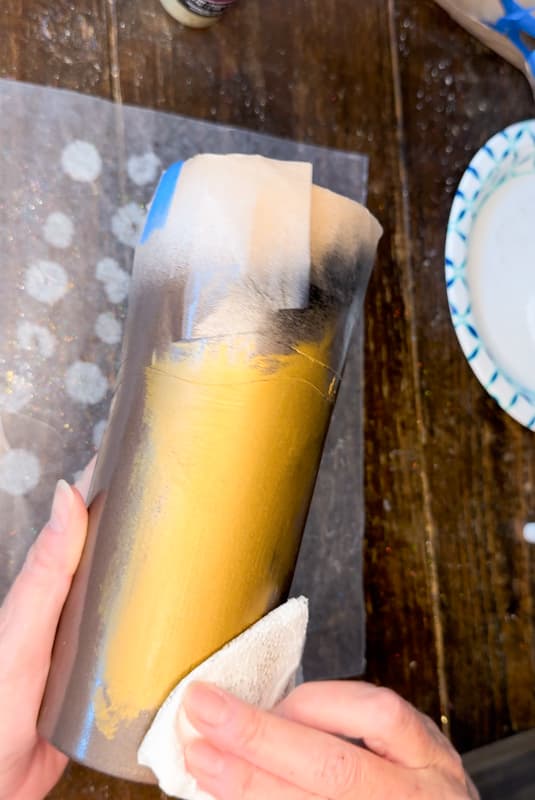
Once the spray paint was dry, I added antique gold Rub N Buff to the painted areas. You can use a paper towel to apply the gold finish. Add a small amount of the gel to the paper towel and rub in a circular motion to cover the paint. It’s okay to leave to scattered light areas.
The larger vase is completely covered with Rub N Buff, and I added a small amount to the inside top rim.
Once the tape and paper are removed, you can see how lovely the finished vase and two DIY glass candle holders are. The first paint color is visible inside the two glass vases, but it will not be noticeable once the candles are added.
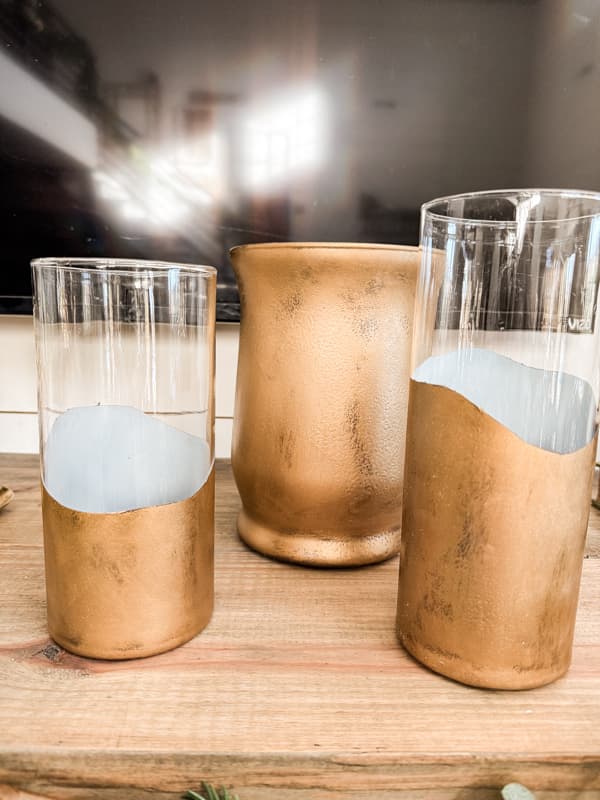
Glass Candle Holders and Vase
Finally, the glass candle holders and vase are ready for decorating the mantel.
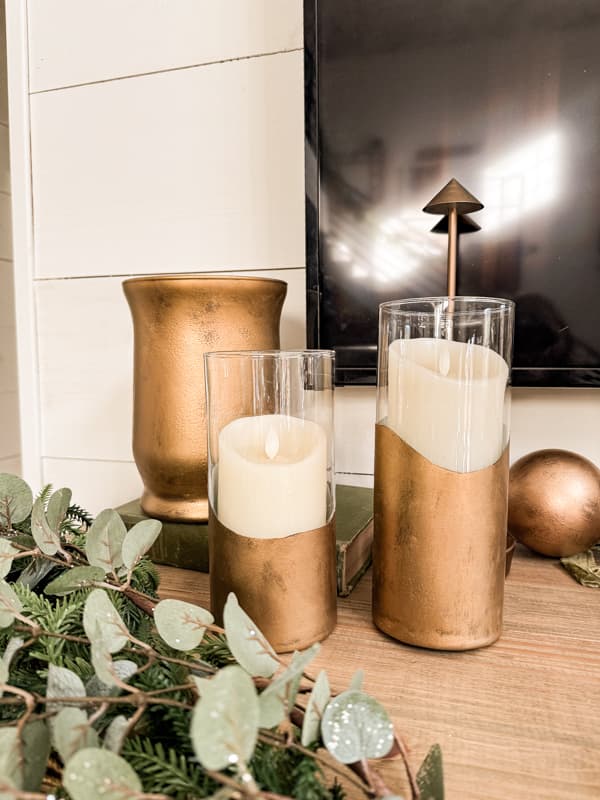
I love how good the glass pillar candle holders look with the flicker candles inside. Note: Warning – I recommend using only battery-operated candles for safety.
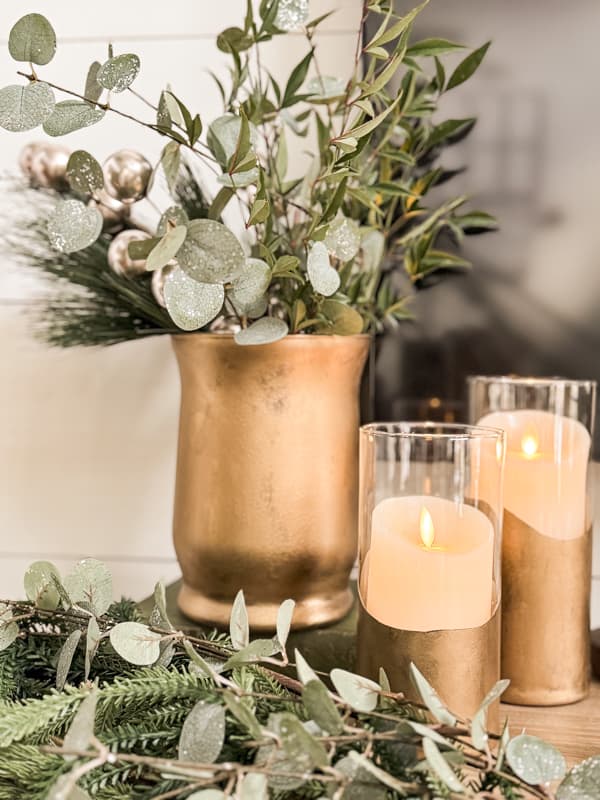
I can’t wait to finish decorating the mantel for Christmas. Here is a sneak peek of what to expect. I’ll be sharing more next week.
Related Articles
Video



These are gorgeous, Rachel. Love them.
Debra,
I’m so glad you like them. Thank you.
Wow! Another good project Rachel. Have a good weekend
Pam,
Thank you for your sweet comment. I appreciate you for following along and for your encouraging words. Have a wonderful week.