How To Transform a Thrift Store Painting Into Vintage Artwork
There’s something about the look of vintage artwork that exudes charm. The faded colors, imperfections, and sense of history add so much character to a space. But authentic vintage pieces can be expensive! Luckily, I’ve got a budget-friendly way to achieve the same vintage wall art style for cheap. I’ll show you how easy it is to give your thrift store finds a gorgeous vintage makeover.
(Posts on The Ponds Farmhouse may contain affiliate links. As an Amazon Associate, I earn from qualifying purchases. See the full disclosure details here.)
Inspiration for Vintage Artwork
A friend recently scored a great piece of vintage artwork she displays in your kitchen. I love the look of this old-world apple painting and decided I wanted to duplicate the feeling. So, you know I went thrifting!
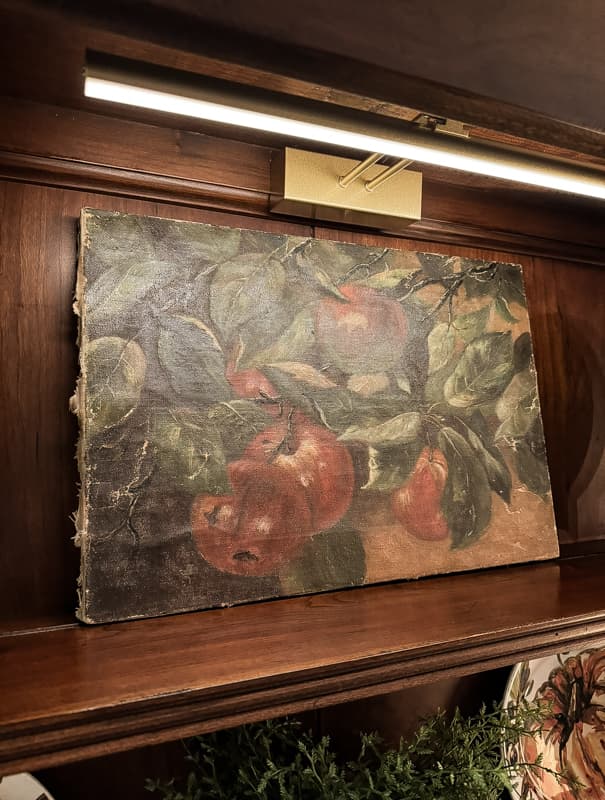
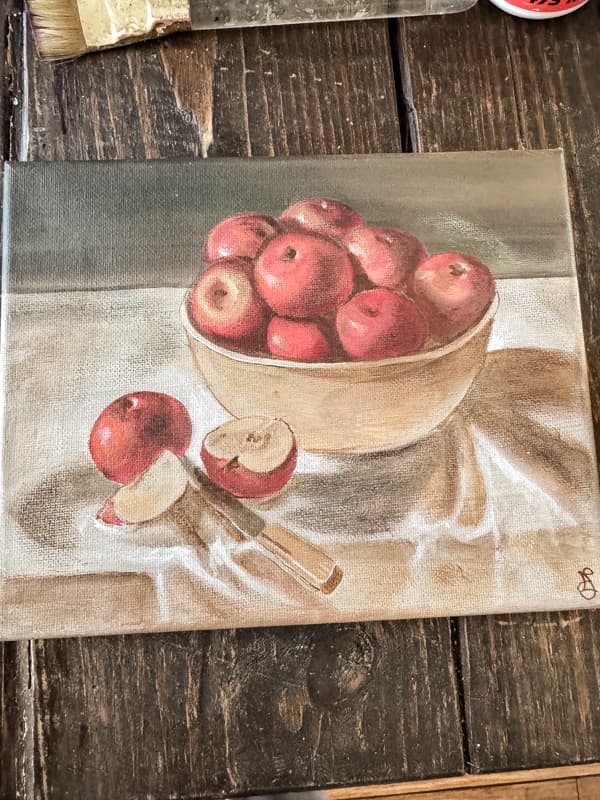
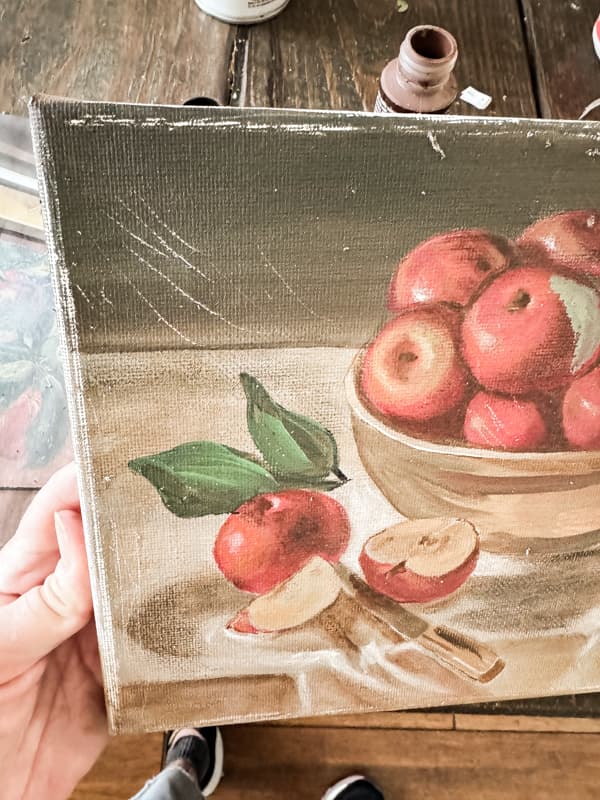
I wasn’t lucky enough to find a true vintage painting, but I found this $2.00 apple painting and thought it would be a good piece to experiment with. Let’s get started.
Supply List
- Mod Podge Gloss Luster
- Green Craft Paint
- Real Brown Craft Paint
- Bark Brown Craft Paint
- Sandpaper
- Knife or Scissors
Thrifting with the Gals
Today’s post is part of our monthly series, Thrifting with the Gals. If you are new to our series, we are friends who share a love for vintage and thrifted decorating. We all live in different parts of the country, but we come together once a month to share thrift store shopping ideas and tips on decorating with your treasures.
Here are the Gals:
- Ann from Dabbling and Decorating finds her treasures as she travels between Vermont and Maine. She decorates both homes with so many vintage treasures.
- Robyn from Robyn’s French Nest loves to travel and bring her vintage treasure to her lovely Florida Home.
- Lora from Lora Bloomquist Create and Ponder is thrifting and picking up amazing roadside finds to decorate her home in Minnesota.
- I am from North Carolina and love filling my farmhouse and beach cottage with thrift store finds. I focus on budget-friendly decorating and DIY projects.
- This month, our thrifting guest is Laura from Decor To Adore. Laura loves shopping at flea markets and decorating her home with her finds.
How To Transform A Thrift Store Painting?
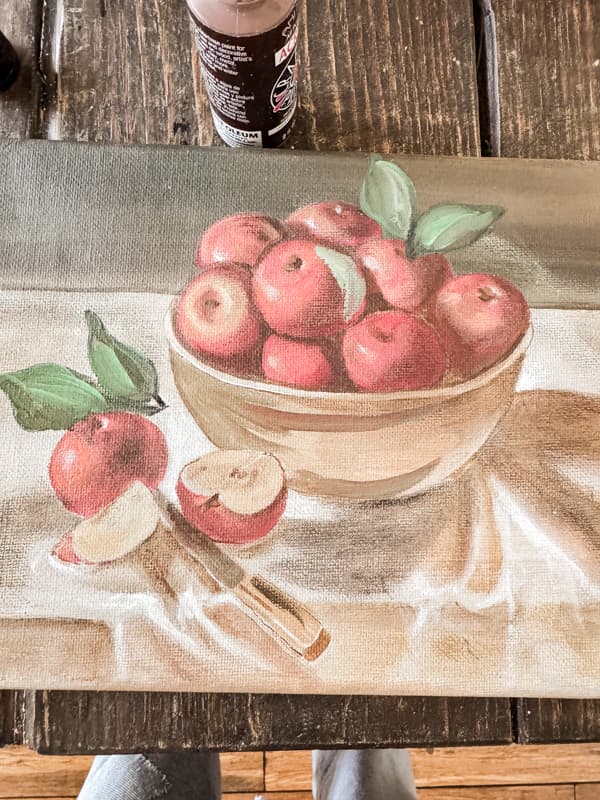
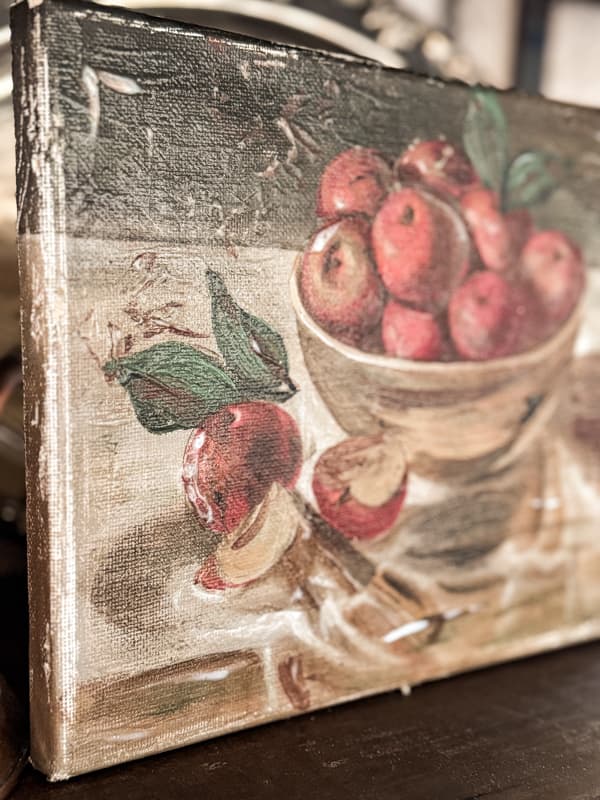
I wanted to add a little extra punch to the blah thrift store painting, so I first added a few green leaves. I used a mixture of green and brown paint to create the leaves on the painting.
Next, I began distressing the canvas by adding scratches and roughing up the edges of the frame to make it appear timeworn. I used a knife, scissors, and sandpaper to create this appearance. I used the point of the scissors to scratch the canvas from the backside to create creases in the original paint. Be cautious not to puncture the canvas from the back, just add creases.
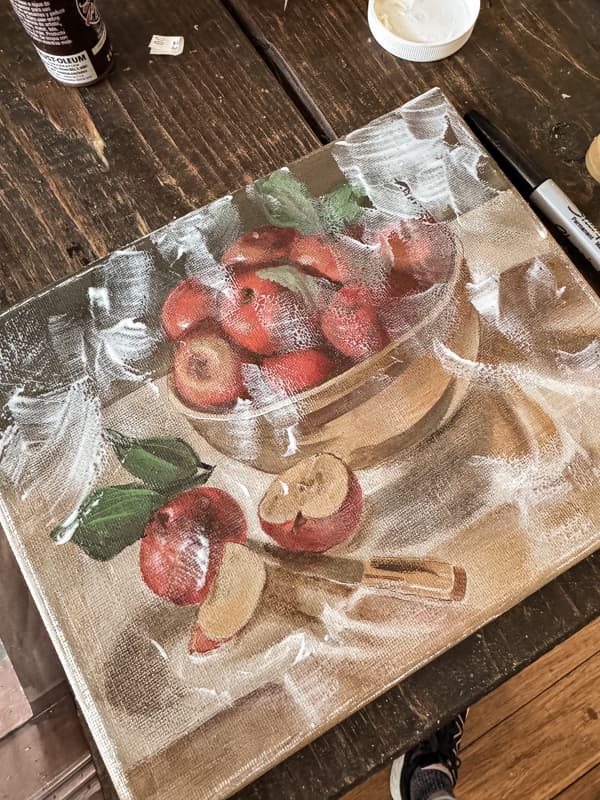
Then, I began to apply a heavy coat of Mod Podge to the surface of the canvas, leaving some areas heavier than others to create the look of brush marks. You can apply more on top of places that are drying quickly. Just keep building up the texture.
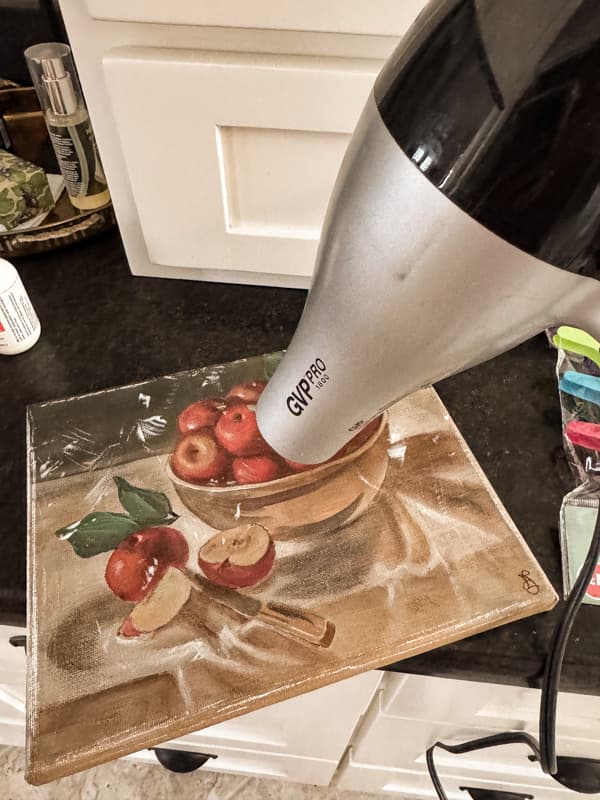
I used a hair dryer because I wanted the Mod Podge to dry quickly. Don’t worry about causing the paint to crack. That would be welcomed in this project.
How To Give The Canvas A Vintage Appearance
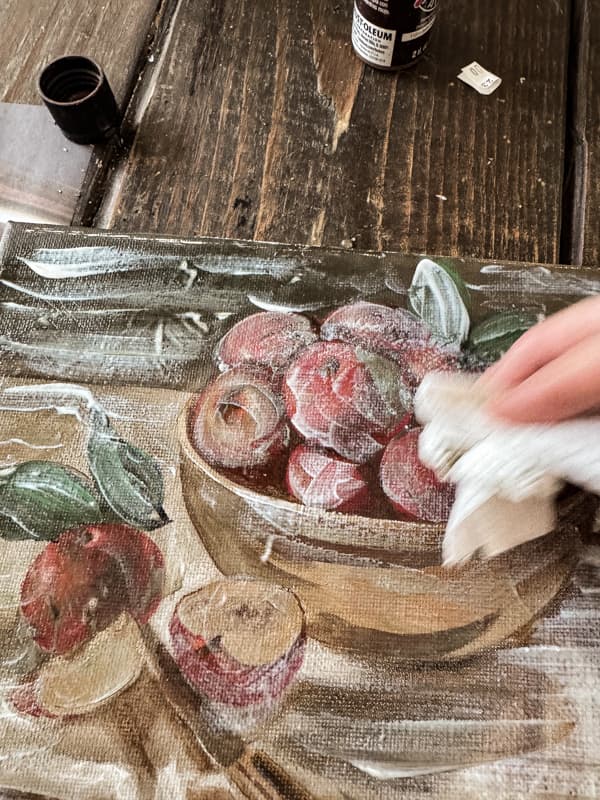
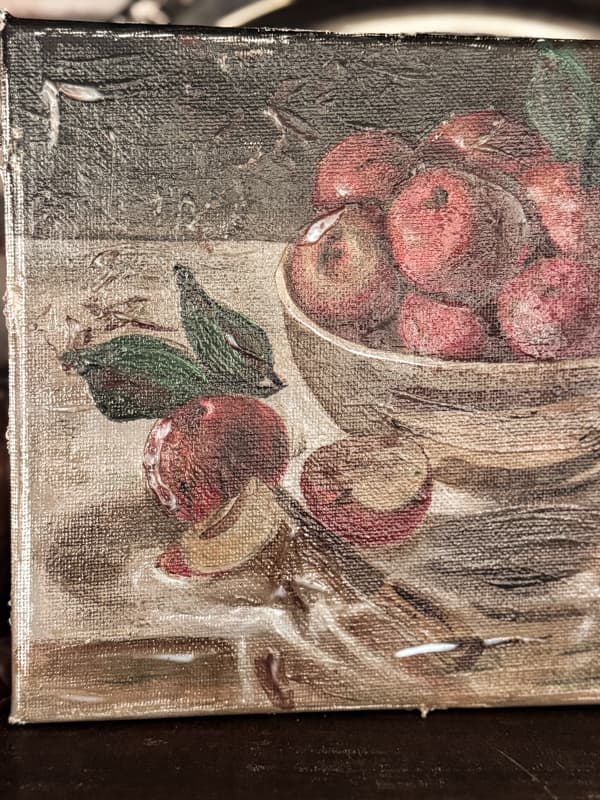
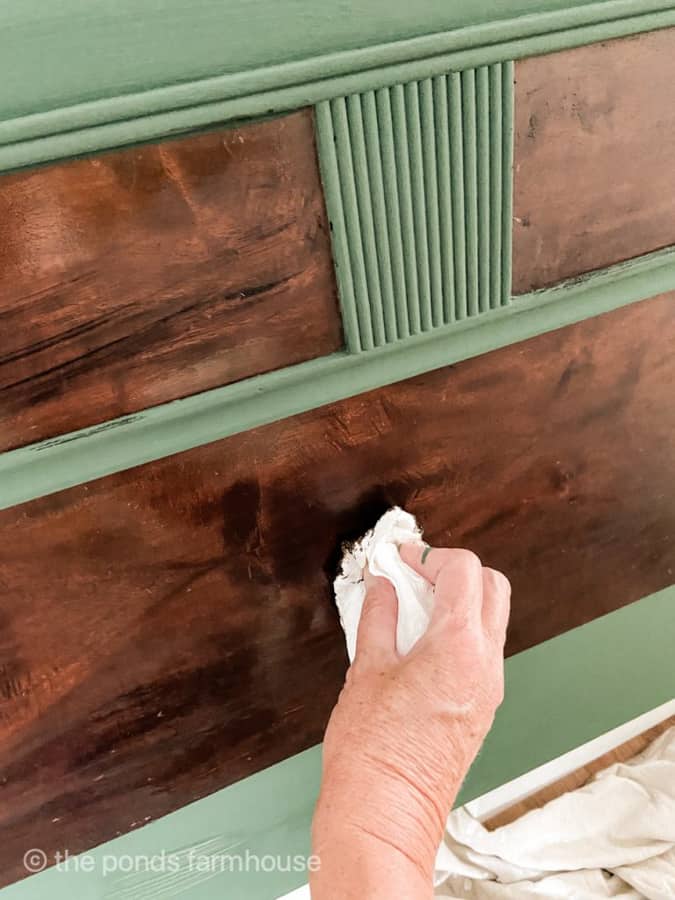
After the original coat of Mod Podge was dry, I used a knife and scissors to add more scratches to the canvas surface to give the thrift store painting a vintage appearance. Then, to add some depth of color, I added some brown paint to the raised areas. I tried to imagine what cracks in the paint would look like over time and used the paint to create that appearance.
Finally, add more Gloss Mod Podge over the painted areas. This time, I used a paper towel to blot some areas and leave some areas heavy. The paper towel helped to add texture to the apples.
Once again, use a hair dryer to dry everything more quickly. At this point, some areas may crackle (hopefully, LOL). Now, you will want to allow the painting to dry thoroughly and then you are ready to display it.
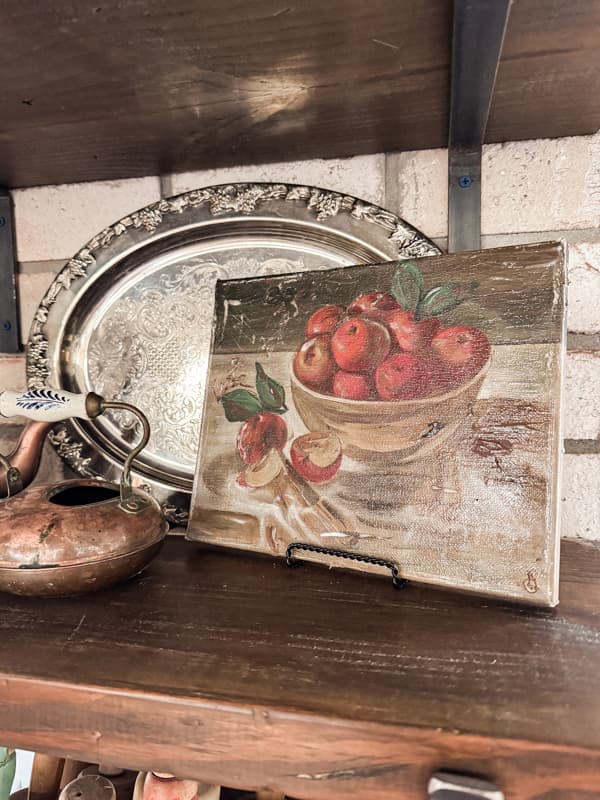
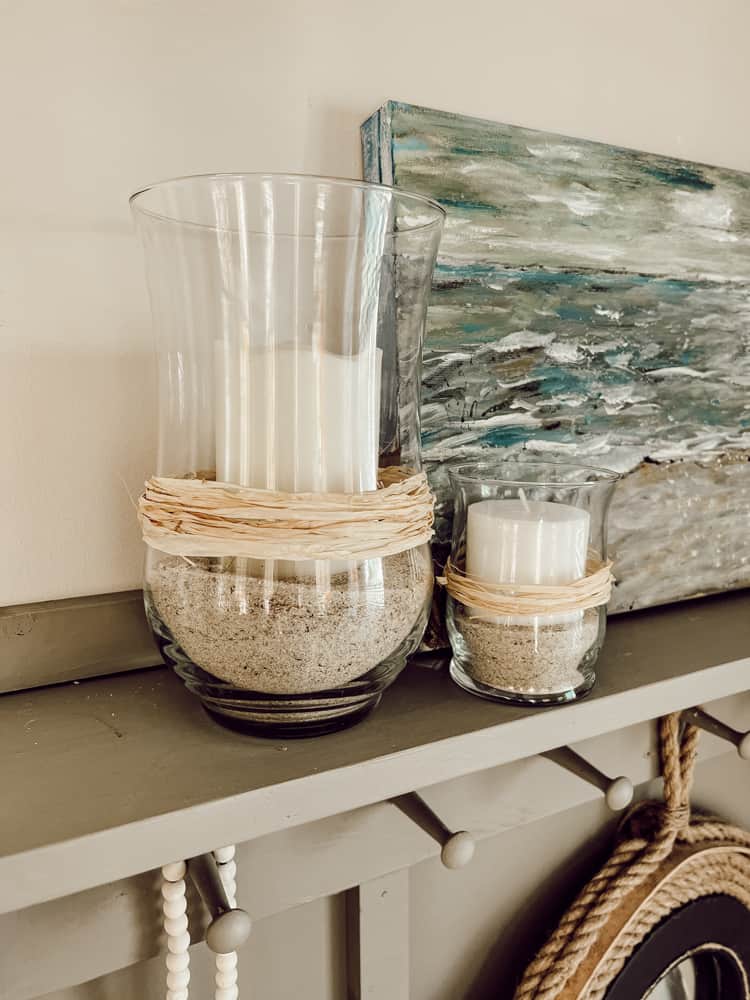
How To Display Your DIY Vintage Art
I love the distressed canvas appearance and didn’t want to cover it, so I decided to display it on an easel in my kitchen without a frame.
The texture of the painting definitely looks vintage compared to the original flat painting.
The gloss coverage and added paint give the thrift store painting the appearance of an aged oil painting.
If you prefer, you can frame your painting to create a larger piece of vintage wall art.
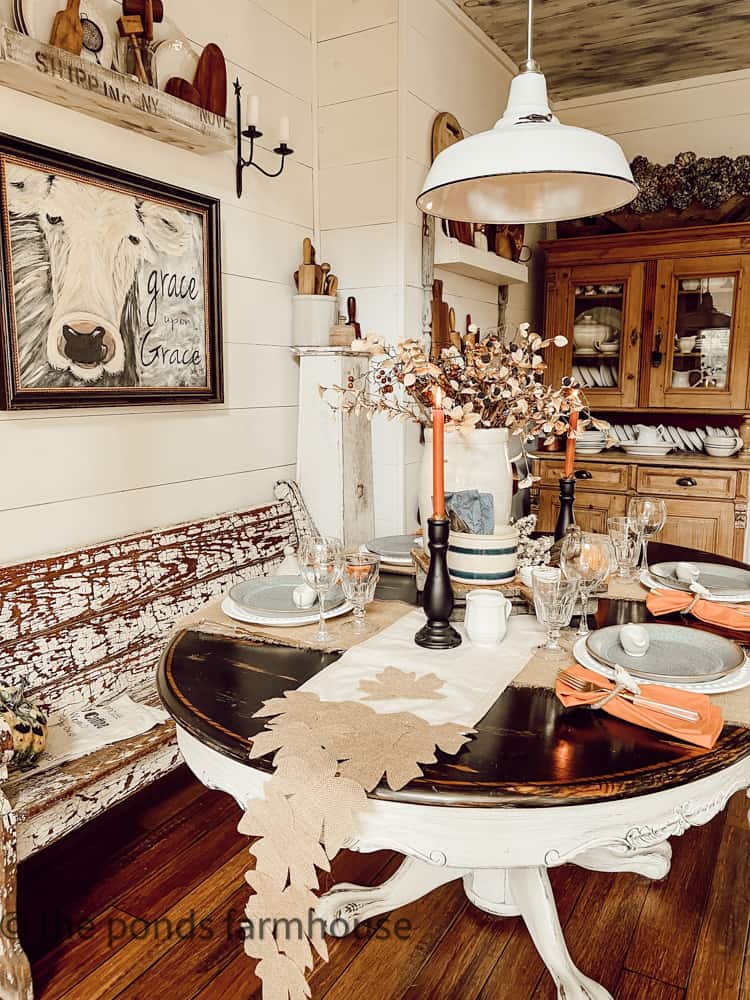
I love the curated feel of an aged painting. Although my friend’s authentic vintage artwork is stunning, this painting is an inexpensive alternative and a charming addition to my kitchen shelves.
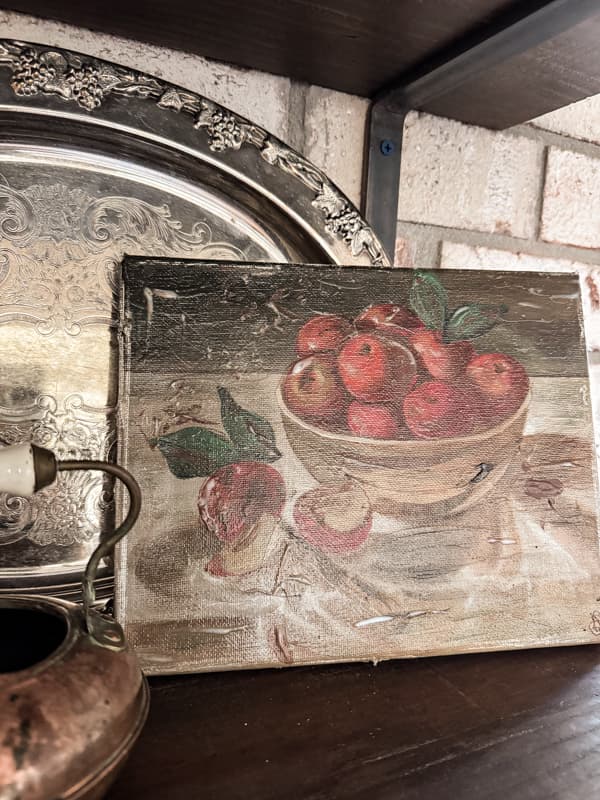
Tips For Display Thrift Store Art
Once you create your vintage-inspired painting, you can display it alone or add it to a gallery of paintings. I like to mix my thrift store finds with authentic vintage wall art. This small painting, without a frame, looks best combined with other decor. I used the vintage silver tray as an anchor to help balance the art on the shelf.
More Vintage From Thrifting With The Gals
Now it’s time for more from Thrifting with the Gals! Click each image below to follow along.
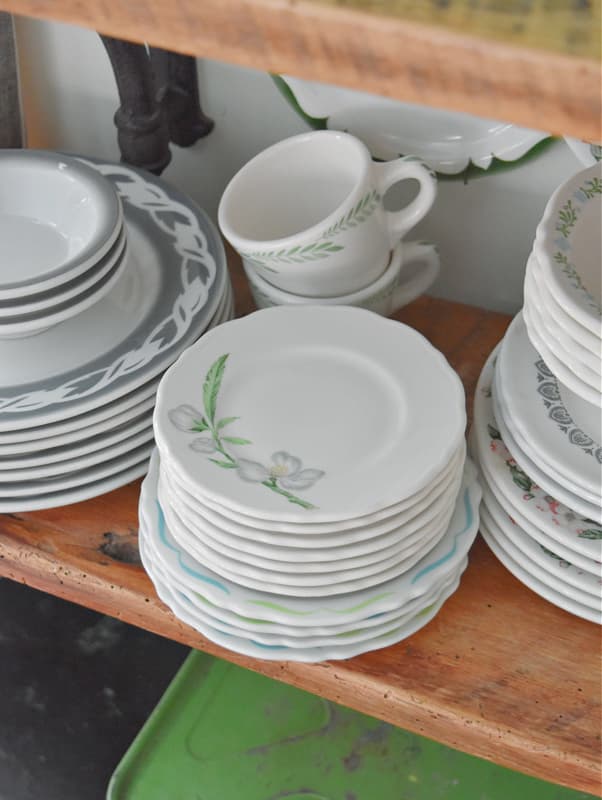
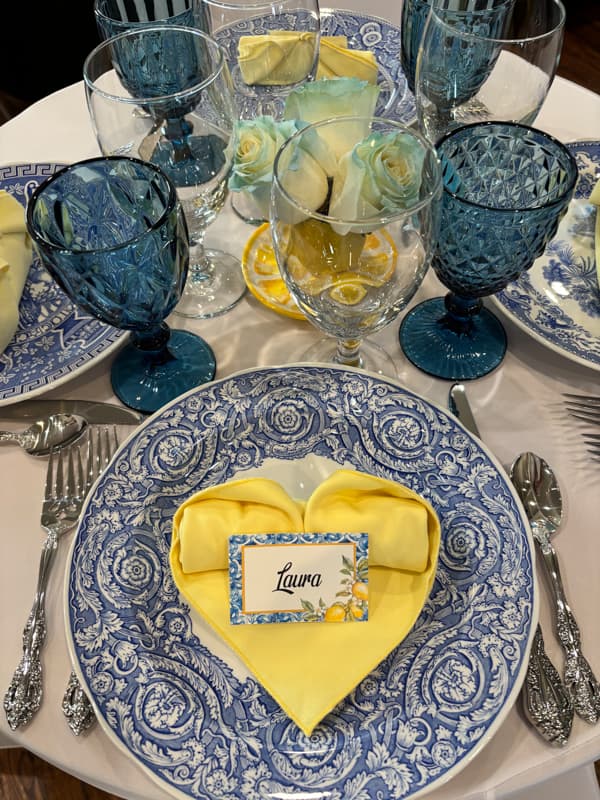
Lora – Collecting Vintage Hotelware and Restaurantware / Laura – Lovely Dinner Party With Thrifted Dinnerware
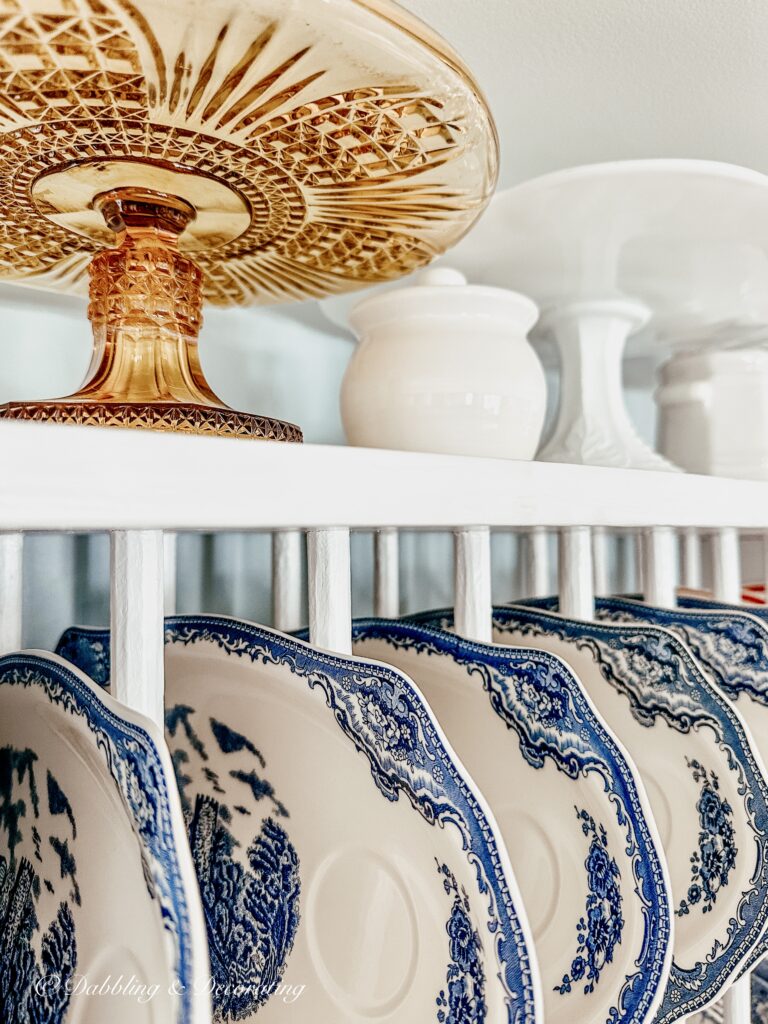
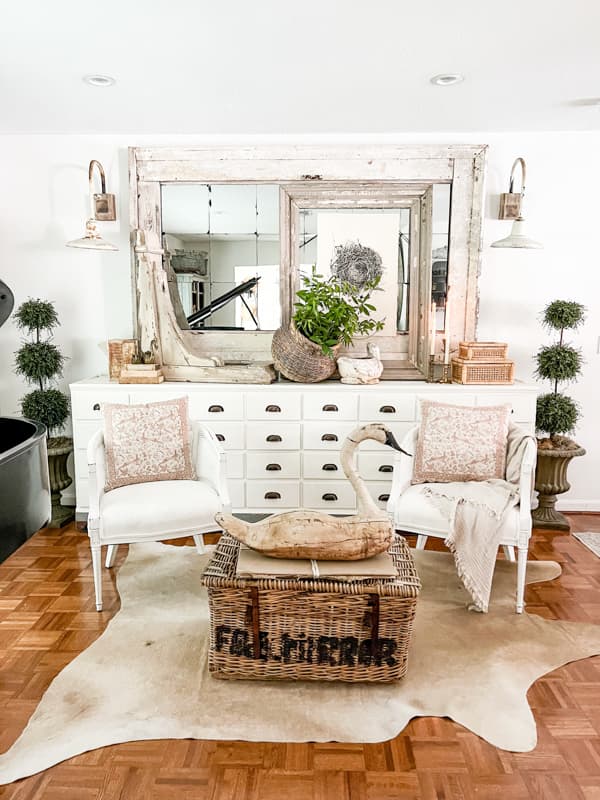
Ann – Eclectic Interiors with Timeless Style / Robyn – Decorating With Vintage Mirrors In Living Room


Rachel, I love this idea so much! Vintage artwork is one of my favorite things; what a great way to get the look on a budget. Thanks for sharing!
Robyn,
I’m so glad you like it. It actually turned out better than I imagined.
What a wonderful post! I see artwork all the time at the thrift store that is pretty but would be so much better if aged. I love this tip! Thank you for hosting such a great series.
Laura,
I’m glad you like this idea. Let me know if you use it.
Love how it turned out Rachel, I’m going to use your tips on some old artwork pieces I have! Thanks so much!
Ann,
I’m glad you like it.
absolutely love this! but what did you use the craft paper for?
Lynn,
I’m so glad you like it! I didn’t use craft paper for this project. Maybe you mean sandpaper?? I used it to rough up the edges of the canvas. Thank you for stopping by and following along.
What a great transformation. Love how you roughed it up from the back; brilliant! Love the modge lodge trick; it totally gives it a true painted look.
Lora,
I’m so glad you like this one. I’ve done this for years but never wrote a post about it. Thanks for your encouraging words.
Rachel, I am absolutely amazed at what you create! There’s no one like you! I just enjoy all your posts! This is such a neat idea for creating vintage art. I am blessed to have vintage art from my precious grannie that came with her family when they left England to come to Canada. I will always treasure these. Some are over 100 years old. Hope you have a wonderful weekend!
Mary-Ann
Wow you are so fortunate! I’d love to have a huge collection and I’m still looking but most are expensive and I’m budget kind of girl! I’m glad you like this idea. I’ve been doing this for years but never wrote about it. The apple painting my friend purchased is from France and wasn’t cheap but it inspired me. You are so so kind to always lift me up! Thank you, and have a blessed weekend. How’s the new home coming? Hope you are getting settled.
I’m so darned old I have my own vintage paintings I did in the 1960’s that are now kind of faded. I just touched up a sea scape and am hunting thrift stores for a frame. But it looks new now? Did I ruin it ? It’s actually a beautiful painting but should I have left it alone?
Sylvia,
Beauty is in the eye of the beholder so I’ve heard. If you love it, that’s all that matters. I don’t know if I’d try to age a true work of art but a $2.00 thrift store painting is not off limits. LOL. Have a wonderful week my friend.