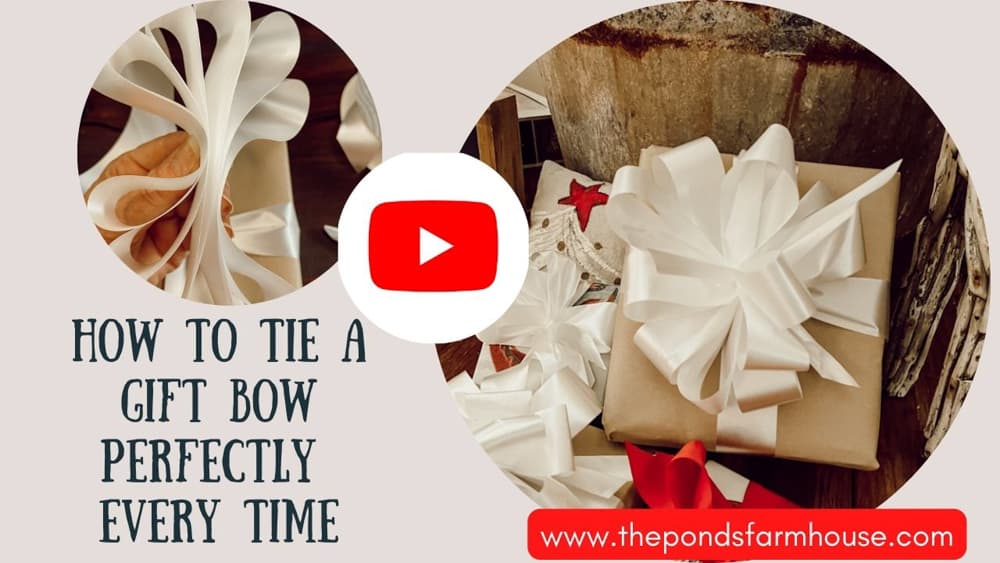
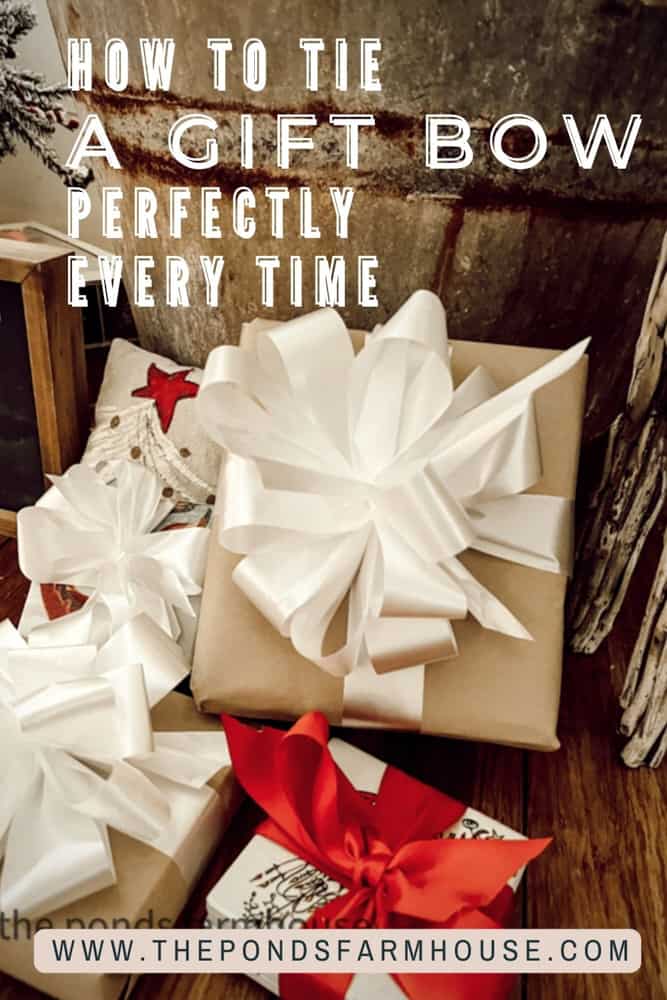
How To Tie A Gift Bow Perfectly Every Time
Don’t you love to receive a beautifully wrapped gift? Would you like to know the secret of how to tie a gift bow? Today I’m sharing How To Tie A Perfect Gift Bow every time.
The great news is you can use this technique to tie larger bows for wreaths, garlands, etc.
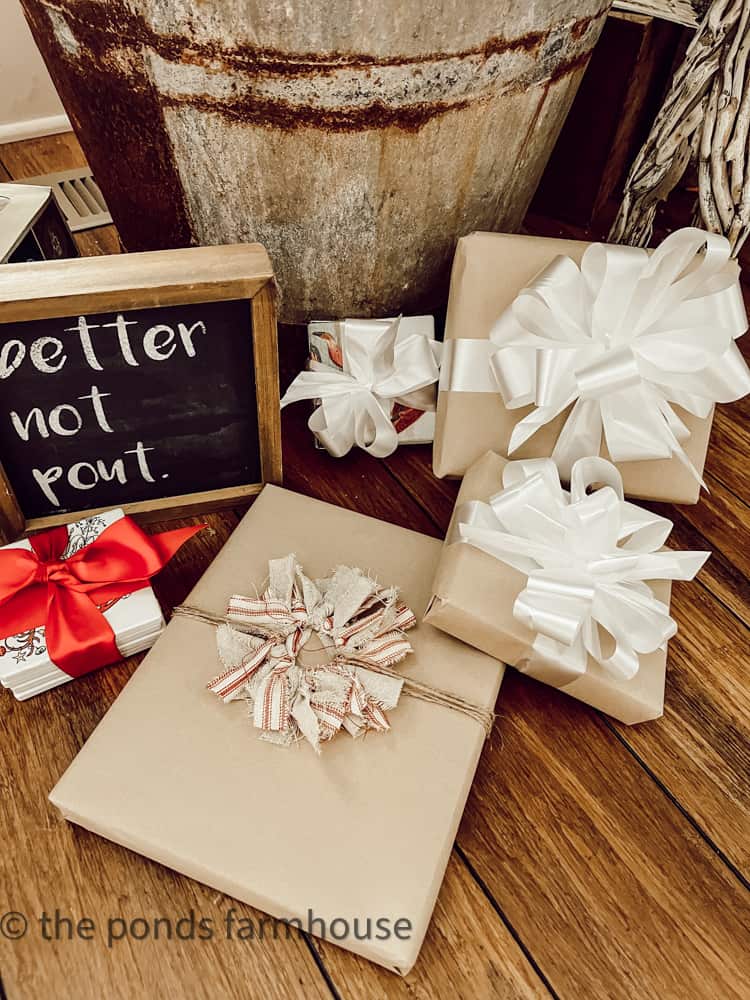
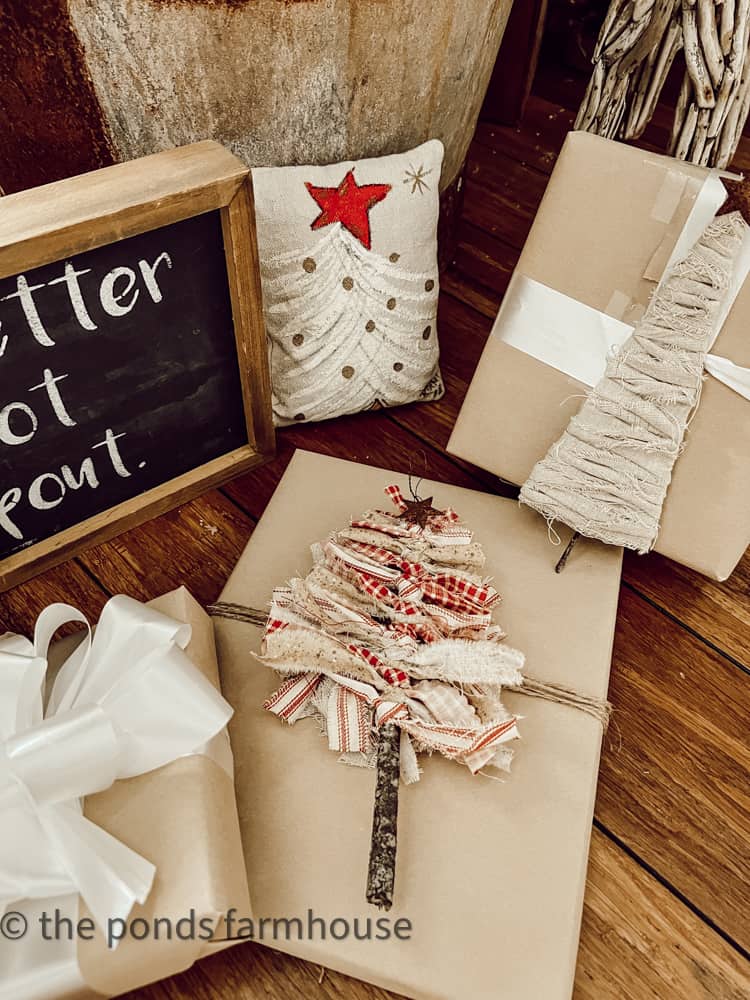
Gift Wrap Package Ideas
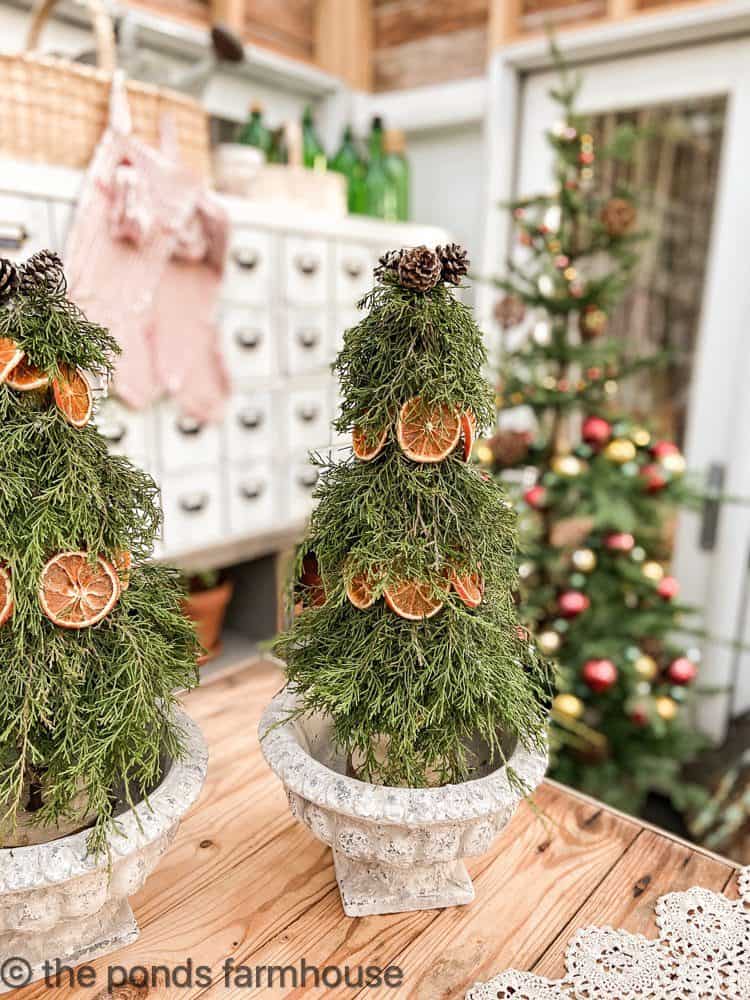
Earlier this season, I shared several ideas for making gift package toppers and ornaments that are sustainable and budget-friendly.
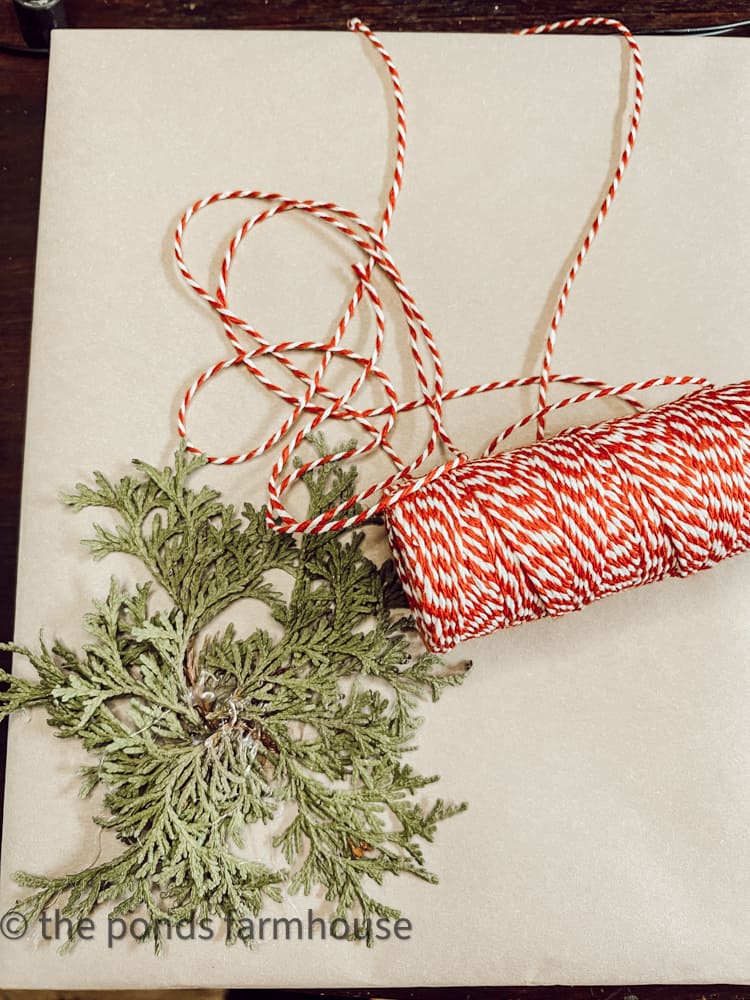
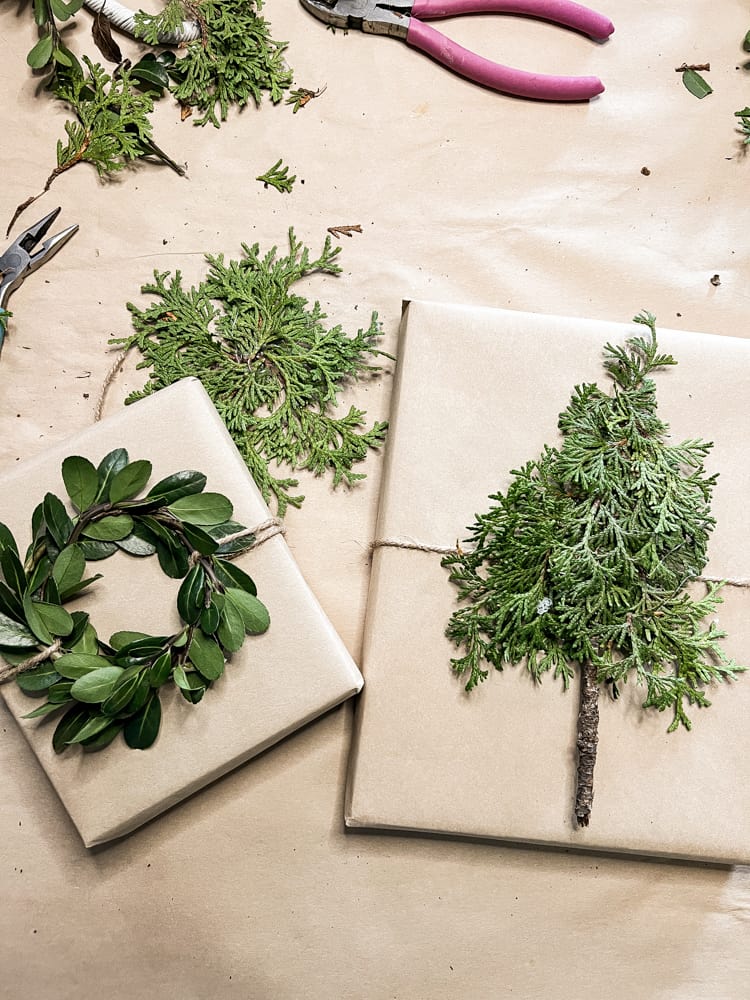
First, you can make creative package toppers using fresh greenery. The tutorial uses natural cedar and boxwood to make these toppers.
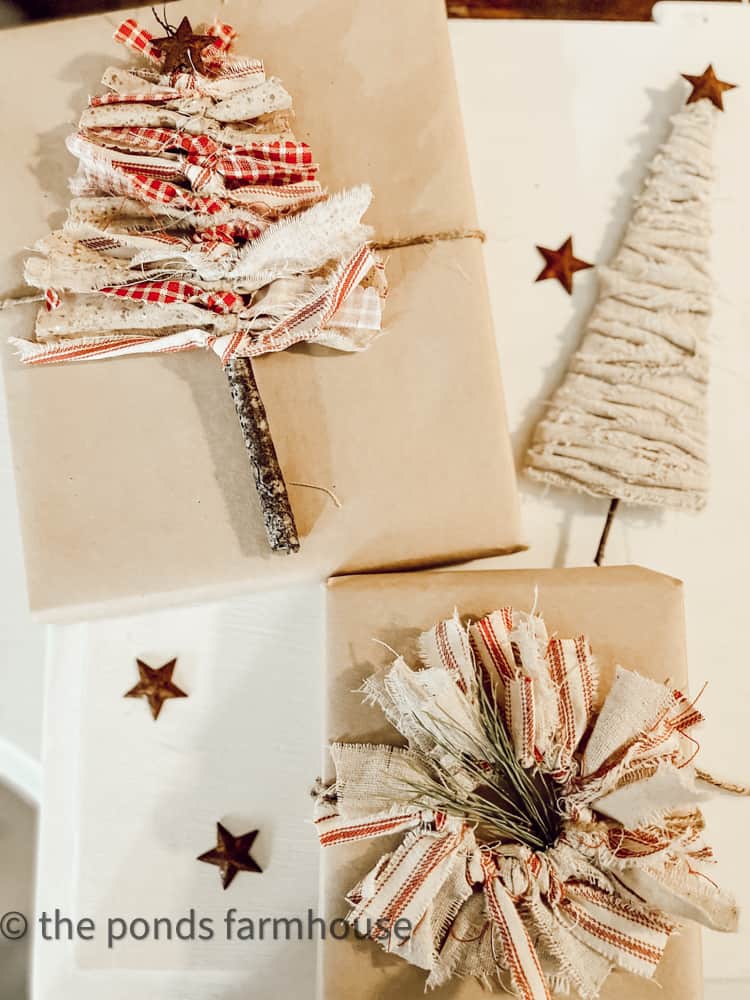
Another fun idea is to make gift toppers and ornaments using scrap fabrics. This project allows you to recycle materials and create unique DIY projects.
(Posts on The Ponds Farmhouse may contain affiliate links. As an Amazon Associate, I earn from qualifying purchases. See the full disclosure details here.)
How To Tie A Gift Bow Perfectly Every Time
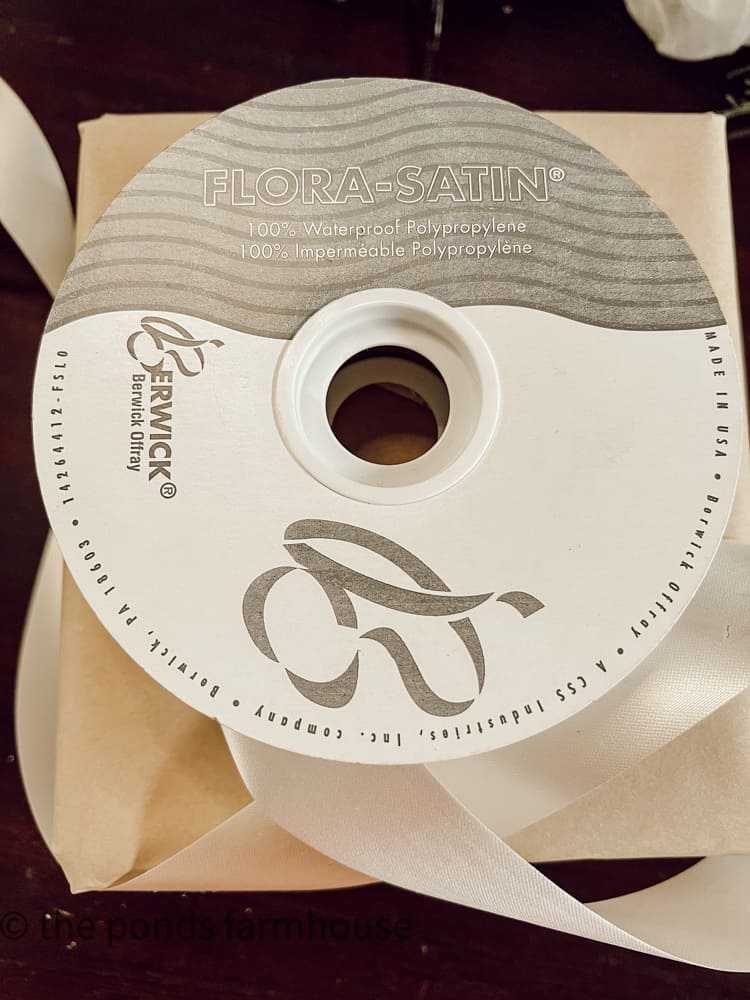
First, I’ll share the secret to tying the perfect gift bow: use the Flora-Satin ribbon.
This ribbon is readily available and is less expensive than most ribbons. 100 yards is around $10.00. You can wrap a lot of packages with 100 yards of ribbon.
Plus, it comes in a variety of colors. I always have a roll of white on hand. It works well with most gifts.
How To Prepare The Package for The Bow
Begin with a wrapped gift package.
Cut ribbon to wrap around the package twice with extra to tie around the bow.
Lay the package face down at the center of the ribbon and wrap the ribbon around the package twisting at the backside of the package.
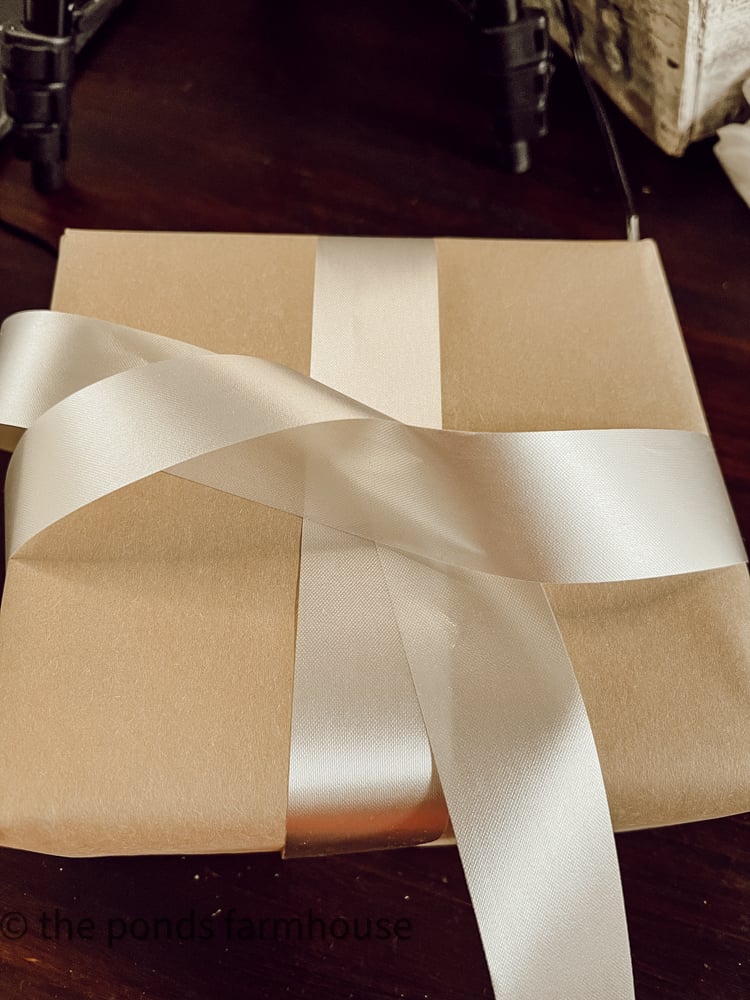
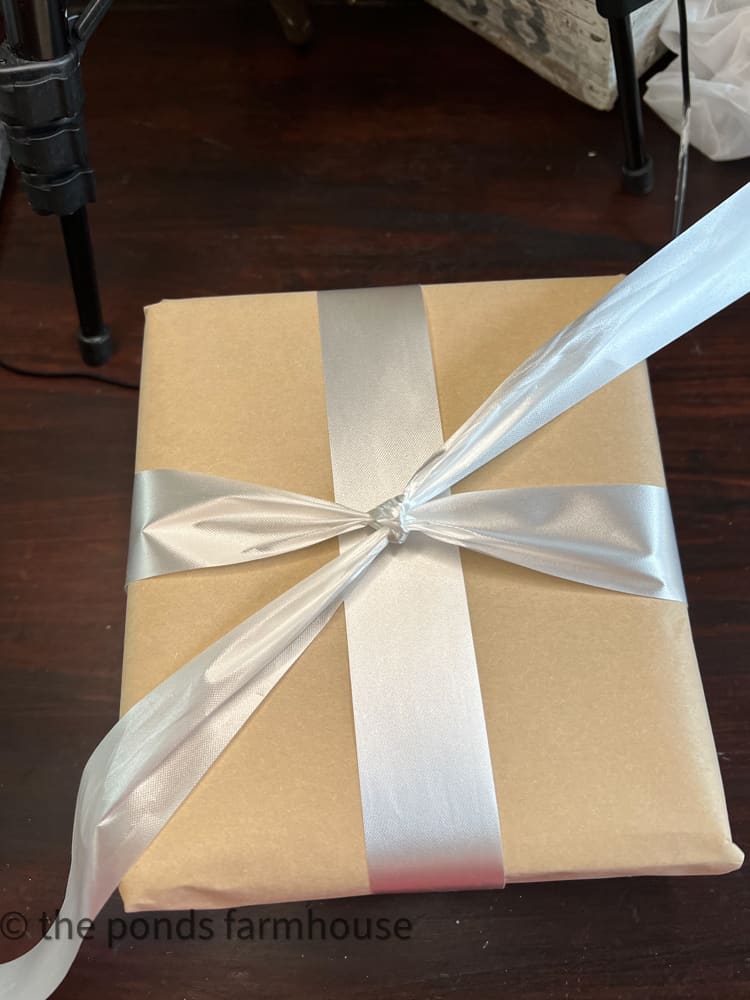
Then turn the package over and tie the ribbon at the center of the box.
How To Make A Bow
Now you are ready to make your bow.
Begin by making a loop of the ribbon approximately the width of your package. Fold the ribbon back and forth while holding in the middle of the loops.
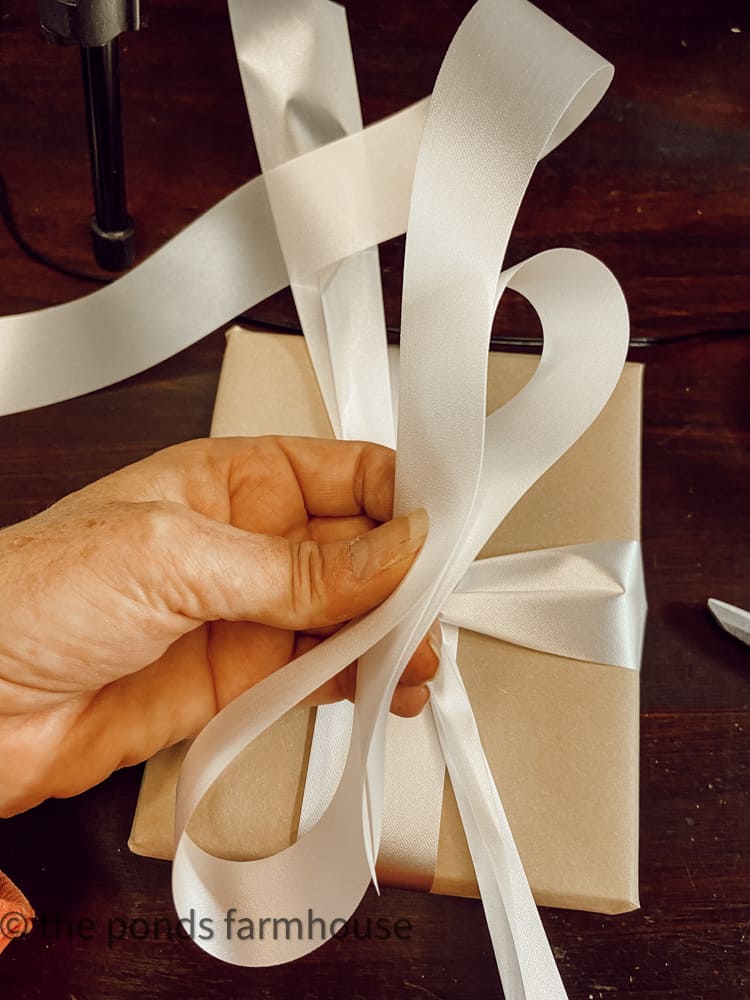
Allow the loops to become smaller as you go.
Once you have 6 to 10 loops, cut the ribbon leaving a small tail. The larger your package, the more loops you can add. A very small package may only need 4-5 loops.
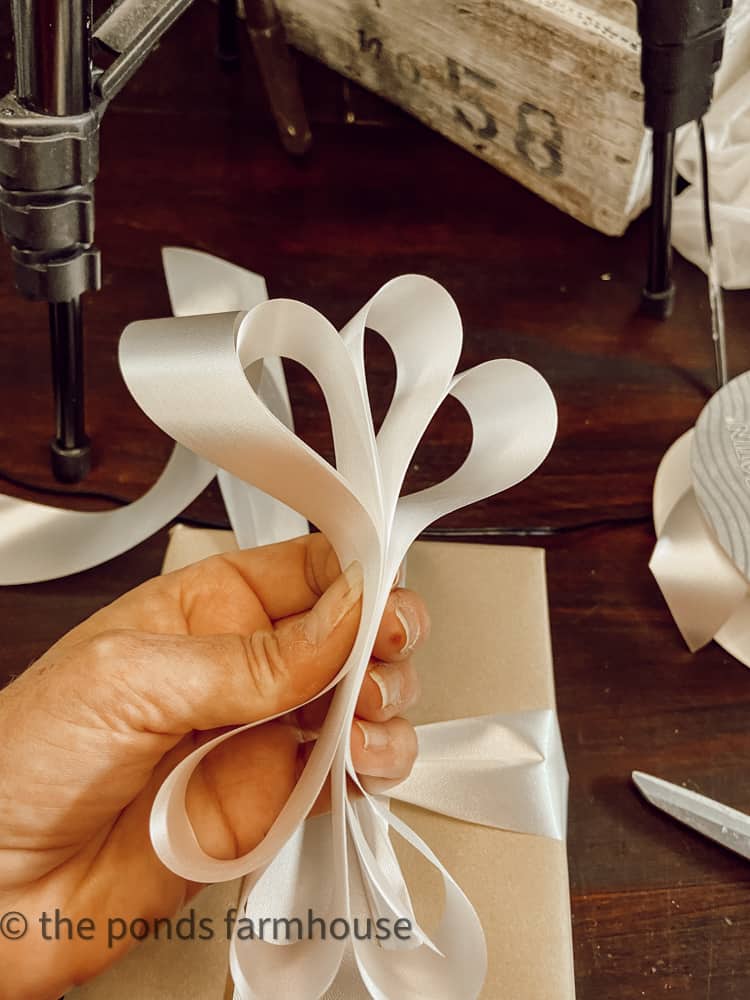
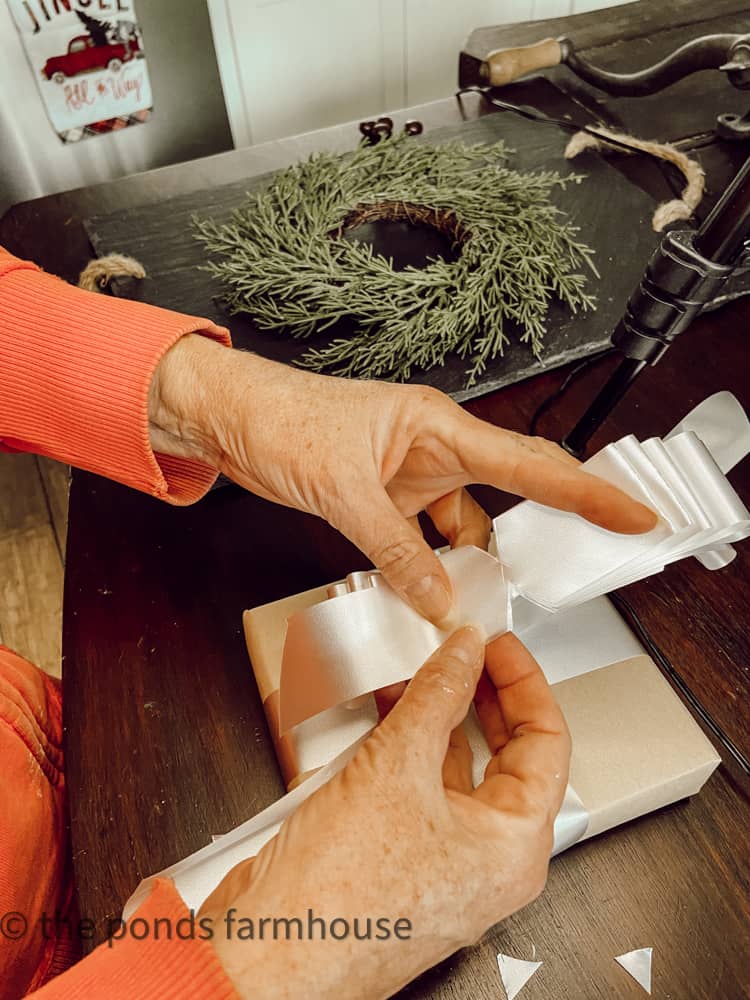
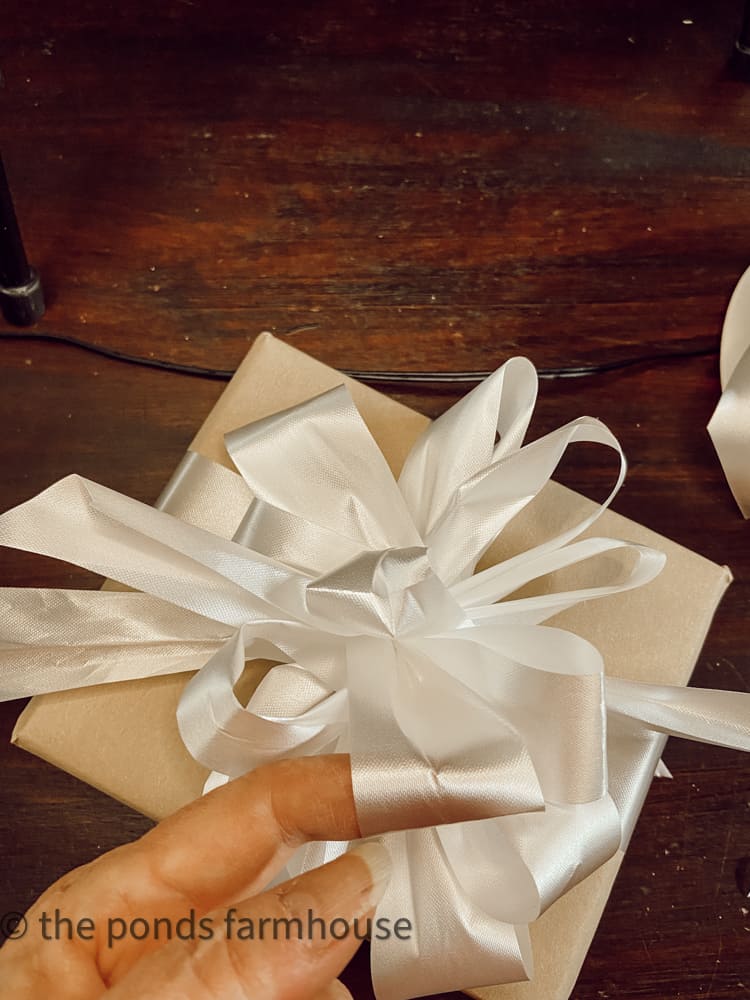
Next, holding the ribbon at the center, use scissors to cut a wedge.
Allow the wedge to go through all layers of the ribbon and extend almost to the center.
Cut another wedge on the opposite side, being careful not to cut the ribbon in two pieces.
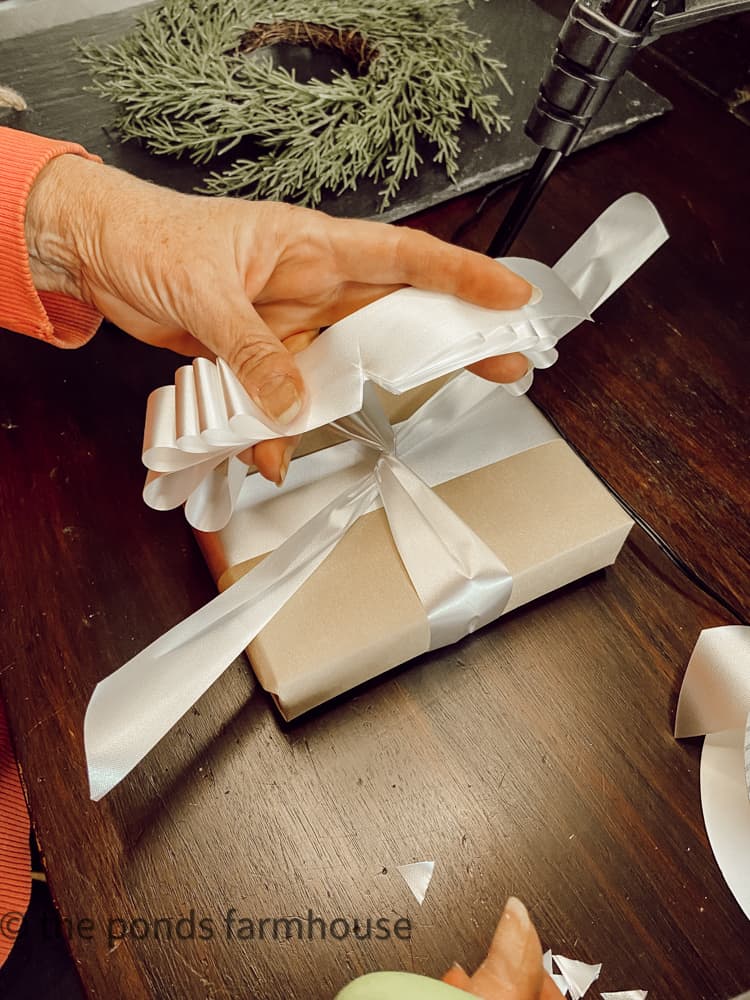
Attach The Bow To The Gift Package
Next, holding the ribbon together, so it doesn’t slip, lay the wedge areas over the ribbon attached to the gift package.
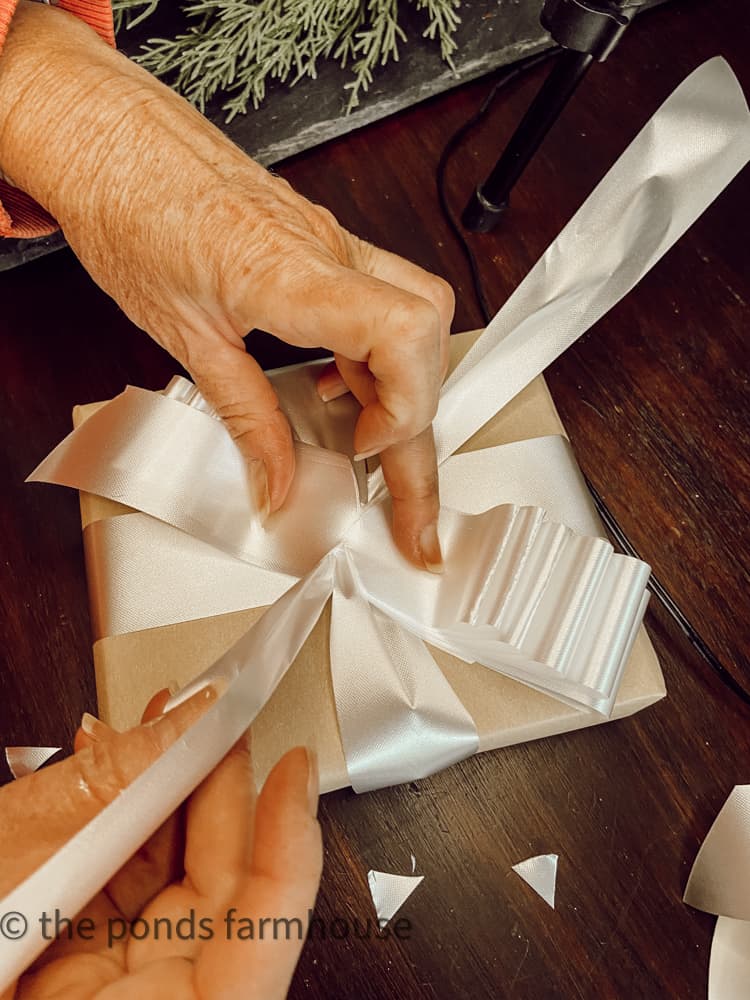
You can use the two ends of the ribbon on the gift package to tie the bow securely. Make sure the area is tied into the cutout wedges. This will allow the ribbon to spread easily.

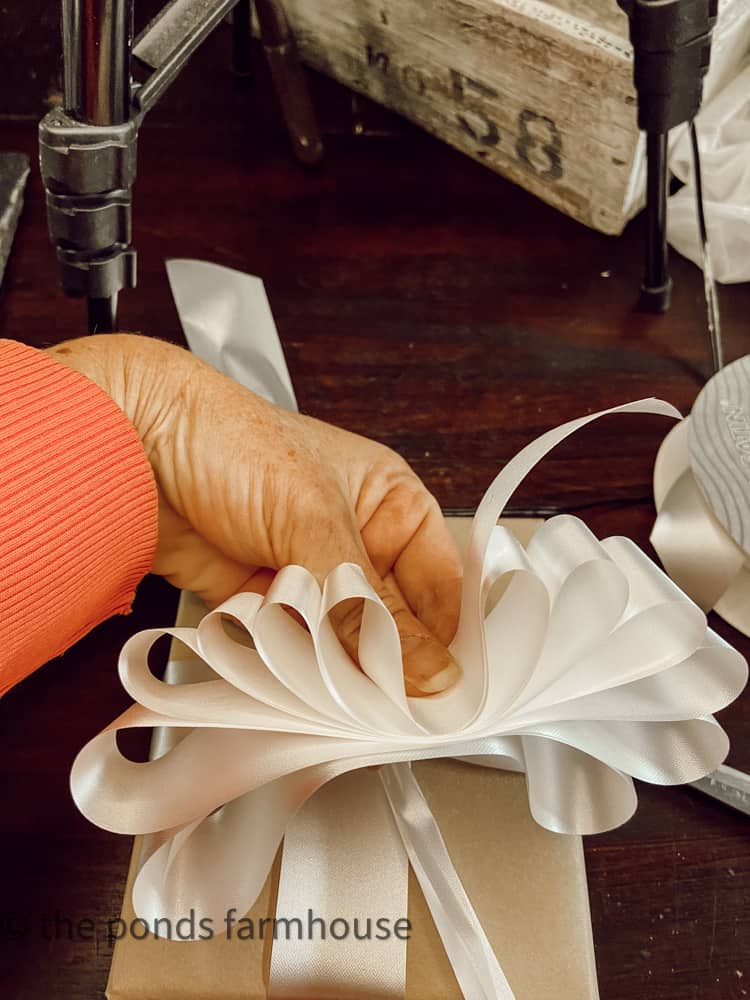
Fluff The Bow
Now that the bow is tied securely begin to pull the individual loops away from each other. I like to pull and twist each piece until all the loops are separated.
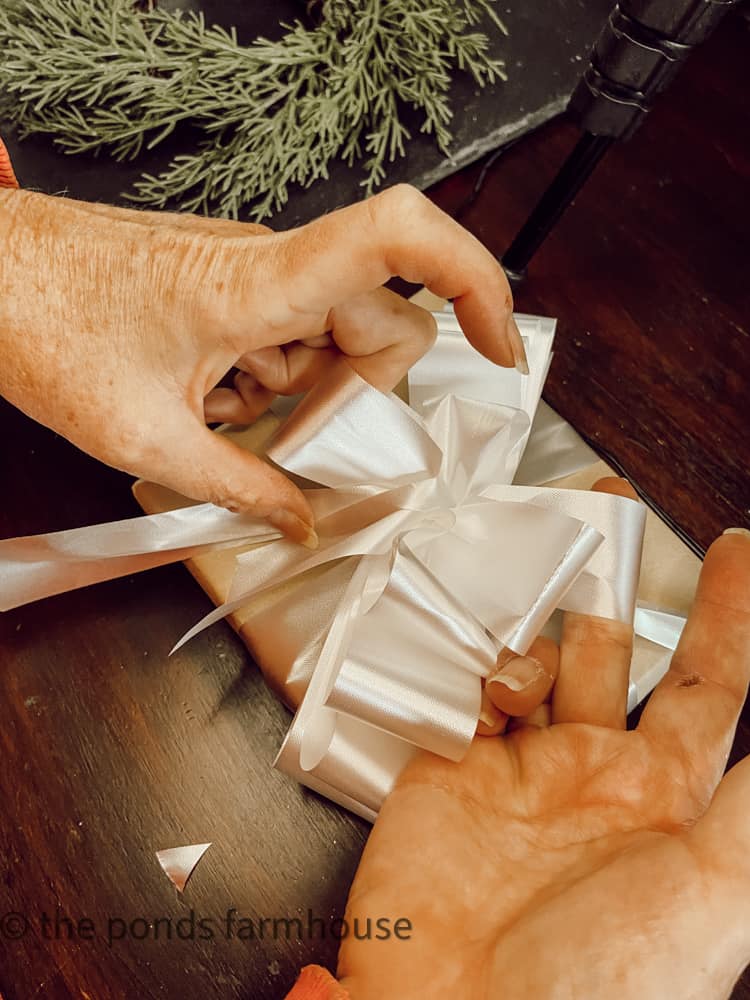
Continue to pull and twist until the bow is fluffed and in a desirable shape.
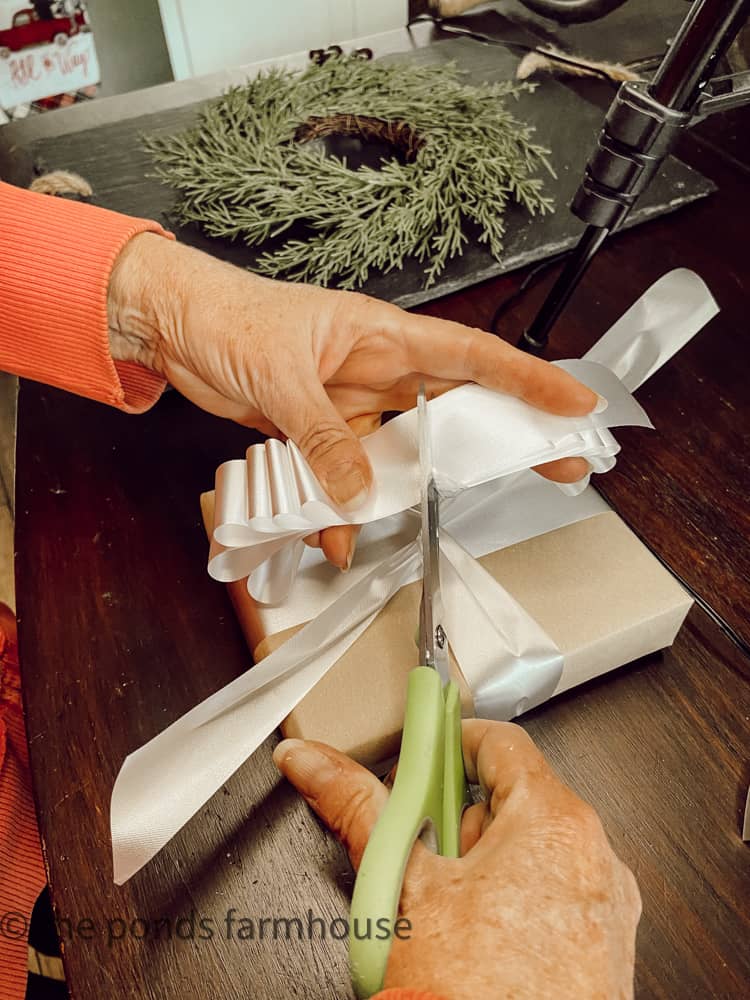
Finally, trim the tails by cutting the ribbon at an angle with scissors.

Tie Bows for Wreaths, garlands, etc.
This technique works well for larger bows as well.
You can use any ribbon; however, some work better than others. I have had success with wired ribbon but don’t cut the wedge as deep.
I have also used satin ribbon with this technique for a soft bow. You only need a few loops for a soft, flowing bow.
I hope you enjoyed this gift bow technique and I’ll be sharing some more creative ideas for gift packages later this week.

Pin It To Remember It
Did you find some great ideas you’d like to save for future reference? Hover over the images you’d like to save and pin to your favorite Pinterest Boards when you see the PIN button.


This is exactly how I learned to make bows when I was a teenager. My uncle and I had a gift wrap business in the atrium of an artisan shopping area in downtown. When we weren’t wrapping we would make bows using floral wire in the center then attach them to the wrapped packages later. We had a lot of fun and made a lot of money!
Kyra,
I learned this technique many years ago myself. It still works beautifully.
Great bow tutorial Rachel, and I love a large bow on a package, it’s so pretty! Merry Christmas xx
Cindy,
Thanks so much. This is so easy to make.
Cindy,
I’m so glad you like this idea.
I need this post so much, Rachel! I try to wrap everything as it comes in but we still have a few things we’re waiting on and I’m excited to try this technique. It’s pretty and feels totally doable at the same time. Thanks for the easy instructions, CoCo
CoCo,
It is easy and makes your packages look great.
Your instructions are so good, Rachel! Clear and concise…you really know how to tie a perfect bow! Thanks for the great post and the great share!
Missy,
I really appreciate this. Thanks for stopping by.
This is a perfect tutorial on how to tie the perfect bow. You make it look so easy.
Wendy,
It is so easy and I know you’ll love using the tips.
Thanks for sharing your bow making tips! The way I have been doing it is very difficult so I love your instructions. I also have to say I am absolutely loving the cedar tree topper!
Crystal,
I’m so glad you liked this post. Thanks for stopping by.
Oh this is soooo helpful Rachel! I love how you break it down step by step how to make a bow. And I love the fresh boxwood and cedar, so clean and fresh! We have similar styles my friend!
Nicolle,
Thanks for stopping by. Yes, I love your style so much.
Rachel – Boy I needed this too. My bows are curly ribbon, curled with a scissor. I appreciate the tip on the type of ribbon to use. I’ll hunt for that. Your directions are super clear – thank you!
Regina,
Most floral shops carry this ribbon and it’s available on Amazon.
This is the perfect post for me Rachel! I’m a bow novice! lol I loved the easy tutorial on how to create the perfect bow. It was great doing this share with you!
Susan,
This is a foolproof way to tie a bow and I know you will love it.
I definitely need this tutorial! I struggle with all the bows, and you make it look so easy!
Kylie,
This technique works every time.
Rachel, I love your beautifully wrapped presents! And especially love the bow making technique tutorial!
Kristy,
I’m so glad you like it.
This is such a helpful tutorial. Your gift wrapping skills are fabulous my sweet friend! Thanks for sharing!
Thanks so much.