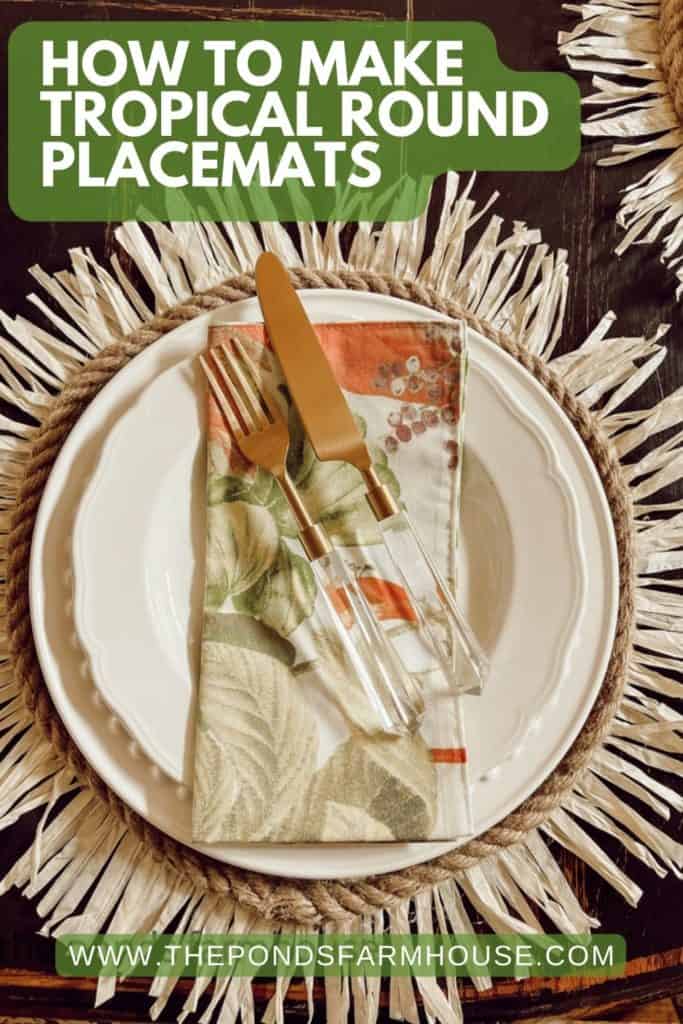
How To Make Tropical Round Placemats With Raffia And Burlap
Looking for a fun and easy way to add a tropical touch to your tablescape? Look no further than these DIY raffia and burlap tropical round placemats! These placemats are simple to make and can be customized to your liking. You can choose different burlap and raffia colors to create your unique style placemat.
In this easy tutorial, I will show you how to make these placemats step-by-step. I will also provide some tips for making your placemats look their best. So whether you are a beginner or a seasoned DIYer, this tutorial is for you!
I made these Tropical Placemats for an upcoming Hawaiian Luau, and you will love how they look on this month’s Supper Club Luau Table.
(Posts on The Ponds Farmhouse may contain affiliate links. As an Amazon Associate, I earn from qualifying purchases. See the full disclosure details here.)
Table of contents
How To Make A Round Placemat
First, do you remember the No Sew DIY Placemats made from burlap?
I decided to use this technique for the base of the tropical round placemat design.
Supplies for DIY Placemats
- Burlap Fabric
- Elmers Glue
- Raffia
- Hot Glue Gun and Glue Sticks
- Hot Glue Finger Protectors
- Scissors
- Jute Rope
Prepare Burlap for Round Placemats
Begin by cutting the burlap into smaller pieces.
I cut each piece 15 x 14 inches. The size of your placemats may vary, so be sure to allow enough fabric for each placemat.
Mix glue and water 50/50 combination and soak the burlap pieces.
Squeeze to remove excess glue and then hang to dry.
See the full tutorial for stiffening fabric here.
Once the fabric is dry, press with hot iron or heat press.
Trace Your Design
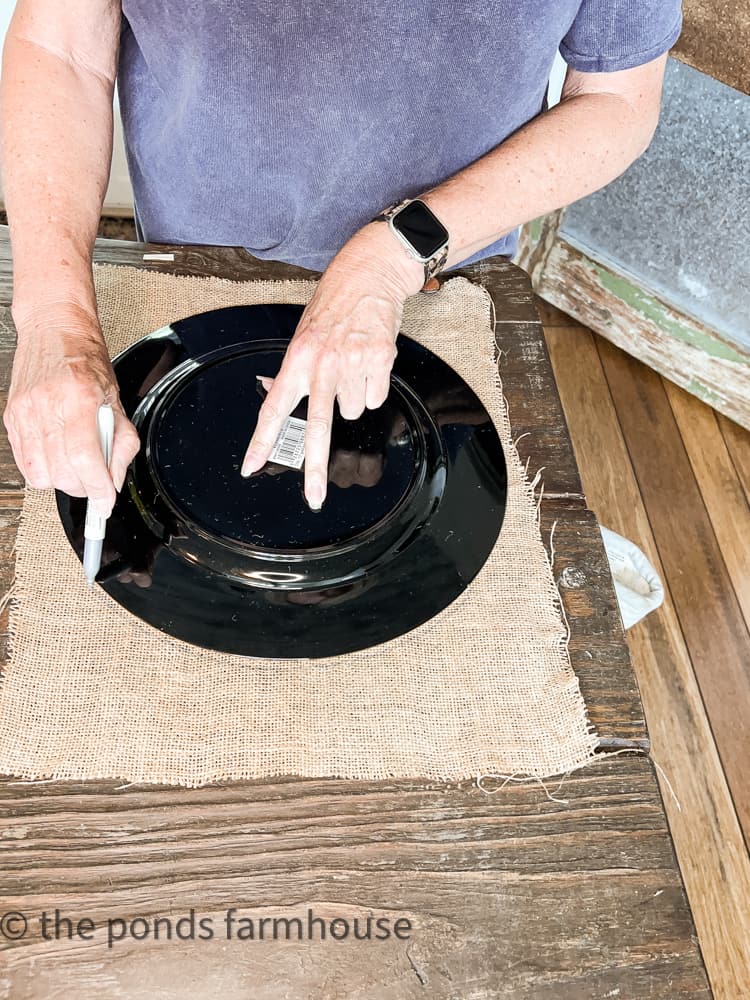
Begin by tracing your design onto the burlap.
I used a round plate charger to trace my design, and it was a perfect size for the placemats.
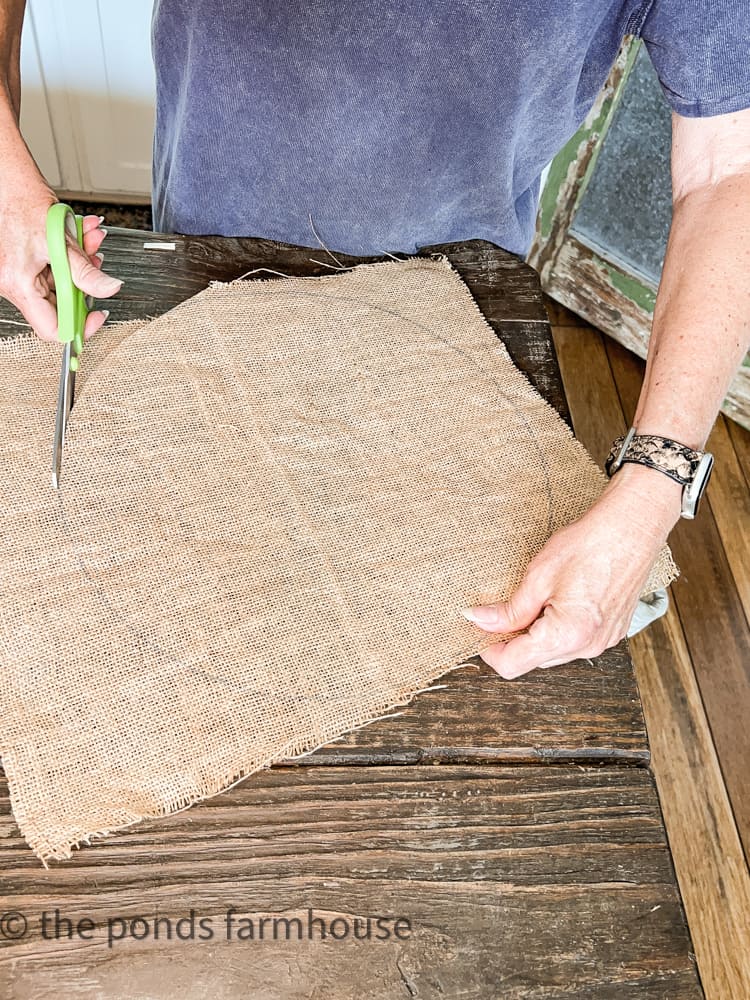
Next, cut the round design from the burlap using sharp scissors.
Prepare the Raffia
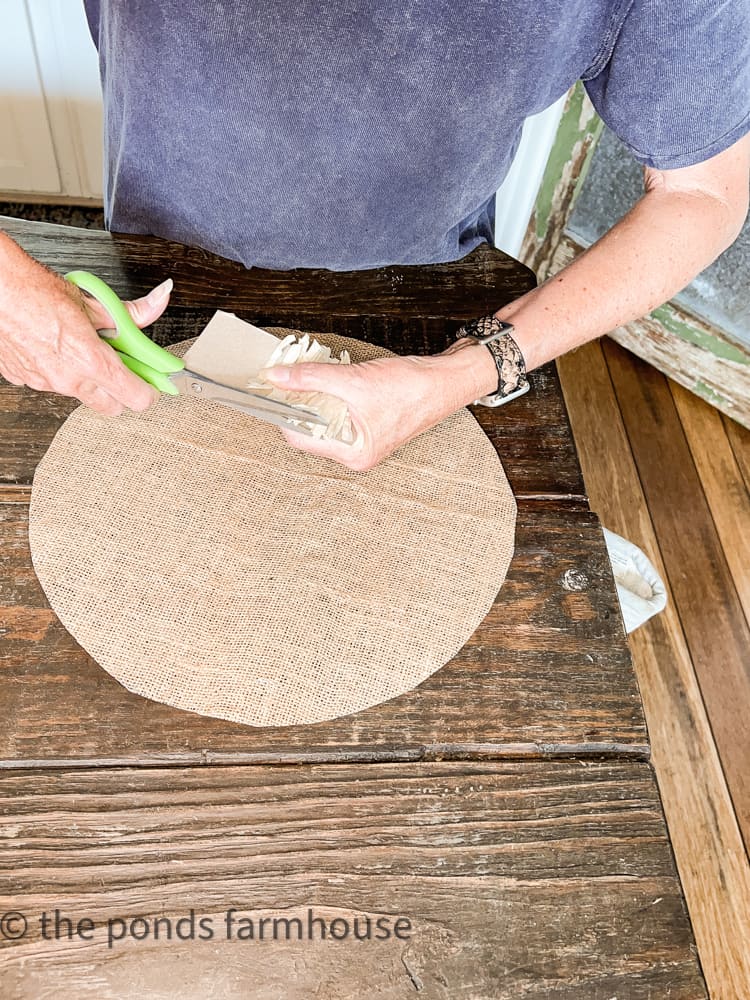
Next, cut the raffia into 2-inch strips.
To speed up this process, I cut a 2-inch piece of cardboard and wrapped the raffia around the cardboard several times.
Then using scissors, cut both ends of the raffia, creating multiple 2-inch pieces.
How To Make Tropical Round Placemats
Now you are ready to make the tropical round placemats.
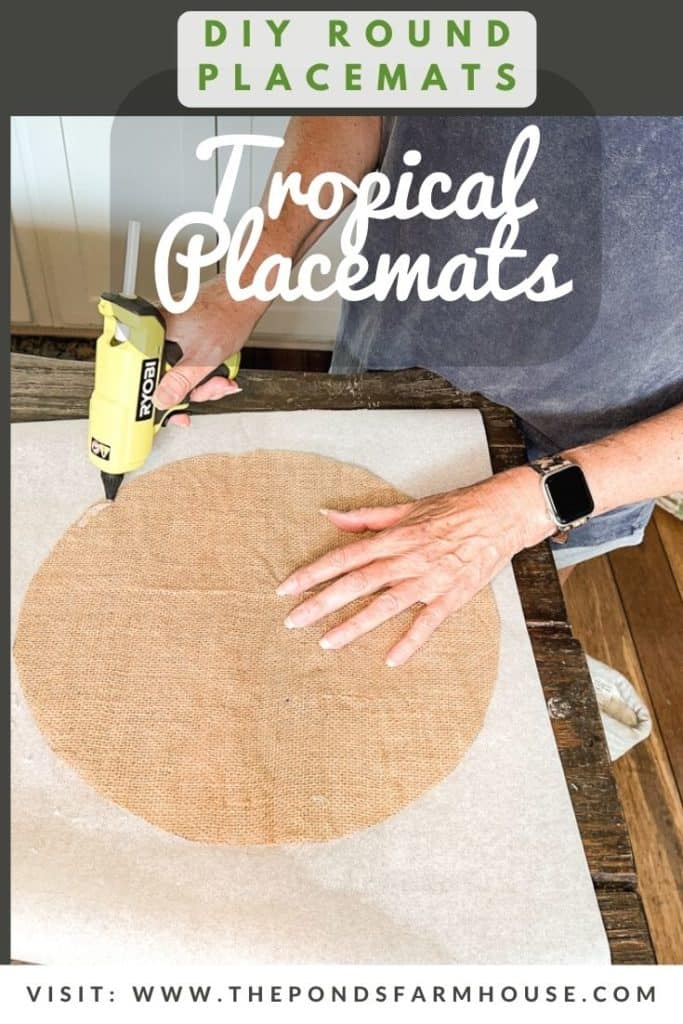
First, protect your surface with parchment paper or wax paper. Don’t use paper or cardboard; the hot glue can seep through the burlap and stick. You can easily detach any accidental glue from parchment or wax paper.
Begin by adding a bead of hot glue to the edge of the round burlap. Apply small sections at a time to avoid the glue drying too fast.
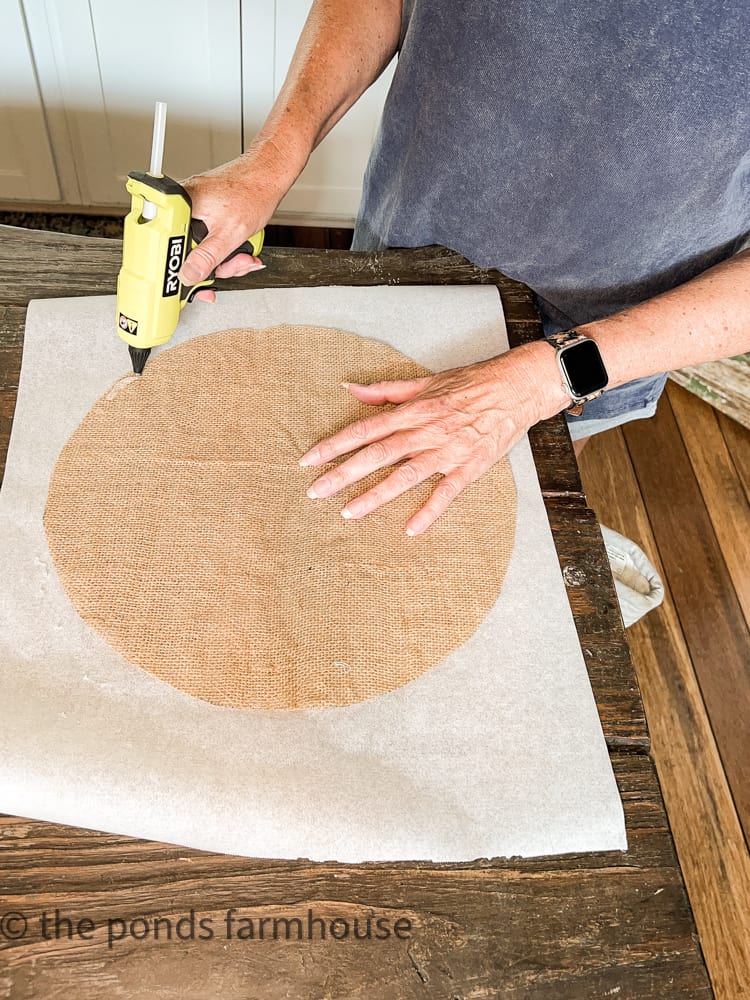
Attach the raffia pieces to the hot glue. I recommend using hot glue finger protection to avoid burns.
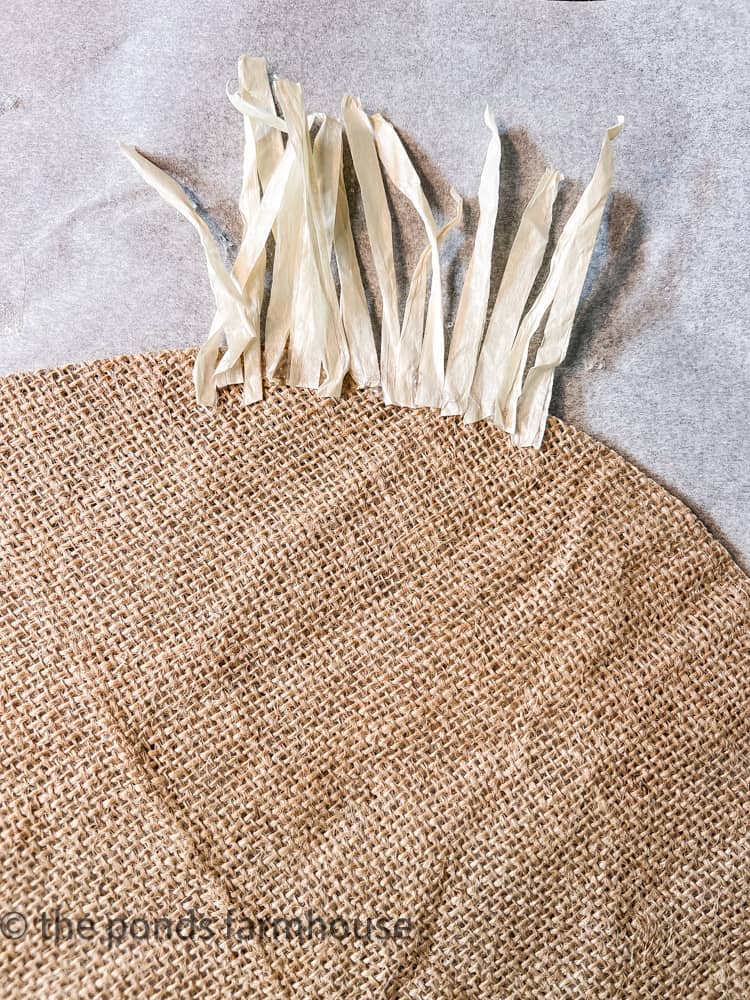
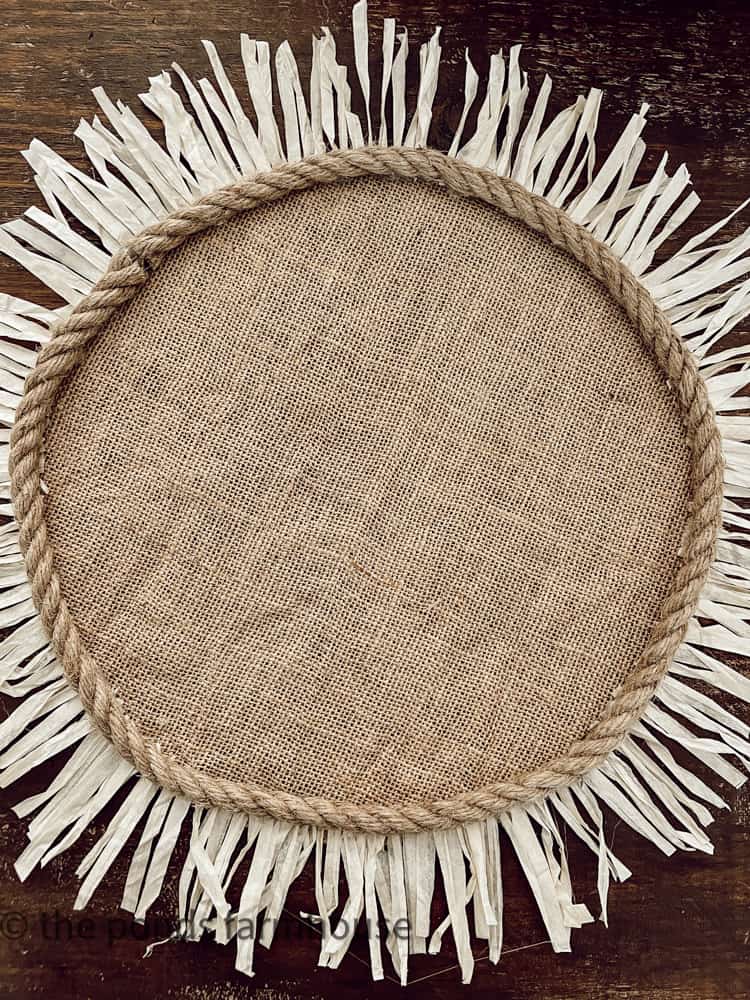
Continue around the edge until the entire area is filled with raffia. Fill any gaps with additional raffia before moving to the next step.
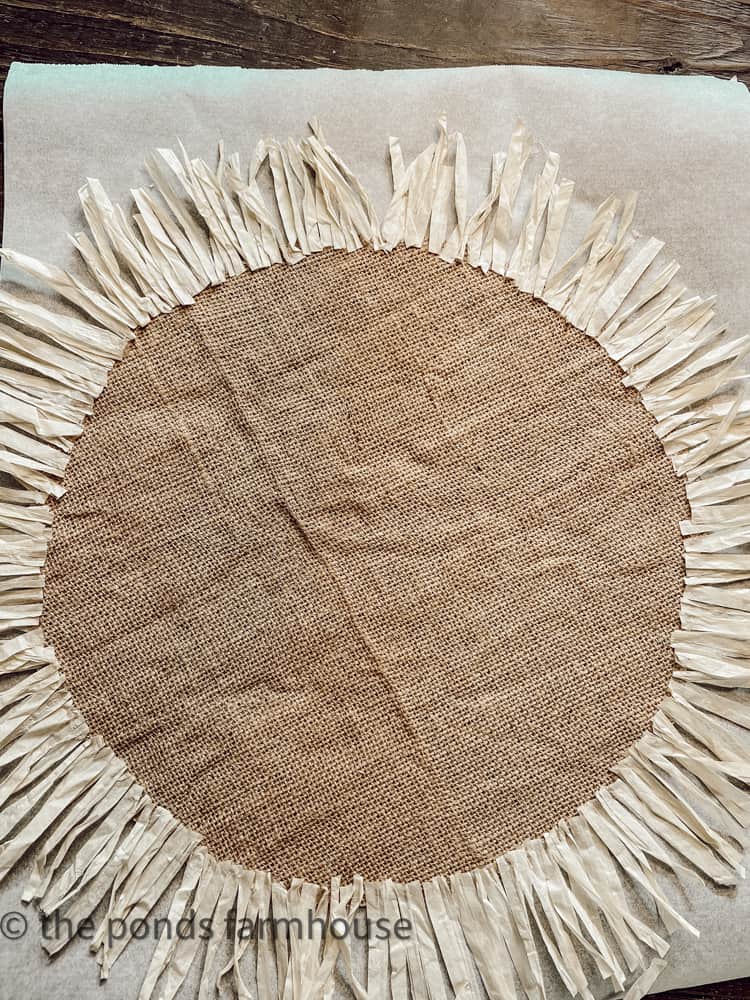
Seal Edges with Jute Rope
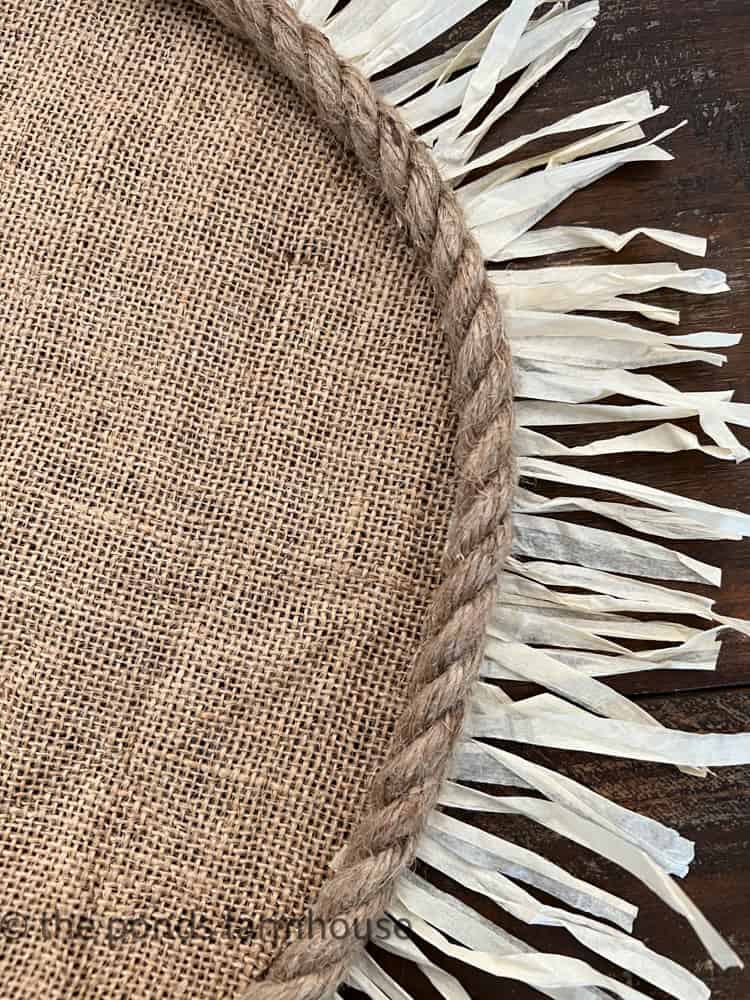
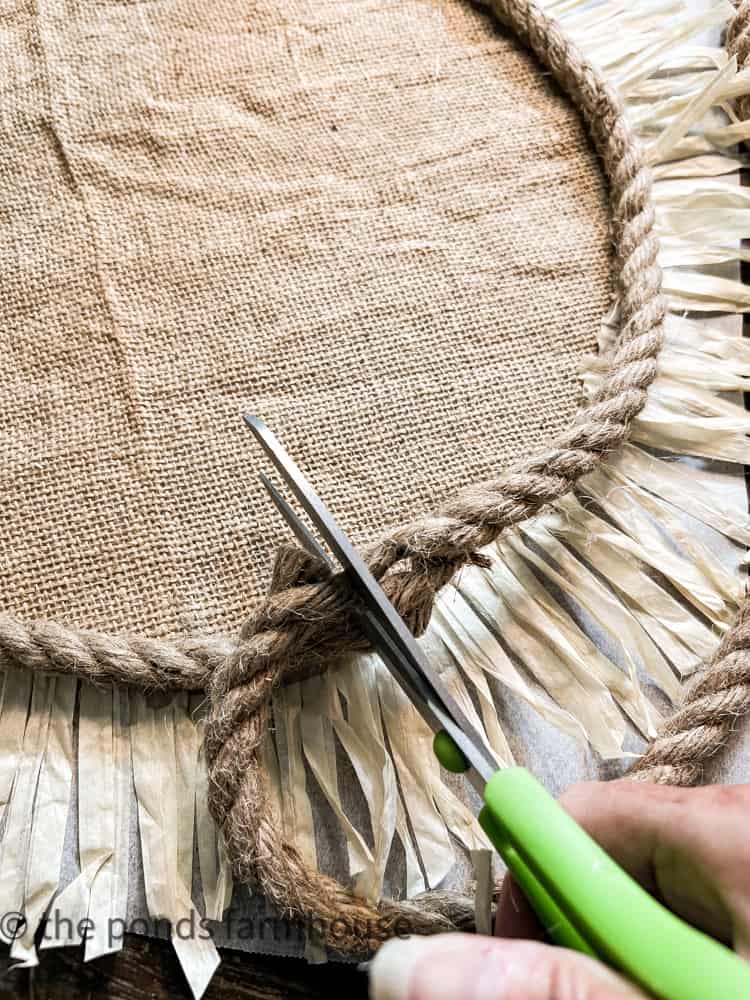
Finally, to cover the edges of the raffia, add jute rope.
Apply hot glue to the edges of the raffia where it’s attached to the burlap.
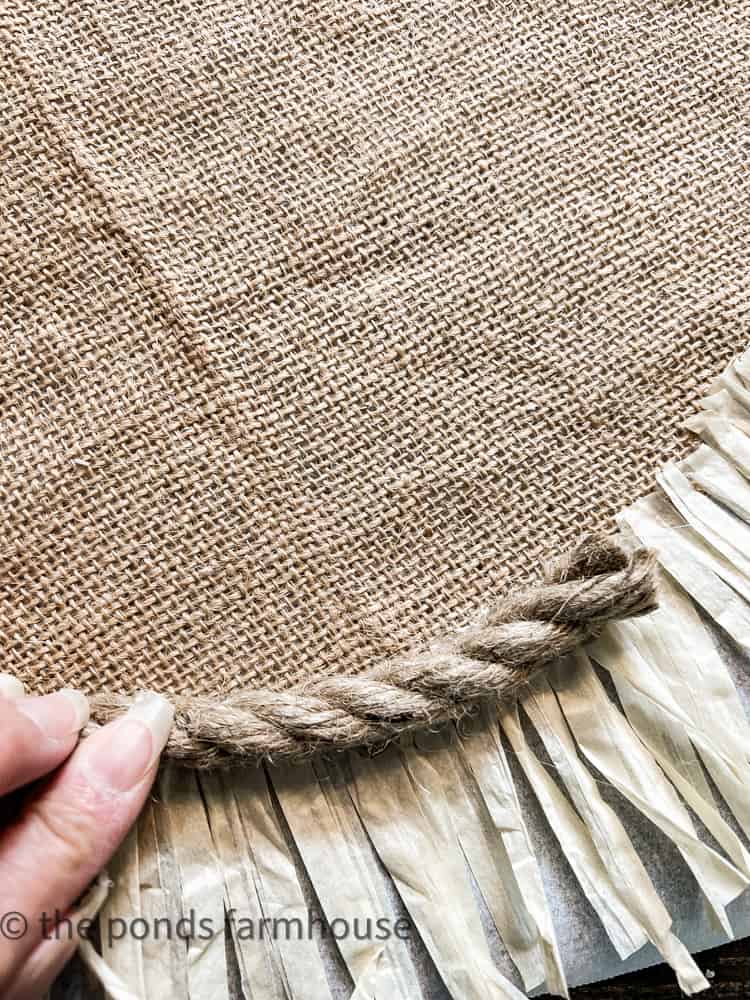
Work around the entire circle and cut the jute rope so both ends touch.
To finish, apply hot glue to both ends of the rope where it meets and hold it in place until it is sealed.
Tropical Round Placemat
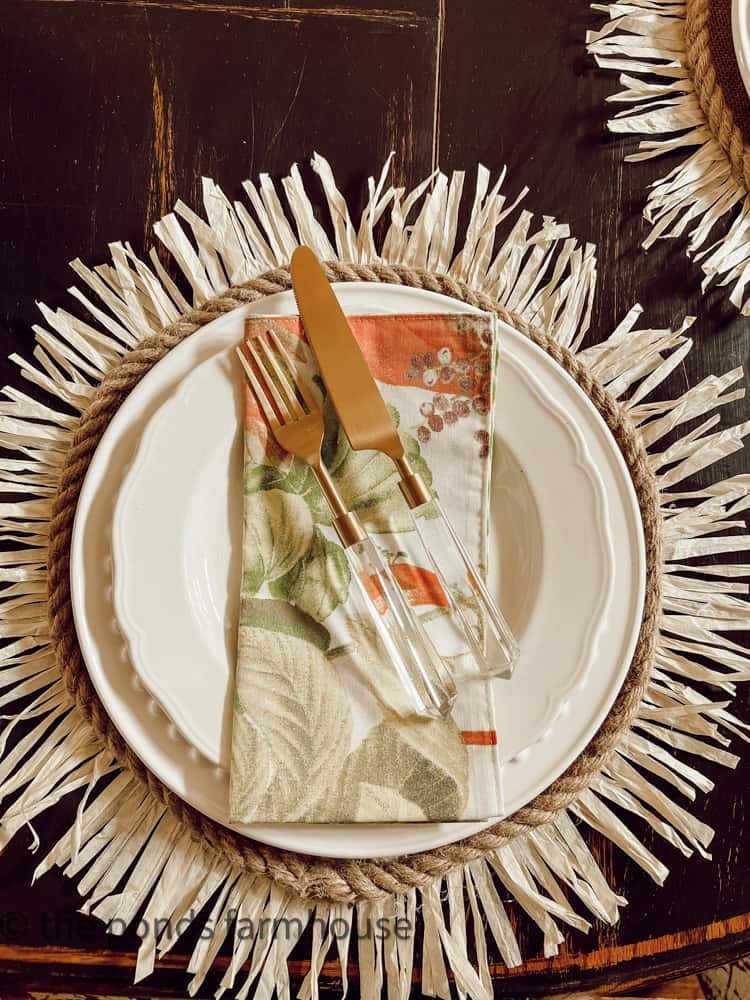
The finished tropical round placemat will look great on any summer tablescape.
When you make your own tableware, there are so many options. These Fall Leaf Chargers, Twig Plate Chargers, and Packing Material Plate Chargers are all inexpensive projects.
DIY projects allow you to create unique one-of-a-kind details on your tables.
If you attempt a version of this project, I’d love for you to share your creativity with me.
If you are not a DIY person, here are some options:
Click the image to shop


Be sure to check out the Luau Supper Club tablescape for more inspiration.
With the 4th of July just around the corner, you may enjoy this festive patriotic tablescape to inspire you.
More DIY Tableware Projects
- Tropical Napkin Rings Dupe for Less Than $5.00
- Copper Leaf Plate Chargers
- Twig Plate Chargers
- Packing Material Plate Chargers
- DIY No-Sew Burlap Placemats
- Easy DIY Burlap Napkin Rings
- DIY Twig Napkin Rings
Thanks so much for stopping by today. I look forward to sharing my next adventure with you.

Pin It To Remember It
Did you find some great ideas you’d like to save for future reference? Hover over the images you’d like to save and pin to your favorite Pinterest Boards when you see the PIN button.



What a great idea I love the placemats!
Thanks Stacy!! They were fun to make.
Rachel, this is so clever! I’ve been working with burlap lately and appreciate the tip about fabric stiffening. Can’t wait to see your Hawaiian luau table.
Thanks Mary, glad you liked it!
Love this Rachel, so perfect for an outdoor pool theme. I will have to give them a try.
Thanks so much Wendy, I appreciate it!
SO stinkin’ cute, doable and perfect for almost any season!
I see it for a luau, and for sure with those colors Autumn too!
Thank you for a project that is easy to do, cost effective and makes quite a fun statement too! Go Tablescapes!
Mic
Mic, thank you and I’m sure yours will turn out great!
This is such a great idea Rachel. I’m loving these placemats.
Kim,
They are looking so good for a Luau.
Your creativity and beautiful projects are endless! Love these! Sharing them on my weekly round up today, “From My Neck of the Woods.” My followers will love them!
I appreciate this so much.
Such a great idea. W love that you added the rope as well. I can’t wait to see the whole tablescape. Hugs to you.
Renae,
Thank you so much for stopping by.
This is such a fun idea! Love how affordable they are too for a themed party.
I appreciate this Anne.