How to Make Budget Large Christmas Ornaments From Dollar Tree
Are you a fan of large Christmas ornaments? They are all the rage, but these oversized Christmas ornaments can also be expensive. However, don’t despair; I have an easy, budget-friendly solution. You can use Dollar Tree Christmas items to make stylish and giant ornaments that look expensive for a fraction of the cost.
These projects require a minimum amount of supplies and skill level. If you want to jump on the large ornament Christmas train, I’ve got you covered.
For less than the cost of one or two large ornaments, I made 15 unique decorations for my home.
(Posts on The Ponds Farmhouse may contain affiliate links. As an Amazon Associate, I earn from qualifying purchases. See the full disclosure details here.)
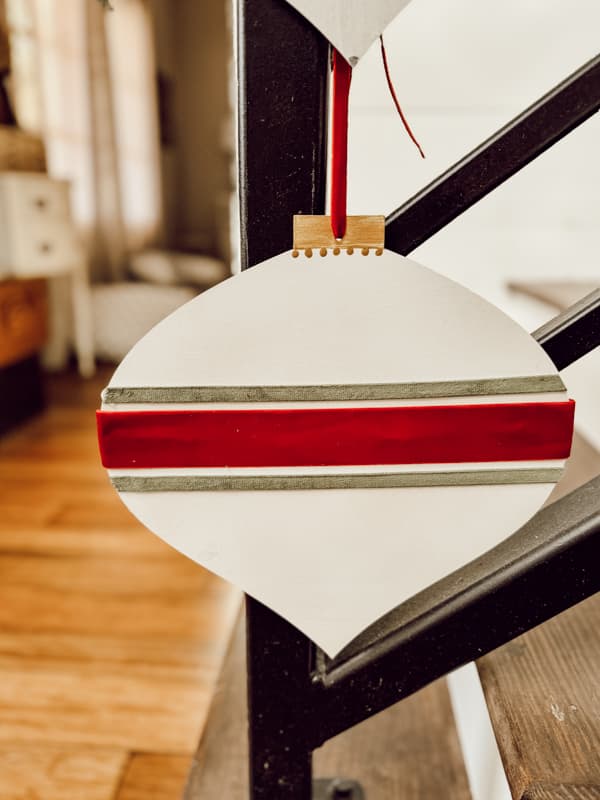
Table of contents
Why Are Large Christmas Ornaments Popular?
Large Christmas ornaments are mainly popular because they make a statement and are more visible than traditional-sized ornaments.
They are also great for decorating areas seen from a distance, such as porches, lawns, and banisters.
Adding a few oversized ornaments to a Christmas Tree adds a unique, attention-grabbing aspect to the overall tree design. You only need a scattering of the large ornaments to make an impact.
How To Decorate With Oversized Christmas Ornaments?
There are many ways to incorporate the oversized Christmas ornaments into your holiday decor.
- Mix them with your smaller ornaments on a Christmas Tree for added impact.
- Add them to a garland around your front door.
- Hang them from porch railings.
- Use them to decorate an outdoor tree. (Note Insider Tips if using outdoors)
- Add them to wreaths, garlands, and more.
- Hang them on your staircase, banister, or mantel.
I wanted large Christmas ornaments to hang on my banister for this year’s decorations. Due to the size of the banister, a budget option was necessary. Using Dollar Tree Christmas items allowed me to fill the banister with Christmas cheer without breaking the bank.
Three Large Christmas Ornament Ideas
First, I visited my local Dollar Tree to see what Christmas items had arrived. Luckily, I found a trio of Christmas ornament wooden cutouts.

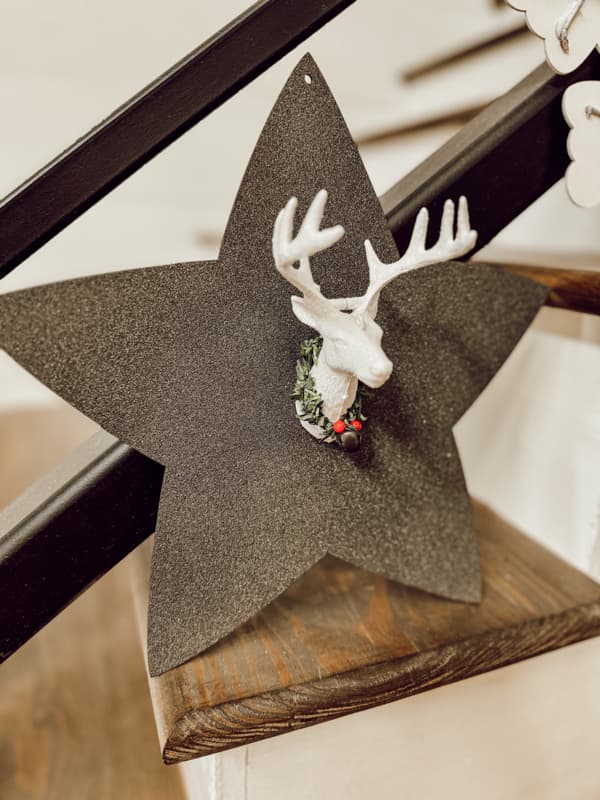
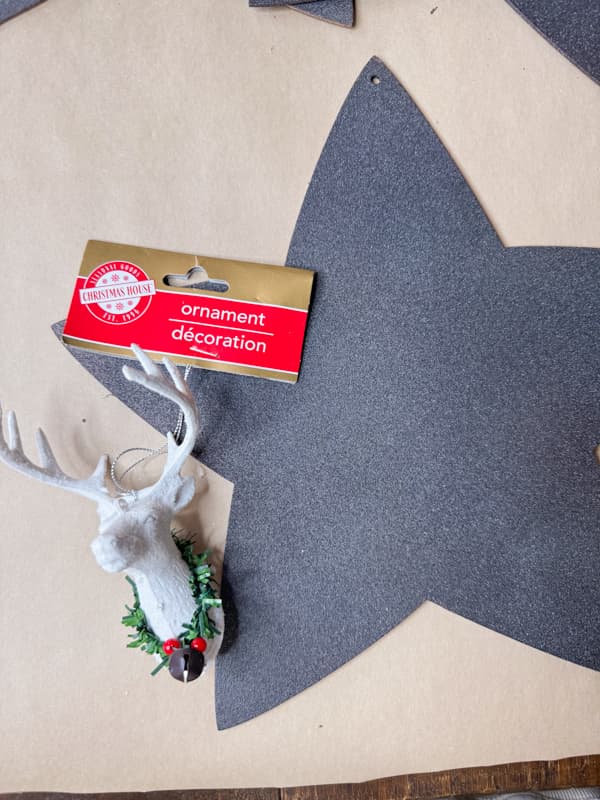
I quickly decided on a design for each of these oversized cutouts. This year, I’m working with a reindeer theme, and I decided this deer ornament would be a perfect addition to the star cutout. They are cute and the perfect size. I grabbed five ornaments to enhance the star cutouts.
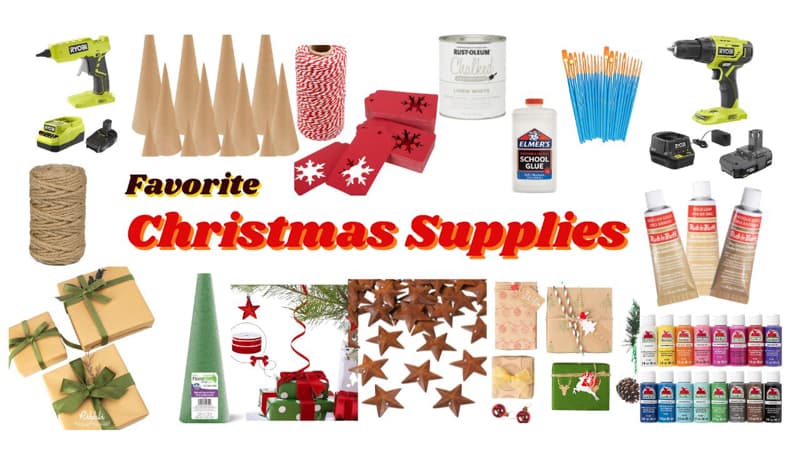
Supplies and Tools
Dollar Tree Supplies
- Stars
- Teardrop Ornaments
- Snowflake
- White Deer Head Ornaments
Additional supplies and tools
- Red Ribbon in 3 sizes
- Green Ribbon
- E-6000 Glue
- Hot Glue Gun
- Foraged Twigs
- Pruning Shears
- Scissors
- Hammered Black Spray Paint
- Chalky White Spray Paint
- Clear, Waterproof Protective Sealer (if using outdoors)
How To Make Large Ornaments from Dollar Tree Christmas Items
There are several options for painting and embellishing the Dollar Tree Christmas items. You can use your creativity to make many designs on large Christmas ornaments. However, I plan to use the ornaments grouped on my banister and decided to make only three designs.
How to Make a Large Snowflake Ornament
Begin with Chalky White spray paint to cover the wooden snowflake cutouts’ front and back sides.
Next, use several foraged twigs to enhance the snowflakes. Gather as many straight twigs as possible for this design. Use the pruning shears to remove branches and cut the twigs to size.
Add a line of hot glue to adhere the twigs to the Dollar Tree wooden snowflake.
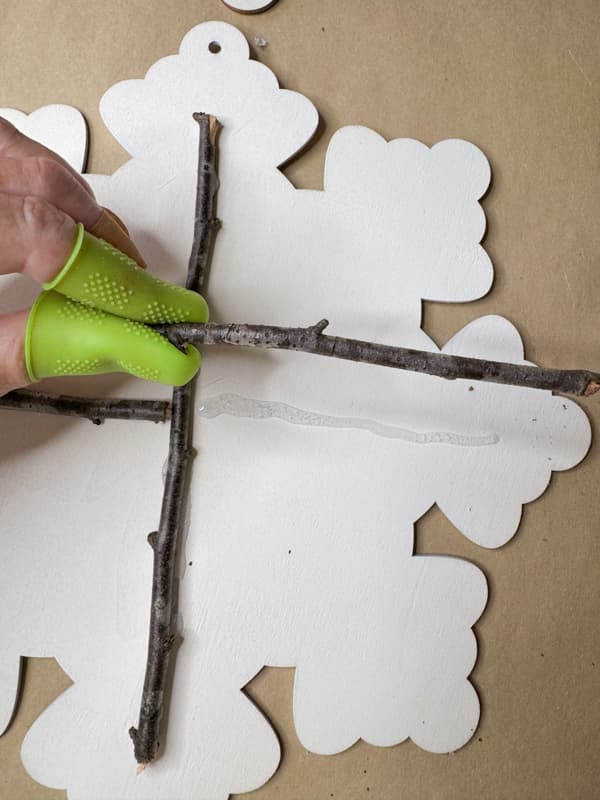
Continue to fill the snowflakes with twigs until you have the desired design. Finally, use the chalky white spray paint once again to apply good coverage to the snowflakes and twigs.
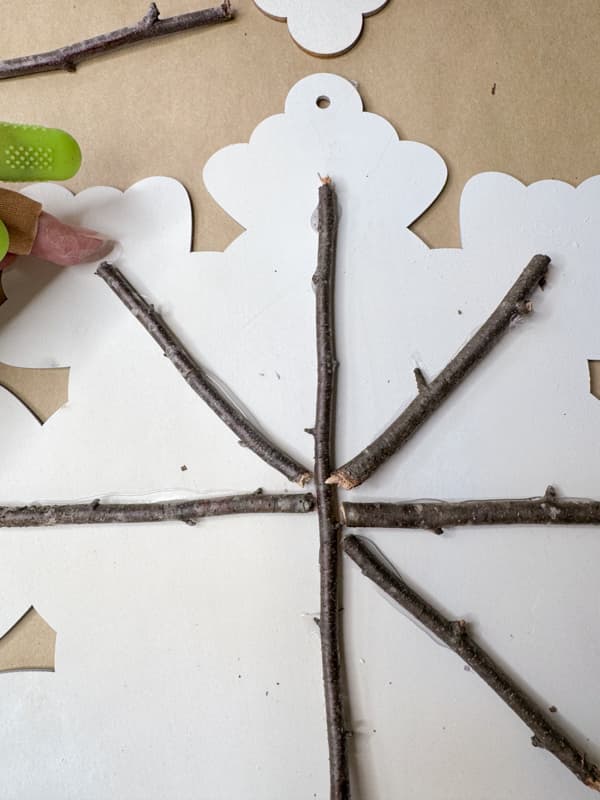
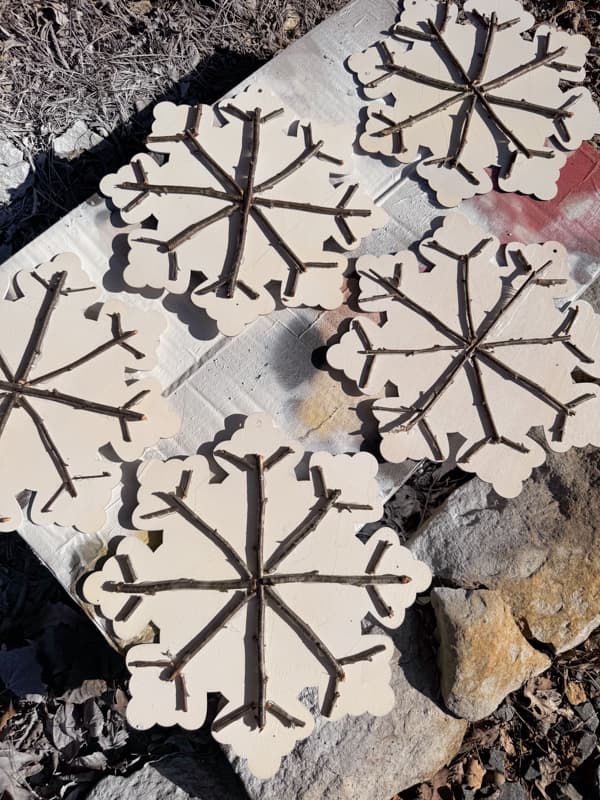
Adding the twig embellishment gives the Dollar Tree Christmas item a custom appearance.
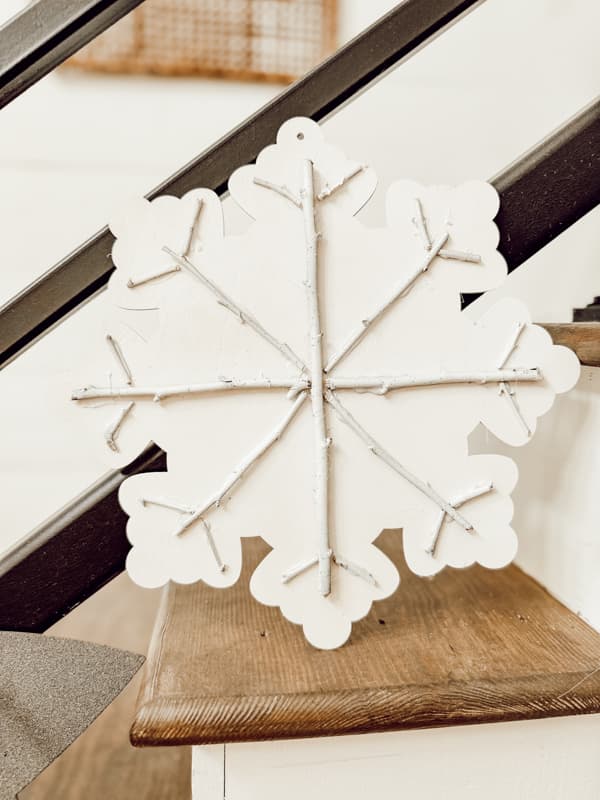
Insider Tip
These instructions will be great for any items you are using inside the home. However, take a few precautions if you plan to use them outside.
First, apply two coats of paint on all the designs.
Finish with a protective sealer that is waterproof.
How To Make Giant Star Ornaments with Dollar Tree Items
First, use the hammered black spray paint to cover the Dollar Tree wooden star cutouts.
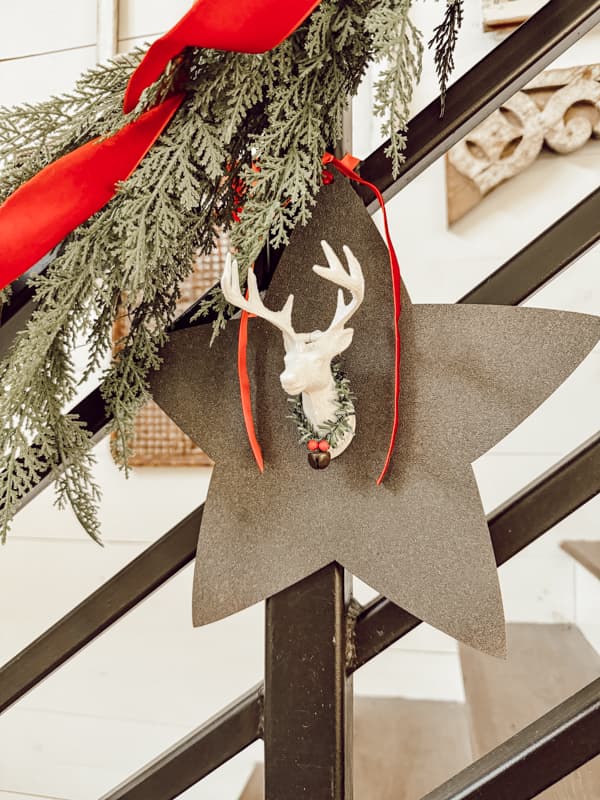
Once the paint is dry, add E-6000 to the flat backside of the deer ornament. In addition, add hot glue to the same area.
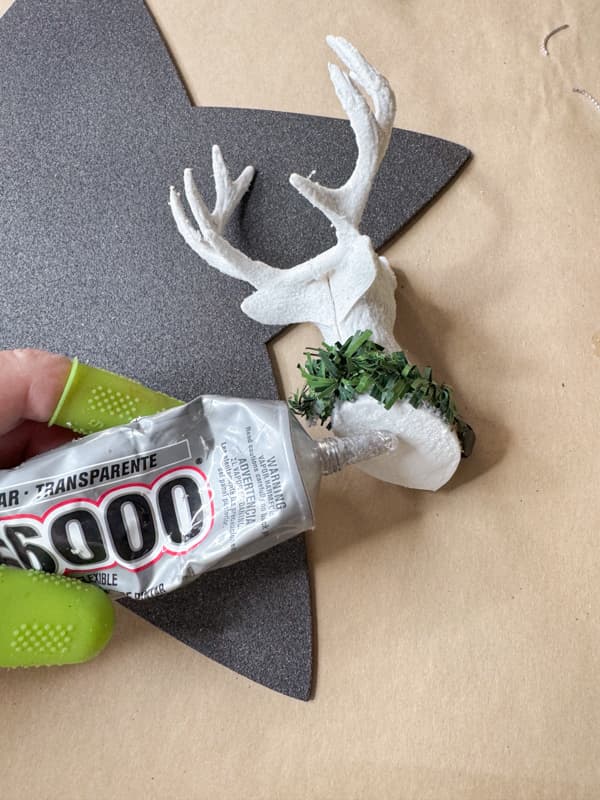
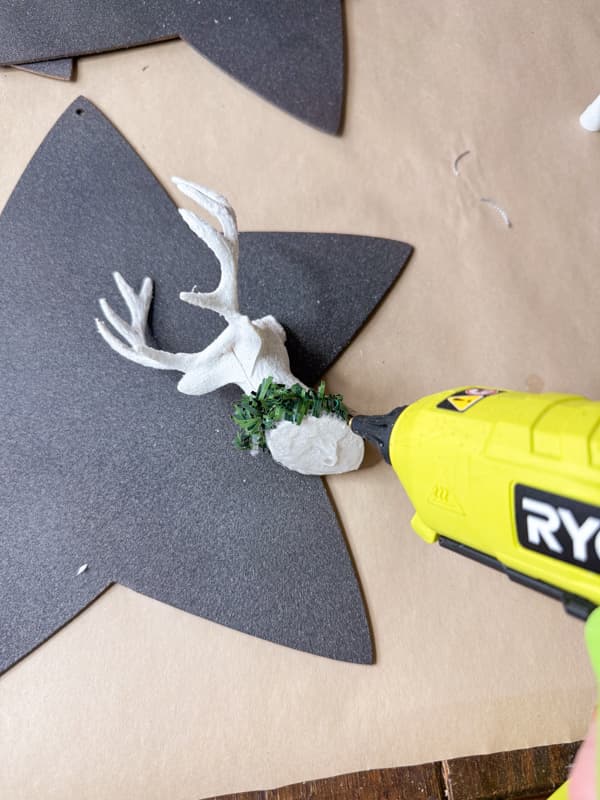
Press the deer head ornament to the center of the star cutout and hold it in place until it feels secure. Repeat the above steps until you have the desired number of large star ornaments.
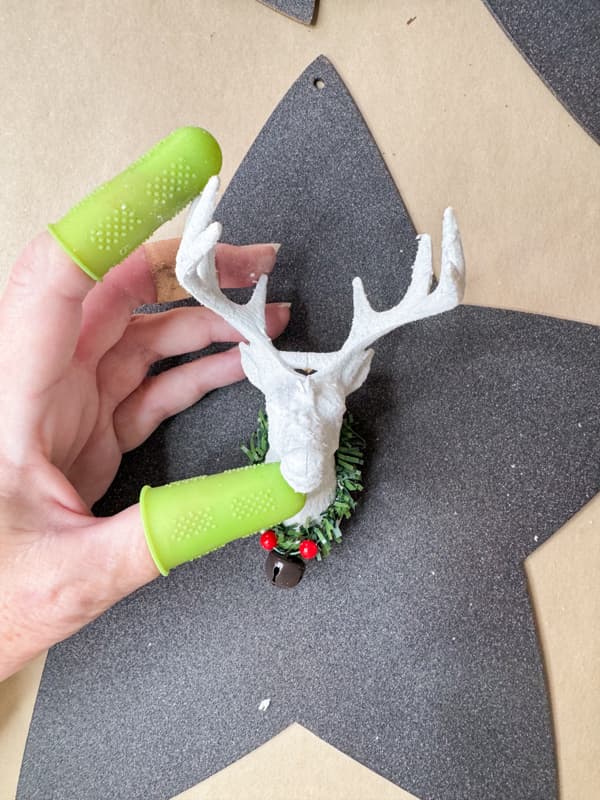
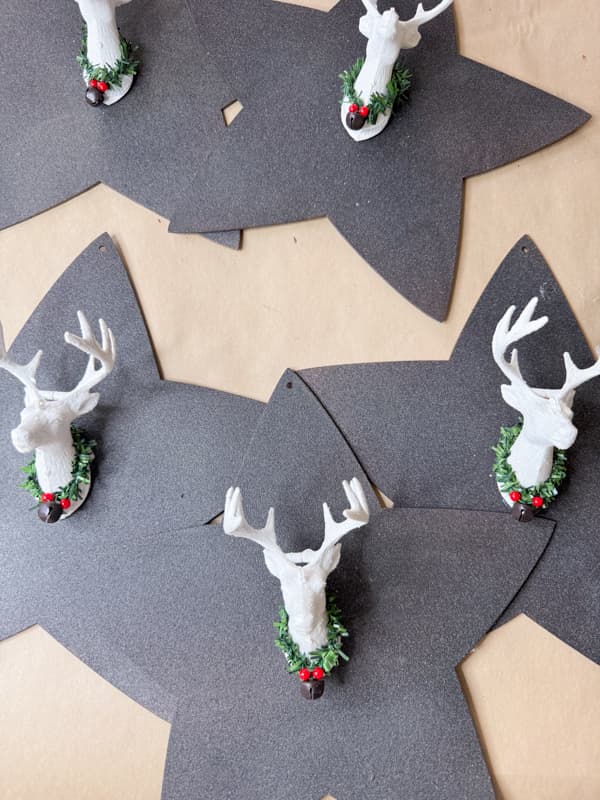
Insider Tip
When adding permanent glue to a large craft piece, also add a layer of hot glue.
The hot glue will adhere quickly, allowing the permanent glue to dry over time.
Embellishing a Dollar Tree Teardrop Ornament
Finally, the teardrop wooden cutout is my favorite design. Begin by painting both sides of the large ornament with the Chalky White spray paint.
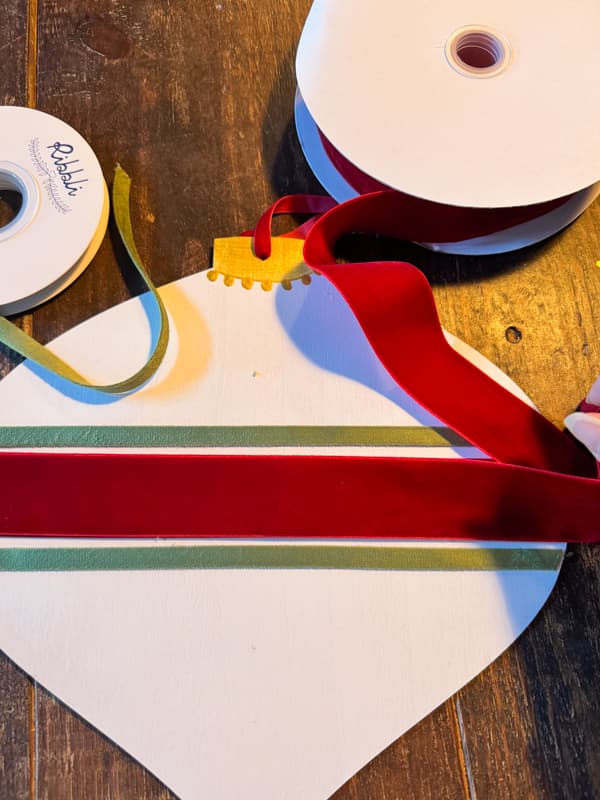
Next, use metallic gold paint to design an ornament cap for the wooden cutout. Paint the top cap section with metallic paint and then add large dots below the painted area as shown below.
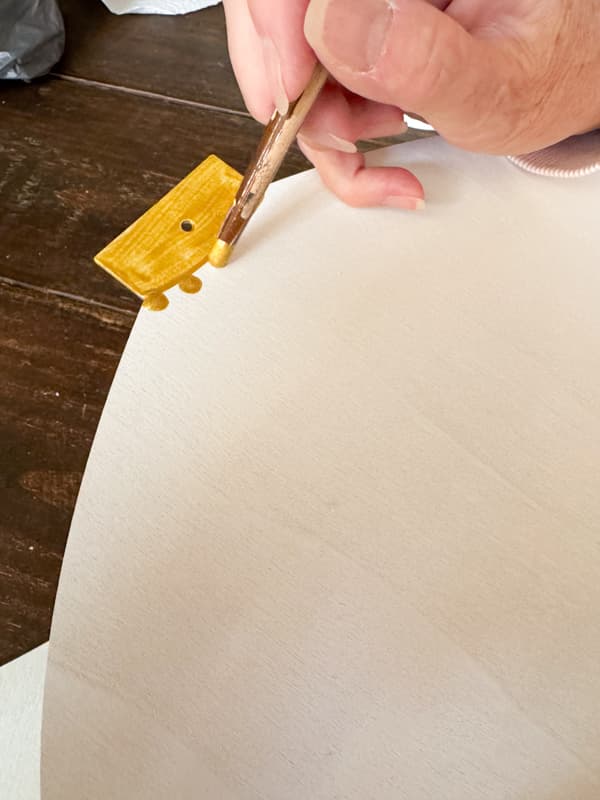
Once the paint is dry, attach the red and green ribbons with hot glue.
Begin with the 1 1/2-inch wide red velvet ribbon. Draw a level line on the ornament to ensure the ribbon is placed correctly.
Add a line of hot glue along the level line and press the ribbon onto the ornament.
Next, add a line of hot glue slightly above the ribbon. Attach the green ribbon to this line by pressing it into the hot glue. Repeat with a line just below the original ribbon.
Hanging The Ornaments
Add ribbon, jute twine, or yarn to allow the ornaments to hang. This will allow you to hang them on your tree or tie them to your garlands, wreaths, or banisters.

Adding Oversized Christmas Ornaments To A Banister
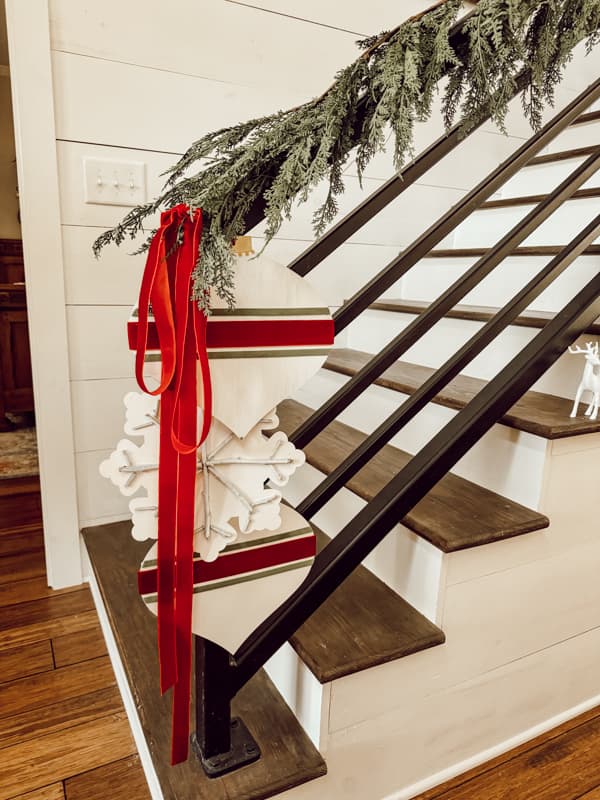
This year, I plan to add these custom, oversized Christmas ornaments to our banister. We have a large banister visible from the main living area. There is a lot of area to cover as it extends up the staircase and all along the open loft. Therefore, I have made five of each ornament.
The wooden cutouts have a hole provided on each ornament to attach a hanger. I used the 2/5-inch ribbon to tie them to the banister.
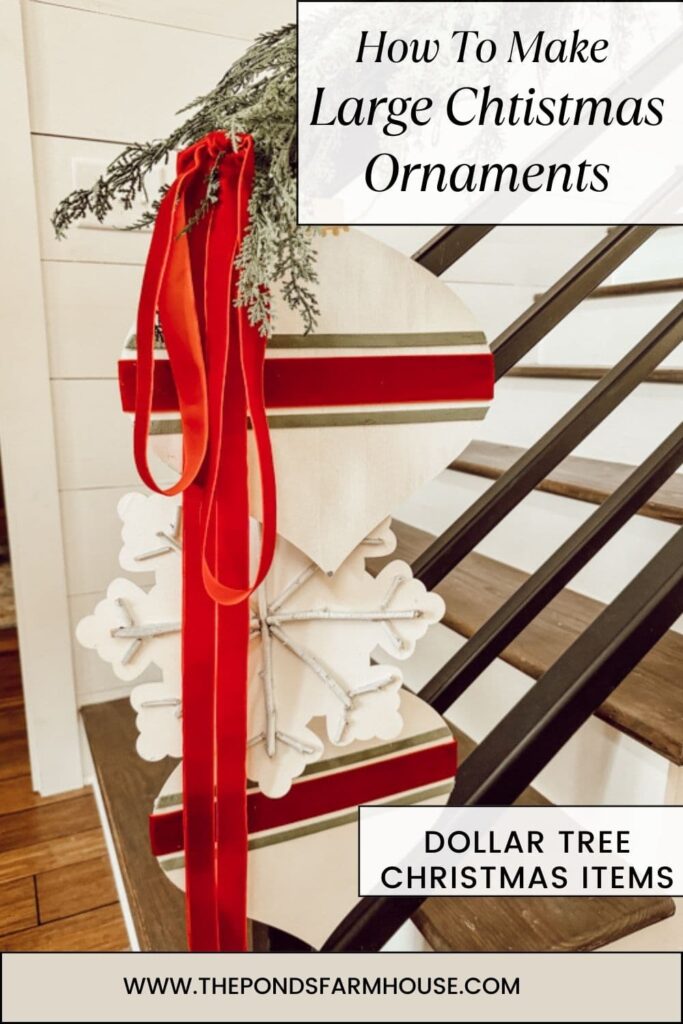
I began with two of the teardrops and one of the snowflakes added to the end of the banister. A soft touch cedar garland fills in between each set of ornaments. In addition, I used the 1-inch red velvet ribbon to tie a loose bow at the end.
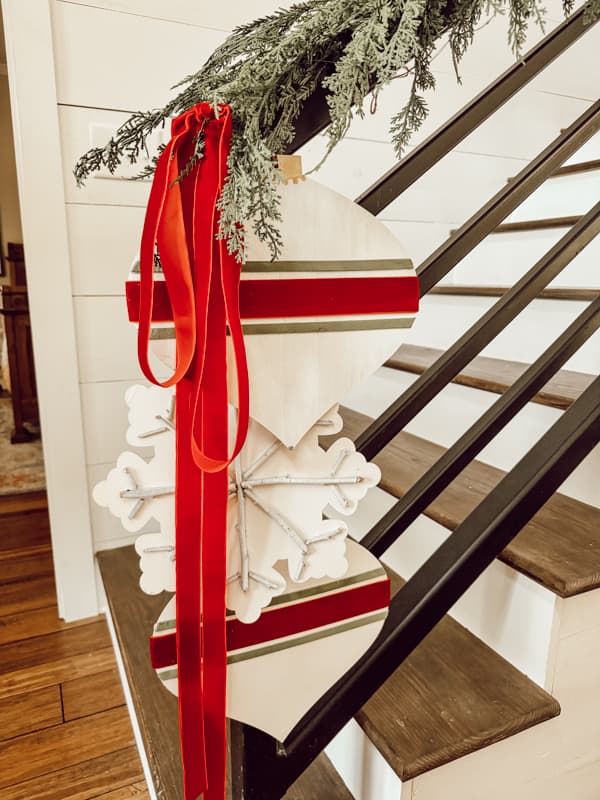
The additional ornaments are strategically placed along and between the garland. At the next break in the garland, I added one of the star ornaments with the deer head.
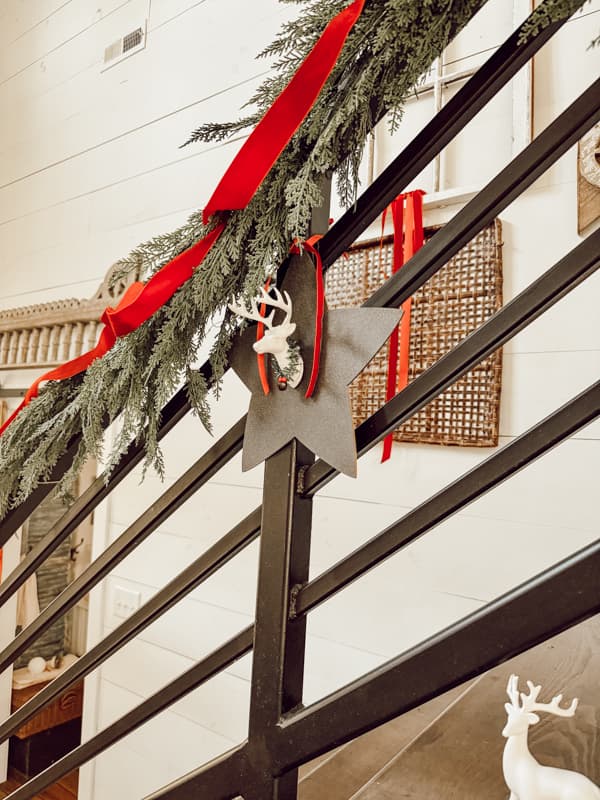
The large Christmas Ornaments can be tied directly to the banister railing or the garland if that works best for your design.
Focal Point of The Banister
At the center of the loft, I grouped five ornaments to create a focal point. This area is immediately visible when you enter the front door.
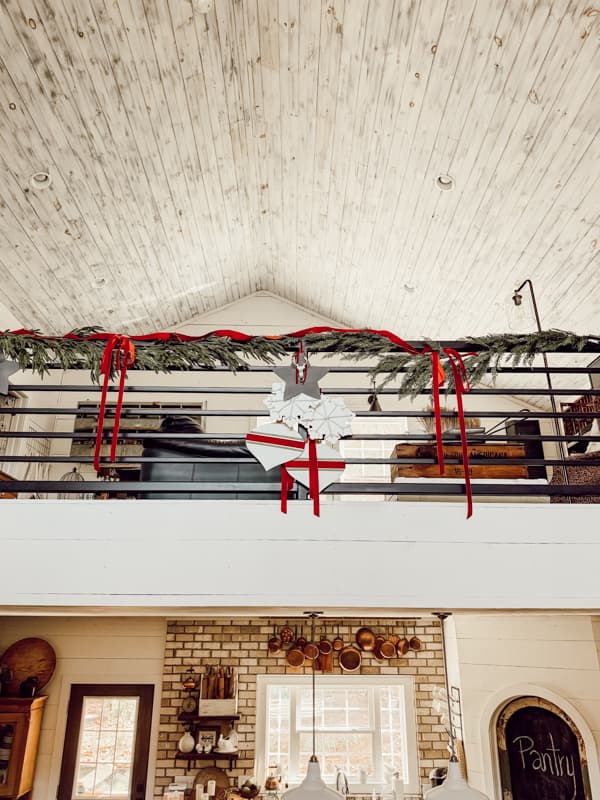
The focal point includes two teardrops, two snowflakes, and one star ornament.
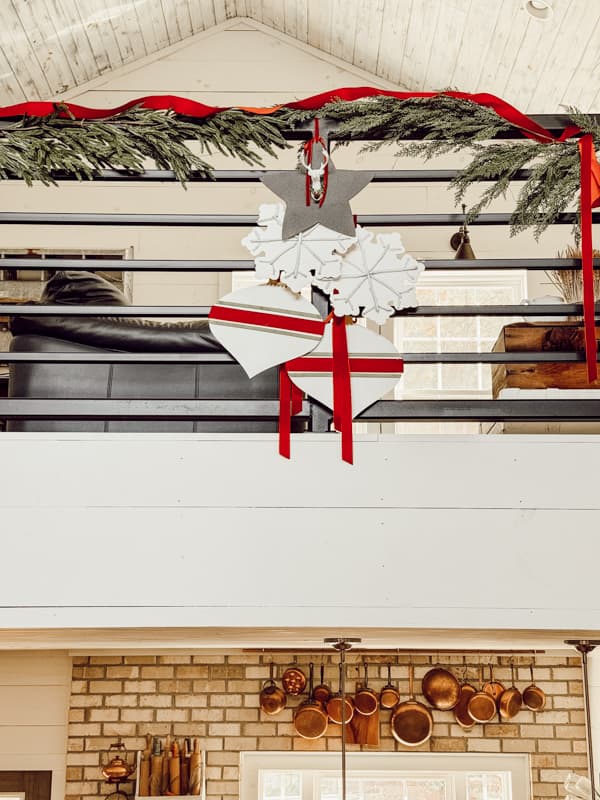
Use the red ribbon generously to enhance the DIY oversized Christmas ornaments and garland.
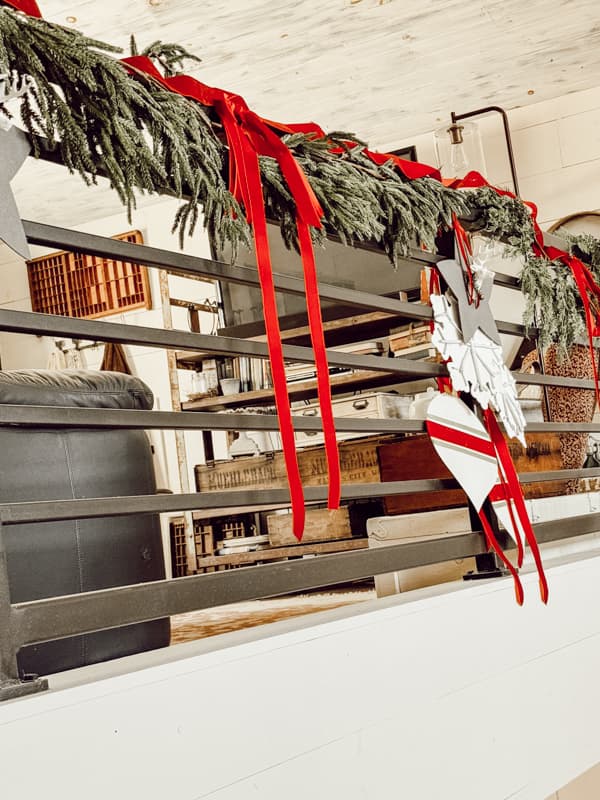
The remaining large ornaments will be added along the banister at regular intervals. The oversized ornaments are visible from the lower level, making a festive holiday statement. I only spent $25.00 on Dollar Tree Christmas items to complete this project.
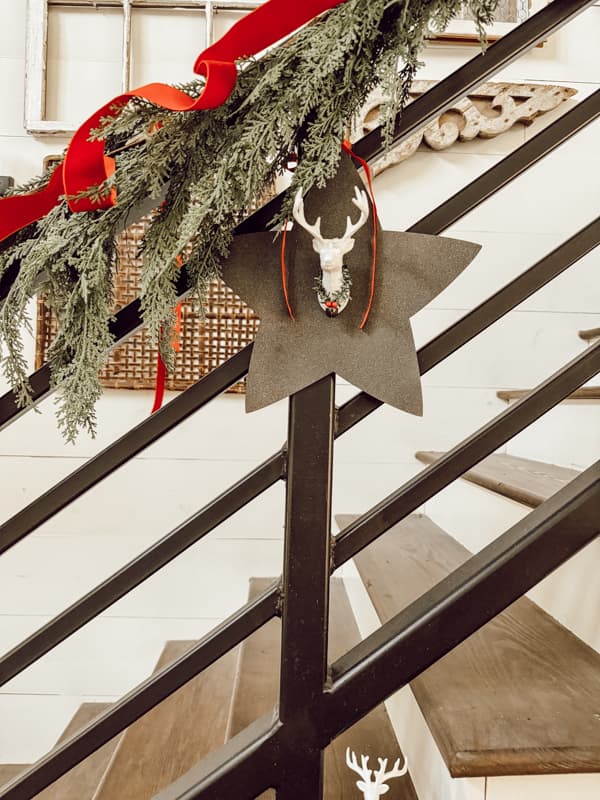
Don’t have a banister, no worries!
There are so many ways to use these ornaments to enhance your home this holiday.
- Hang them on shelves or mantels.
- Add them to pegboards.
- Personalize them to hang on kids’ doors.
- Add a trio to an interior door or a front door.
You can combine the different Christmas ornaments in many ways for your Holiday decorating.
I’d love to hear your ideas on using Dollar Tree Christmas items to add budget-friendly holiday decorations to your home.
Additional Budget-Friendly DIY Christmas Decorations
- Budget-Friendly Christmas Garland For Farmhouse
- 27 Easy Budget Christmas Crafts To Make Now
- Recycle Wine Corks Easy Christmas Tree
- Easy Air Dry Clay Ornaments
- 3 Eco-friendly Christmas Ornament Tutorials
Resources – Click Images To Shop
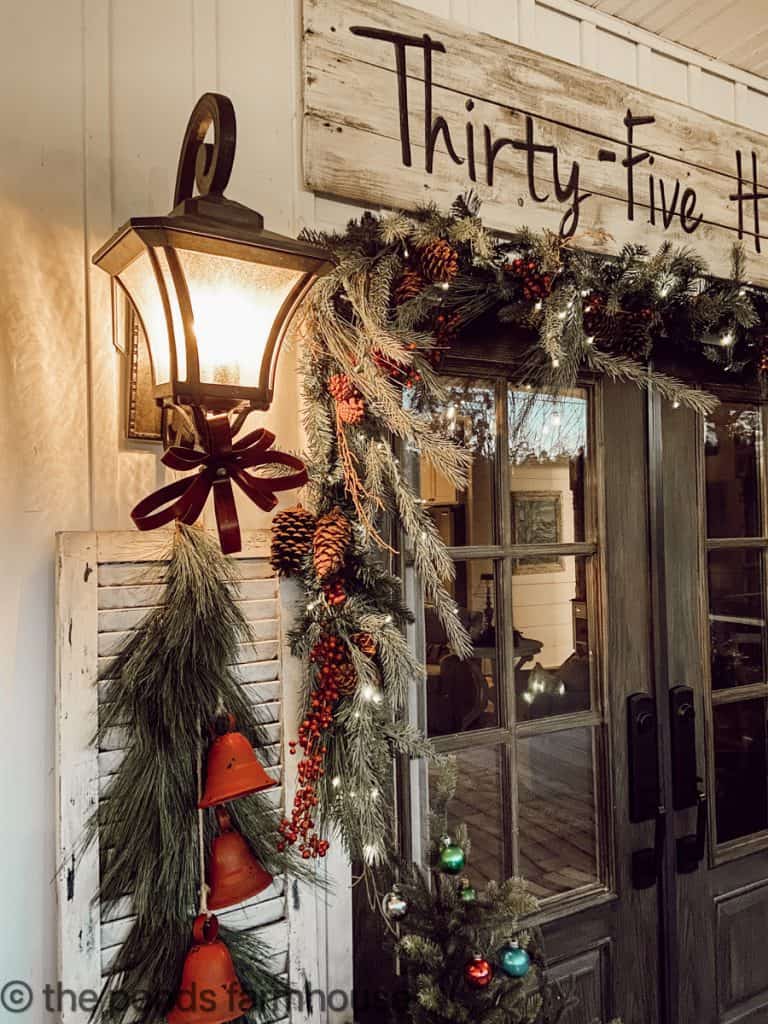
See Cedar Garland from Journey Decor Here. Get a 10% discount with code: PONDSFARMHOUSE.

Pin It To Remember It
Did you find some great ideas you’d like to save for future reference? Hover over the images you’d like to save and pin to your favorite Pinterest Boards when you see the PIN button.




Such a clever idea. They look great.
Renae,
I’m glad you like them. Thank you.
Hi Rachel. U r the movie star of the creative world. Luv these large ornaments
If putting these outside, I have found Neverwet by Rustoleum works great.
Keep sending out these wonderful ideas.
Diana,
Oh what a great idea. I use neverwet all the time but didn’t think about it for the ornaments.
Super cute Rachel, Love the velvet ribbon too.
Wendy,
I really appreciate this. Thanks for stopping by.
Great ideas! Looks very festive!!
Rebekah,
I’m so glad you like it. Thanks for stopping by.
This is the cutest idea, Rachel! Love the giant snowflake!
Kim,
Thanks! I’s really happy with them all.
These are seriously so pretty, Rachel. I don’t know where you find the inspiration to create so many wonderful things but I’m excited that you share your ideas with us. Thanks so much for the extra tips on how we can use this idea if we don’t have a banister. This would be so pretty on a mantel or a door.
CoCo,
I’ve always been budget minded and I’m just glad you like these inexpensive ideas.
These are so cute….hope my dollar store has them. Plan to use on my covered porch railings. Love your ideas and that they are easy to do and at a reasonable price. Thank you for sharing such great tips.
I’m so glad you like them.