How To Make A Patriotic Wreath From Twigs: Dollar Tree Craft
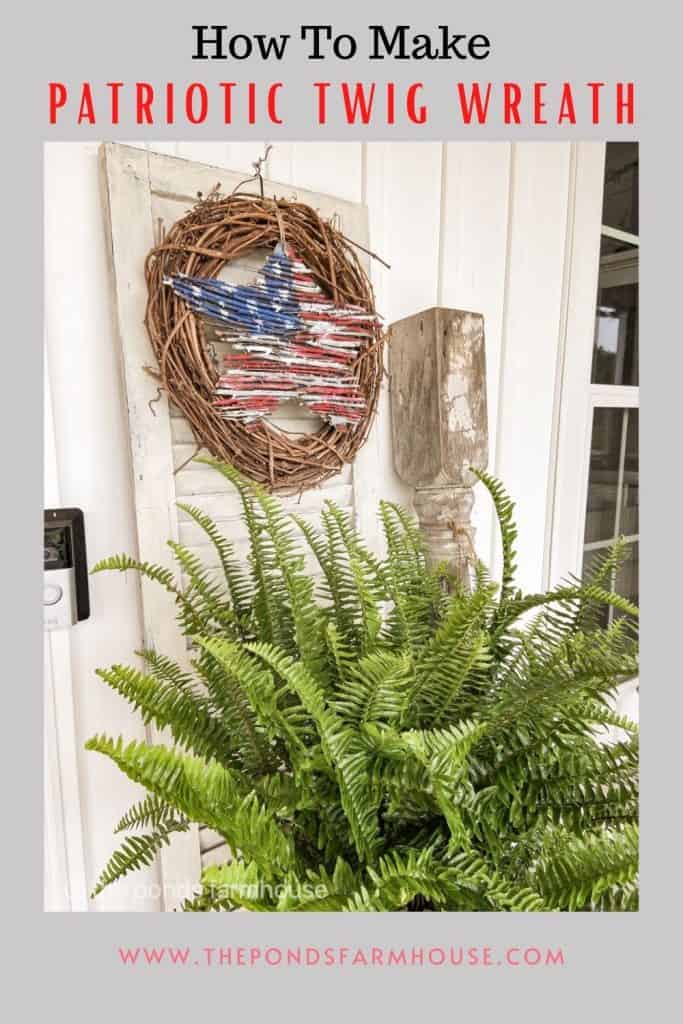
I’m going to show you how to make a Patriotic Wreath using free twigs from your yard and a Dollar Tree wooden star. It’s an easy, budget-friendly project you can make with your kids or grandchildren.
Y’all, I love to create projects from foraged items that can be made practically for FREE! If you enjoy a project like that, you will enjoy today’s tutorial.
Do you ever purchase something without a clue of how you plan to use it? I do it all the time! However, I usually find a use for these inexpensive items, eventually!
So, about three months ago, I purchased two wooden stars from The Dollar Tree. I felt certain that a Patriotic Decor idea would occur to me. And it finally did!!
(Posts on The Ponds Farmhouse may contain affiliate links. As an Amazon Associate, I earn from qualifying purchases. See the full disclosure details here.)
Table of contents
How To Make A Patriotic Wreath
You have probably seen many patriotic wreaths with beautiful red, white, and blue ribbons. However, today’s wreath is unique.
First, I planned to add foraged twigs to the wooden stars to decorate the porch for the 4th of July.
Originally, I thought they would hang on the shutters alone. However, once finished, they were smaller than I anticipated, so I decided to add a grapevine wreath.
Let’s take a look at all the supplies needed.
Materials for a Patriotic Wreath
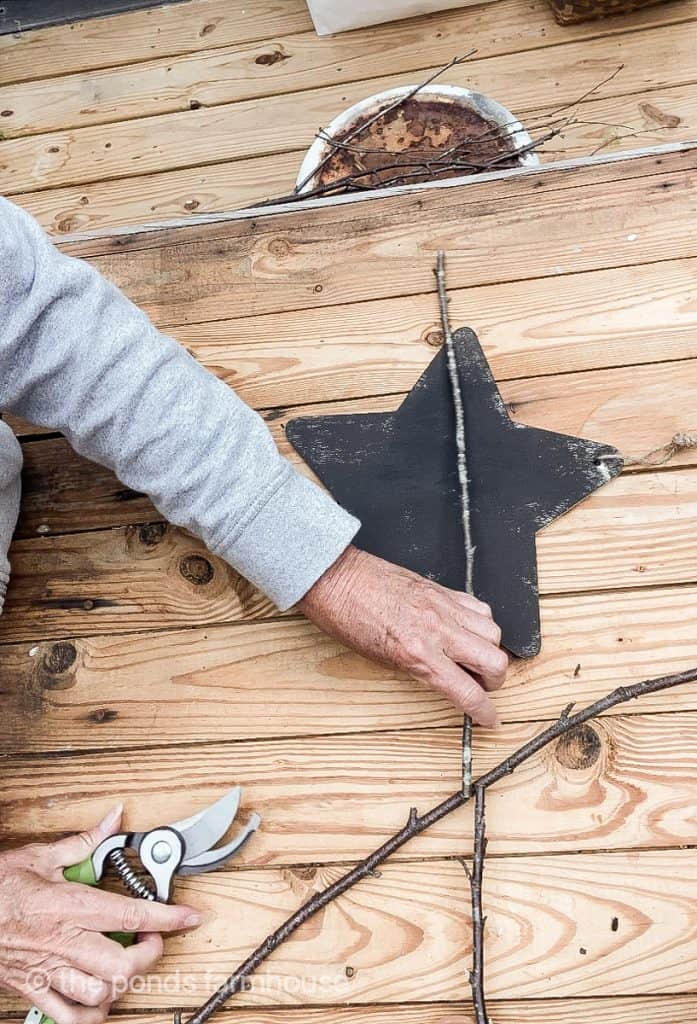
Since I already had the stars, I decided to forage for the rest of the supplies. I began by gathering several twigs from my yard.
I have several foraged grapevine wreaths that I’ve made and can reuse as needed. You can see how I forage for DIY Decor Supplies on 10 Free Tips for Fall Decorating.
The only other items needed were hot glue and paint.
If you don’t already have wooden stars, you can use heavy cardboard to cut a star design.
Supplies
- 9-inch wooden star – or heavy cardboard star
- Red, white, and blue craft paint
- Hot Glue Gun
- small paint brush
- Grapevine Wreath (optional)
Step 1: Paint the Dollar Tree Star
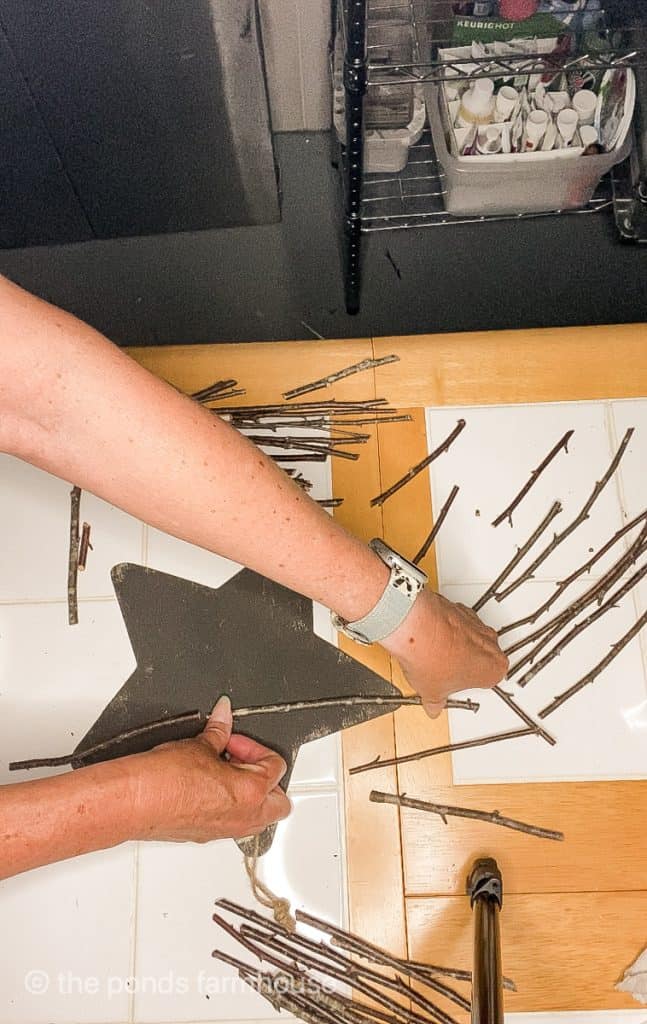
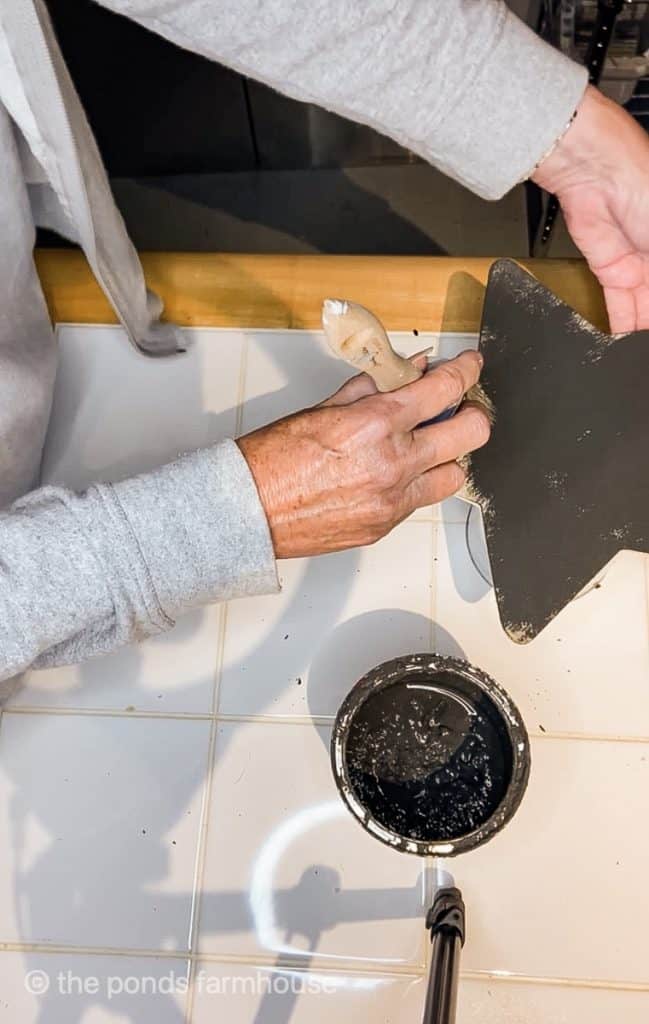
Because it’s almost impossible to get twigs nestled together tightly, you will want to paint the Dollar Tree wood stars with a dark color.
Any dark color, such as black, brown, or gray, will work to disguise the gaps between the twigs. This became apparent to me when I was working on the DIY Hydrangea & Twig Flower Project.
Step 2: Add Twigs
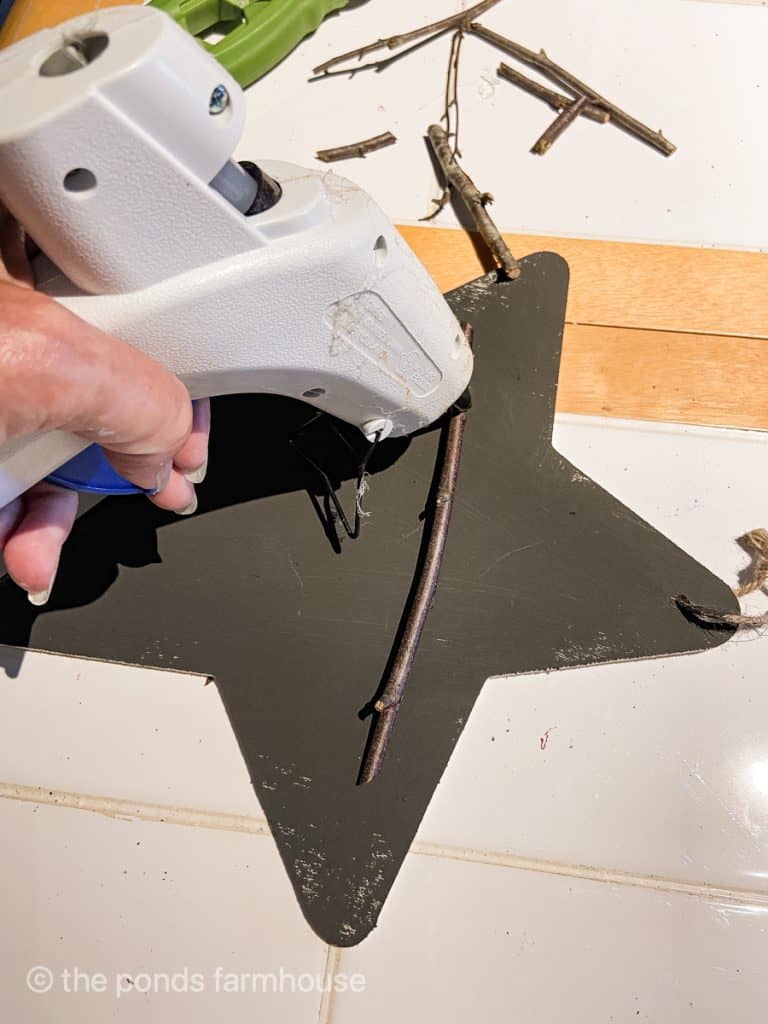
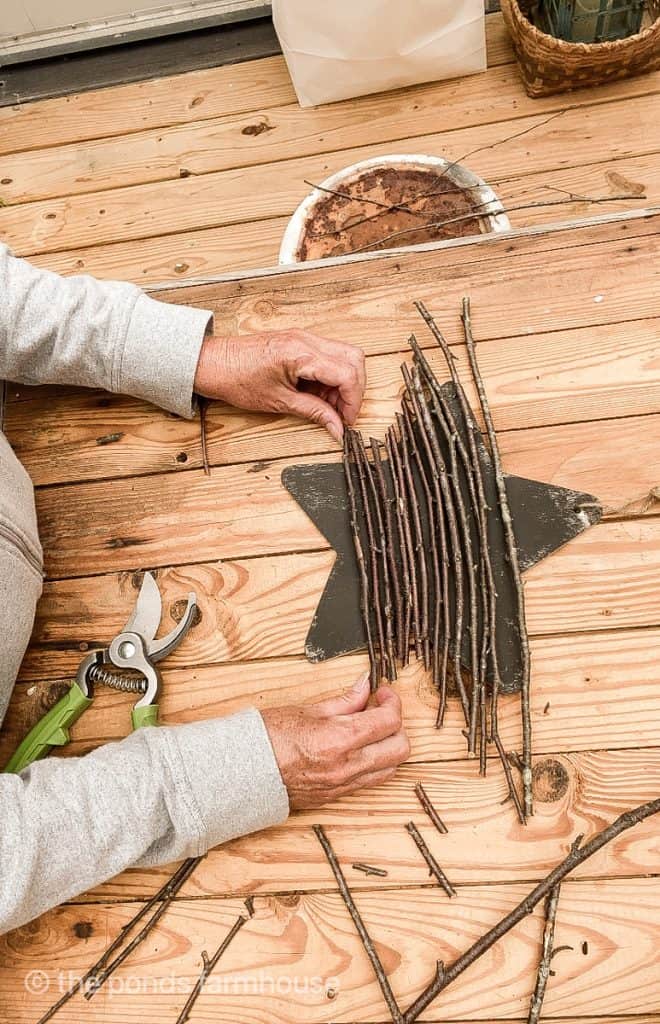
Next, cut twigs slightly longer than the dimensions of the star. You will want to attach all the twigs horizontally to the wooden star.
To attach the twigs, begin at the widest section and work upward and downward. The best method to attach the twigs is with a hot glue gun.
You will see gaps, however, just fill in any gaps with smaller twigs. I also found that it may be necessary to cut twigs into smaller pieces to allow them to lie flat on the star.
Step 3: Paint Twigs
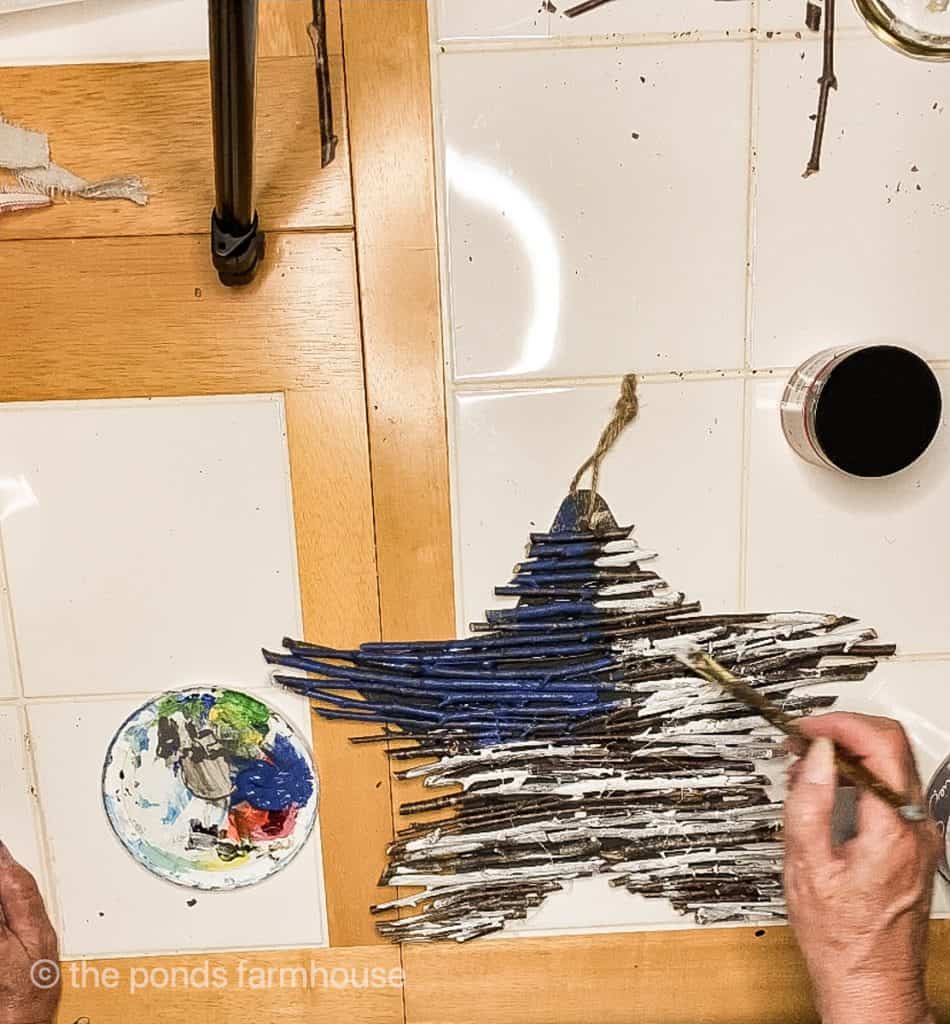
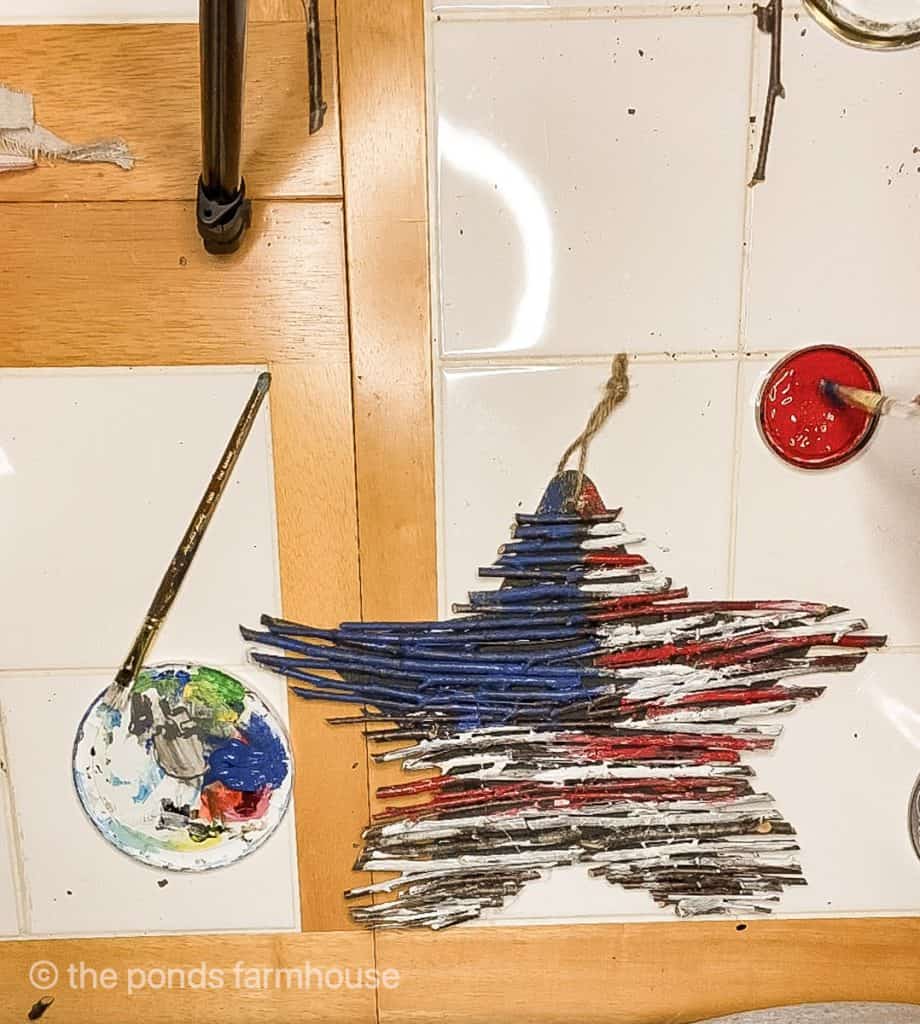
Finally, paint the twigs in a patriotic design. I wanted a flag design on the wreath, so I used red, white, and blue paint.
Add paint using craft paint and a small paintbrush.
I intended for the patriotic wreath to have a rustic design, so I painted the flag in a haphazard method, lightly covering the twigs with a semblance of a flag.
Rust Patriotic Wreath
Once your twig wreath is dry, you can hang it on a grapevine wreath. However, it looks really cute alone, hanging on a door or window.
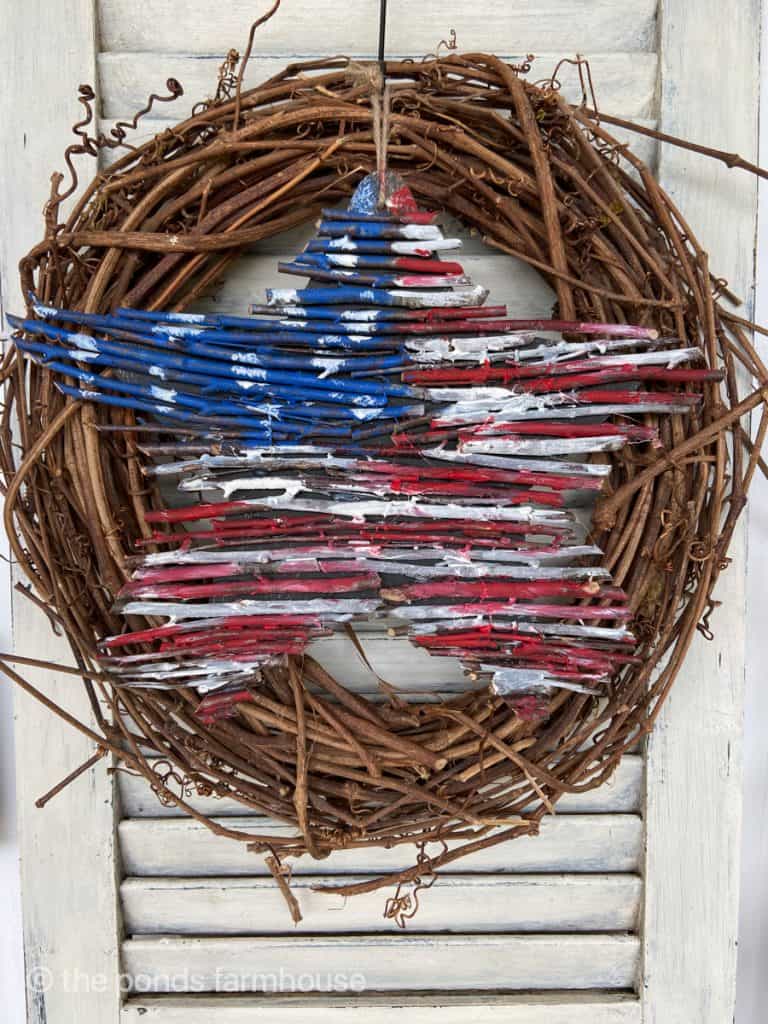
Because I’m a more-is-less kind of girl, I chose to hang the star wreath over a grapevine wreath. The star was slightly smaller than I envisioned, and therefore, I wanted to add a little more drama to the decor.
For more Patriotic DIY Projects, see NO SEW Patriotic Pillow Cover and DIY Patriotic Napkins.
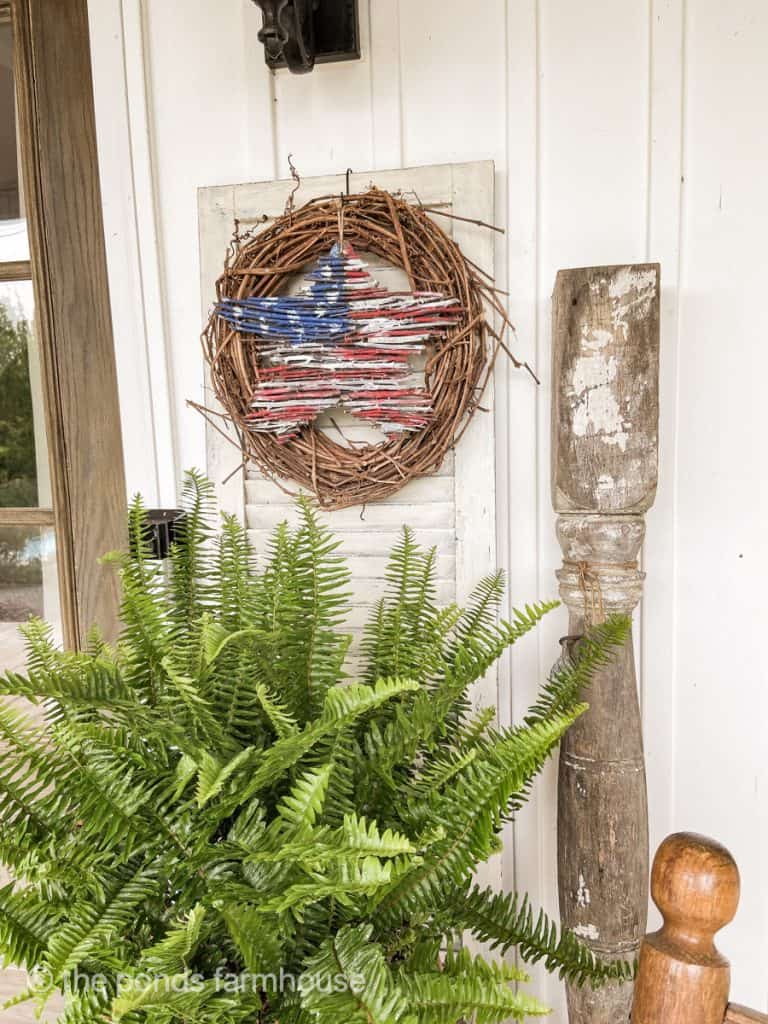
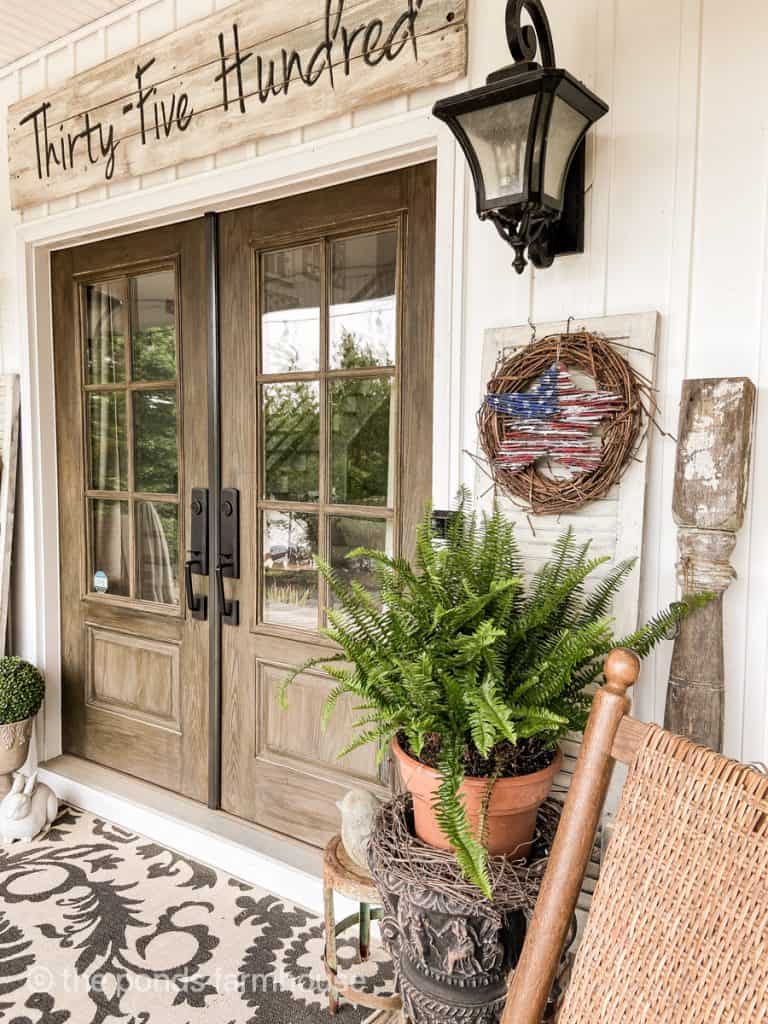
The Patriotic Wreath adds just the right amount of rustic charm to the front porch for the upcoming 4th of July festivities.
Resources for DIY Projects
I hope you enjoyed this inexpensive DIY project and that you are inspired to create one yourself.
Thanks for stopping by today, and I look forward to sharing my next adventures with you! Please leave a comment if you have any questions!

Pin It To Remember It
Did you find some great ideas you’d like to save for future reference? Hover over the images you’d like to save and pin to your favorite Pinterest Boards when you see the PIN button.


Hi Rachel
Your star wreath almost makes me cry. With our country so divided there is a wonderful shining light come from your home. I wish everyone would respect this as much as you do.
Job, once again, well done but with more meaning than being just a wonderful wreath.
We are a land of the free because of the brave.
Diana,
I appreciate this compliment so much. It’s hard to share our hearts without being criticized and I appreciate your uplifting words.
Thank you, Rachel, for another great and simple tutorial to celebrate this patriotic holiday. Once again, you’ve inspired me to create a star, gather some twigs and glue up a ‘star-studded’ grapevine wreath! Love also your patriotic napkins—but haven’t yet gotten the courage to do those!
Enjoy the holiday to the max, as I’m sure you and your family will! Best, Sandra
Sandra,
Thanks so much! I really appreciate you for stopping by. I hope you enjoy your twig wreath.
This is amazing and oh, so cute! I never know what you are going to do but it is always so creative, thanks and have a great 4th of July.
Marlene,
You are so kind. Thanks so much for stopping by.
Genius, once again. Love it.
Miche,
Thank you so much. I appreciate your encouragement.
Love it and always fun to work with natural elements.
Cindy,
Thanks so much. Yes and its much cheaper too.
love it and plan to try this one….thank you for sharing!
Oh I’m so glad. Thanks for stopping by.
Rachel, I love your creative patriotic stars! This is such a great idea, and so economical and unique! This is a fantastic way to decorate for the holiday!
Chloe,
I’m so glad you like this. I love making unique decor for cheap. Thanks for your encouragement.
This is just the cutest idea Rachel! I love it!
Kim,
Thanks for your encouragement.
Such a clever idea. I would have never thought of it. Hugs to you.
Renae,
Thank you. I appreciate your encouragement.
Super cute Rachel and I love the low budget cost for this project.
Wendy,
I appreciate you and your sweet encouraging words.
Super smart idea ! Will try with the maple leaf as background…Rachel, you always are soooo inspiring…Thanks a bunch, Joan…
Joan,
That would be beautiful. I appreciate your encouragement.
Thanking the Great Spirit for all those who are not here and gave their all and are not here among us. My heart goes out to those families and mine and making my wreathed remembrance of them all
It will remain on my home forever.
Bill,
Thank you!