Looking for a fun and easy fall craft to make? You can’t have too many Pumpkin Pillows. Am I right? This unique DIY pumpkin pillow is made with craft ribbon and is perfect for beginners because it doesn’t require any sewing. Plus, it’s a great way to add a touch of fall to your home décor.
In this tutorial, I’ll show you step-by-step how to make your DIY pumpkin pillow with ribbon. You’ll need just a few basic supplies, and you can customize it to work with any decor style.
Whether you’re making it for yourself or as a gift, this DIY ribbon pumpkin pillow is sure to be a hit!
(Posts on The Ponds Farmhouse may contain affiliate links. As an Amazon Associate, I earn from qualifying purchases. See the full disclosure details here.)
Table of contents
How Do You Decorate A Pillow with Ribbon?
You can embellish an existing pillow with decorative ribbon to add a unique style to a plain pillow.
Adding a simple border around the edge of the pillow in a contrasting color is a classic pillow design. You can also create ribbon applique by stitching the ribbon into different shapes on the pillow front.
Another simple idea is to tie a decorative ribbon around a pillow and make a pretty bow.
You will use the ribbon for today’s pillow to create a pumpkin design on a simple pillow cover.
How Do You Add Ribbon Craft on Fabric?
If you are making your pillow from scratch, you can easily attach ribbon craft to the pillow front with a sewing machine or by hand stitching.
However, with the availability of inexpensive pillow covers, you may find that embellishing a plain pillow is easier with fabric glue.
Today’s Pumpkin Pillow Cover with Ribbon requires no sewing skills and is easy for anyone to do.
How to Make a Pumpkin Pillow Cover with Ribbon?
First, let’s talk about the options for this project.
You can customize this tutorial to work with any size pillow you choose.
You may also choose from a variety of ribbon widths and color options. The cotton fabric for the pumpkin should match the color of your pillow cover.
I will share the tools and materials I used to create my design.
Materials
Here are the materials used to create a 12×20 lumbar pumpkin pillow cover.
- 12 x 20 Lumbar Pillow Cover Creme
- Permanent Fabric Glue
- Lightweight muslin cotton fabric
- Rust or Orange Satin Ribbon 3/8″ wide
- 1/8 White Satin Ribbon
- Scalloped Pinking Shears
- Straight Pins
- Pillow Insert Lumbar
- Wax Paper
Optional Pillow Covers
- Grey Pillow Cover with white or creme ribbon. Be sure to match the fabric for the pumpkin to the pillow cover.
Pumpkin Template
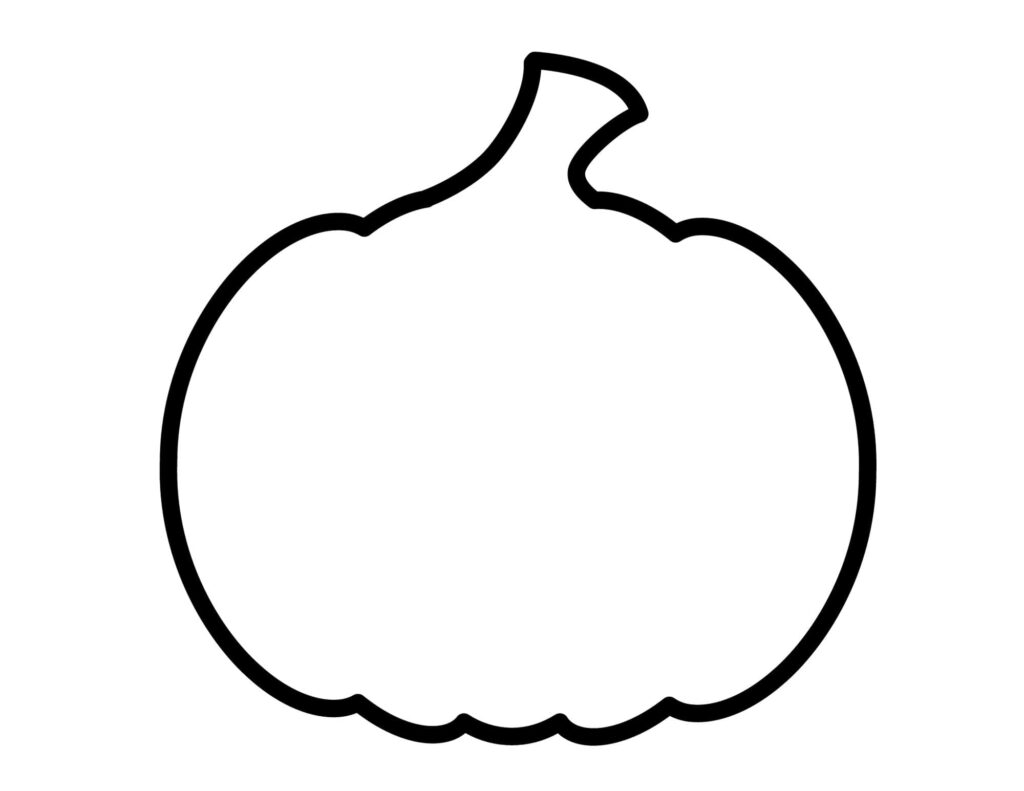
First, you need to determine your pumpkin template. I have created a free printable that you can use if you desire.
You can download it here to print the image. Just increase or decrease the size to fit your pillow cover. I printed at 125% for this project and adjusted the shape by cutting inside the top and bottom lines.
DIY Pumpkin Pillow Tutorial
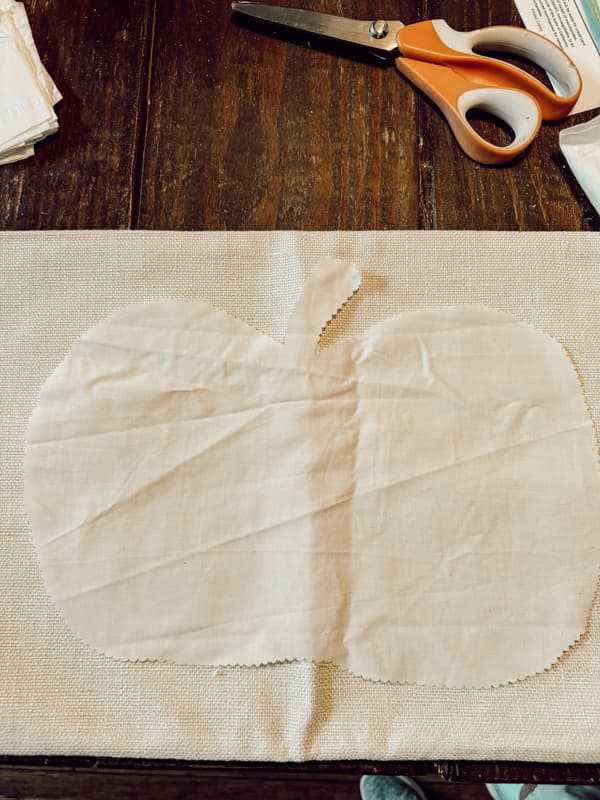
Once you have your template, you are ready to begin your project. Begin by cutting the pumpkin shape from cotton muslin with pinking shears.
I like to use the scalloped pinking shear for a decorative edge that will not fray.
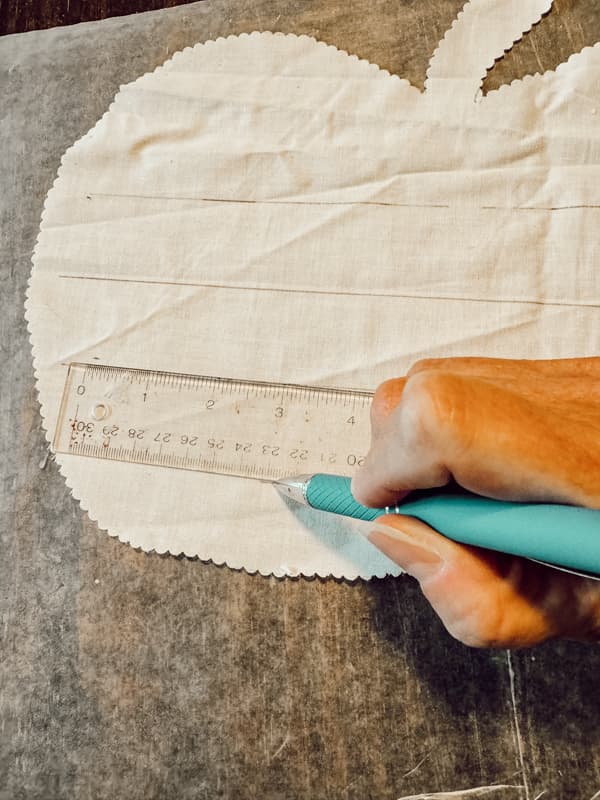
Next, fold the pumpkin in half and draw a line at the center horizontally.
Then, measure 1 inch and draw lines above and below the center until you’ve covered the pumpkin.
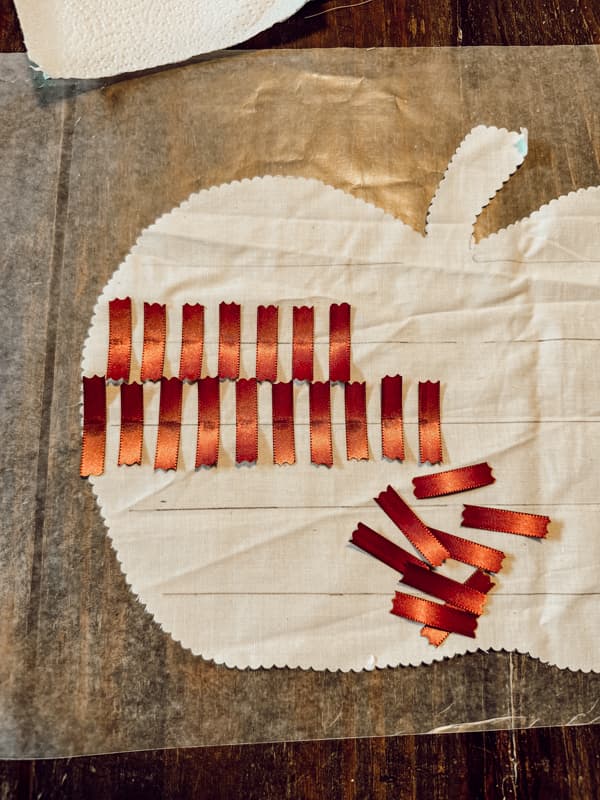
Cut the rust or orange ribbon into 1-inch pieces using the pinking shears. Then fold each piece in half to attach to the pumpkin.
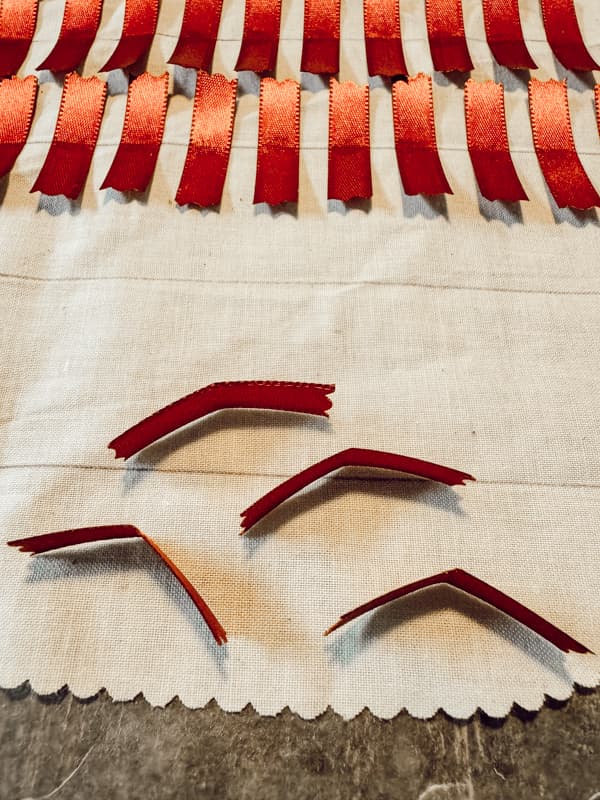
How to Adhere Ribbon Craft to Pumpkin
First, lay the cloth pumpkin on a protected, flat surface. I used wax paper under the fabric because the glue would not adhere to it should it seep through the material.
To adhere the ribbon craft to the pumpkin, pour some fabric glue into a plate.
Then, dip the folded end of the ribbon into the glue and make sure the glue is visible the entire width of the ribbon.
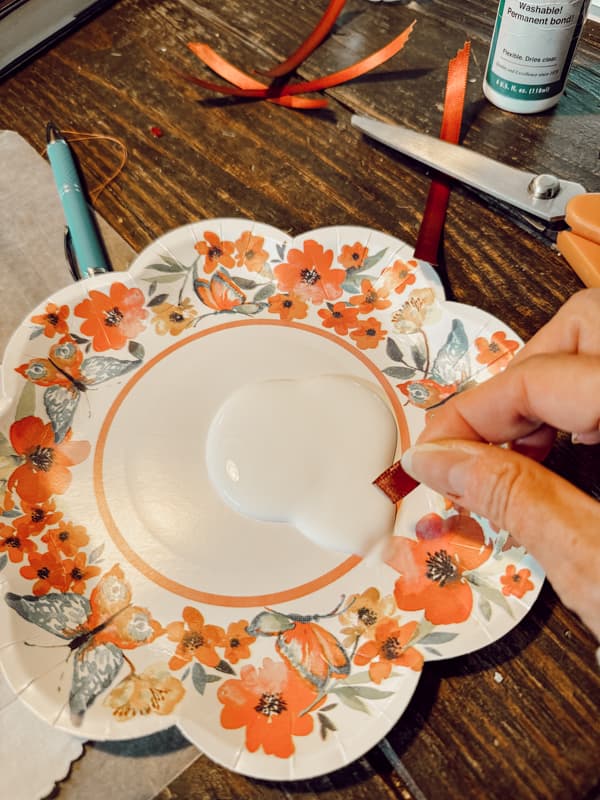
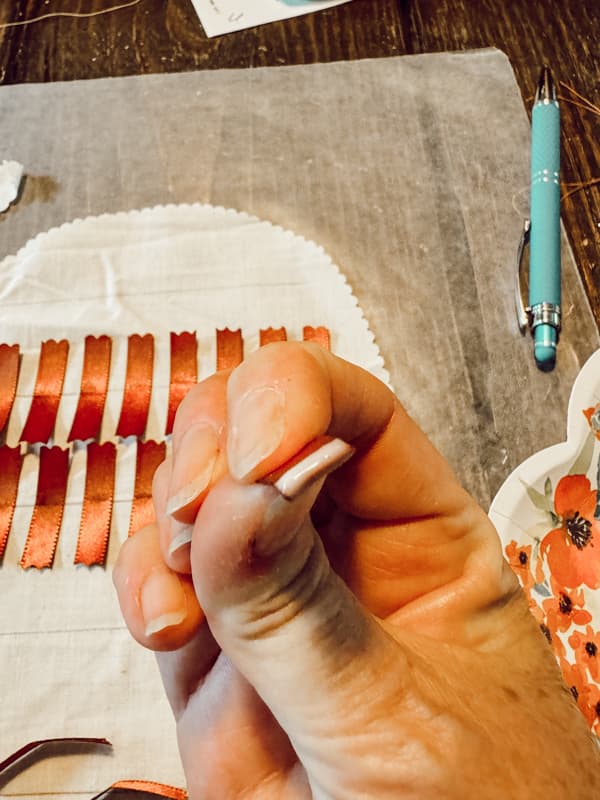
As you add the glue, begin to attach the ribbon to the center line drawn on the pumpkin. Leave a 3/8 inch space between each ribbon.
Press the ribbon at the drawn line to ensure it runs vertically straight.
When you start on the row above and below the center, place the ribbon between the spaces to stagger the alignment.
Be careful not to disturb the previously laid ribbons so they run vertically when completed. They can be easily shifted if not careful.
You can use straight pins to hold the ribbon in place if necessary.
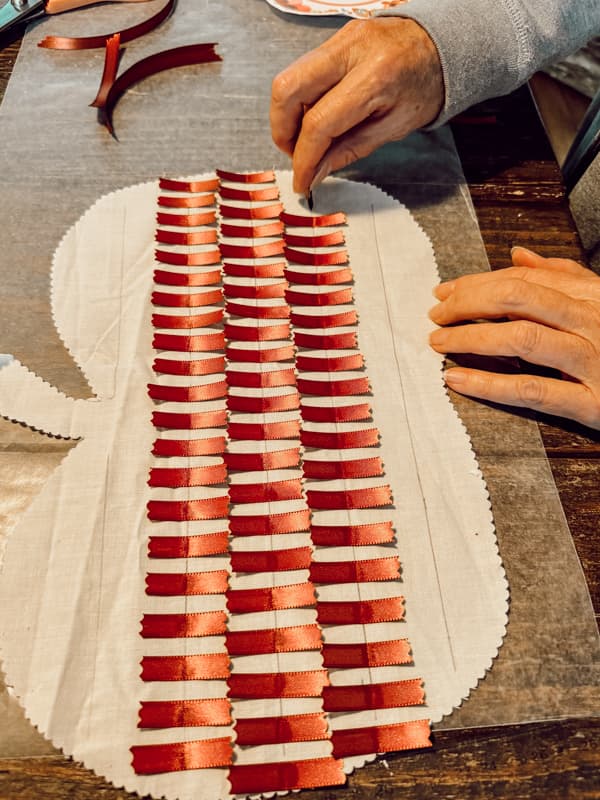
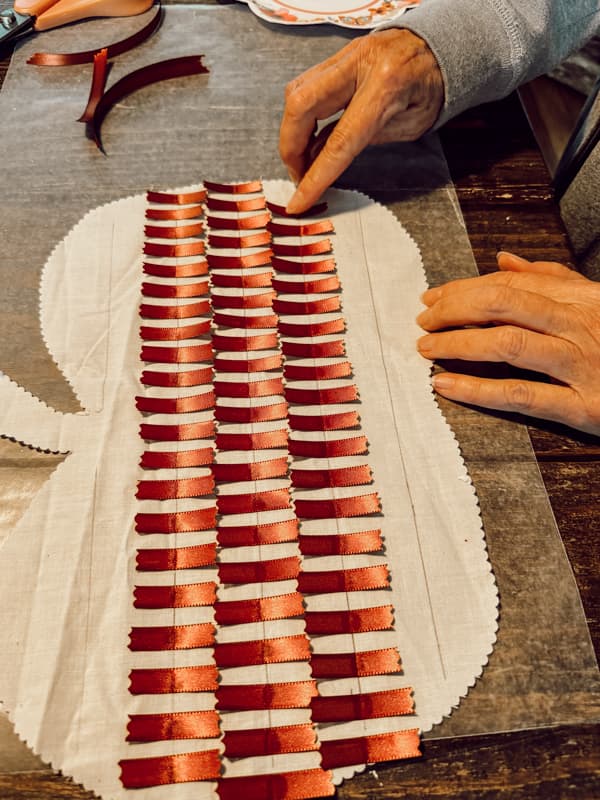
Then once you have the entire pumpkin covered, you can cut any ribbon overhang to shape the pumpkin.
I used a wider green ribbon for the pumpkin stem.
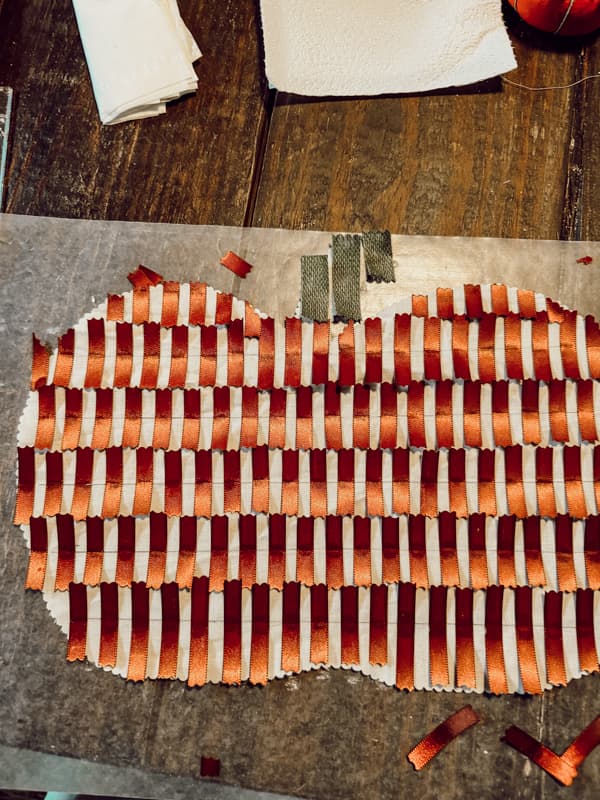
How to Attach the Horizontal Ribbon
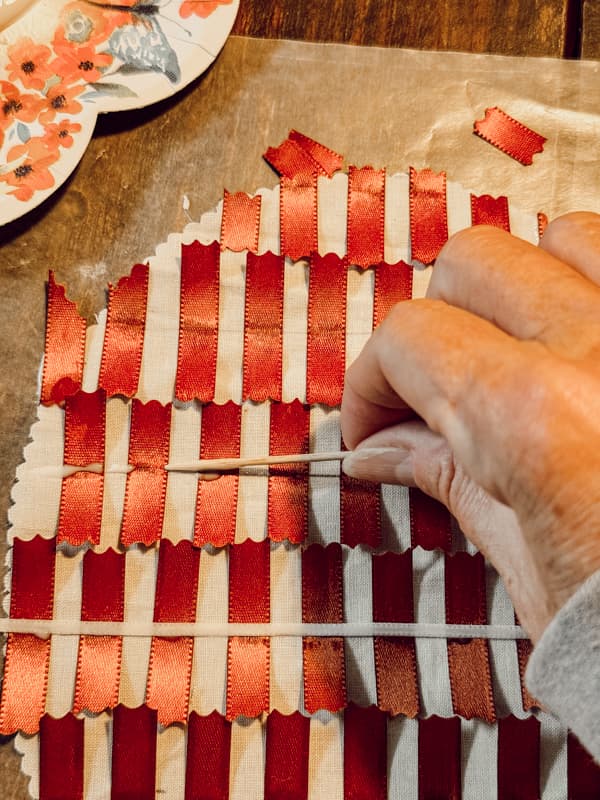
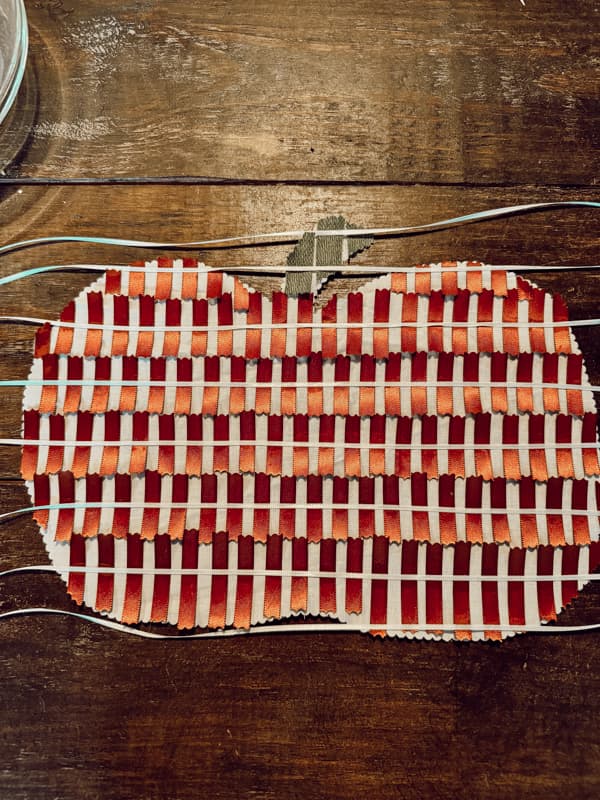
First, allow the glue to dry before applying the narrow horizontal ribbon to the pumpkin.
Cut the narrow 1/8-inch ribbon slightly longer than the length of the pumpkin width.
To avoid excess glue on the ribbon, I suggest using a toothpick to apply a row of glue along the horizontal lines drawn at the beginning of the project.
Apply the glue in a straight line over the ribbon and in between. Carefully lay the narrow ribbon on the glue and press to adhere.
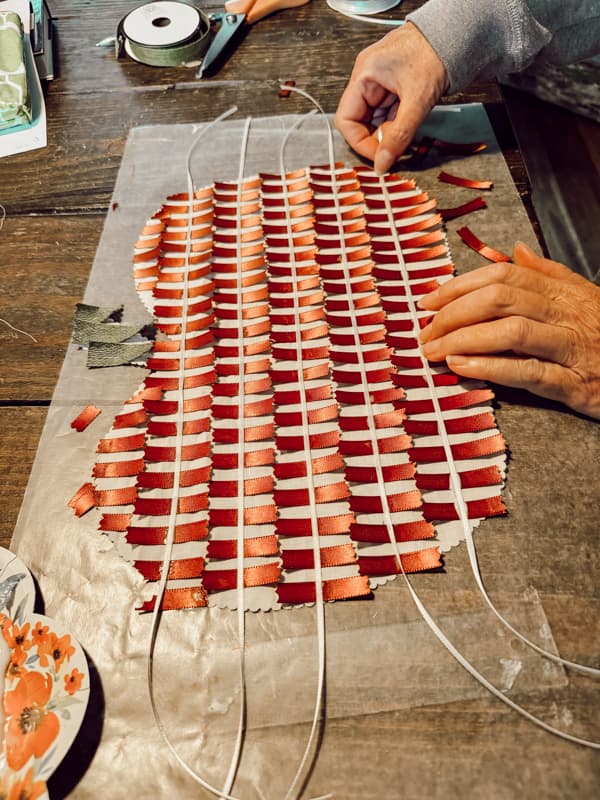
You can see how the ribbon looks after attaching it in the image below.
How to Attach Pumpkin to the Pillow Cover
Finally, after the glue is dry, you are ready to attach the ribbon pumpkin to the pillow cover. Before attaching, place a barrier inside the pillow cover to prevent glue from seeping through.
Begin by apply a thin coverage of glue to the back of the pumpkin ensuring that the edges are well covered.
Align the pumpkin in the center of your pillow cover and press firmly. Use straight pins if any area doesn’t lay flat on the pillow cover.
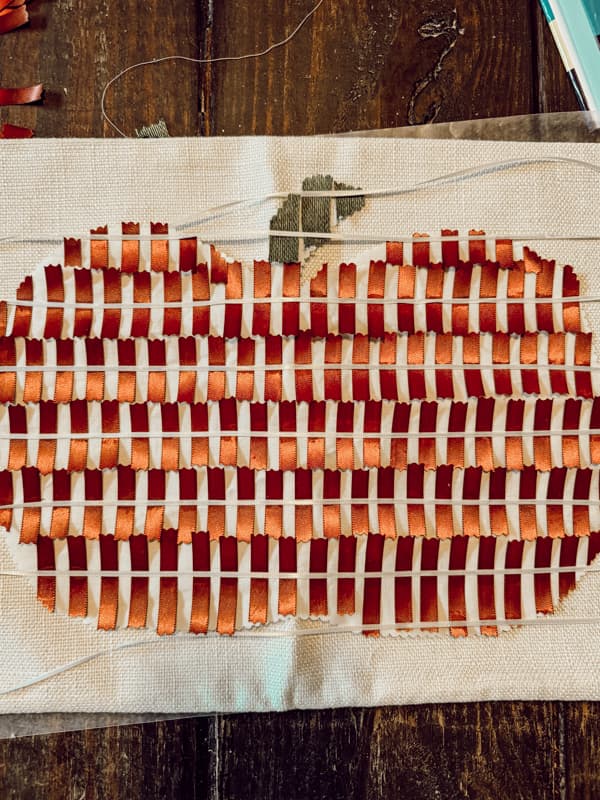
You are now ready to decorate with your new pillow to add a touch of Autumn charm to your home for Fall. Just add a pillow insert and find your perfect spot.
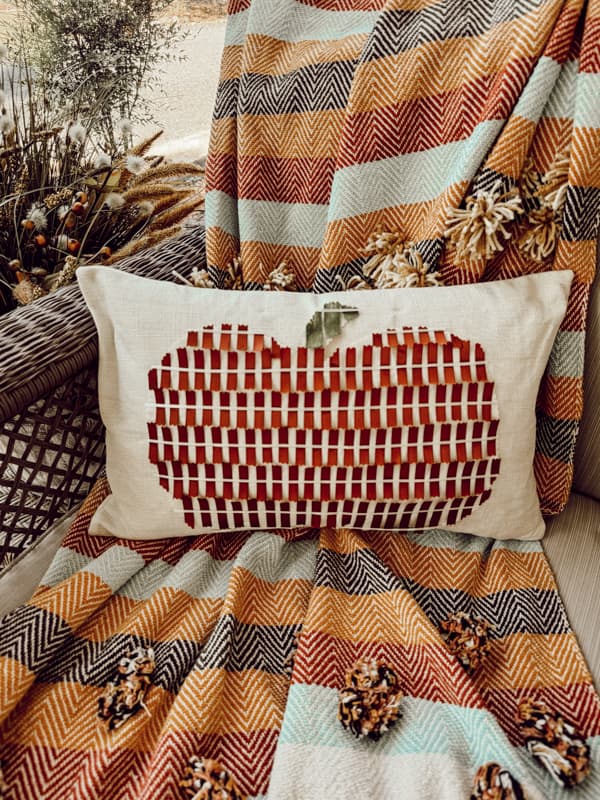
DIY Pumpkin Pillow Decor
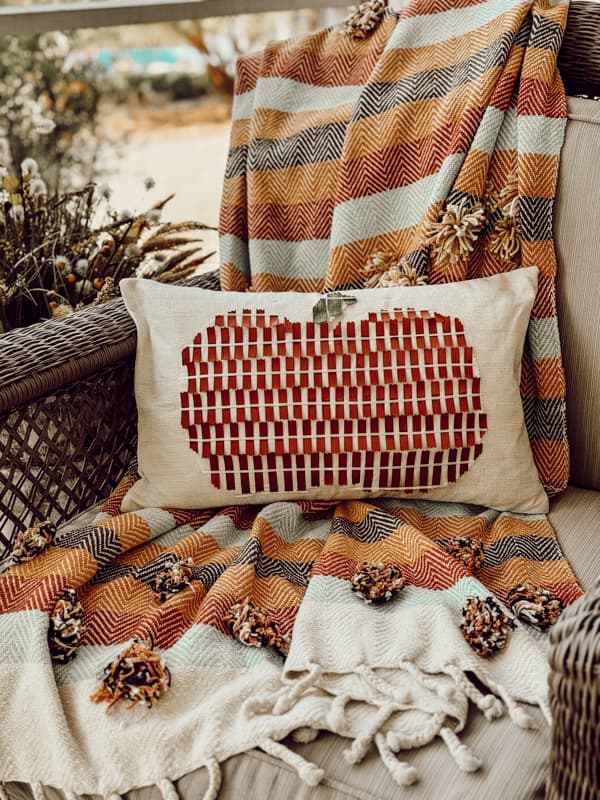
The DIY pumpkin pillow and a festive autumn throw blanket look great on the screened porch.
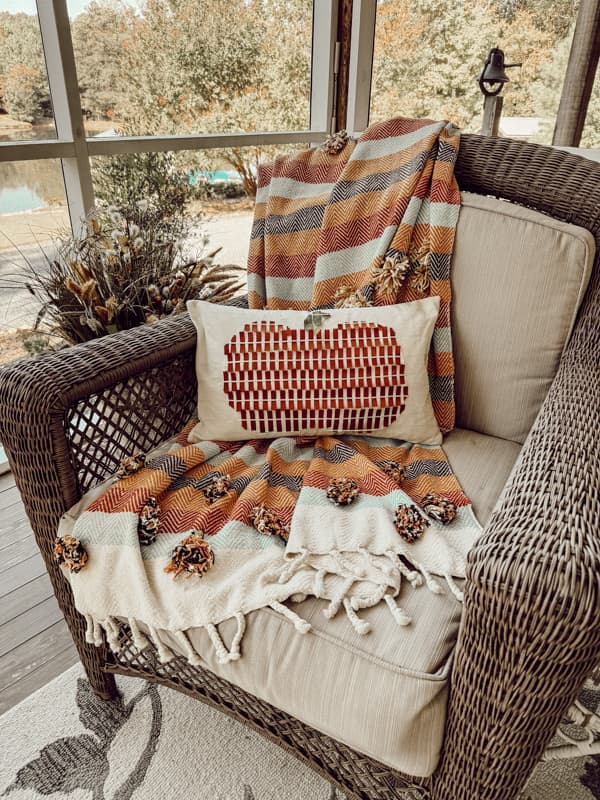
If you plan to use your pillow outdoors, be sure to spray it with Never Wet to avoid mildew.
Insider Tip
I considered tracing the design directly onto the pillow cover to avoid using the muslin.
However, I found the glue adhered much faster to the smooth cotton muslin than the coarse texture of the pillow cover.
The narrow ribbon had to be tacked down until the glue dried where it was applied to the coarse fabric. While the ribbon on the muslin only needs to be pressed down to hold. I didn’t need to pin those pieces to keep them in place.
Additional Pumpkin Pillow Ideas
Click the links below for these fun pumpkin tutorials.
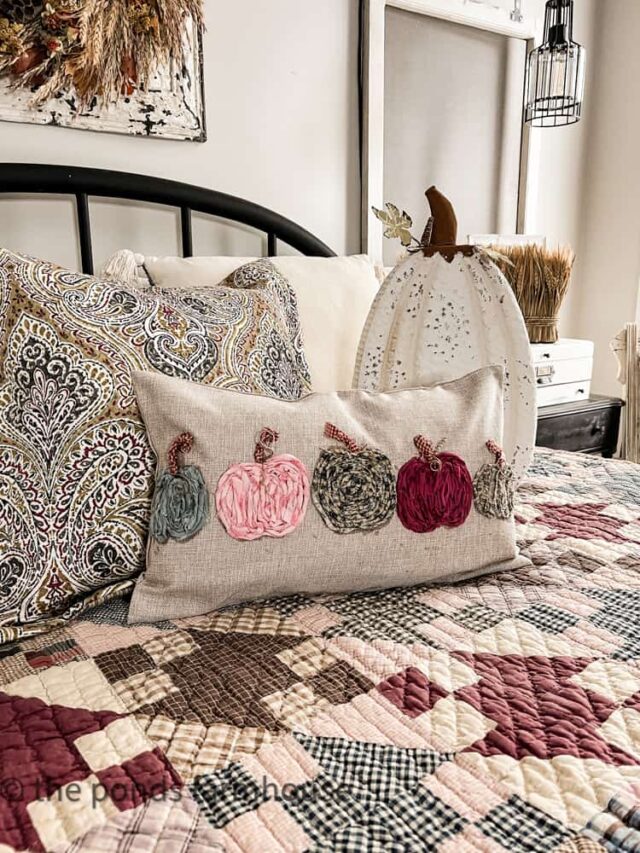

Scrap Fabric Pumpkin Pillow Cover / DIY Painted White Pumpkin Pillow
Resources & Supplies
Click below for all the supplies and resources used for this project.


Pin It To Remember It
Did you find some great ideas you’d like to save for future reference? Hover over the images you’d like to save and pin to your favorite Pinterest Boards when you see the PIN button.

Donna
Thursday 19th of October 2023
This is such a cute pillow, Rachel! Wanted you to know I'm sharing this post in my weekly Seasonal Sentiments newsletter on Saturday! I hope you are enjoying the fall season!
Rachel
Thursday 19th of October 2023
Donna, You are so kind. I appreciate you for sharing.
Tammy
Tuesday 17th of October 2023
What a cute pumpkin pillow!
Rachel
Tuesday 17th of October 2023
Tammy, I'm so glad you like it.
Wendy
Saturday 14th of October 2023
So creative Rachel, I love how the ribbon creates texture on the pillow.
Rachel
Sunday 15th of October 2023
Wendy, Thank you for stopping by.