How To Make A DIY Custom Tablecloth & Napkins
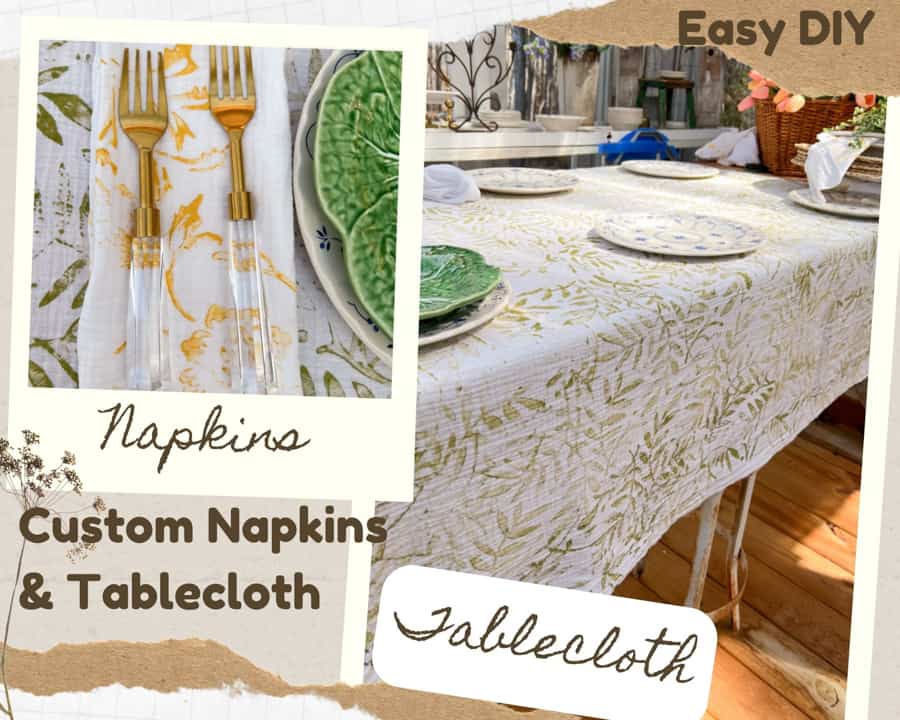
You can easily make a custom tablecloth and custom napkins for your next dinner party. This simple painted tablecloth and napkin tutorial will teach you how to paint a custom design in just a few easy steps. You can create stunning DIY tablecloth and napkin designs that will wow your guests.
I love to plan a beautiful tablescape for different party themes.
I’m always looking for unique table linens to make the tablescape special.
One problem I have is finding what I envision and, if I find it, being able to afford the price.
I love a custom look, especially hand-painted designs on tablecloths and napkins.
(Posts on The Ponds Farmhouse may contain affiliate links. As an Amazon Associate, I earn from qualifying purchases. See the full disclosure details here.)
Table of contents
What are Custom Tablecloth and Custom Napkins?
A custom tablecloth is designed for a specific use.
It could be a custom size or a custom design. This is true with custom napkins as well.
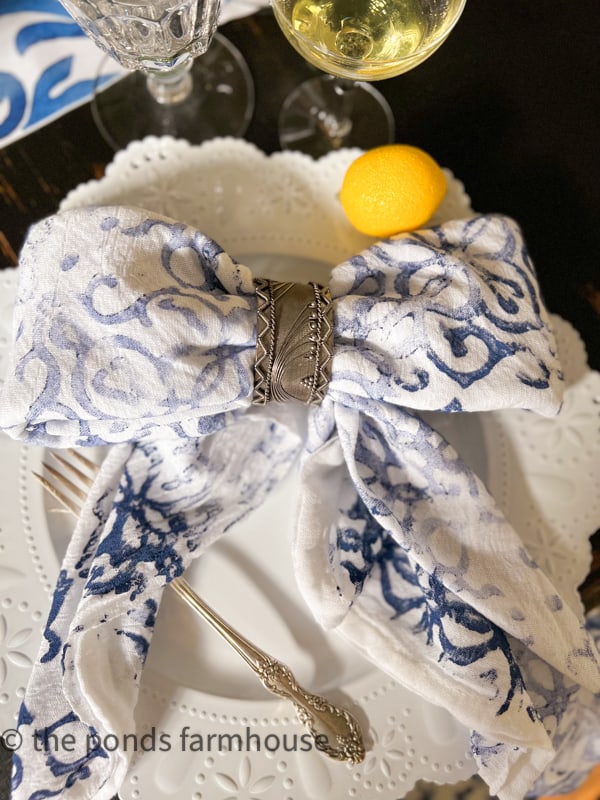
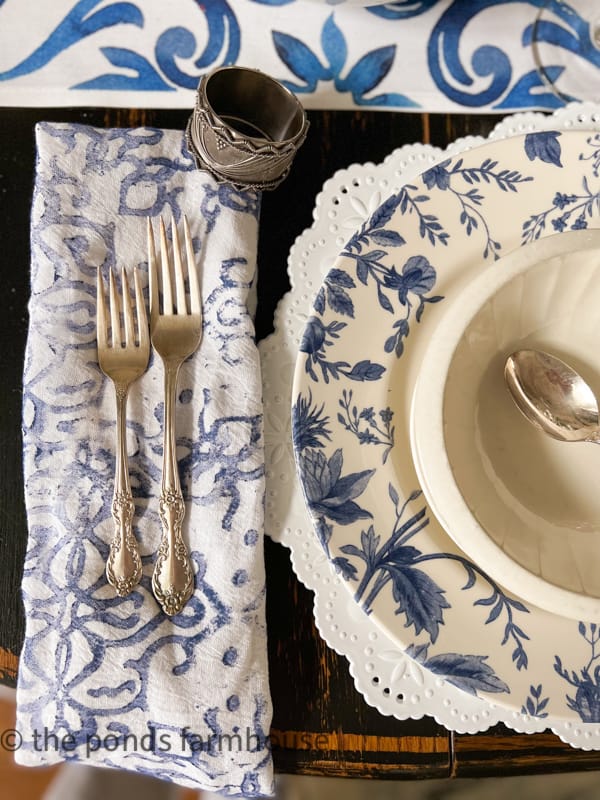
They can be personalized with embroidery or hand-painted to reflect a specific theme, like these Italian-inspired napkins.
How To Make Custom Table Linens?
First, determine the size of table cloth and napkins you desire.
Next, find fabric that will work with your design.
What Fabrics Are Best for Table Linens?
I prefer to use natural fabrics such as cotton or linen to make custom table linens.
You can also customize plain linens or use other unique materials, such as the flour sack tea towels used for napkins.
For today’s project, I am using 100% cotton fabric for both projects.
Be sure to wash and dry the fabric before cutting to the desired size.
Measure and Cut Fabric Custom Tablecloth
When determining the amount of fabric needed, measure your table first.
Then, determine the length of drop you desire.
A casual tablecloth usually has a 6 – 10-inch drop on all sides.
A formal table usually has a tablecloth drop to the floor or a minimum of 12 inches.
Wash and dry all fabrics before cutting because the material may shrink and be too small for your table.
When cutting your fabric, allow for any seam allowance and hem.
What Are Standard Cloth Napkin Sizes?
In addition, you will want to allow for a hem when planning your napkin size.
However, you may leave the edges raw and make a fringe edge.
Determine your napkin size based on your planned usage.
- Formal Napkins are 22 – 26 inches square
- Dinner Napkins are 18 – 20 inches
- Lunch Napkins can be as small as 14 inches.
I prefer to go the safe route and make all my napkins 18 inches square.
Create Your Custom Design
Once your tablecloth and napkins have been made, you can add your custom design.
Many options exist, such as embroidery, stamping, hand-painting, dying, etc.
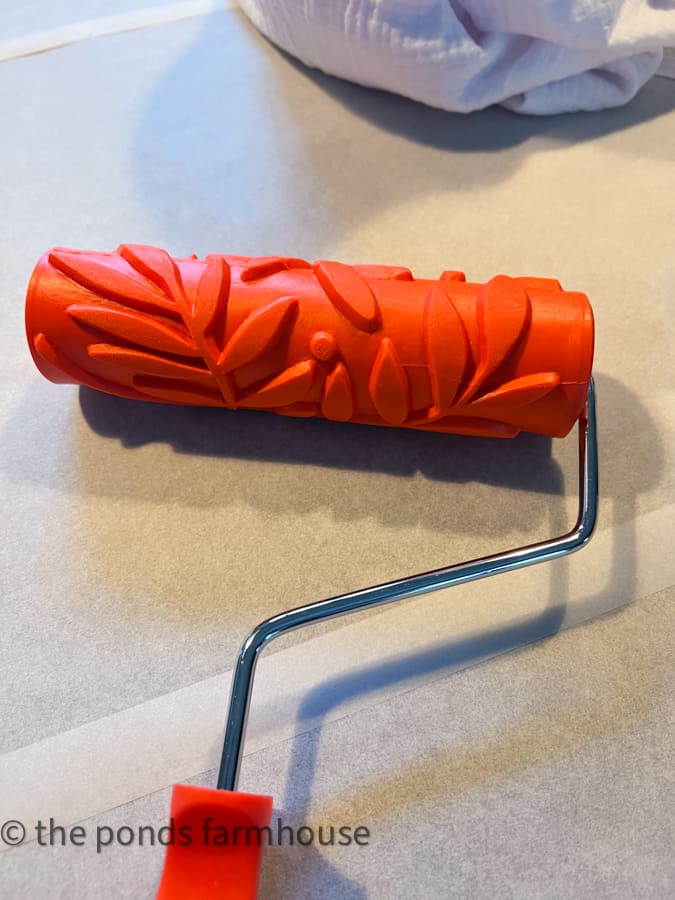
However, we are painting the design with a decorative paint roller for today’s super easy project.
What Supplies Are Needed?
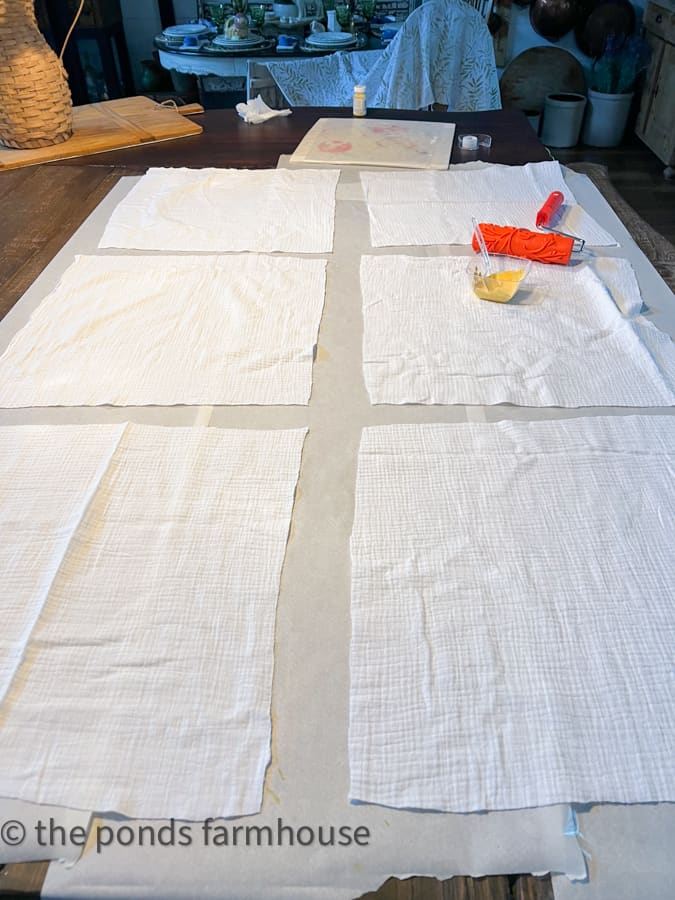
First, you need to protect your table surface. I am using my kitchen island to create my custom design.
Therefore, I want to prevent any damage to the surface.
I began by taping parchment paper to cover the area I needed for the project.
You can also use less expensive wax paper, but I didn’t have any.
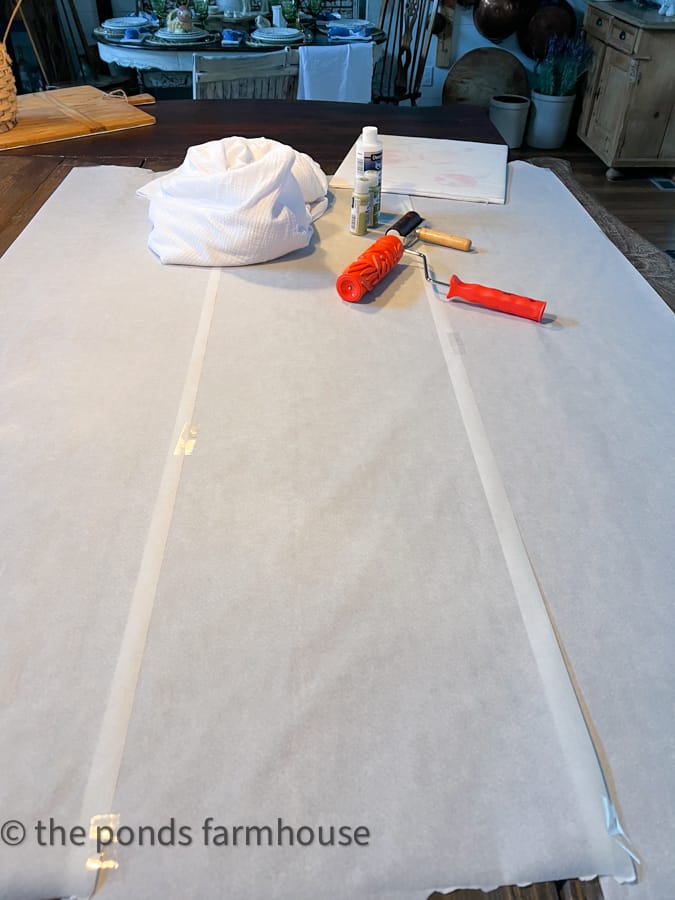
Here are the supplies I used for both tablecloths and napkins.
- Prewashed and cut 100% cotton white gauze fabric
- Craft Paint two shades of green – 1 basil green and one yellow.
- Fabric Textile Paint Medium
- Brayer Roller
- Artsy Leaf Pattern Paint Roller for Tablecloth
- DIY Patterned Paint Roller for Napkins
- Large paint pallet or large cardboard covered with wax paper.
- Iron or Heat Press
What Type Of Paint Should You Use For DIY Painted Tablecloth?
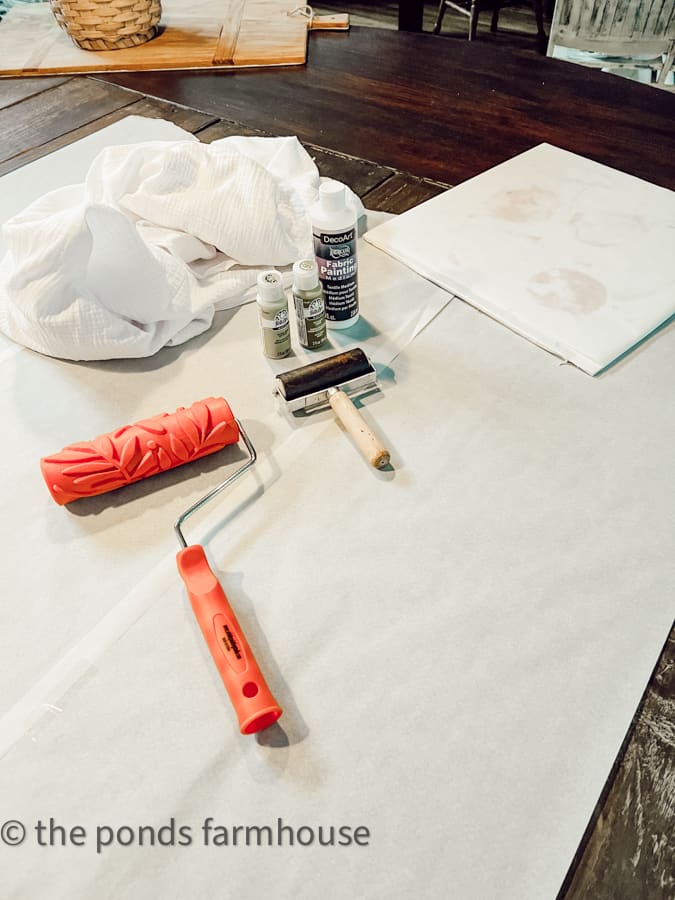
You can purchase fabric paint that has a permanent bond. However, unless you do several painted fabric projects, the cost can be prohibitive. I use craft paint all the time, and it is cost-effective to use craft paints that I have on hand and add a fabric or textile medium to create a pliable paint.
You can also use Annie Sloan Chalk paint. It works really well on fabrics. You can purchase sample containers if you only need a small amount. The paint colors will be more limited and not as budget-friendly. I try to use what I have on hand and if I have the colors of chalk paint needed, I’ll use it. Otherwise, I prefer to mix acrylic craft paint with textile medium.
How To Mix Paint
To begin, you need to mix your craft paint with a fabric or textile medium to make the paint pliable once dry.
Otherwise, your custom tablecloth and custom napkins will be stiff and brittle.
Add two parts of paint to one part fabric medium and mix well.
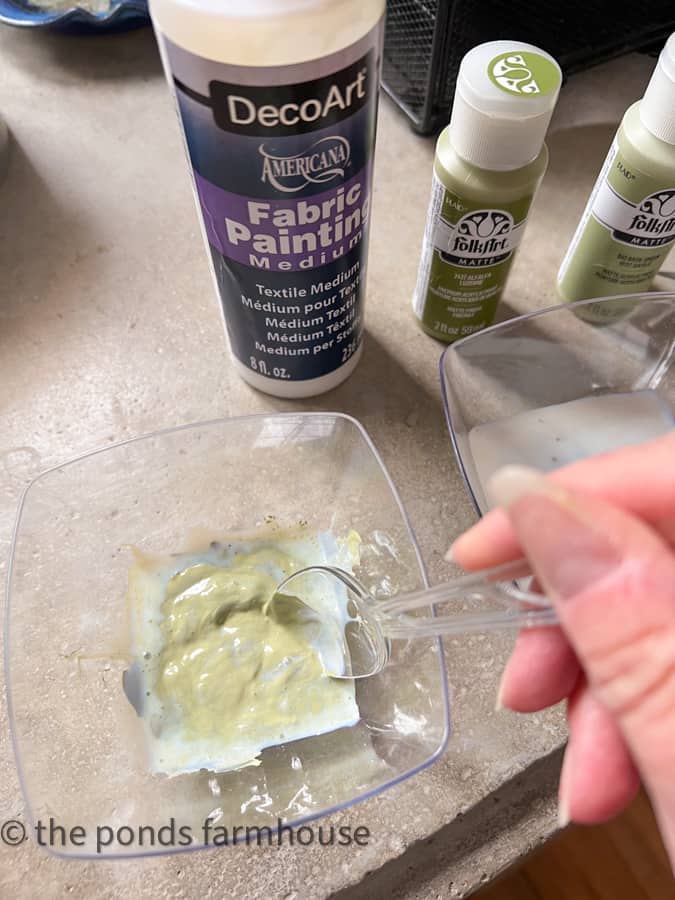
I am using two colors of green paint because I want an authentic leaf design on the custom tablecloth.
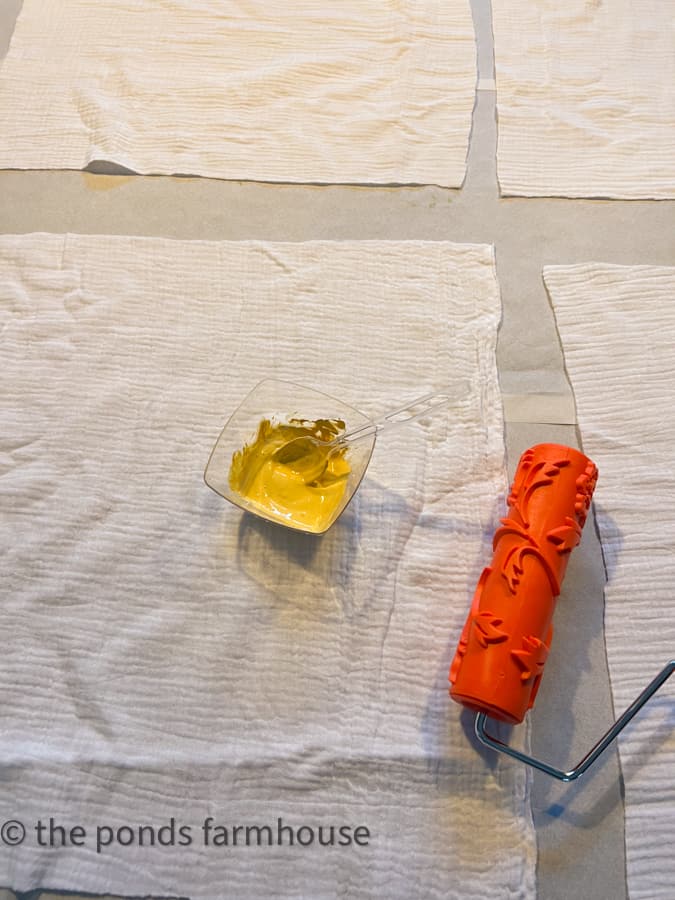
Pour the medium and paint mixture onto the pallet and flatten it with a Brayer Roller.
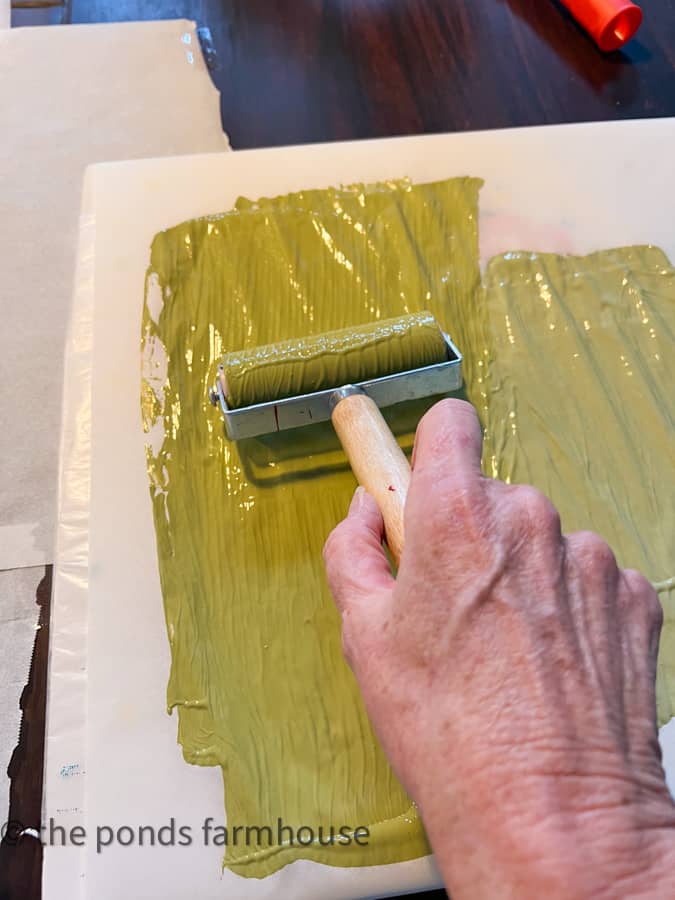
This prevents the paint from adhering to the decorative roller between the design.
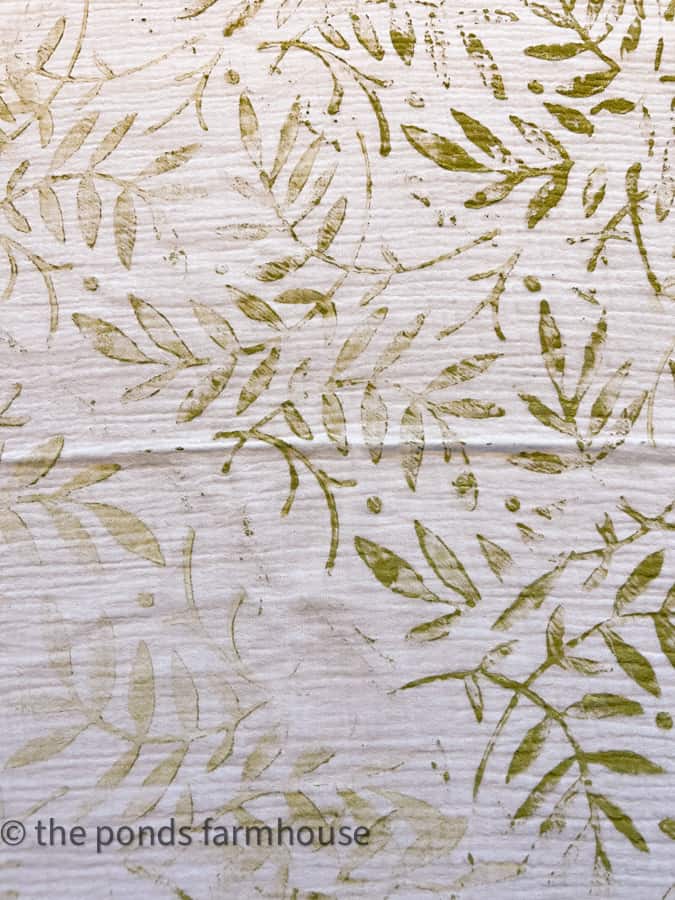
Notice the paint is only on the leaf design. If you see paint elsewhere, wipe it off before applying the roller to your fabric.
This will provide you with a clean pattern on your tablecloth.
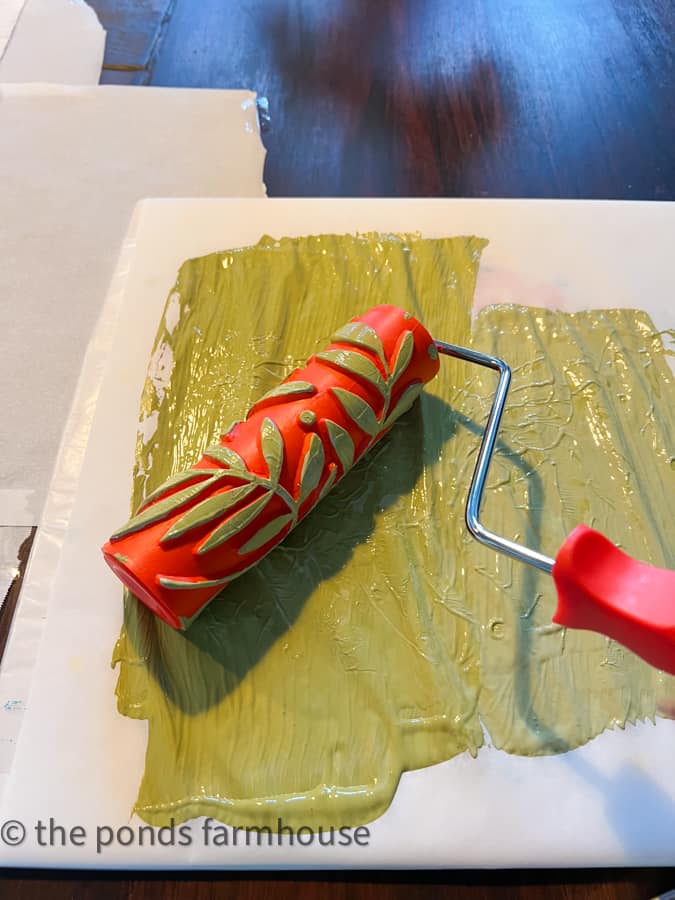
How To Apply Paint Roller to Fabric
This step will be subject to your desired pattern.
I wanted a random display of leaves on the custom tablecloth.
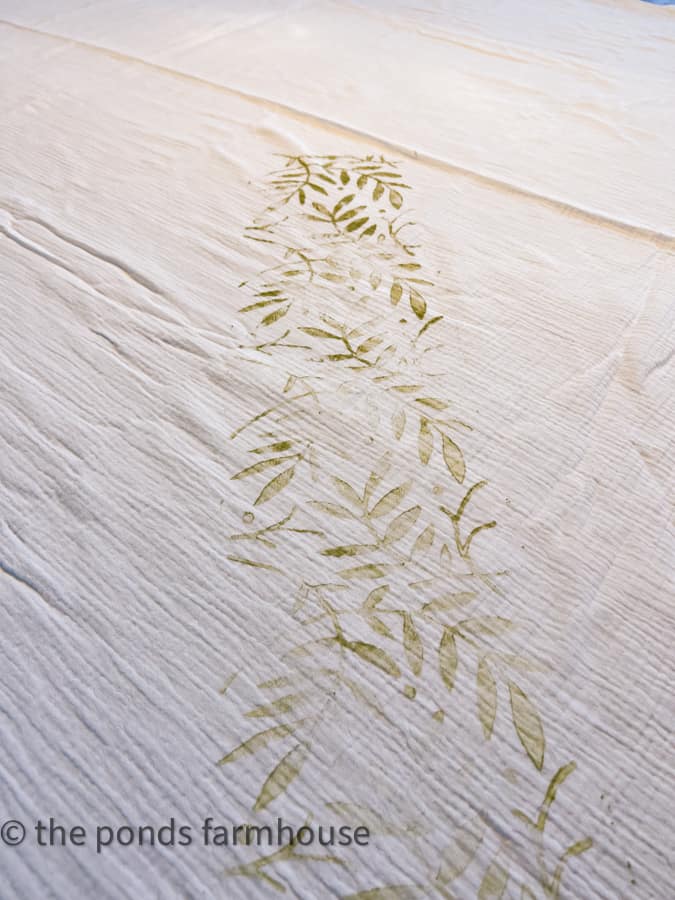
Therefore, I applied the roller randomly until the fabric was covered.
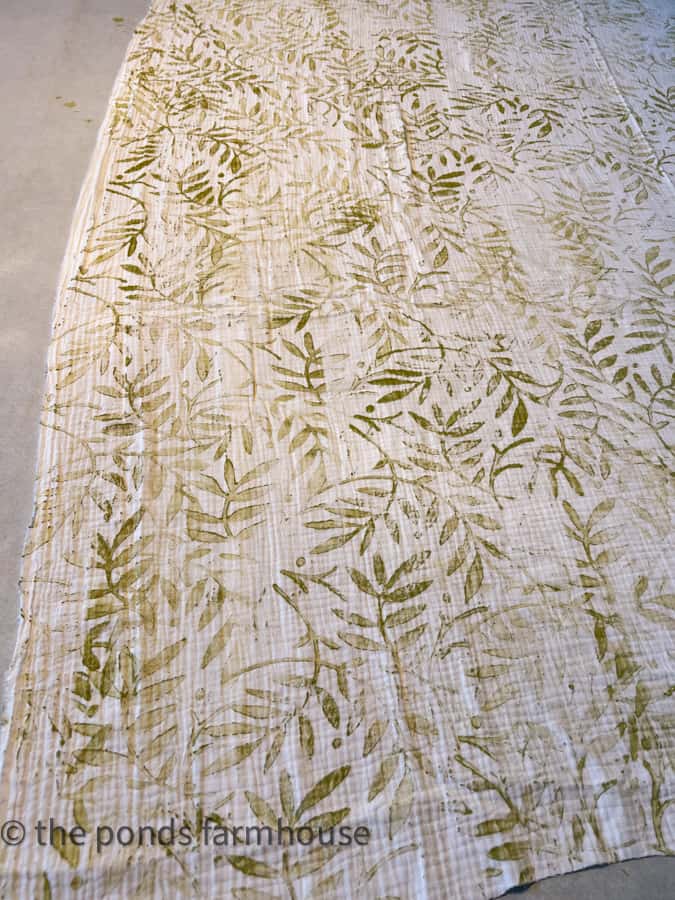
Notice how the two paint colors create a high-low effect on the fabric.
Once the paint has dried thoroughly, you will want to heat set. You can use an iron or a heat press to set the paint.
Place a protective fabric between the hot iron and the paint. Press until you’ve heat set the entire table cloth.
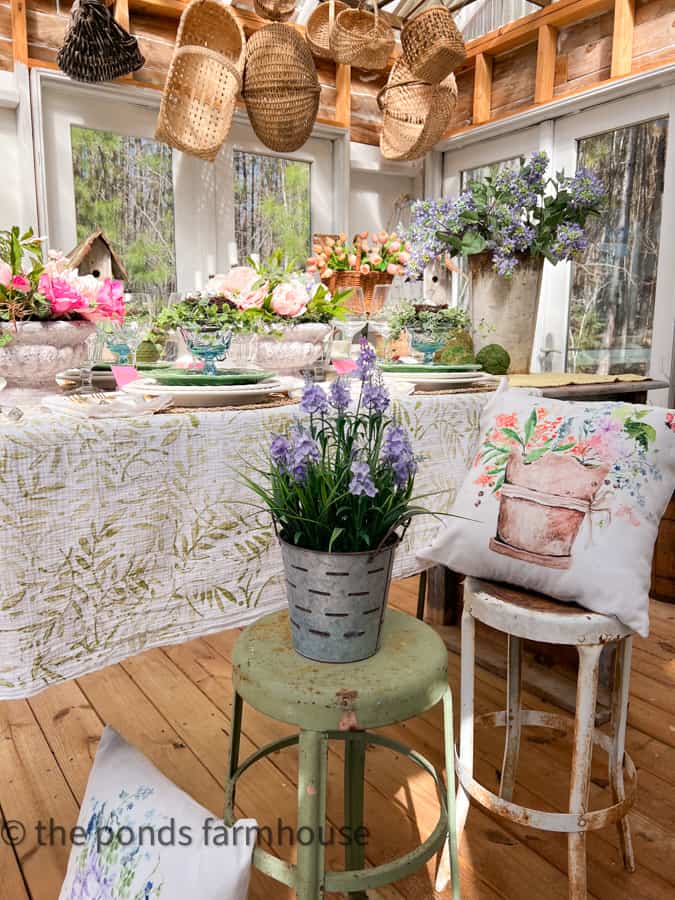
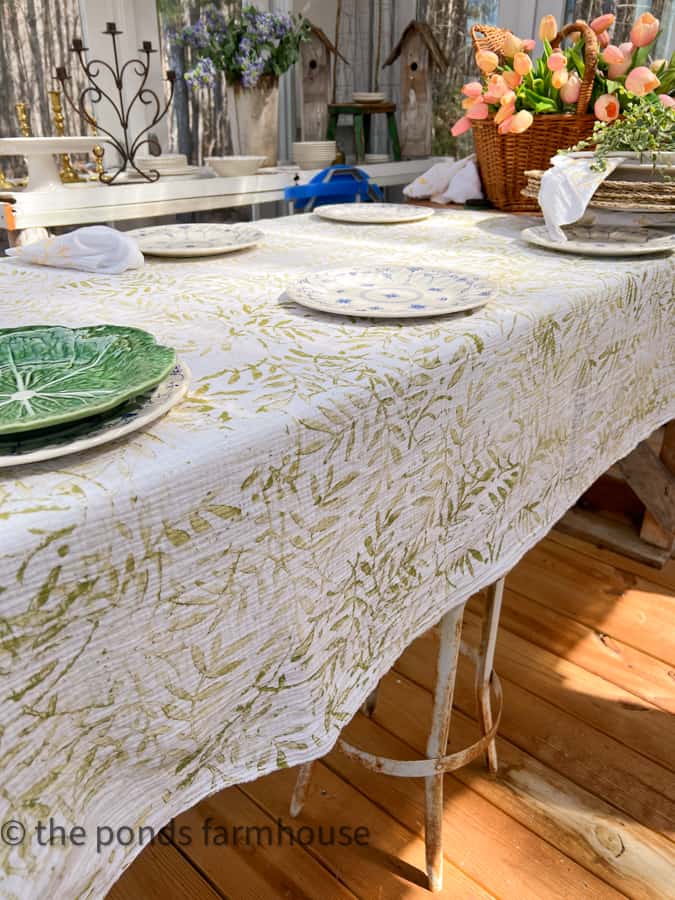
I plan to use the custom tablecloth on my Spring Fling tablescape in the greenhouse.
DIY Custom Napkins
Because I had my island taped off and I had some leftover fabric, I decided to make some custom napkins as well.
The steps are similar for the DIY Custom Napkins, with a few exceptions.
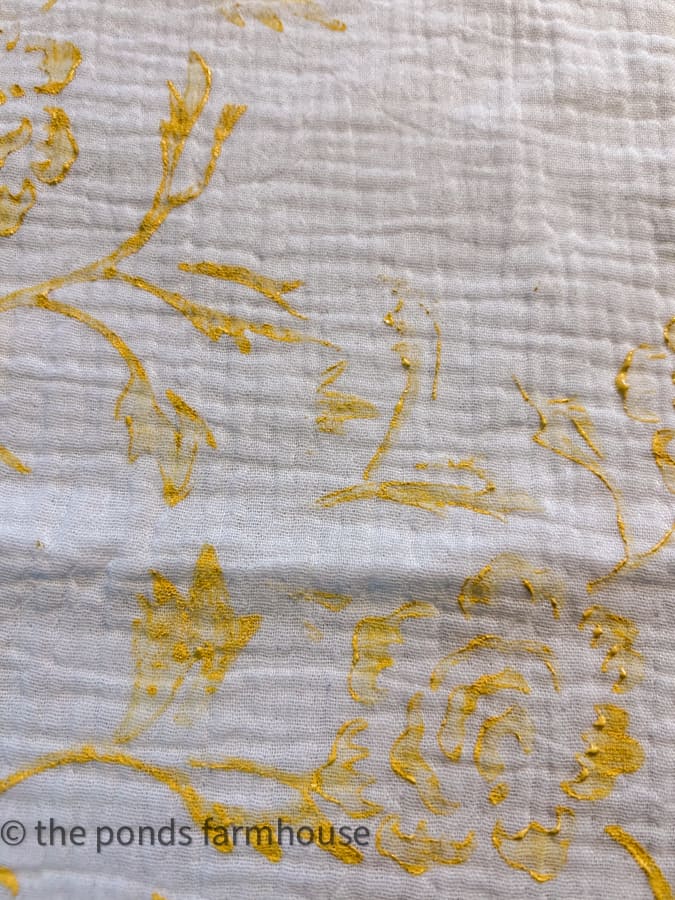
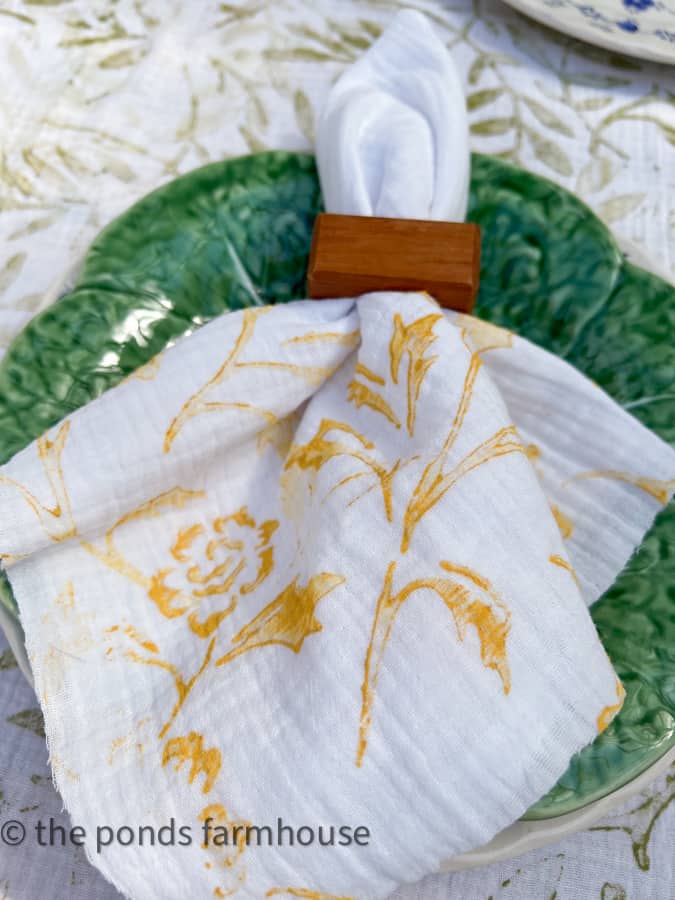
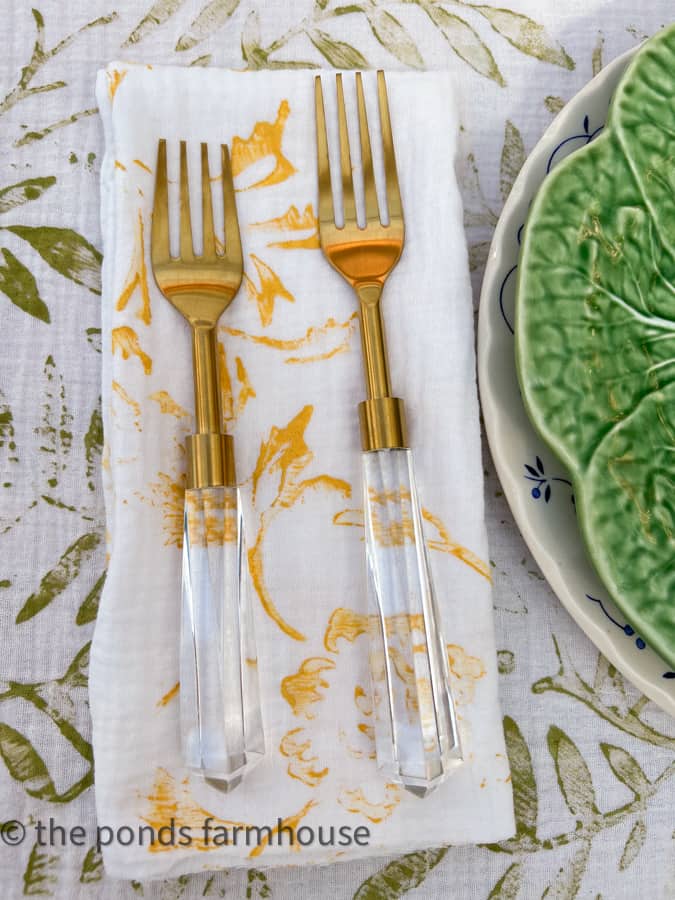
I used a floral pattern roller for the napkins and yellow paint.
I also chose to only add the pattern around the edges of the napkin, leaving the center bare.
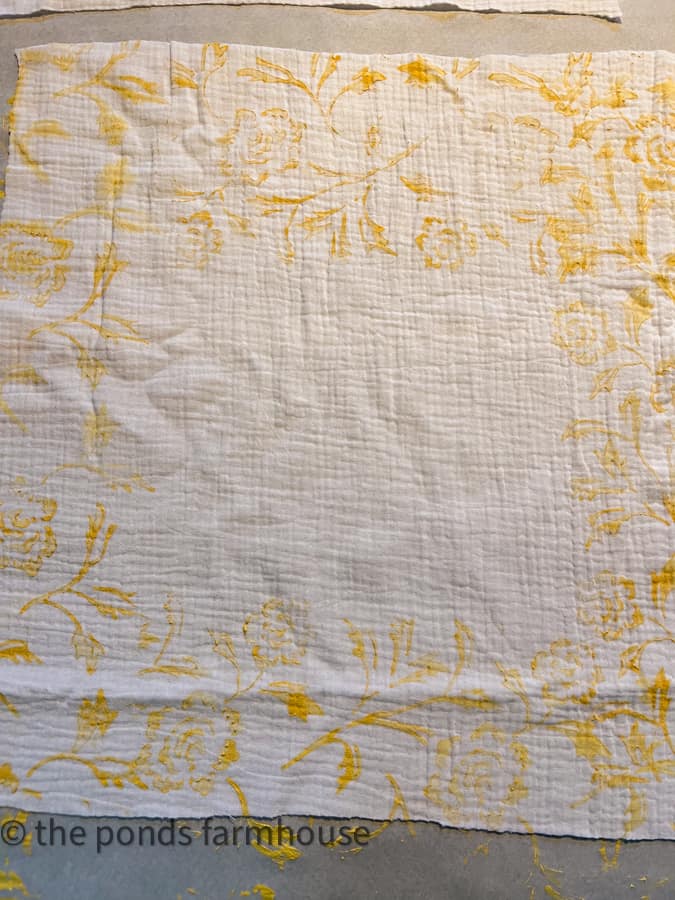
The pattern looks amazing on this gauze fabric.
You will want to heat set the napkins as you did the tablecloth.
I wasn’t sure if I would use the custom napkins on the Spring Fling tablescape until I saw the gold and acrylic flatware on the design.
The entire table will be revealed in our monthly Super Club Series, and I can’t wait for you to see it.
How To Finish Edges of Custom Table Linens
Once your design is applied to the fabric, you can hem your tablecloth and napkins by turning the raw edges under and stitching with a sewing machine. This will create a formal table linen.
Or you can fray the edges by removing the end threads and creating a fringe for a rustic, farmhouse style.
Another option is to cut the edges with pinking shears to keep the ends from fraying.
Regardless of your choice, the tablecloth and napkins look great on the table.
Resources
Click the images below for all resources.
Additional DIY Tableware Ideas
Here are some additional DIY Tableware Ideas you may enjoy.
- How To Paint Flour Sack Napkins
- DIY Hand-painted Drop Cloth Table Runner
- How to Make DIY Flower-Shaped Placemats from Burlap
- DIY Burlap Napkin Rings Tutorial
- Pottery Barn Inspired Leaf Napkin Rings
- Easy Lemon & Lime Drop Cloth Table Runner
- DIY Ticking Cutlery Pocket Napkins
- Easy Red & White Table Runner
Thanks so much for stopping by and I look forward to sharing my next adventure with you.

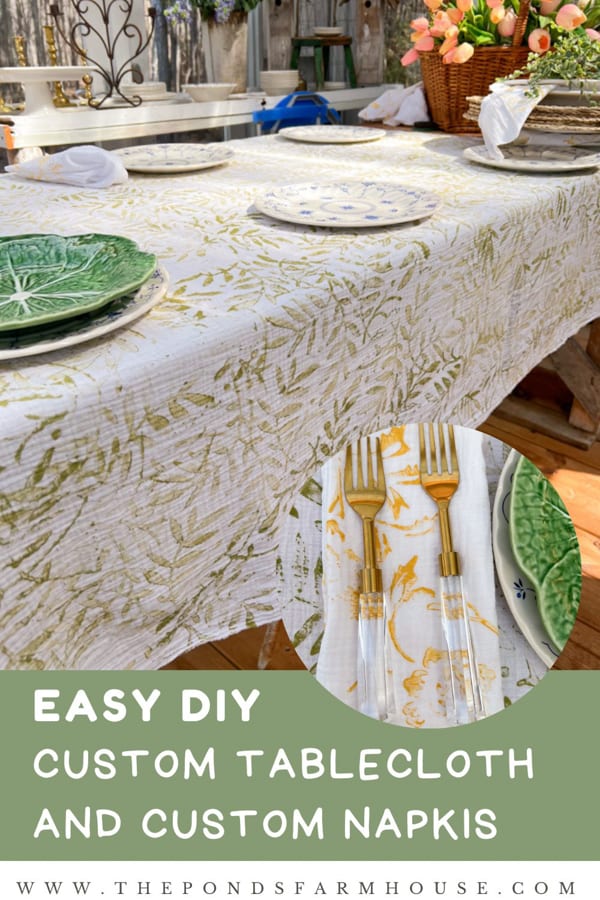
Pin It To Remember It
Did you find some great ideas you’d like to save for future reference? Hover over the images you’d like to save and pin to your favorite Pinterest Boards when you see the PIN button.



What a beautiful idea! love this!
Stacy,
I’m so glad you like it.
What a fun idea! The possibilities are endless.
Gloria,
Yes and so inexpensive to make.
This is such a great idea. I love it. So pretty!
Renae,
I’m so glad you like it.
Love, love, love the way this came together, Rachel! I love the pattern and the color you chose. They’re both so pretty! Hugs, CoCo
CoCo,
I really appreciate this.
Thanks for sharing.
Lovely idea, as are all your projects
Blessings
Susan,
I really appreciate this. Thanks for stopping by.