How to Create a Primitive Easter Bunny with a Dollar Tree Find
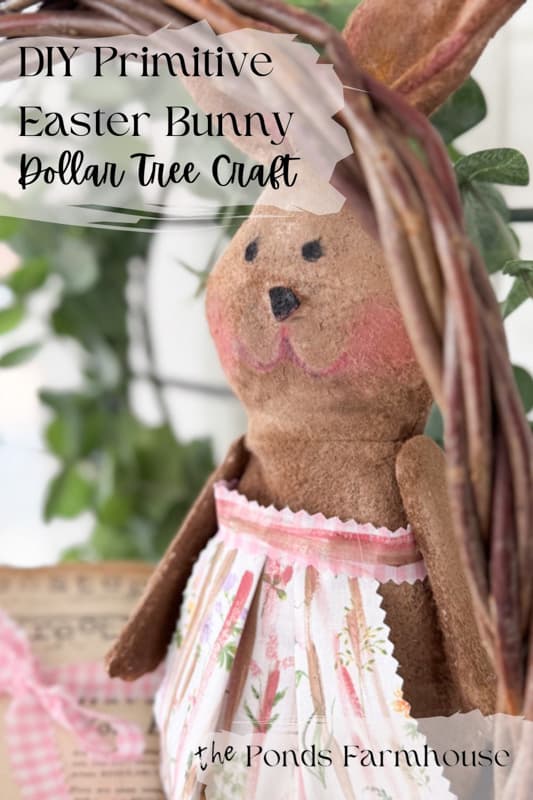
Are you looking for a rustic, farmhouse Easter basket filler? I just found these cute little fabric bunnies for only $1.25 at Dollar Tree and decided to transform this plain bunny into a stunning primitive centerpiece! This step-by-step tutorial will show you how to use craft paint and fabric medium to create an aged, time-worn look. With just a few fabric remnants, a delightful handmade apron completes the primitive decor. Get ready to add a touch of vintage charm to your Easter decor without breaking the bank!
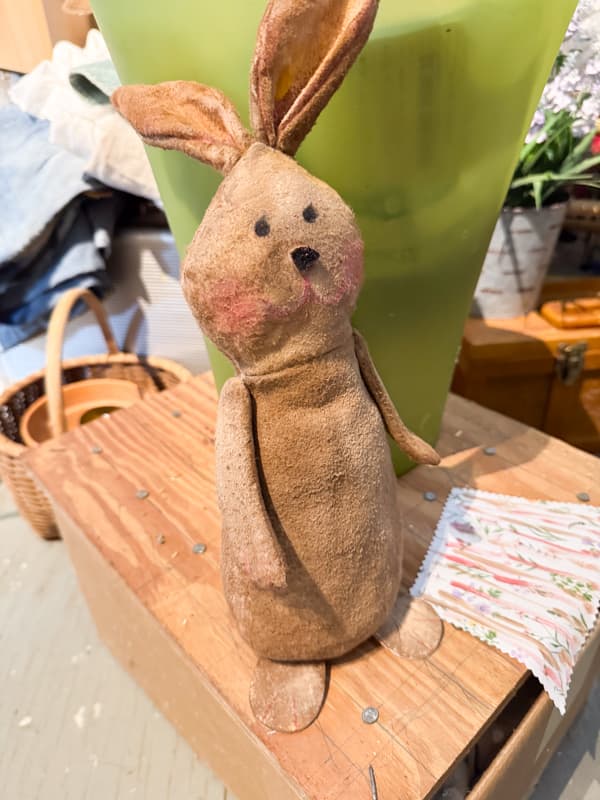
Dollar Tree Easter Bunny
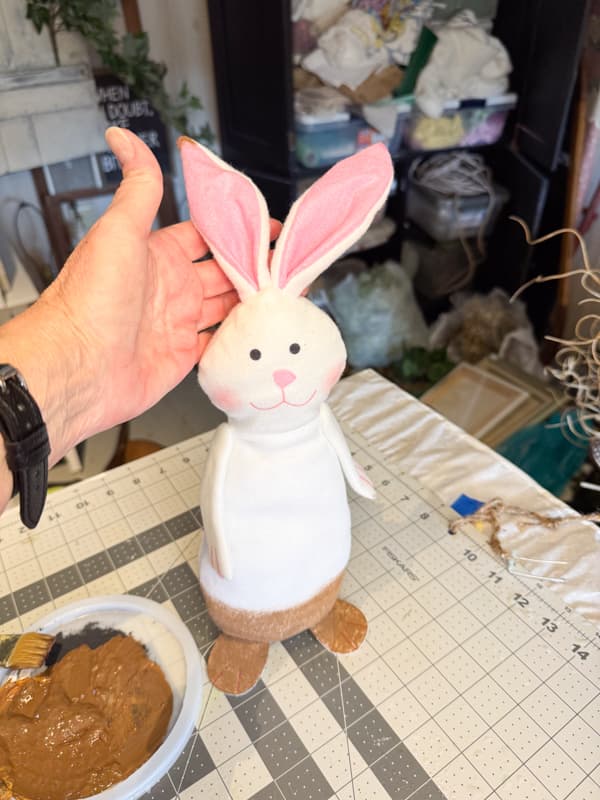
When I saw this cute bean bag Easter bunny at Dollar Tree, I immediately saw the potential to create a primitive bunny to decorate for Easter. The simple, smooth fabric and cute details are easy to work with. Here’s what I did.
How To Make A Primitive Bunny
To create the primitive bunny, I needed to paint the fabric. This would require getting a primitive-inspired color.
How To Mix and Prepare The Paint
The first thing I did was mix craft paint to get the color I desired. I used these colors to begin the transformation. In addition, I used a good portion of fabric medium.
I mixed the nutmeg and yellow ochre equally and added just a touch of black paint. Once I liked the color, I added approximately the same amount of fabric medium as the paint. Stir well before beginning.
How To Paint The Bunny
To paint the bunny, you will need a small paintbrush to work into the fabric as you paint. Begin by adding a coat of paint over the fabric and then push the bristles into the fabric to ensure an even coverage. Paint the entire bunny with the paint mixture.
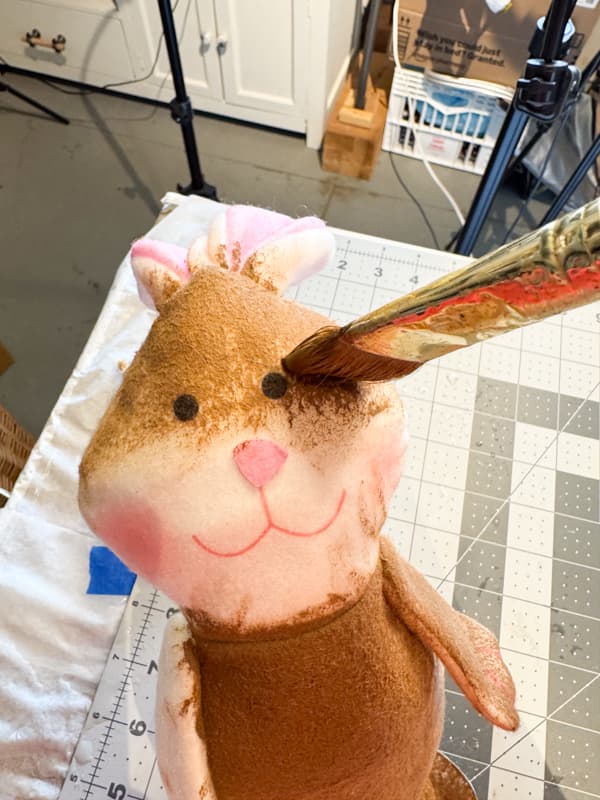
Enhance The Facial Features
Once the bunny was covered in brown paint, I painted the nose black and added hot pink paint to the cheeks. I also added a little of the pink paint inside the ears.
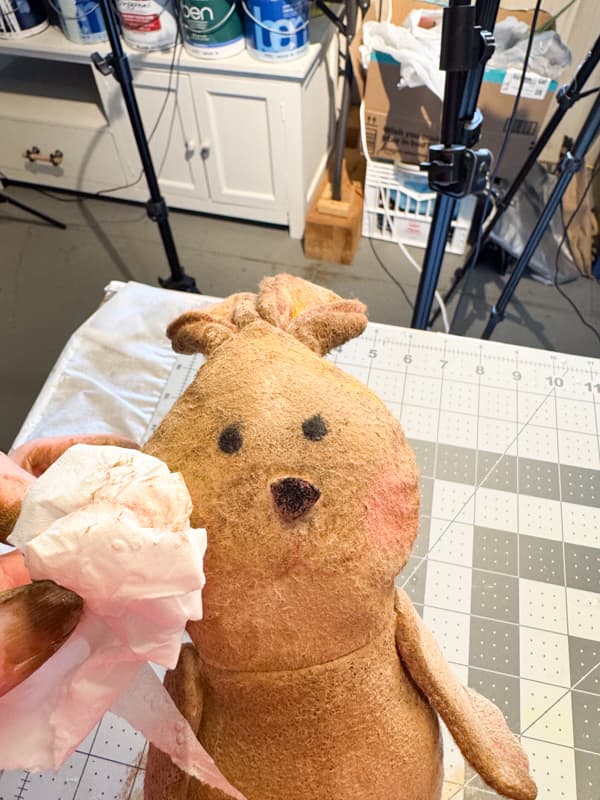
To finish the paint coverage, I added white paint with more fabric medium to the leftover brown paint mixture. I then brushed a light coat of white paint mixture over the face and arms to highlight these areas of the body. Then, I set aside to dry overnight.
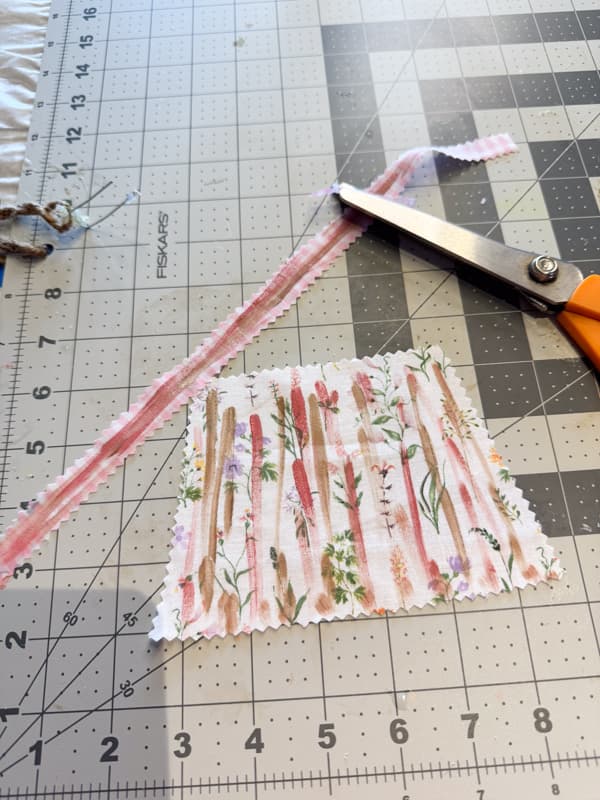
How To Make An Apron
While the bunny dries, you can make an apron if you choose. I used some of the scrap fabric leftover from the fabric Easter eggs I made earlier to create a rustic apron. I just cut the fabric with pinking shears and used hot glue to attach a contrasting fabric for the tie. I used some of the paint to add streaks of color to the fabric.
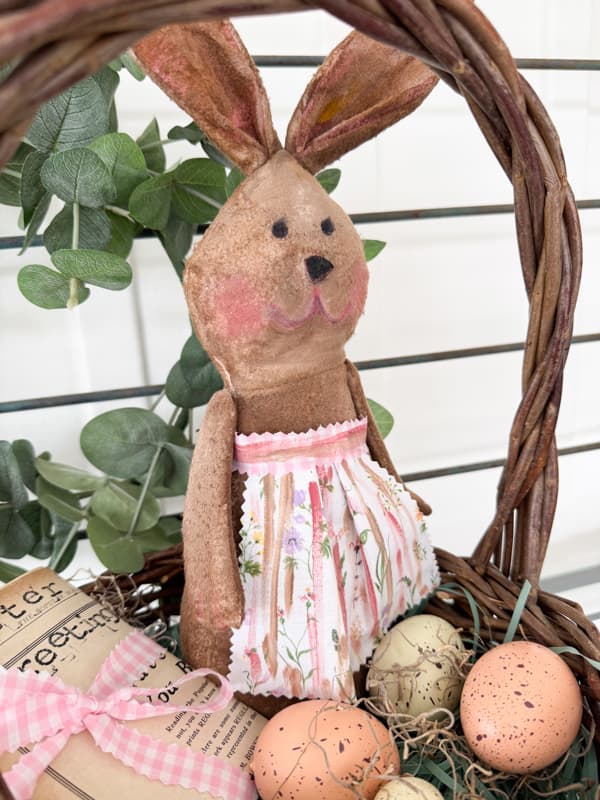
I pleated the apron twice and attached it to the ribbon tie with hot glue. Then, I tied the apron around the bunny’s waist.
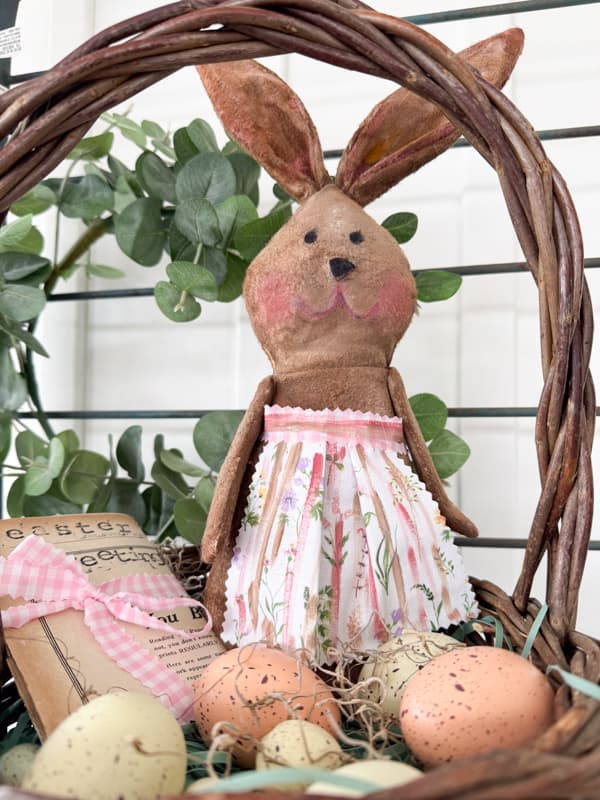
How To Decorate with the Primitive Easter Bunny
I was so excited when the bunny was finished. It’s hard to believe it’s a Dollar Tree Easter Decoration. The bean bag allows her to stand alone, and she looks so sweet on a shelf or a side table by herself,

However, I couldn’t wait to add her to a twig basket and get the full Easter effect.
This project only took about an hour, cost less than $2.00, and is just the cutest. It has just the time-worn look I wanted, and I’m tempted to run back to Dollar Tree for a second one. What do you think?
FAQ
I hope you enjoyed this fun project, and I look forward to sharing my next adventure with you.


Once again I am amazed!! I saw these bunnies at Dollar Tree on Monday while I was looking for bunnies and could not imagine how to make them look good. So I bypassed them. Hope there are some left!! She is adorable. I also was completely astounded by your large moss covered bunnies using the very odd assortment of Dollar Tree items. Truly you are one of a kind and aren’t we lucky you share all of this with us. Thank you.
Win,
Oh my gosh! Thank you for such an uplifting compliment. You have made my day and encouraged me to find more projects to share with you. Have the best weekend.
So cute! I love how creative you are and that you keep things on a doable budget. Thanks for all the great ideas!
Lisa,
What a sweet compliment. I’m so happy that you find my projects inspiring and yes, I want everything to be budget friendly. Let me know if you make a primitive bunny. Have the best weekend.
Hi Rachel, that is so cute, l think you should go and get a friend for your little rustic bunny. Thanks for sharing your great ideas, Edna
Edna,
Oh I’m so glad you like her! Yes, a cute boyfriend would be fun. Thank you for taking the time to comment.
so precious!!! thank you for sharing
Susie,
I’m so glad you liked her. I appreciate you for taking the time to comment.
I love it and yes, go get another one! I made a bunch of them 2 years ago. did them vintage style . turned out so cute!
Margie,
Oh that’s so fun. Did you use the Dollar Tree bunnies? It was so easy and I’m loving her. I’m so glad you liked it too.
Your bunny is charming, another amazing creation, Rachel your creativity is astounding!
Angie,
You are so sweet to say this. I’m glad you like her. She’s a favorite for sure. Have the best Sunday!