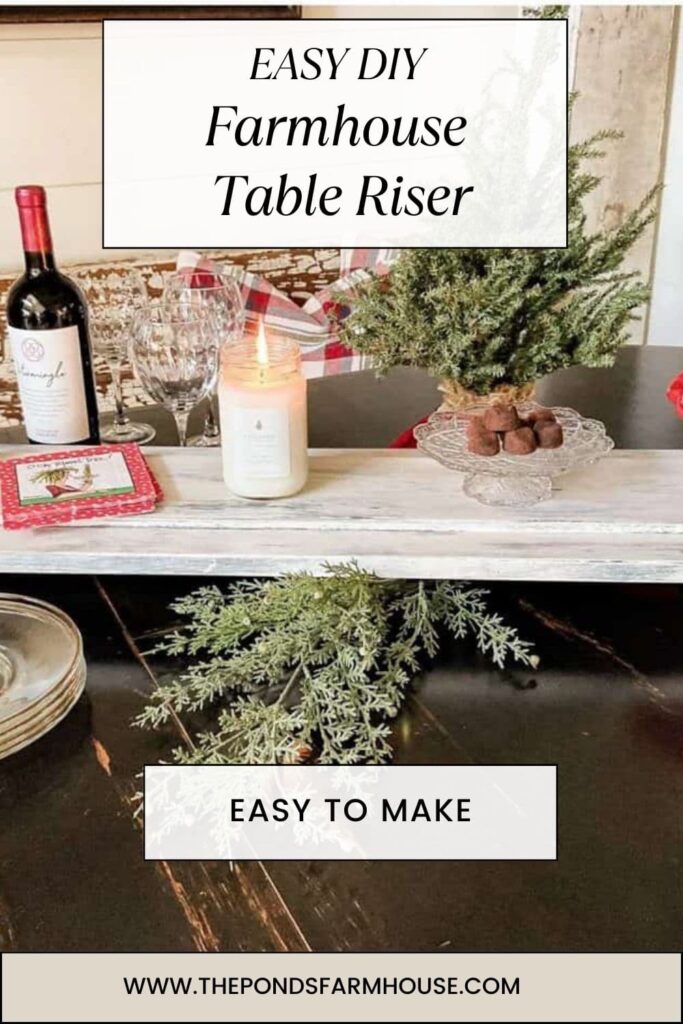
Easy To Make DIY Farmhouse Table Riser
If you’d like an Easy DIY Farmhouse Table Riser, check out this tutorial. With a minimum of carpentry skills, you can create a custom table riser that will enhance all your table settings. This tutorial is for a long table riser but can be customized for any size table.
I used new wood but gave it a rustic appearance by distressing it and using a dry-brush chalk paint technique.
I’ve wanted a long table riser for a couple of years, and when Allison at the American School of Charm asked me to join a DIY Blogger’s Challenge, I knew it was finally time to make one for our Christmas Holiday Party. Be sure to see all the other creative DIY Table Risers at the end of this post.
(Posts on The Ponds Farmhouse may contain affiliate links. As an Amazon Associate, I earn from qualifying purchases. See the full disclosure details here.)
Table of contents
What Is A Table Riser?
A table riser creates visual interest in table centerpieces, vignettes, and bookshelves by elevating certain items at varying heights.
You can use a table riser to add height to candlesticks, floral arrangements, centerpiece items, and more.
What are Table Risers Made From?
You will find that table risers can be made from various materials, including wood, metal, glass, ceramic, and plastic.
You can use a wooden slice, stacked plates, books, or cake plates to create table risers.
For today’s project, we are building the table riser from new wood. The list of materials and tools is listed at the end of this post.
How To Build The Wood Table Riser
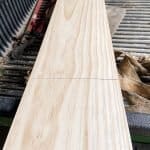
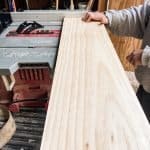
Begin by cutting your 4′ board down to 40″ long. Due to the board’s width, a table saw is the easiest method. However, if you are purchasing from Lowes Home Improvement or Home Depot, they will usually cut the board to size at the store.
Attach Smaller Board
Adding a second board to the farmhouse-style riser adds dimension and more character.
Wood glue is easy to use to attach the board. Begin by placing the smaller board in the exact center of the larger board and using a pencil to mark the placement. Then, turn the board over and apply a very thin layer of glue over the surface of the backside. You don’t want the glue to seep out from under the topboard because your stain will not adhere to the glue properly. Should this occur, be sure to wipe away the excess glue quickly and thoroughly.
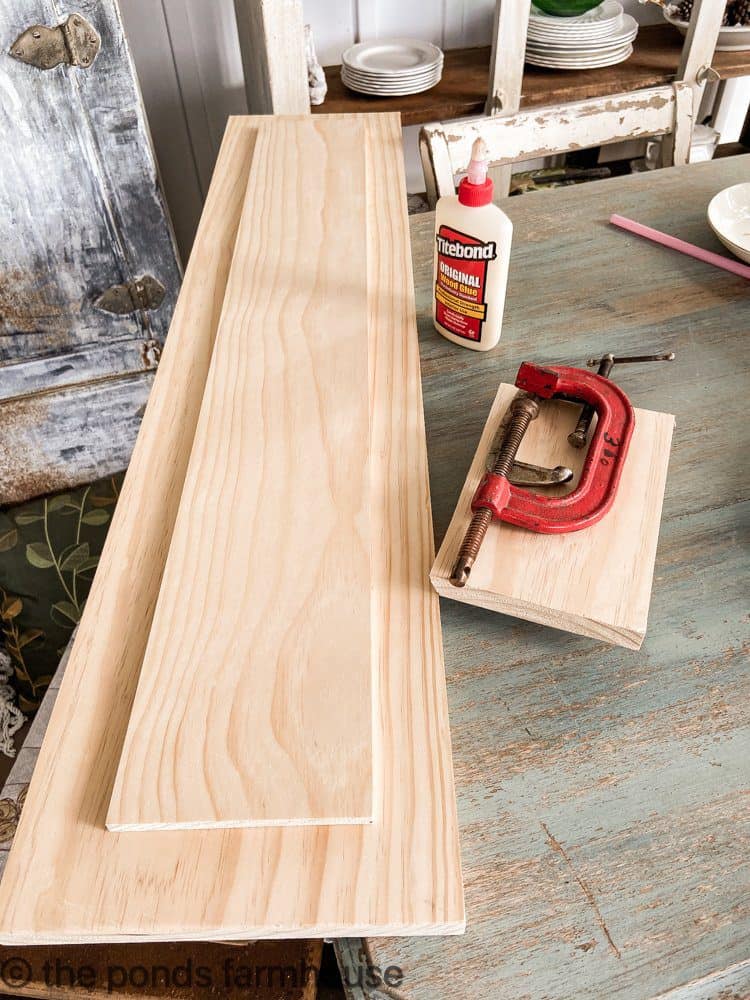
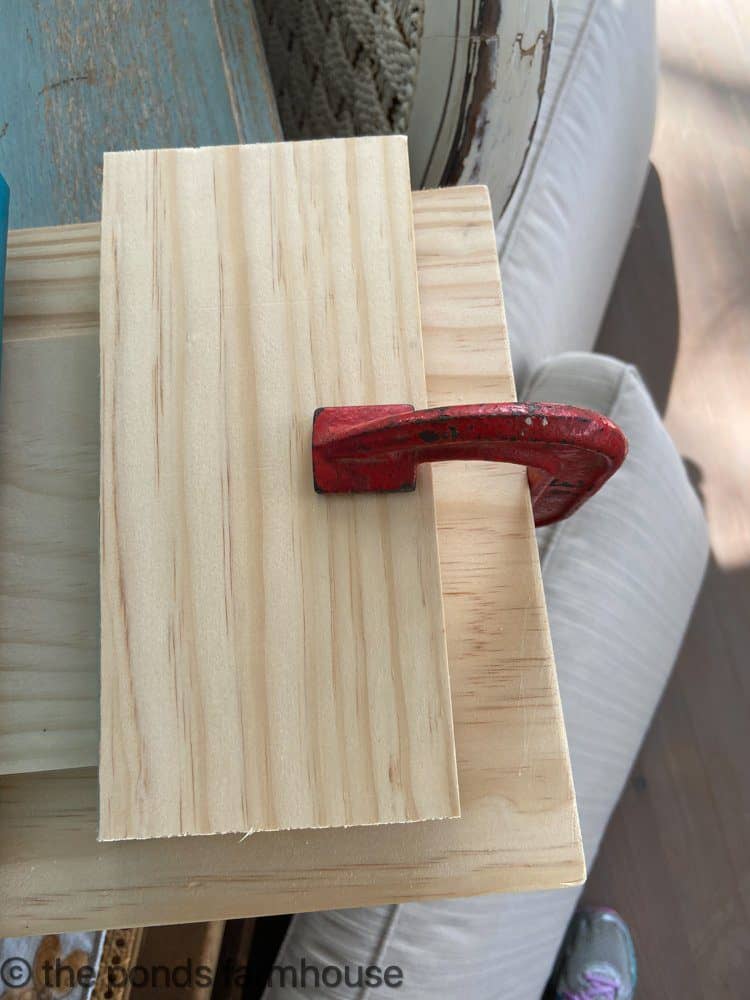
Clamp and Wait Until Dry
Next, clamp the two boards together until the glue is dry. In addition, place a protective layer between the top board and the clamp to prevent bruising of the delicate pine wood.
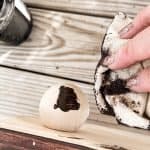
Add Feet to the DIY Farmhouse Riser
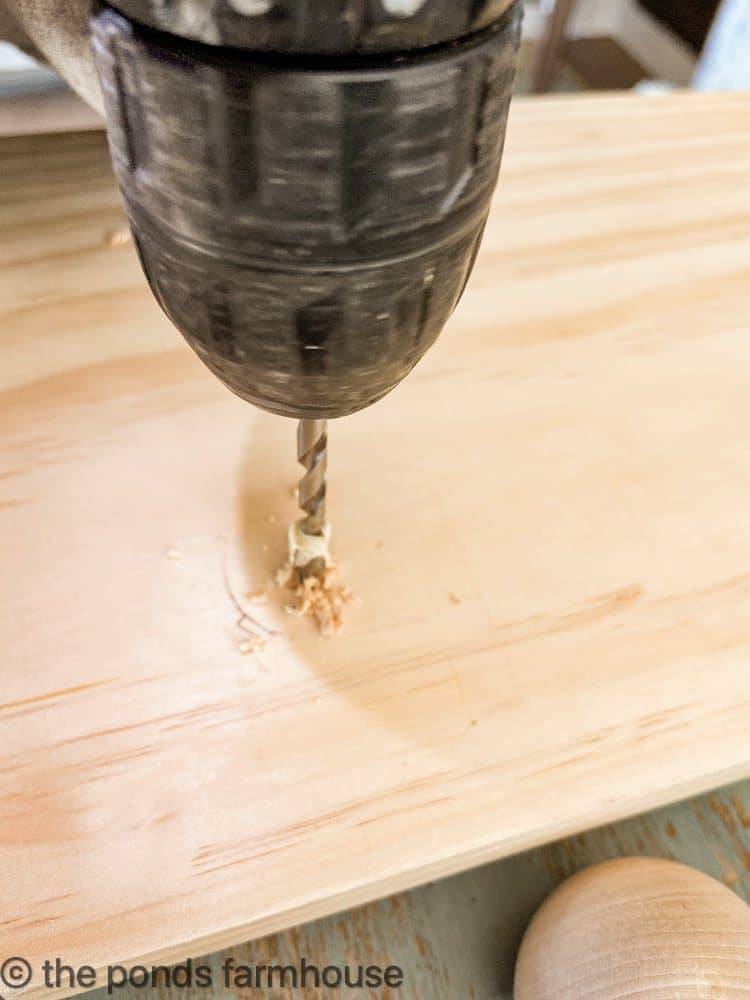
Now that the glue has dried, you can add the feet to the bottom board.
Begin by determining the location of the feet. I decided to place them just inside the corners of the top board. Then, using a cordless drill, drill a 3/16 ” hole approximately 1″ deep, allowing the hole to go through the 1″ board and slightly into the 1/4″ board.
Next, cut the dowel rod into 4 – 1 1/2 inch pieces.
Note: the length of the dowel rod pieces may need to be adjusted depending on the depth of the hole in the ball knobs.
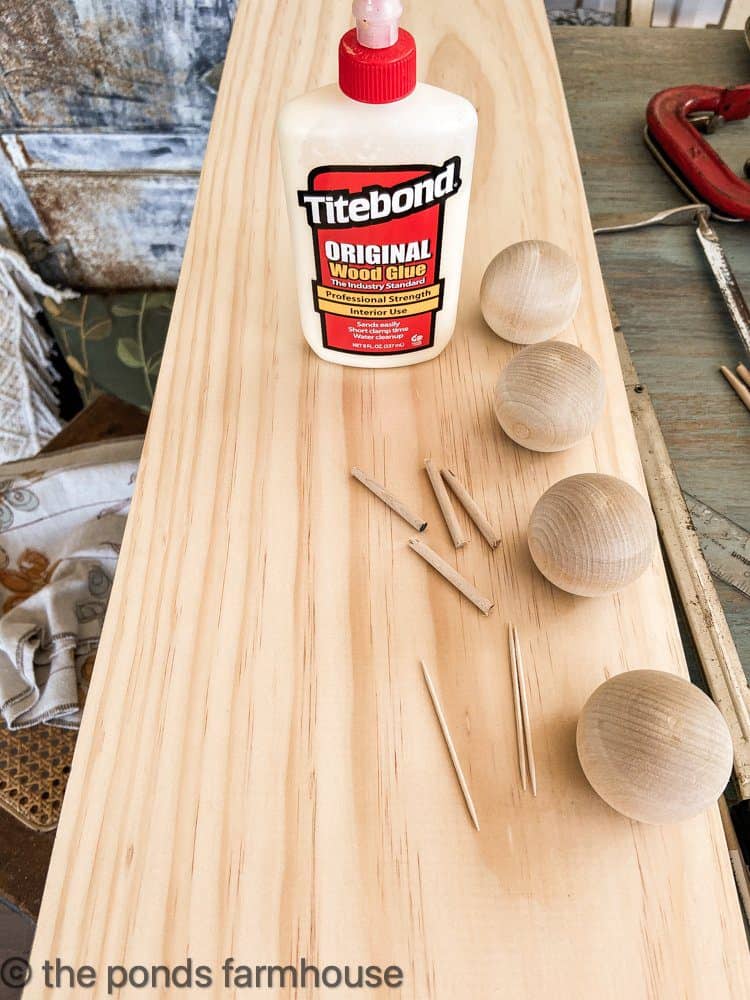
Add a drop of wood glue to both ends of the dowel rod and insert in the ball knob and the drilled hole in the bottom of the riser. Also, add a drop of glue to the flat area of the ball knob and ensure it is pressed tight against the bottom of the riser.
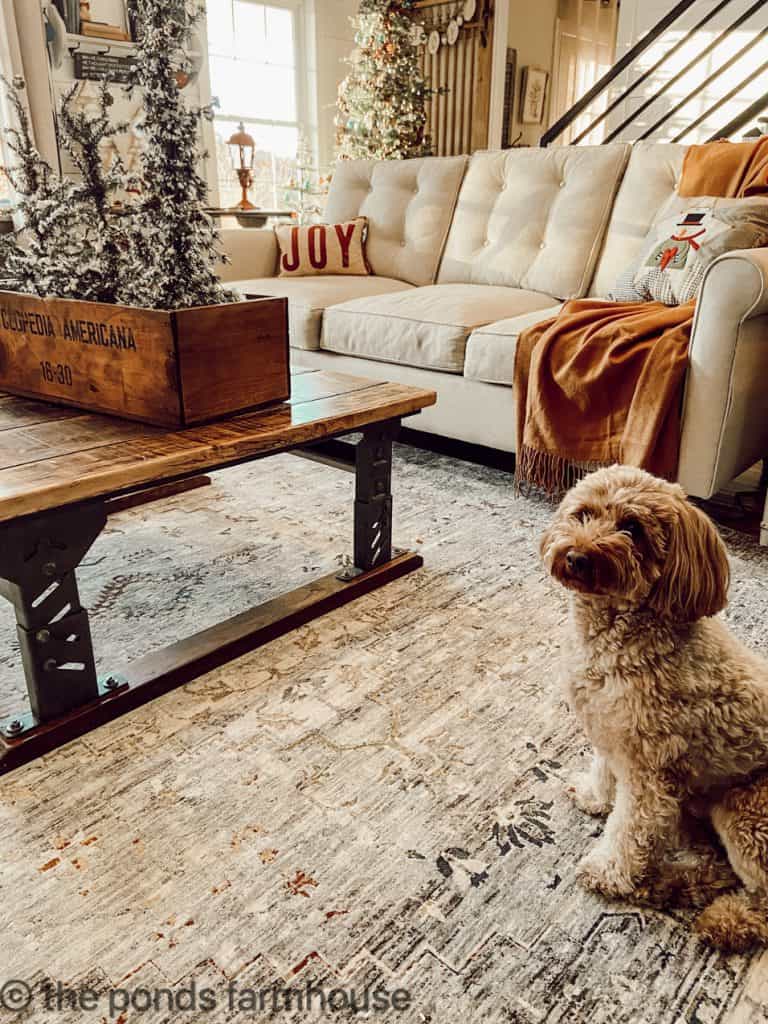
Allow to Dry
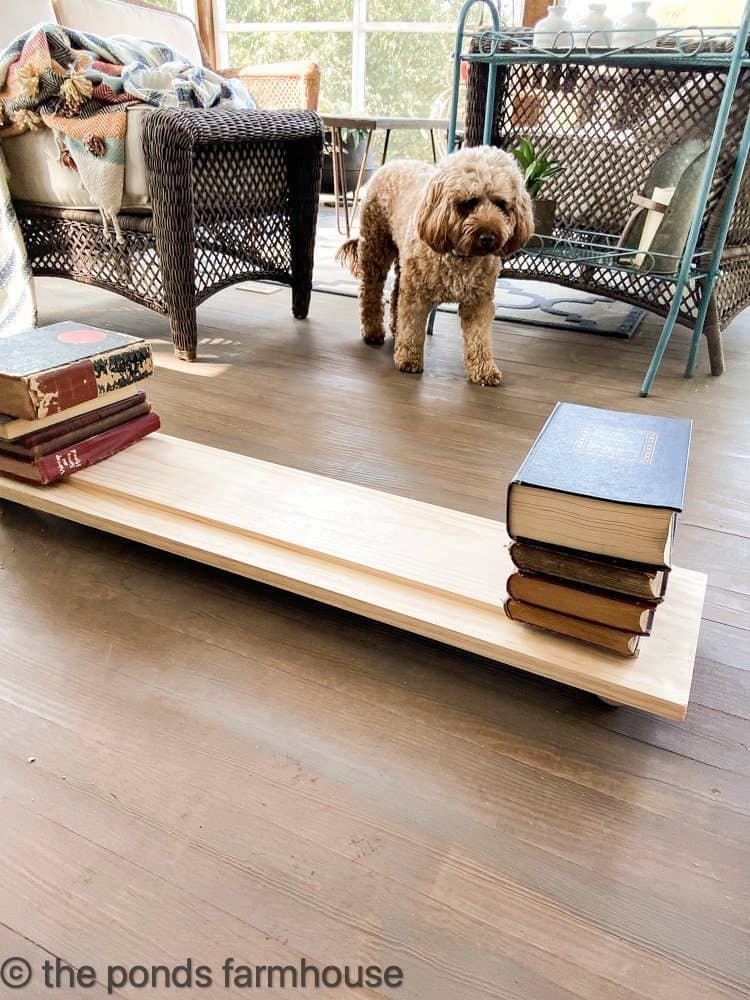
To allow the glue to dry, I placed the riser on a level surface (the floor, LOL) and stacked heavy books on top. This will ensure that the ball knobs don’t shift and become uneven.
Rudy doesn’t understand what’s going on!!
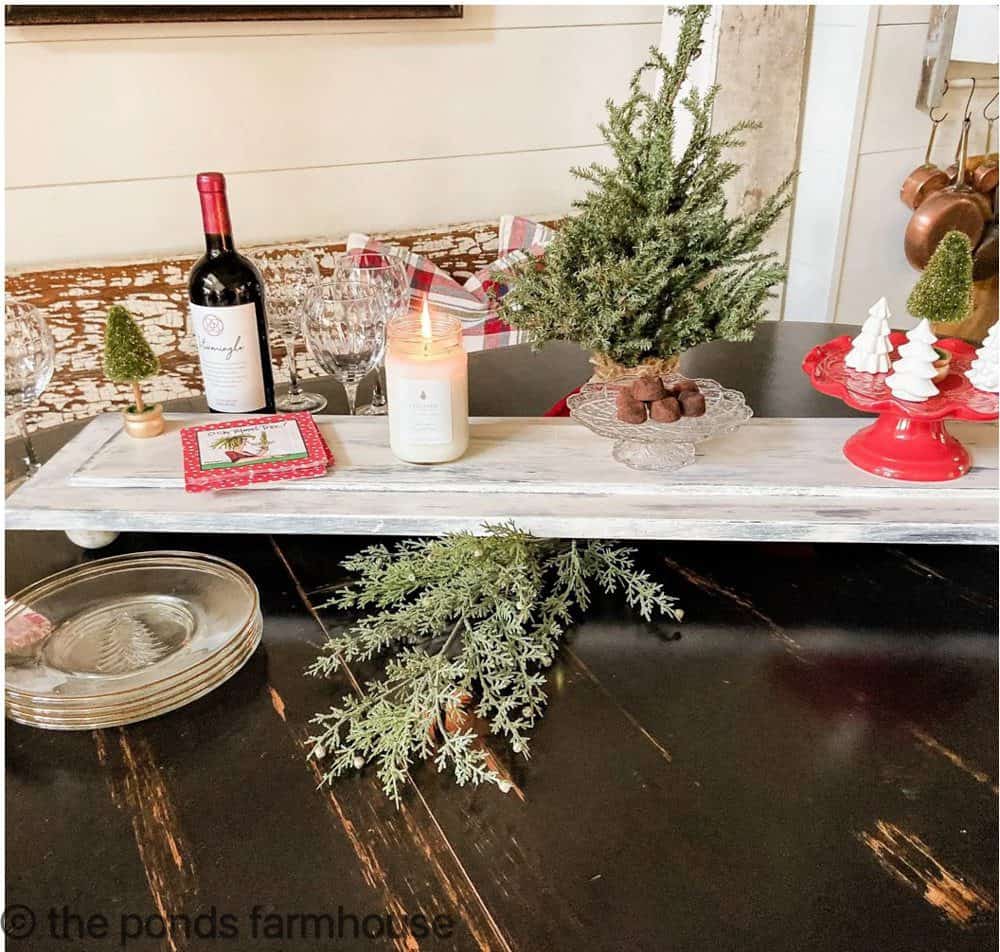
The DIY Farmhouse Riser is Built
The options to finish your DIY Farmhouse Riser are unlimited. However, here is how I decided to finish my riser.
First, to make the edges less sharp, use a mouse sander to round all the edges, including the top board edges.
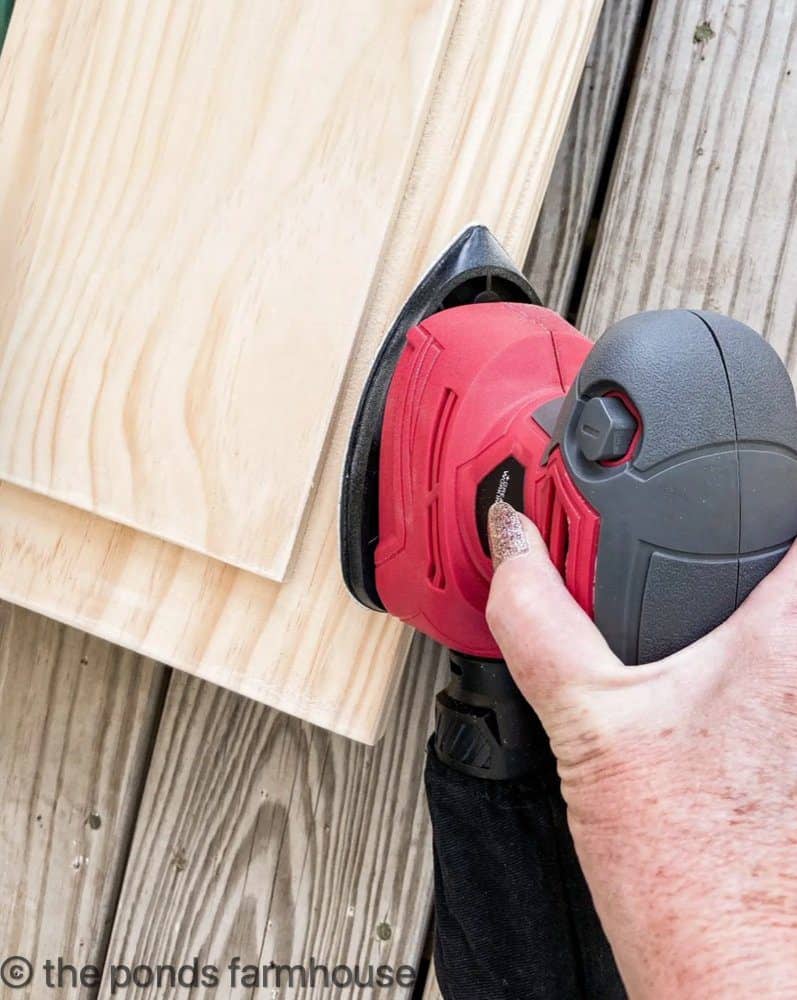
In addition, you can distress the wood further by using a hammer, nails, and screws to make dings and dents in it. This will give the wood a reclaimed wood appearance if that is what you desire. Here is a great tutorial on making new wood appear old.
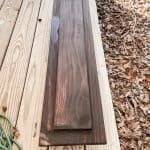
Stain the Riser
Now, you can choose to stain the riser in any color of your choice. For this step, I used an Antique Walnut Gel Stain, which can be applied with a clean cloth.
Insider Tip
Note: If you plan to paint your riser, you may still want to apply a stain base to achieve a reclaimed wood appearance.
If you paint the riser with white paint over raw wood, it will not look like distressed wood.
Alway begin with a stain or dark paint before applying a coat of white paint when working with new wood.
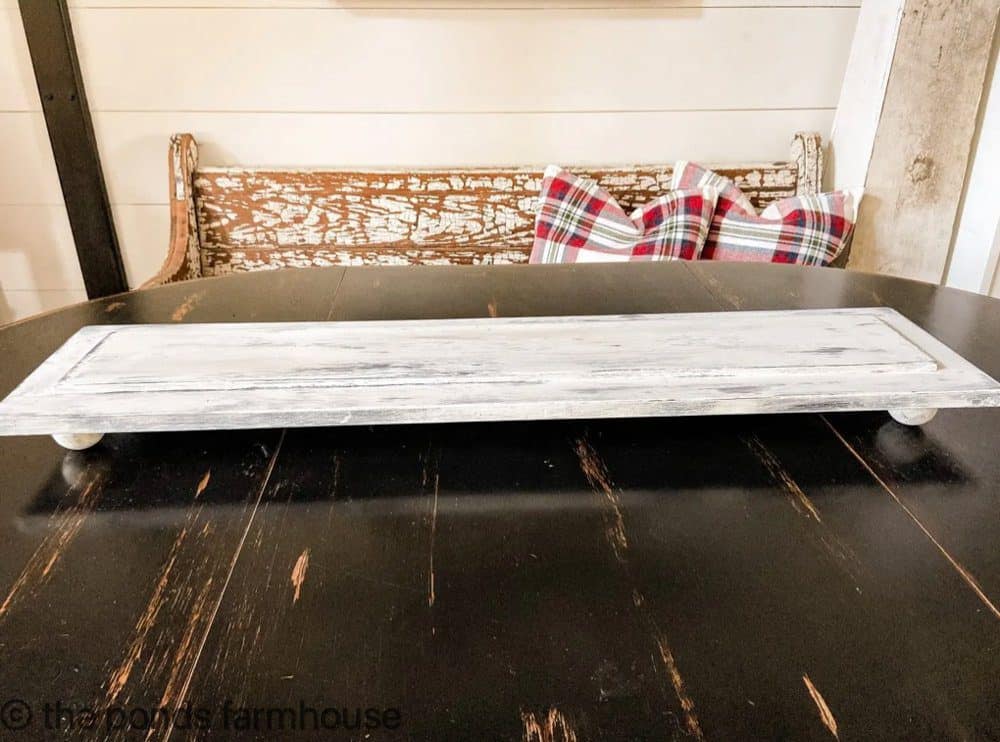
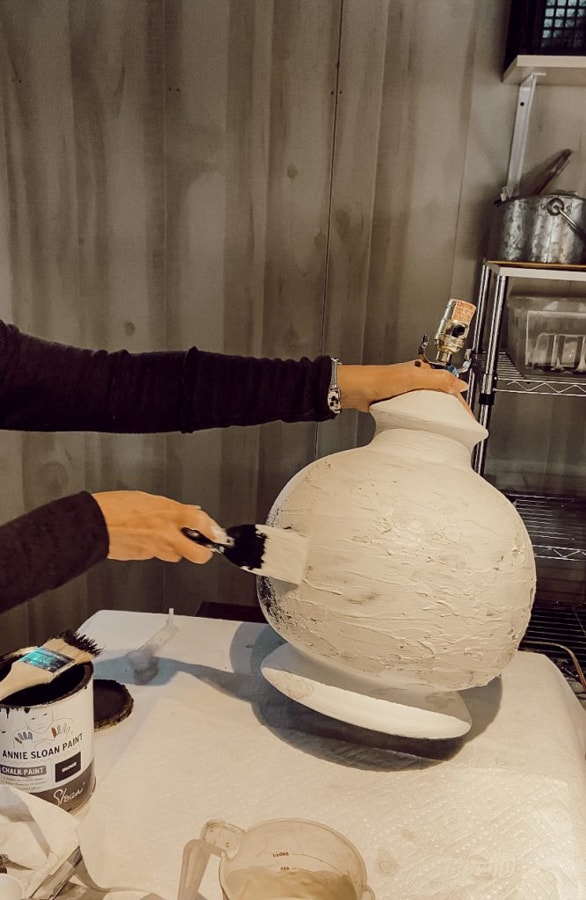
Paint the DIY Riser
Next, I choose to use a dry brush technique to create an aged-looking Farmhouse Style Riser. You can see this post for the Dry Brush Technique.
White Chalk Paint with a Clear Wax Finish was chosen because most of my tables are darker wood, and I wanted the table riser to shine.
I used a similar technique to make our wood ceilings look like reclaimed wood. See the step-by-step tutorial here.
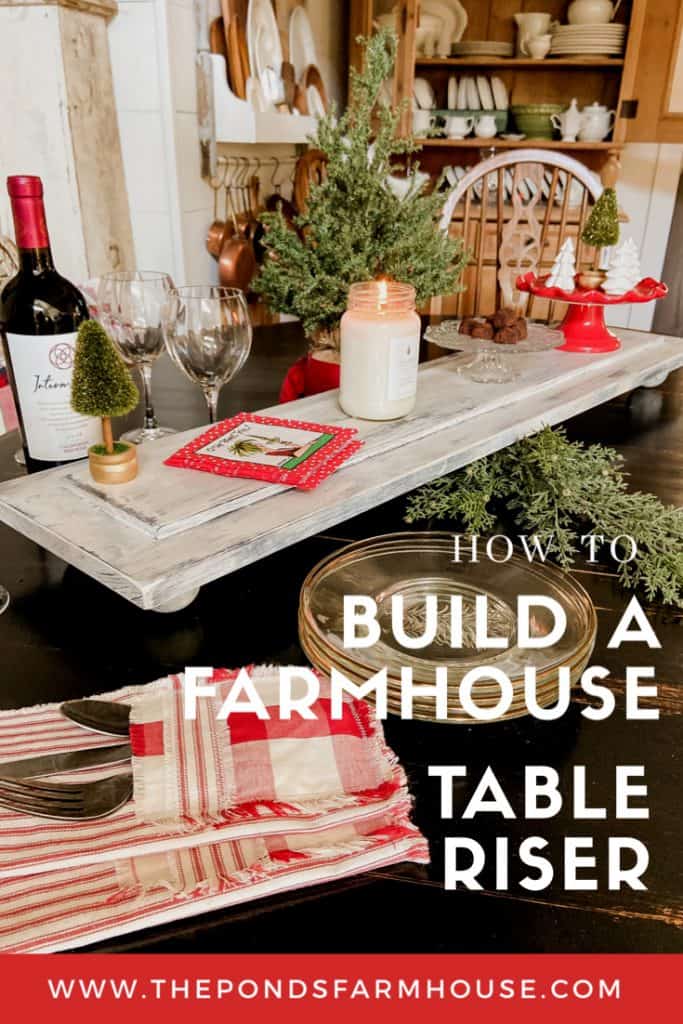
How To Build A Wooden Table Riser

Easy to make DIY Table Riser
Materials
- 1 - Select Pine Board - 1 x 10 x 4
- 1- Select Pine Board - 1/4 x 6 x 3
- 4 - Unfinished Ball Knob - 2 1/2"
- 1 - Dowel Road 3/16 x 36"
- Wood Glue
- Stain
- White Chalk Paint
Instructions
Begin by cutting your 4' board down to 40" long.
Begin by placing the smaller board in the exact center of the larger board and use a pencil to mark the placement. Then turn the board over and apply a very thin layer of glue over the surface of the backside.
Next, clamp the two boards together until the glue is dry. Place a protective layer between the top board and the clamp to prevent bruising of the delicate pine wood.
Determine the location of the feet. Then drill a 3/16" hole, using a cordless drill, approx. 1" deep, allowing the hole to go through the 1" board and slightly into the 1/4" board.
Cut the dowel rod into 4 - 1 1/2 inch pieces.
Add a drop of wood glue to both ends of the dowel rod and insert the ball knob and the drilled hole in the bottom of the riser.
In order to allow the glue to dry, I placed the riser on a level surface and put heavy books on top. This will ensure that the ball knobs don't shift and become uneven.
To make the edges less sharp, use a mouse sander to round all the edges, including the top board edges. Distress more, if desired, with a hammer, screws, and nails to dent the wood.
Next, stain the entire piece. I used Antique Walnut Gel Stain, which can be applied with a clean cloth.
Next, I chose a dry brush technique using Old White Chalk Paint to create an aged look.
Seal with Clear Wax.
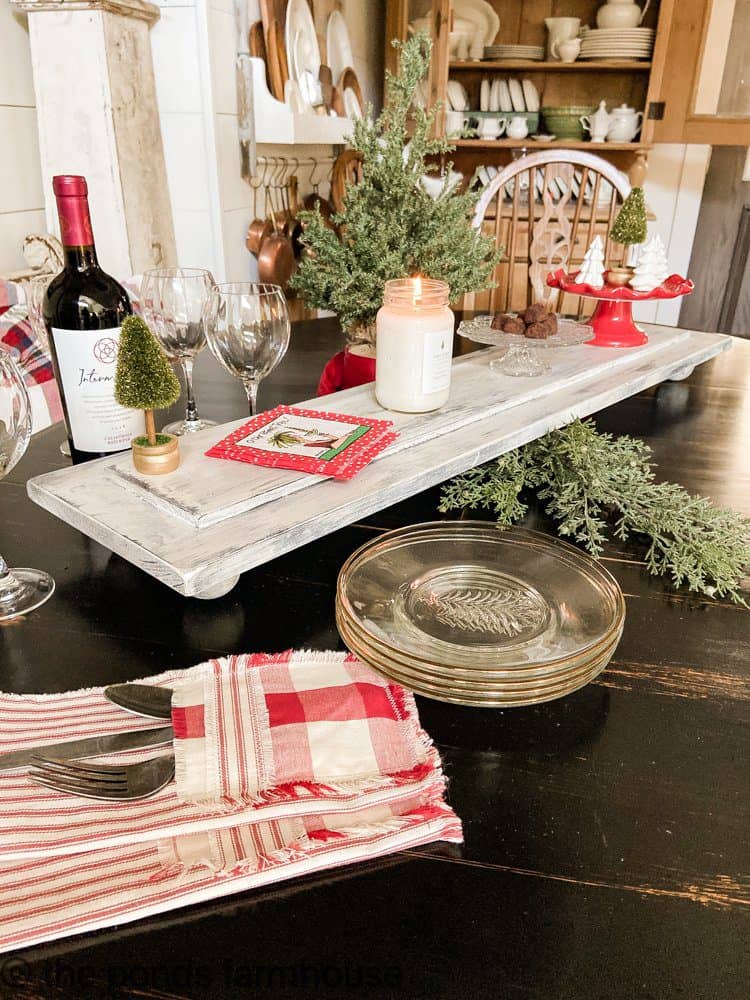
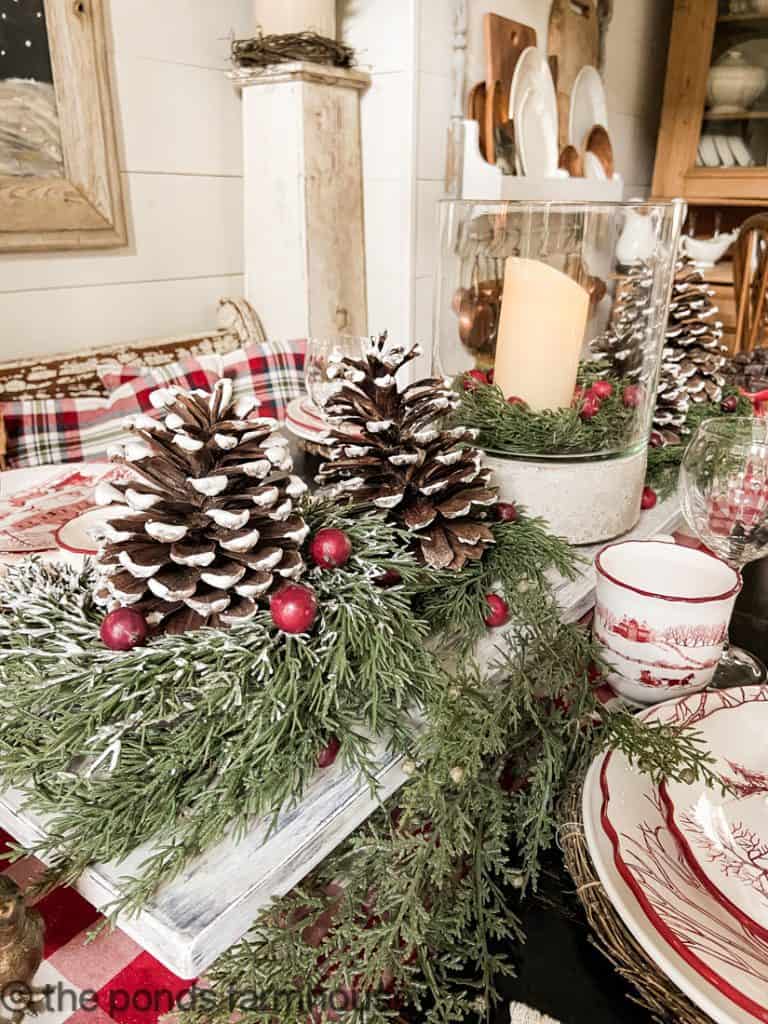
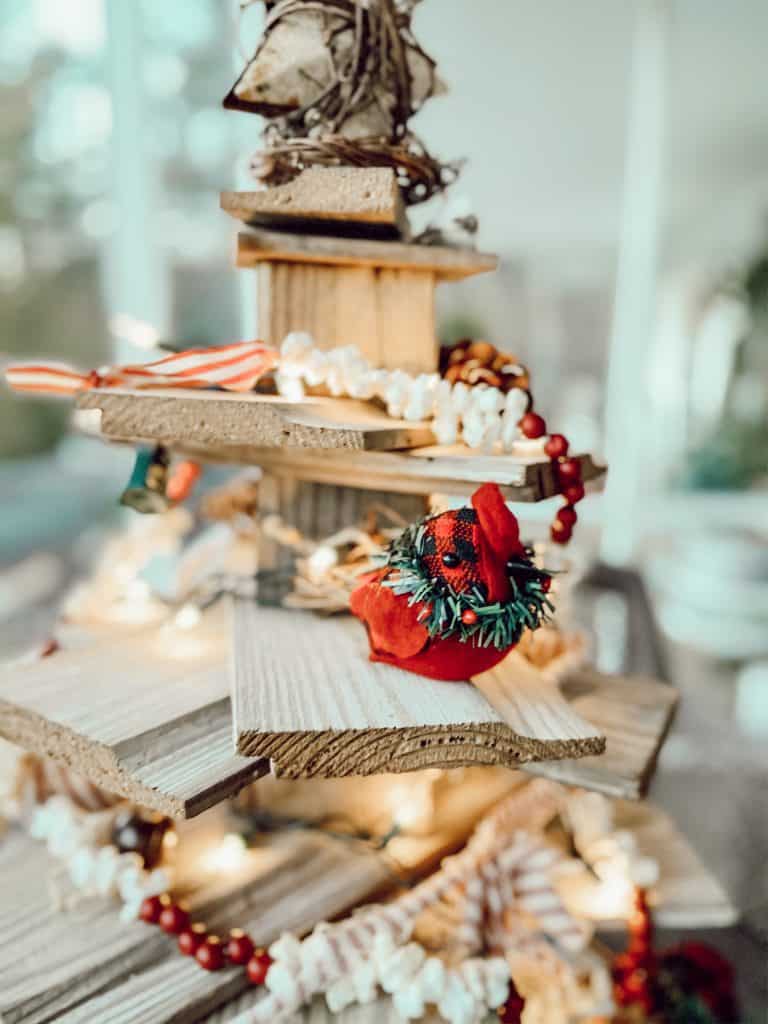
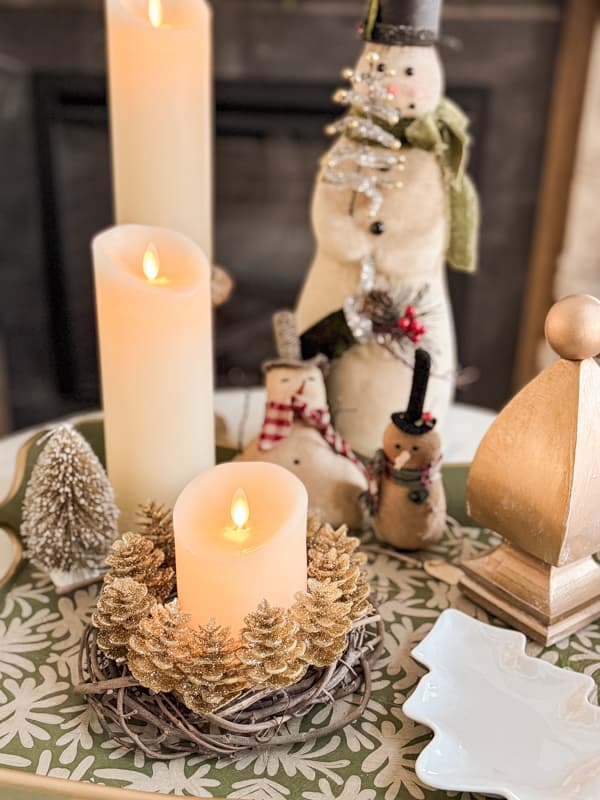
Perfect Table Riser for Holiday Events
This larger table riser will be perfect for any party and the upcoming holidays especially.
The DIY Napkins tutorial was shared in this previous post.
Materials Needed For DIY Farmhouse Table Riser
- 1 – Select Pine Board – 1x10x4
- 1 – Select Pine Board – 1/4x6x3
- 4 – Unfinished Ball Knob – 2 1/2 “
- 1 – Dowel Rod 3/16″ x 12″
- Wood Glue
- Stain
- Chalk Paint
Tools Needed For Table Riser
See how beautiful the table riser is on this Christmas Tablescape.
See More DIY Table Riser Inspiration – Click on the Below Links
Suzanne – Shop at Blue
Jayne – Chalking Up Success
Rene – MTB Home Living
Kimberly – From Farmhouse to Florida
Allison – American School of Charm
Mrs. Coleman
Jennifer – J Dub by Design
Donna – Modern on Monticello
Sydney and Co. Blog
Jennifer – Cottage on Bunkerhill
Kim – Cottage in the Mitten
Sonya Burgess
Leslie – Feet Under My Table
Resources
Click the images below to shop for supplies and tools.
Thanks for stopping by today. I look forward to sharing my next adventure with you.

Pin It To Remember It
Did you find some great ideas you’d like to save for future reference? Hover over the images you’d like to save and pin to your favorite Pinterest Boards when you see the PIN button.

What a cute idea Rachel. Luved it. Pinned!
Ann,
Thanks so much sweetie.
Rachel
Looks great Rachel! I love how you styled your tray.
Jennifer,
I really appreciate this.
Rachel
I love the second board on top. It gives the perfect amount of visual interest. This would be gorgeous on my kitchen island!
Sydney,
I’m so glad you like it. Thanks.
You are amazing, Rachel! I love how your tray turned out! Thank you for sharing your talents with us! You and the other ladies inspire me to want to get over my fear of using actual tools!
Kimberly,
Thanks so much for stopping by.
RAchel
Rachel I love this! You are so talented and you styled it beautifully too! Perfect for displaying. I am so excited to see you use it this Christmas.
Kelly,
Thank so much.
Luuuv your riser!!!
Marsha,
Thanks so much. I appreciate you for stopping by.
Rachel
Rachel, I love that pic with your dog, as if he’s thinking “what is she up to this time”! Your tray turned our amazing, I love the layered effect of the wood planks too. Lovely to be in the challenge with you!
Jayne,
Thanks so much.
Rachel
I love your tray! The addition of the second piece of wood gives it so much character. I love how your sweet Rudy is looking at it when you have the books on it. His expression is perfect! Pinned too.
Linda,
Anything out of the ordinary freaks him out. LOL Thanks so much.
Rachel
Your riser turned out amazing, as always. I wanted to see the dry brush method, but it took me to your ship lap Christmas tree.
Miche,
The dry brush technique is at the end of that post. Sorry for any confusion. Rachel
Girl, you could write a book with all of your incredible DIY’s! I’d be the first in line for a signed copy! Love it. Pinned
Cindy,
You are so encouraging. Thank you so much.
Rachel
I absolutely love this DIY idea Rachel. Pinned because I am going to try to make one of these. Thank You for sharing!
Kim,
I’m so glad you like it.
Rachel
Rachel I just love the scale of this riser! You can do so much with this. And the white is such a classic look. Lovely styling too! What a fun challenge!
Sue,
I agree, enjoyed doing this with you! Thanks for stopping by.
Rachel
What a great job you did! I love seeing the longer length. What a fun challenge this has been to do with everyone!
Kim,
I agree. Loved doing this.
Rachel
I love this riser. It has a lot of character to it!
Renee,
Thanks so much.
Rachel
I like this! It would also work well on a kitchen island or long counter!
Linda,
Yes, that’s why I wanted it a lighter color so I could use it in multiple ways.
Thanks,
Rachel
Your tray turned out beautiful and i love the longer size. Great job and it was so fun being part of this challenge with you.
Sonya,
Thank you so much.
Layering the 2nd piece of wood atop the main piece adds such dimension to your project – great job, Rachel! (And my Max and Sophie told me to tell Rudy that they get confused by all my projects too – they have perfected the “what the heck is momma doing?” look.)
Sharon,
that is so funny. Yes, they don’t like change. Thanks for stopping by.
Rachel
Your tray is beautiful! I really like how long you made it. I need one that long for the center of my table but knew I was going to use my riser in other places so kept it smaller. The dry brushed paint technique is perfect for your table. #HomeMattersParty
Donna,
I really appreciate your sweet compliments.
Rachel
I’m not sure what I love more, the tray or the styling? Both are so fantastic! It’s so smart how you added the extra level to the top. I never would have thought of that. Such a pretty job!
Allison,
I really appreciate your sweet compliments.
Rachel
I love this soooo much, Rachel! You have inspired me, friend. Off to buy supplies to make one for my island. Just what it needs for holiday entertaining! Great job!
Leslie,
I’m so glad you like it.
Rachel
Another amazing project!!! I love how your tray came out.
Jennifer,
I really enjoyed doing this with you.
I love your riser and would like to make one for my daughter! In this post, the list of materials needed is blocked from view by two pictures. I’ve noticed this happening in another of your tutorials,, but just didn’t comment. What caused that? I scanned the previous comments and no one mentioned it. I would like to know what materials you used. Thanks!
Linda,
I’m not sure why that is happening. Let me look into it. Thanks for bringing this to my attention. Here’s the list:
1 – Select Pine Board – 1x10x4
1 – Select Pine Board – 1/4x6x3
4 – Unfinished Ball Knob – 2 1/2 “
1 – Dowel Rod 3/16″ x 36″
Wood Glue
Stain
Chalk Paint
Thanks for the list of materials!
Linda,
You are welcome.
Rachel