Easy Napkin Decoupage Christmas Ornaments
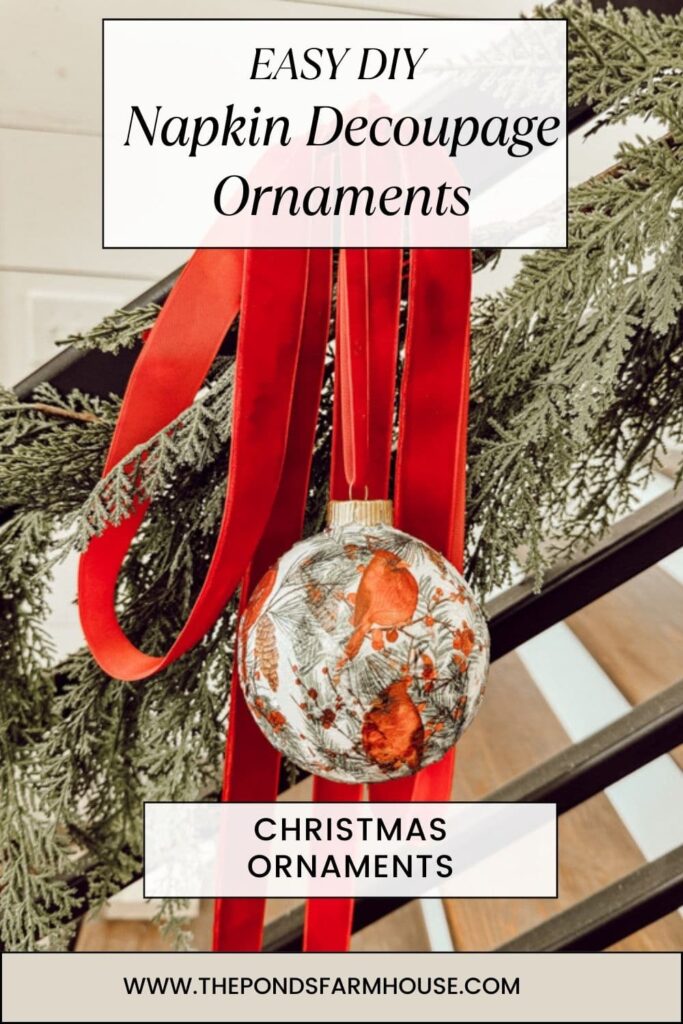
Are you looking for unique ornaments for your Christmas decorations this year? Let me show you how to make napkin decoupage Christmas ornaments with inexpensive Dollar Tree ornaments. The options are unlimited, and it’s such an easy craft.
I’ve done several napkin decoupage DIY projects, and when I saw these Cardinal napkins, I decided to try them on ornaments. I use red birds on my screened porch and always look for additional decorations for that area. I can’t wait for you to see how they turn out.
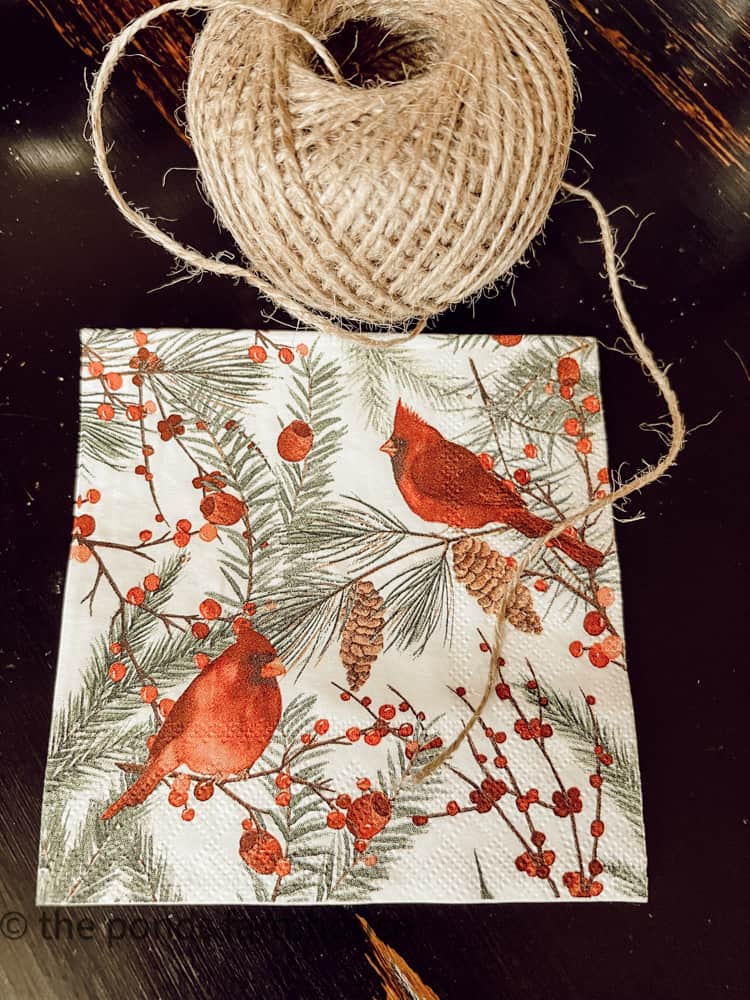
Table of contents
How To Make Napkin Decoupage Christmas Ornaments
First, find a napkin that will work with your Christmas Decor. There are so many options, so your decorating can be as creative as you wish.
Next, you need old ball ornaments or pick up inexpensive ones at The Dollar Tree or online like these. You may also find some cheap used ornaments at Thrift Stores this time of year.
Note: I used clear ornaments. If you use old ornaments, choose carefully because the color may seep through. The napkin is very thin; you can see the original color once you apply it.
I love to look for thrift store Christmas decor this time of year, and here are some tips on what to look for.
Spray Paint Ornament Option
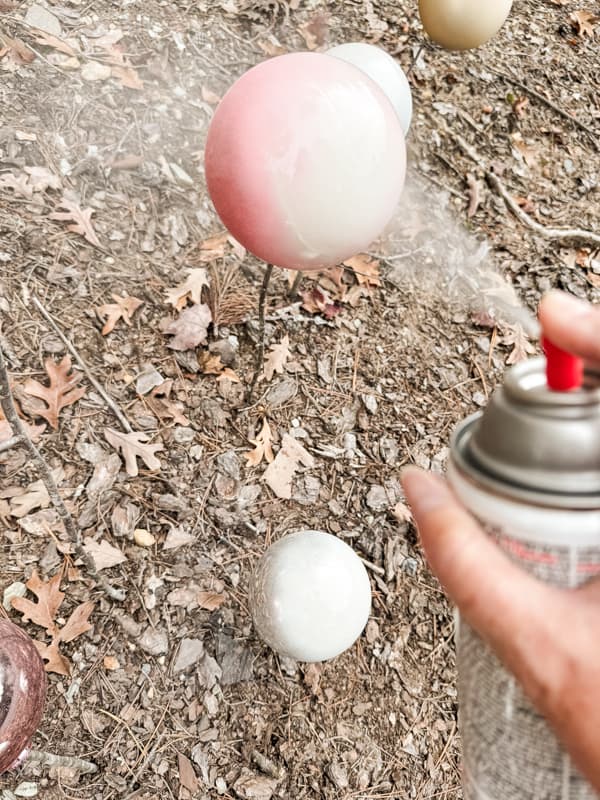
Another option is to spray paint the ornaments before applying the napkin decoupage. If you purchase Dollar Tree ornaments or find a great deal at a Thrift Store, and the color doesn’t work well with your napkin choice, it’s easy to spray paint them with a light color.
I purchased several oversized ornaments at Dollar Tree for this year’s project. All needed painting. I first removed the caps and found sticks in my yard that would fit into the ornament hole. Then, I used chalky white spray paint to cover the colors.
(Posts on The Ponds Farmhouse may contain affiliate links. As an Amazon Associate, I earn from qualifying purchases. See the full disclosure details here.)
Supplies for Decoupage Christmas Ornaments
- Cardinal Paper Napkins
- Old or Cheap Ornaments
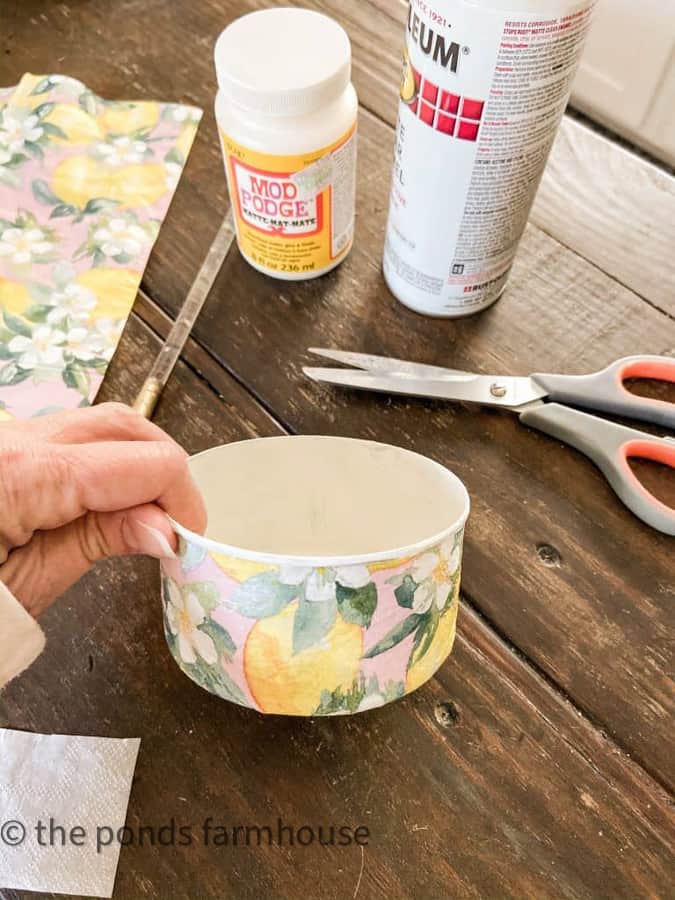
- Mod Podge Gloss Finish
- Paint Brush
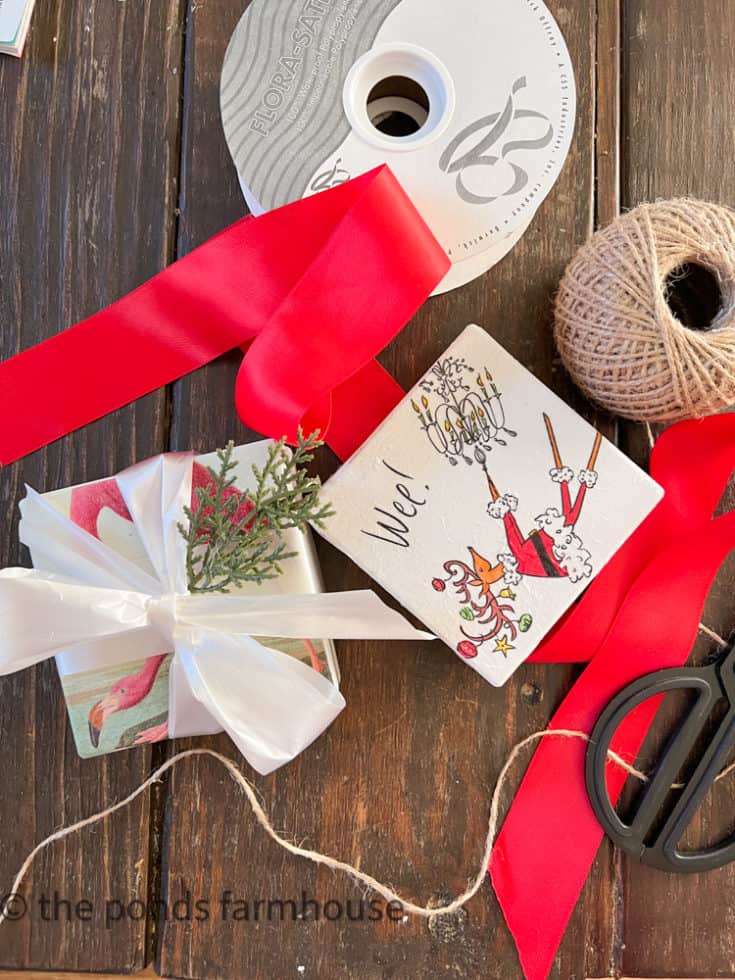
- Jute Twine Or Velvet Ribbon
- Chalky White Spray Paint – if you need to paint your ornaments
- Bronze Spray Paint or Gold Metallic – If you want to paint your ornament caps.
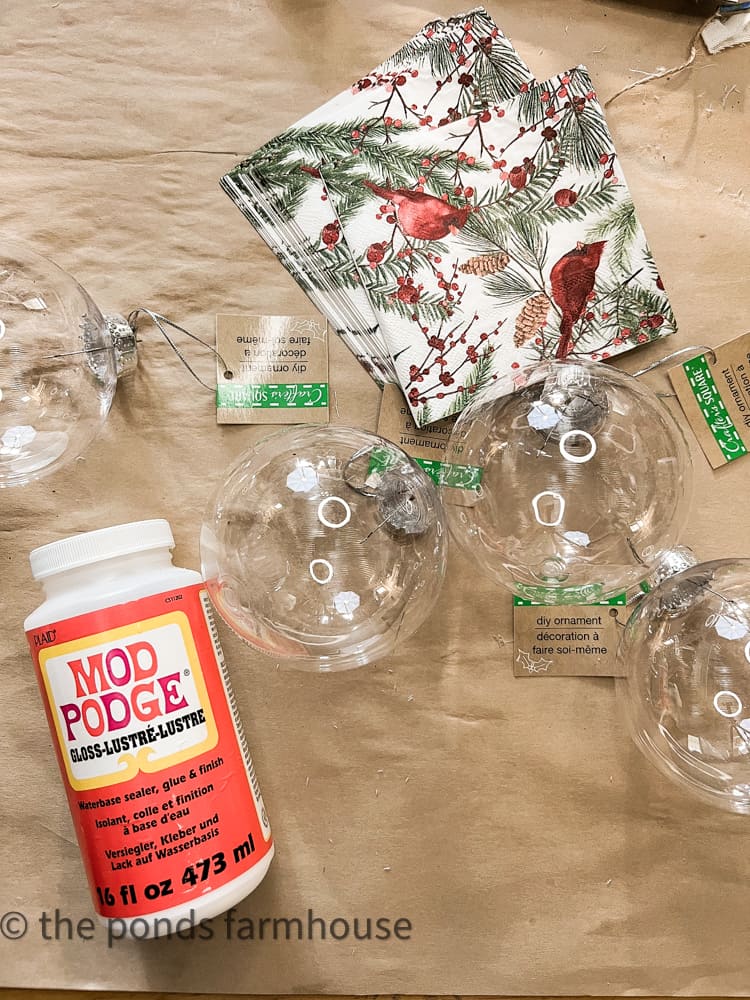
Prepare Napkins
First, you need to separate the layers of the napkin.
Most are three plies; you only want the one-ply with the design.
The easiest way to separate the napkin is to use tape to pull the layers apart. Attach a small piece of tape to the napkin’s underside, then pull the tape while gently holding the top layer.
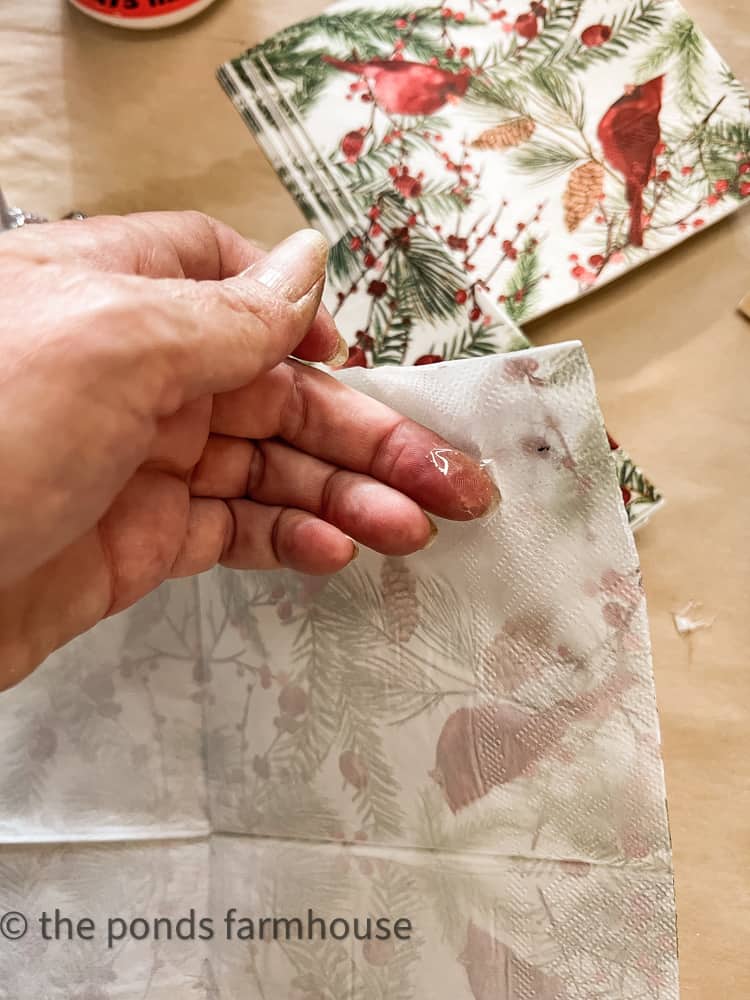
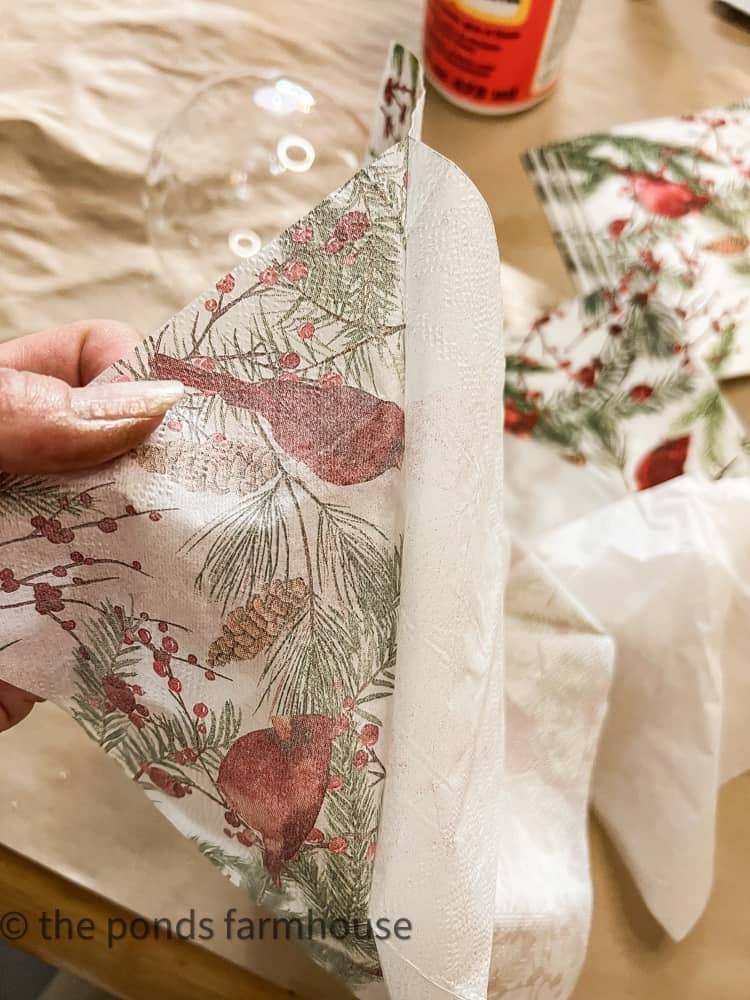
Next, cut the napkin into four separate pieces. Trim the pieces to fit and achieve the desired design for your ornament.
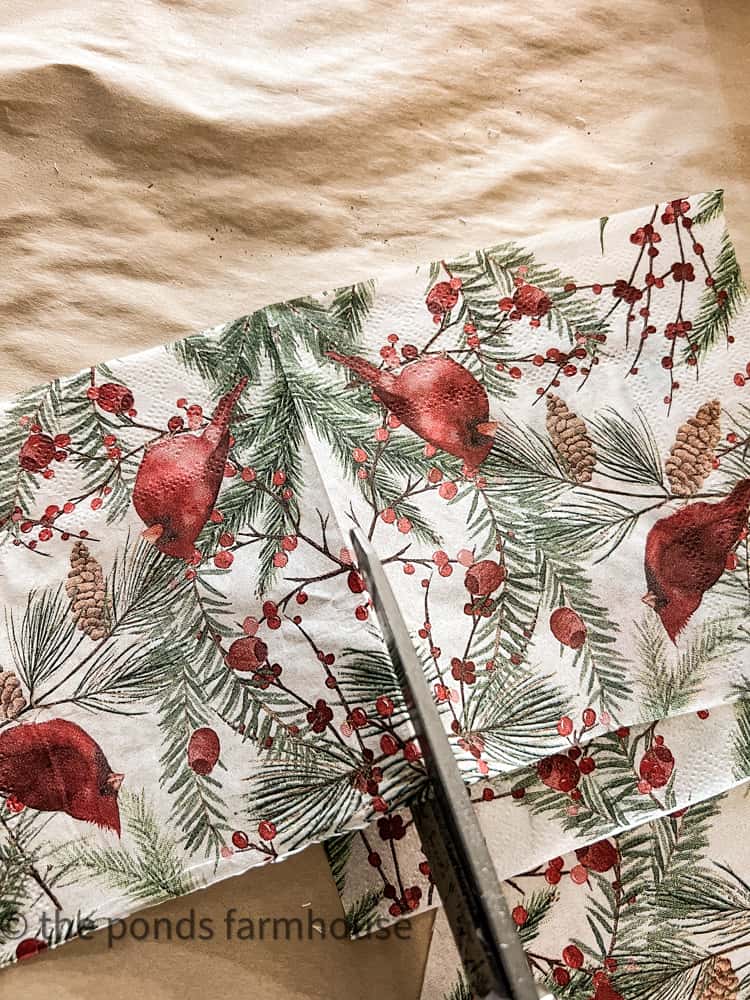
Apply Napkin to Ornaments
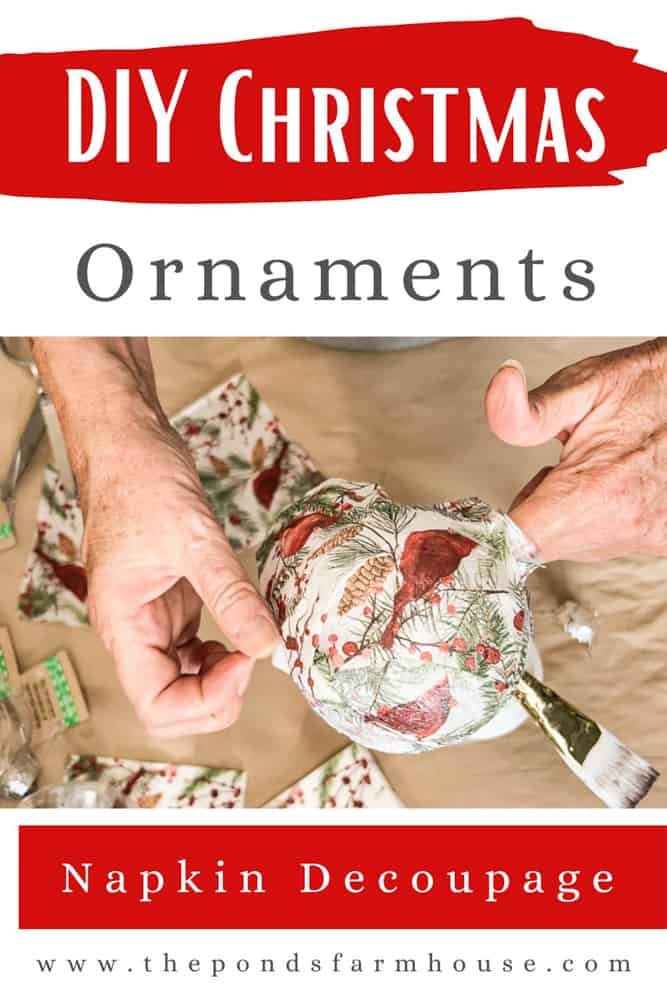
Begin by removing the ornament hanger and applying a coat of Mod Podge to the ornament with a brush.
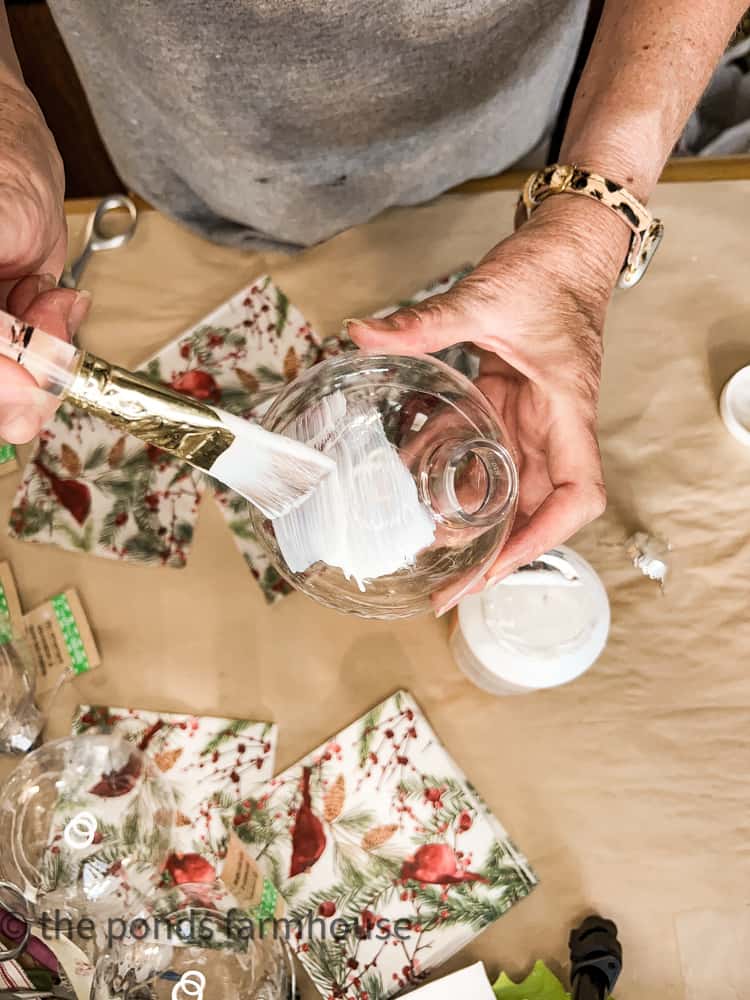
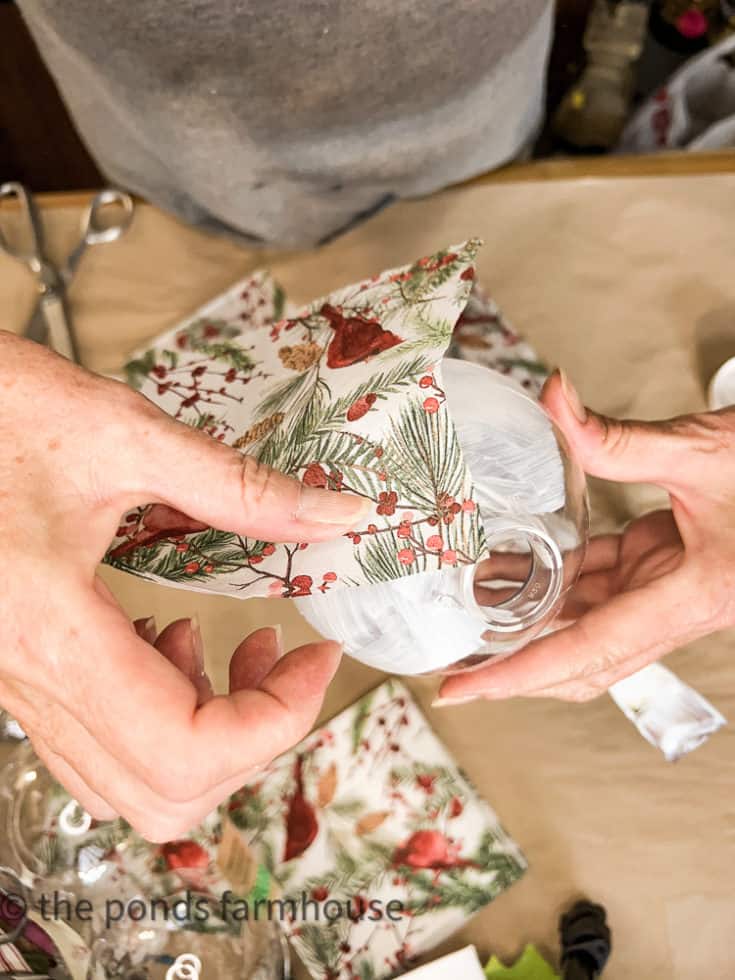
Add the first piece of napkin at the top of the ornament and press it onto the ball. You may need to cut or fold some areas, but that’s okay!
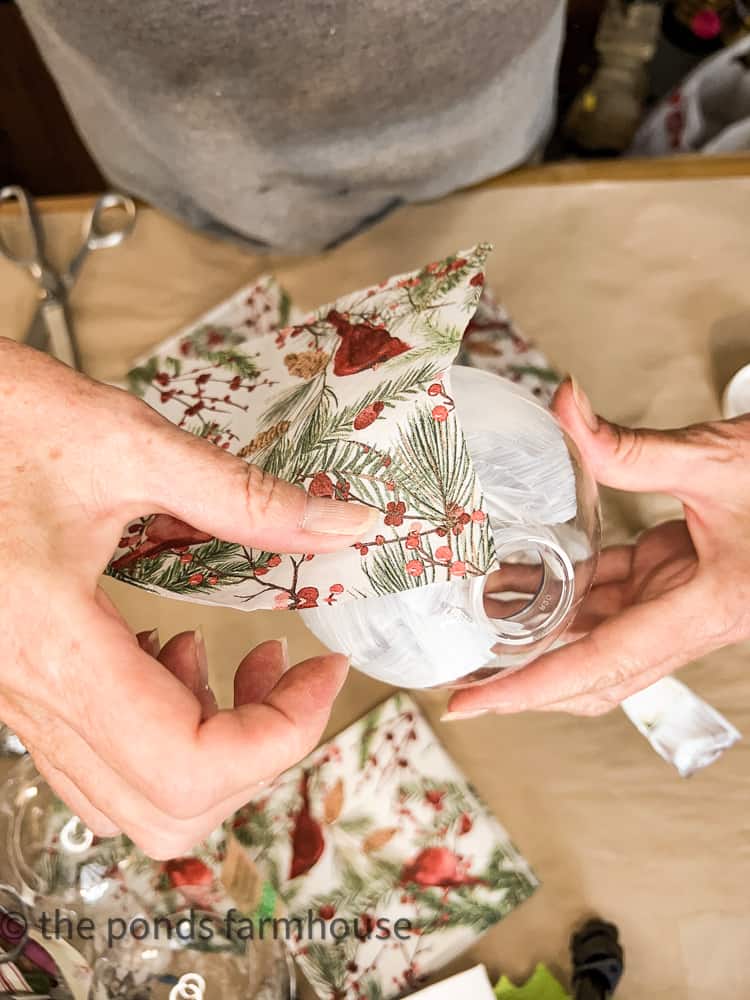
Use more Mod Podge and brush the napkin into place.
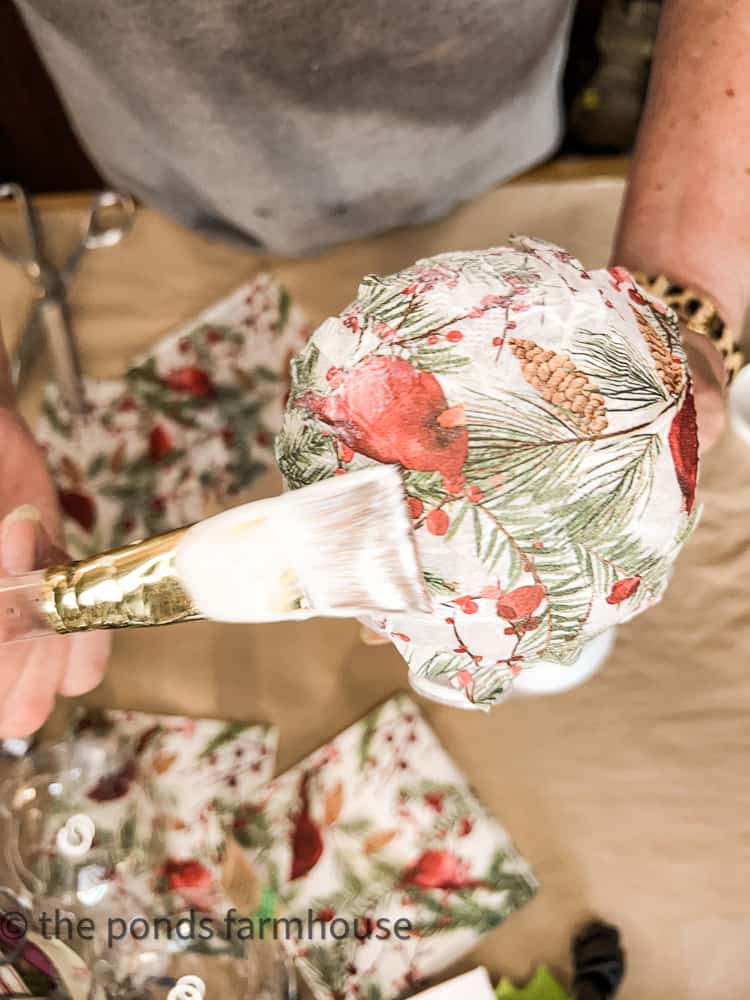
Continue to add pieces of the napkins until your ornament is covered completely.
It is okay to overlap and fold where needed.
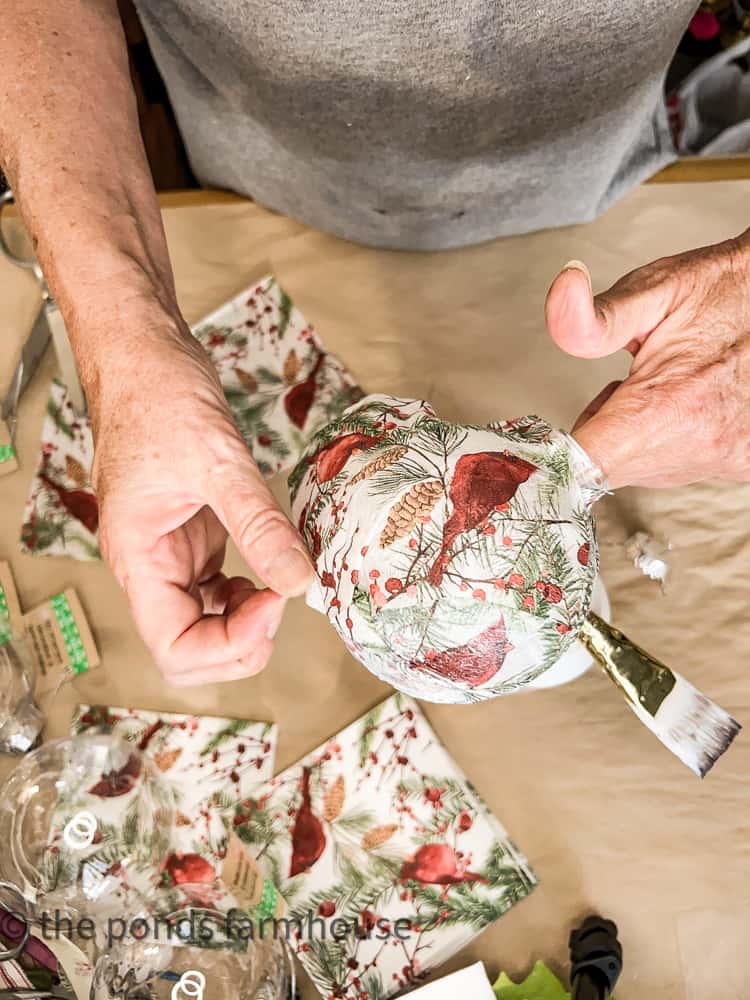
Allow the ornament to dry thoroughly before reattaching the hanger.
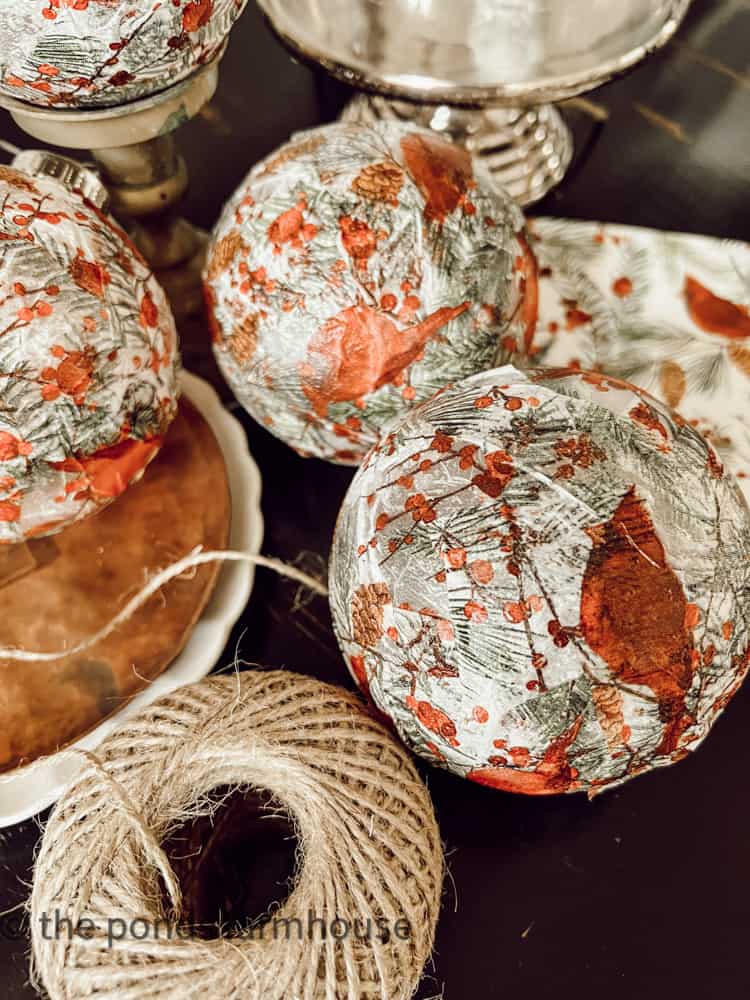
2024 Ornaments
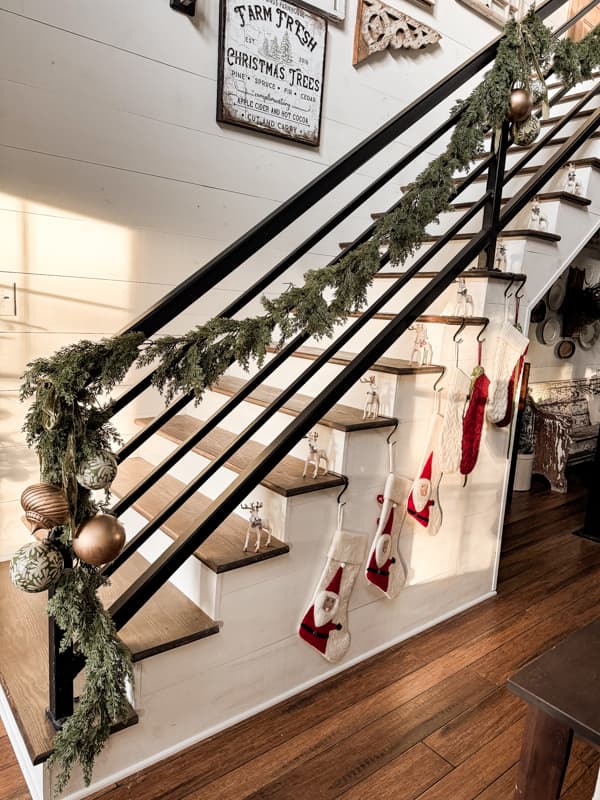
This year, I made some napkin decoupage ornaments with the larger Dollar Tree ornaments for my staircase railing garland.
I began by painting all the ornaments white and the caps bronze. The green and cream napkins were cut close to the size needed to cover the ornaments without much overlap. However, don’t worry if you have folds and overlaps. The ornaments will still be beautiful.
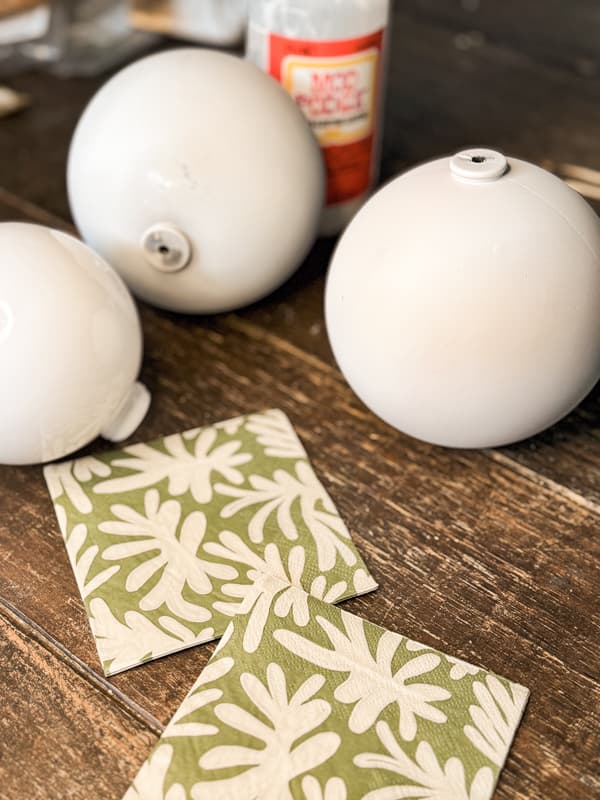
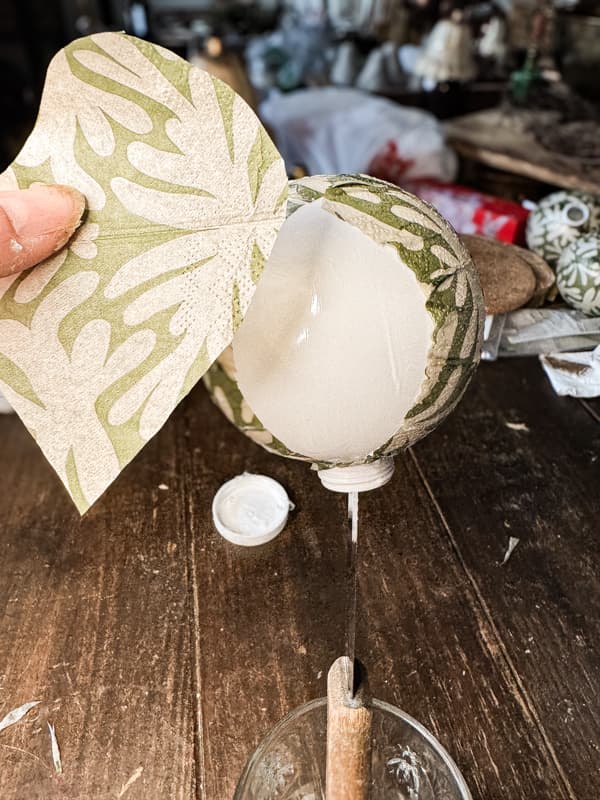
I mixed the green with oversized gold ornaments for a dramatic effect. The gold ornament tutorial and more ideas for using Dollar Tree ornaments are at 5 Easy Dollar Tree Ornaments Makeovers: Boutique Style Christmas Decor.
Easy Napkin Decoupage Christmas Ornaments
Materials
- 4 Glass Ornaments
- 4 Napkins
- Mod Podge
Tools
- Small Paint Brush
Instructions
- Separate the napkin leaving only 1 ply with the design
- Remove the hanger from the ornaments
- Cut the Napkin into 4 pieces
- Paint mod podge over the ornament
- Apply napkin pieces to the ornament, smoothing and folding to apply.
- Brush an additional mod podge over the surface of the napkin to get it to lie flat.
- Repeat until the ornament is covered. Over lapping and folded areas are okay.
- Allow the mod podge to dry for a few hours.
- Reattach the hangers and decorate your tree.
Recommended Products
As an Amazon Associate and member of other affiliate programs, I earn from qualifying purchases.
Unique One-of-a-kind Decoupage Christmas Ornaments
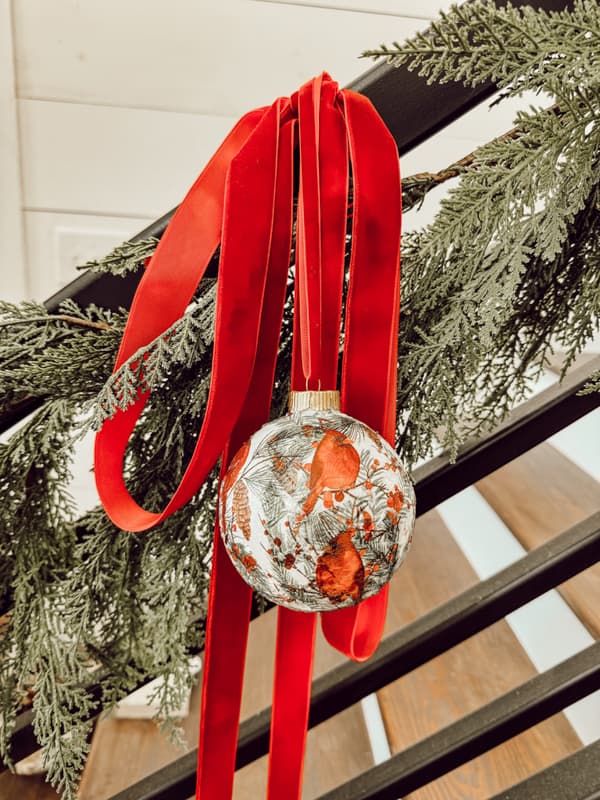
The unique one-of-a-kind decoupage Christmas ornaments look great on the tree.

Let your imagination sour, and create ornaments to match your aesthetics this Christmas.
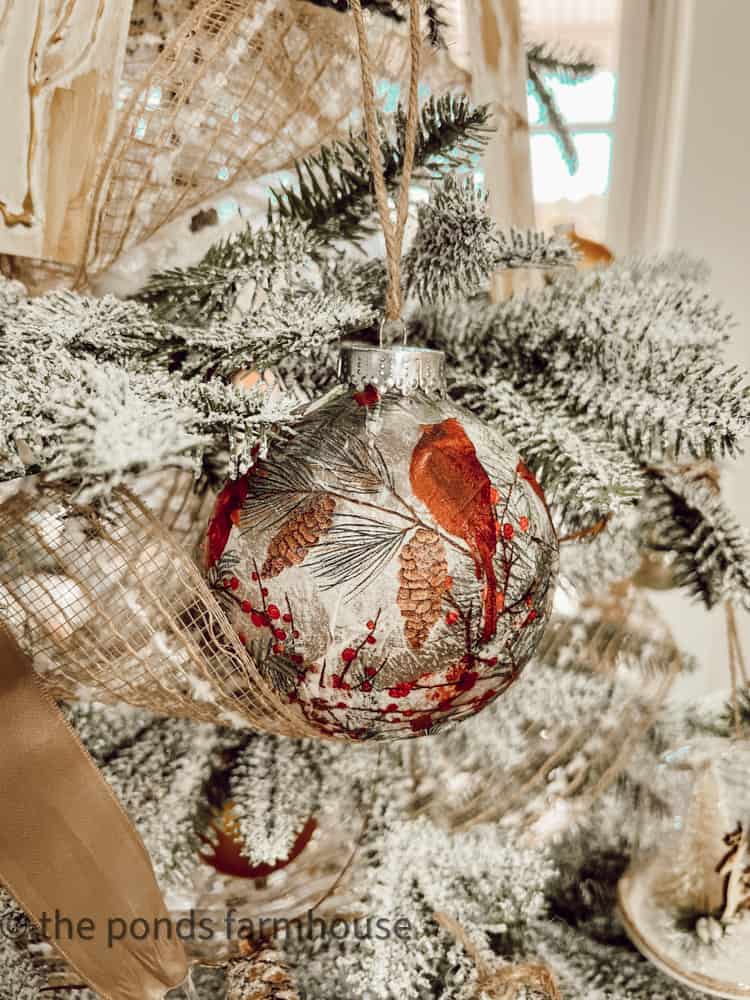
If you want a more opaque ornament, use white ornaments or paint them white before applying the napkin. Here is one I painted, and you can see a noticeable difference.
I also painted the ornament cap with gold metallic paint.
Other Dollar Tree Ornaments Makeovers
If you enjoyed this budget-friendly tutorial, check out 5 Easy Dollar Tree Ornament Makeovers for fun ways to create boutique-worthy Christmas decor.
Other Napkin Decoupage Tutorials
Here are a few of my previous Napkin Decoupage Tutorials that you might enjoy.
Napkin Decoupage Tutorials
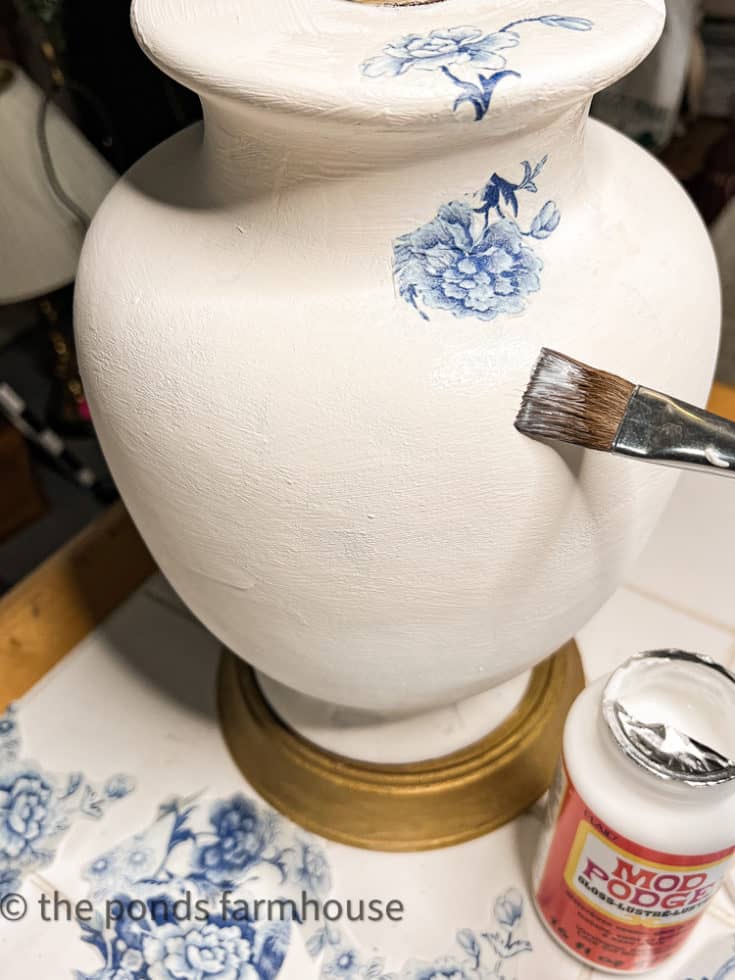
Easy way to transform a cheap thrifted lamp into a trending decor accessory.
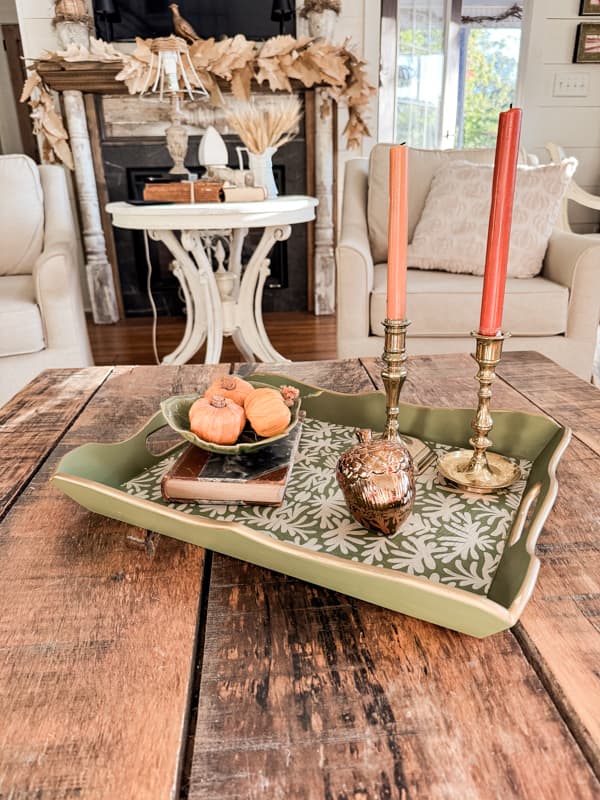
How To Make Napkin Decoupage Coasters
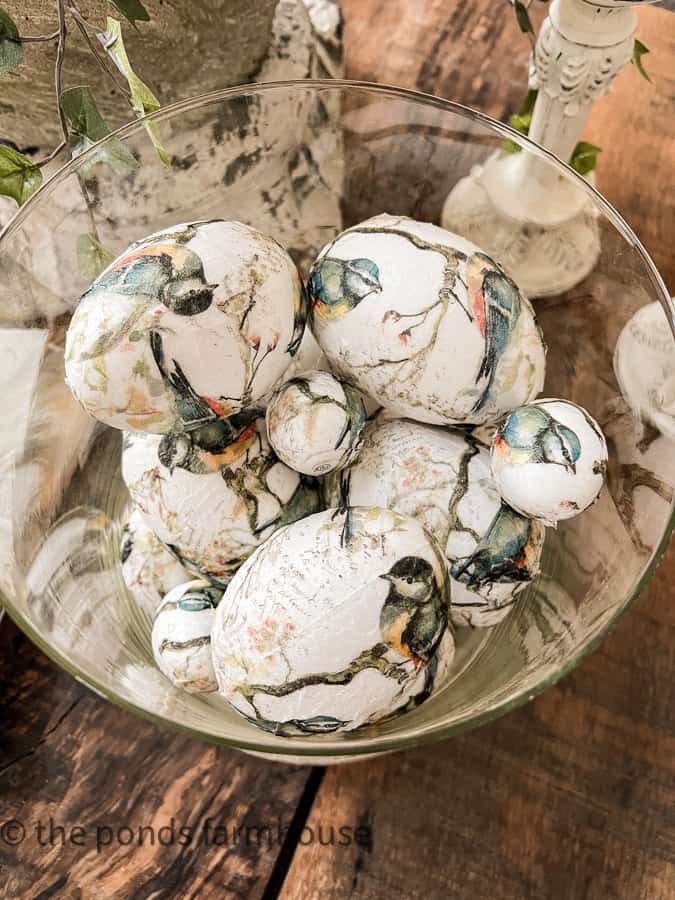
How To Use Napkins to Decoupage Easter Eggs.
Create a centerpiece with recycled tin cans covered with napkin decoupage.
Resources
Below are the items used for this project, plus some other napkins that would be lovely for this project.
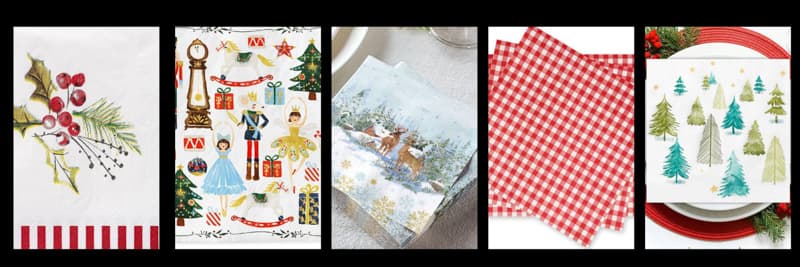
Holly Berry / Nut Cracker / Forest Elk / Red White Gingham / Blue Green Christmas Trees
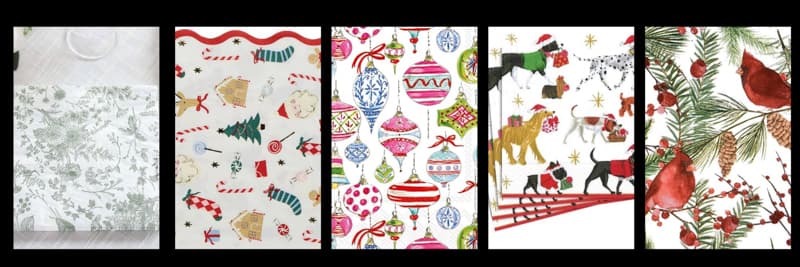
Sage Green Floral / Merry Jolly / Vintage Ornaments / Dogs With Packages / Cardinal Red Birds
Click Images Below For Details

Pin It To Remember It
Did you find some great ideas you’d like to save for future reference? Hover over the images you’d like to save and pin to your favorite Pinterest Boards when you see the PIN button.




Great idea to decoupage ornaments! Those napkins were perfect for this project! They are so beautiful! Thanks for the inspiration!
Donna,
I’m so glad you like them. Thanks for stopping by.
Your Decoupage ornaments came out so cute Rachel. What a great budget friendly Christmas DIY!-Meagan
Meagan,
I’m so glad you like them. Thanks so much.
What a beautiful DIY!
Stacy,
Thanks so much.
Thank you for sharing this idea. Love red birds and will surely make this for my
tree. May also use instead of bows on gifts. Love your creativity.
Blessings,
I appreciate this so much. I hope they turn out great.
What a great idea Rachel. And I love your napkin choice. So cute.
Wendy,
It’s going to be perfect for my porch.
I’m so excited to do this myself this season. I have all my supplies. It’s just a matter of sitting down and doing it. Love how these turned out Rachel.
Kim
They are so easy to make.
Jen,
Thanks so much.
Love all your decoupage projects
Wendy,
It’s so much fun. Thanks for stopping by.
These are so pretty, Rachel. Great idea.
Thanks Renae!
beautiful ornaments. Good idea with napkins
Yolande,
I really appreciate this. Thanks for stopping by.
Thank you for sharing.