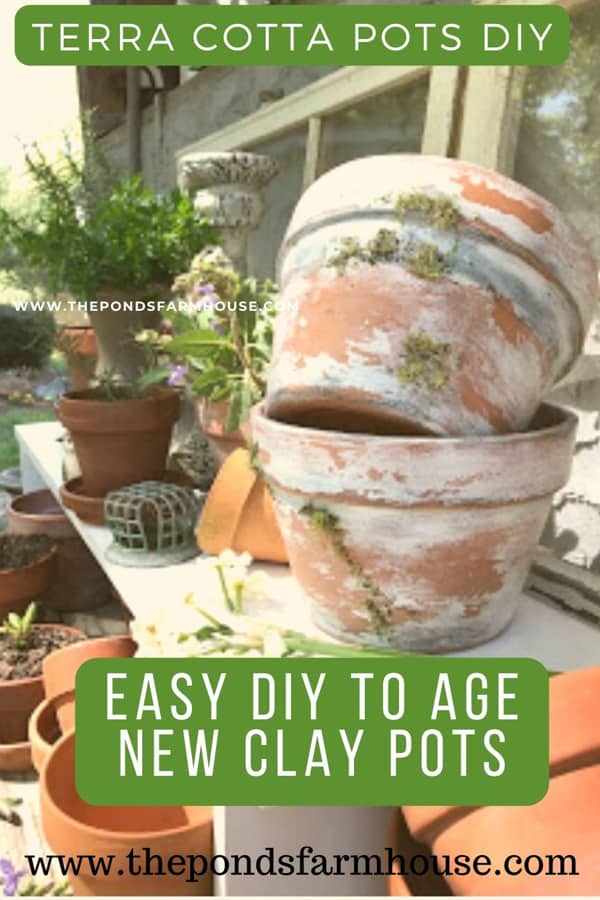
Easy DIY to Age New Clay Pots: Vintage Terra Cotta Pots
Love the look of old Vintage Clay pots? Here is a quick and easy DIY process to make your new pots look like vintage, aged terra cotta pots that have been in your garden for years. This easy DIY idea to age pots will have you running to the store for supplies. Let me show you how to make your own.
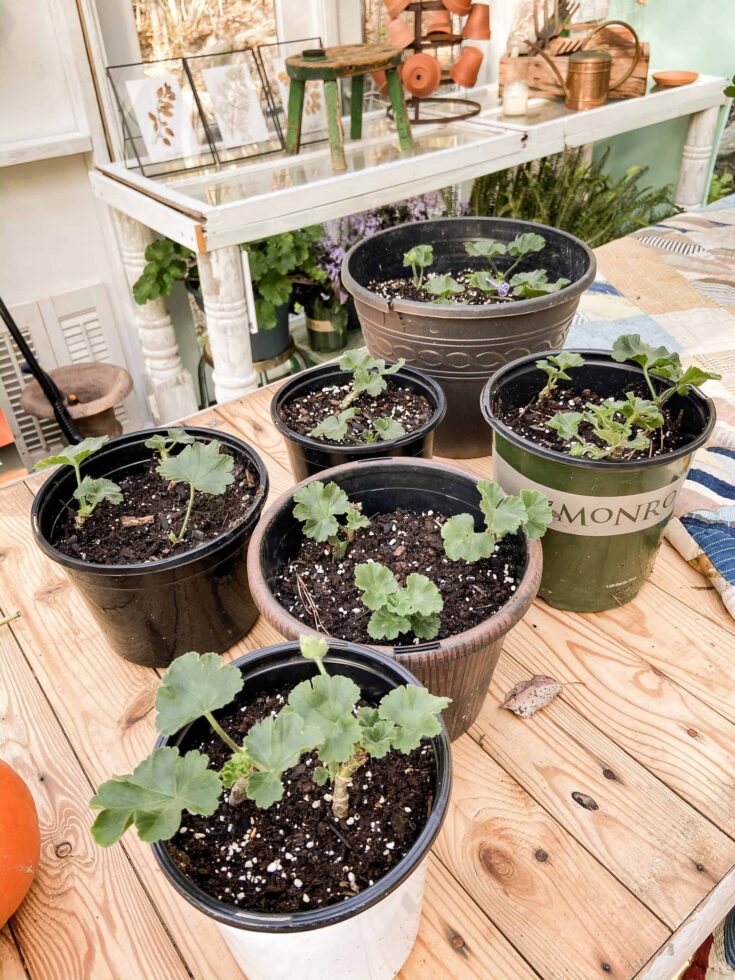
I’ve been setting up my potting bench and dreaming of Spring and I love collecting clay pots. Some are old and have the aged look I desire, but others are new and lack character. Because I prefer an aged look, I’ve been making my own with some trial and error.
How to Age New Clay Pots
This is my favorite quick and easy DIY, with step-by-step instructions, that will leave your garden full of vintage-inspired clay pots.
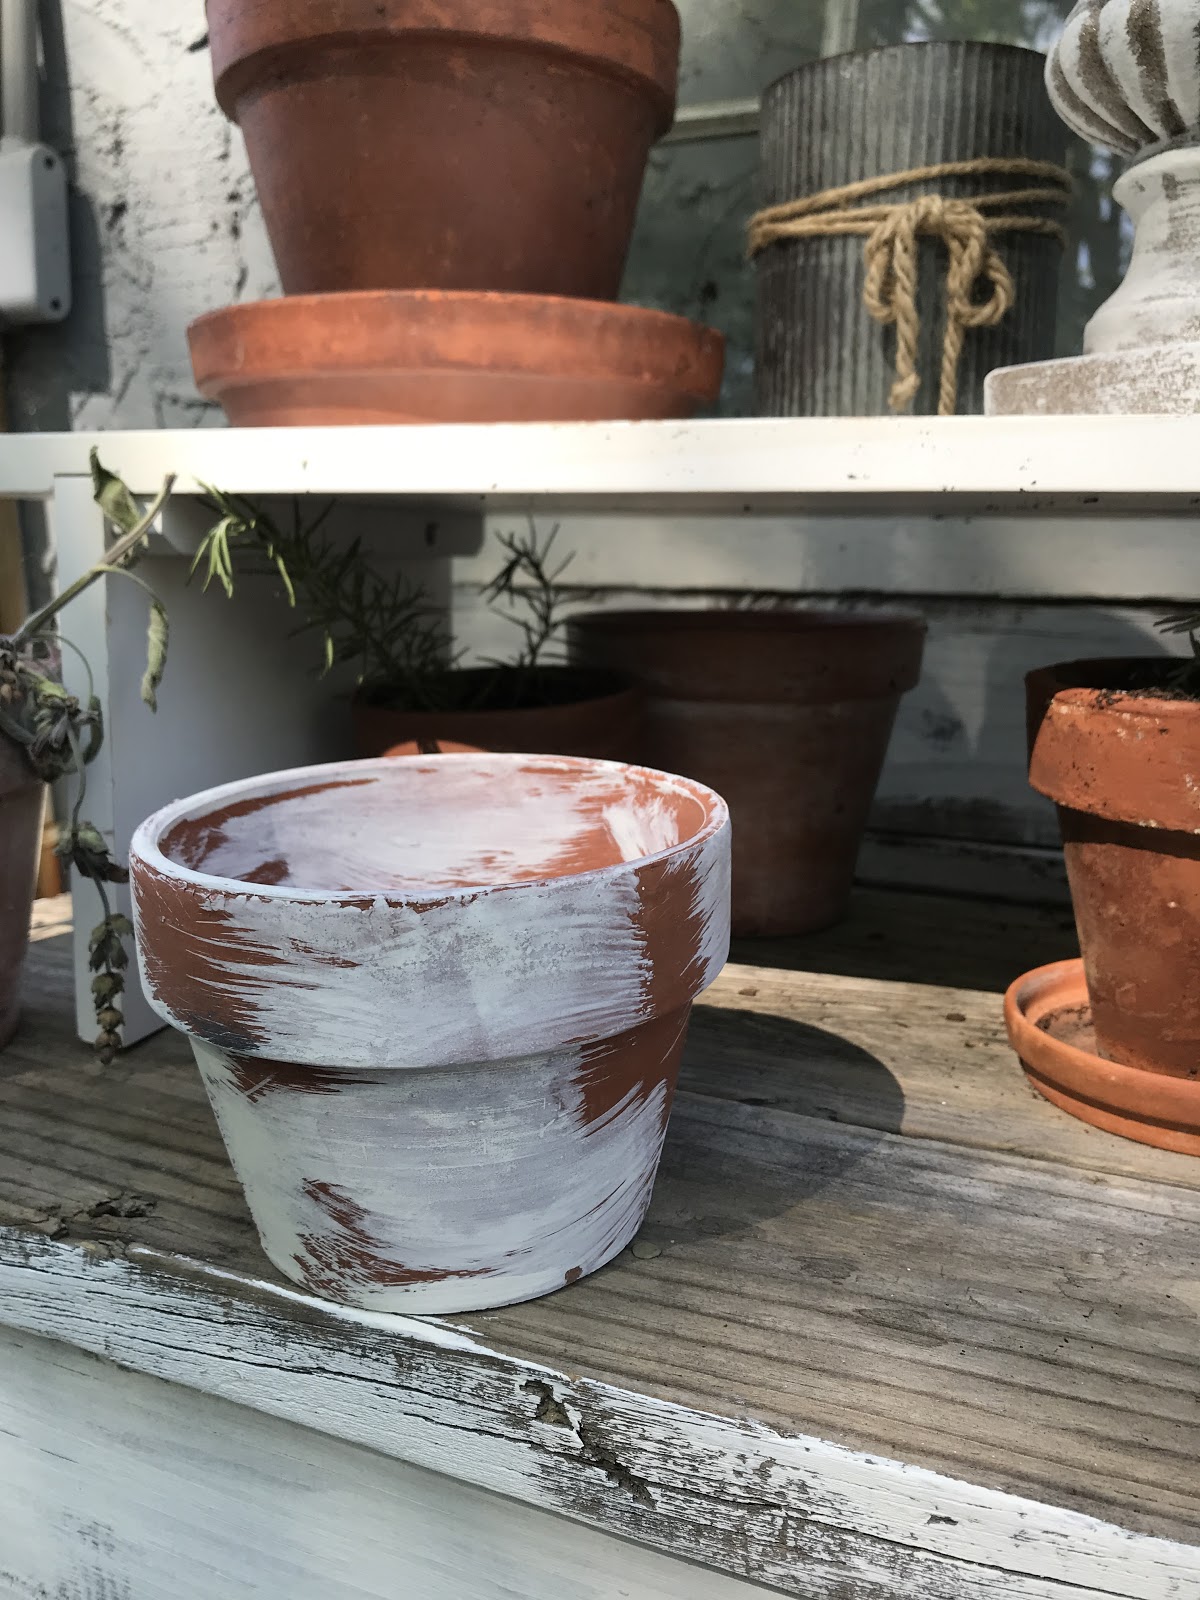
Aging new clay pots is easy; the longer you have them, the better they look.

This DIY project will give you this chippy, mossy look that I love.
(Posts on The Ponds Farmhouse may contain affiliate links. As an Amazon Associate, I earn from qualifying purchases. See the full disclosure details here.)
Instructions for Aging New Clay Pots
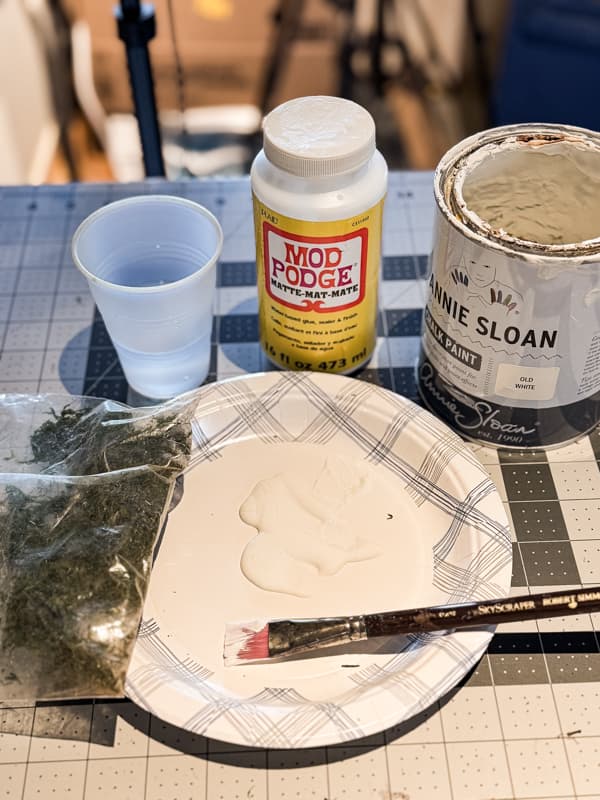
Step one – Gather Supplies
Supplies:
- Terra Cotta Pots and Small Pots
- Graphite chalk paint and old white chalk paint (any craft paint will do. I used Annie Sloan Chalk Paint on these because I had it on hand, and it dries fast.
- Mod Podge Multi-purpose glue
- Moss
- Paintbrush (chip brush works great.
- toothpicks or popsicle sticks to spread the glue
- 120 grit sandpaper or sanding block
- Spray Adhesive optional
- Clear Matt Sealer optional
Step Two – Add Paint
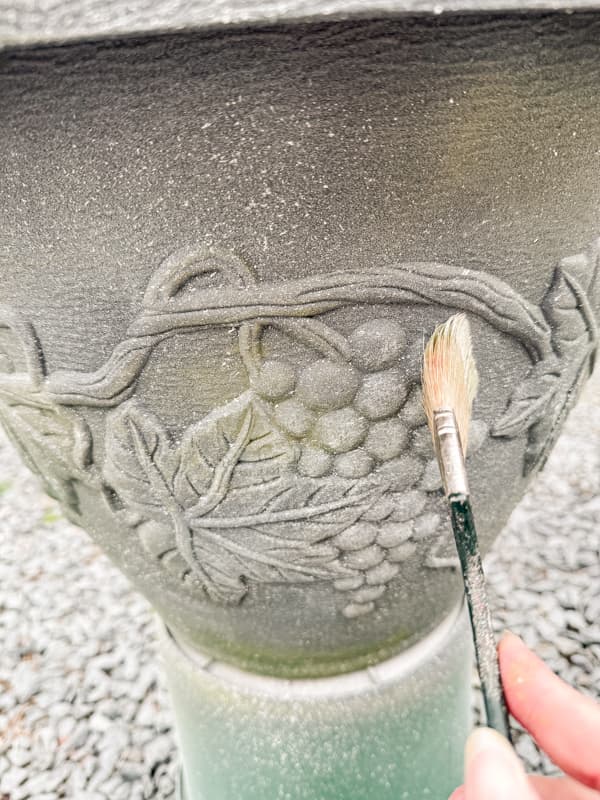
Apply a small amount of black or brown paint to the clay pot. Begin with random swipes of the graphite paint. I only try to cover an area partially with just a few strokes of the brush.
Because Chalk paint dries quickly, you can apply a whitewash to the pots quickly.So go ahead and mix the white color with equal parts water and add random swipes of the whitewash.
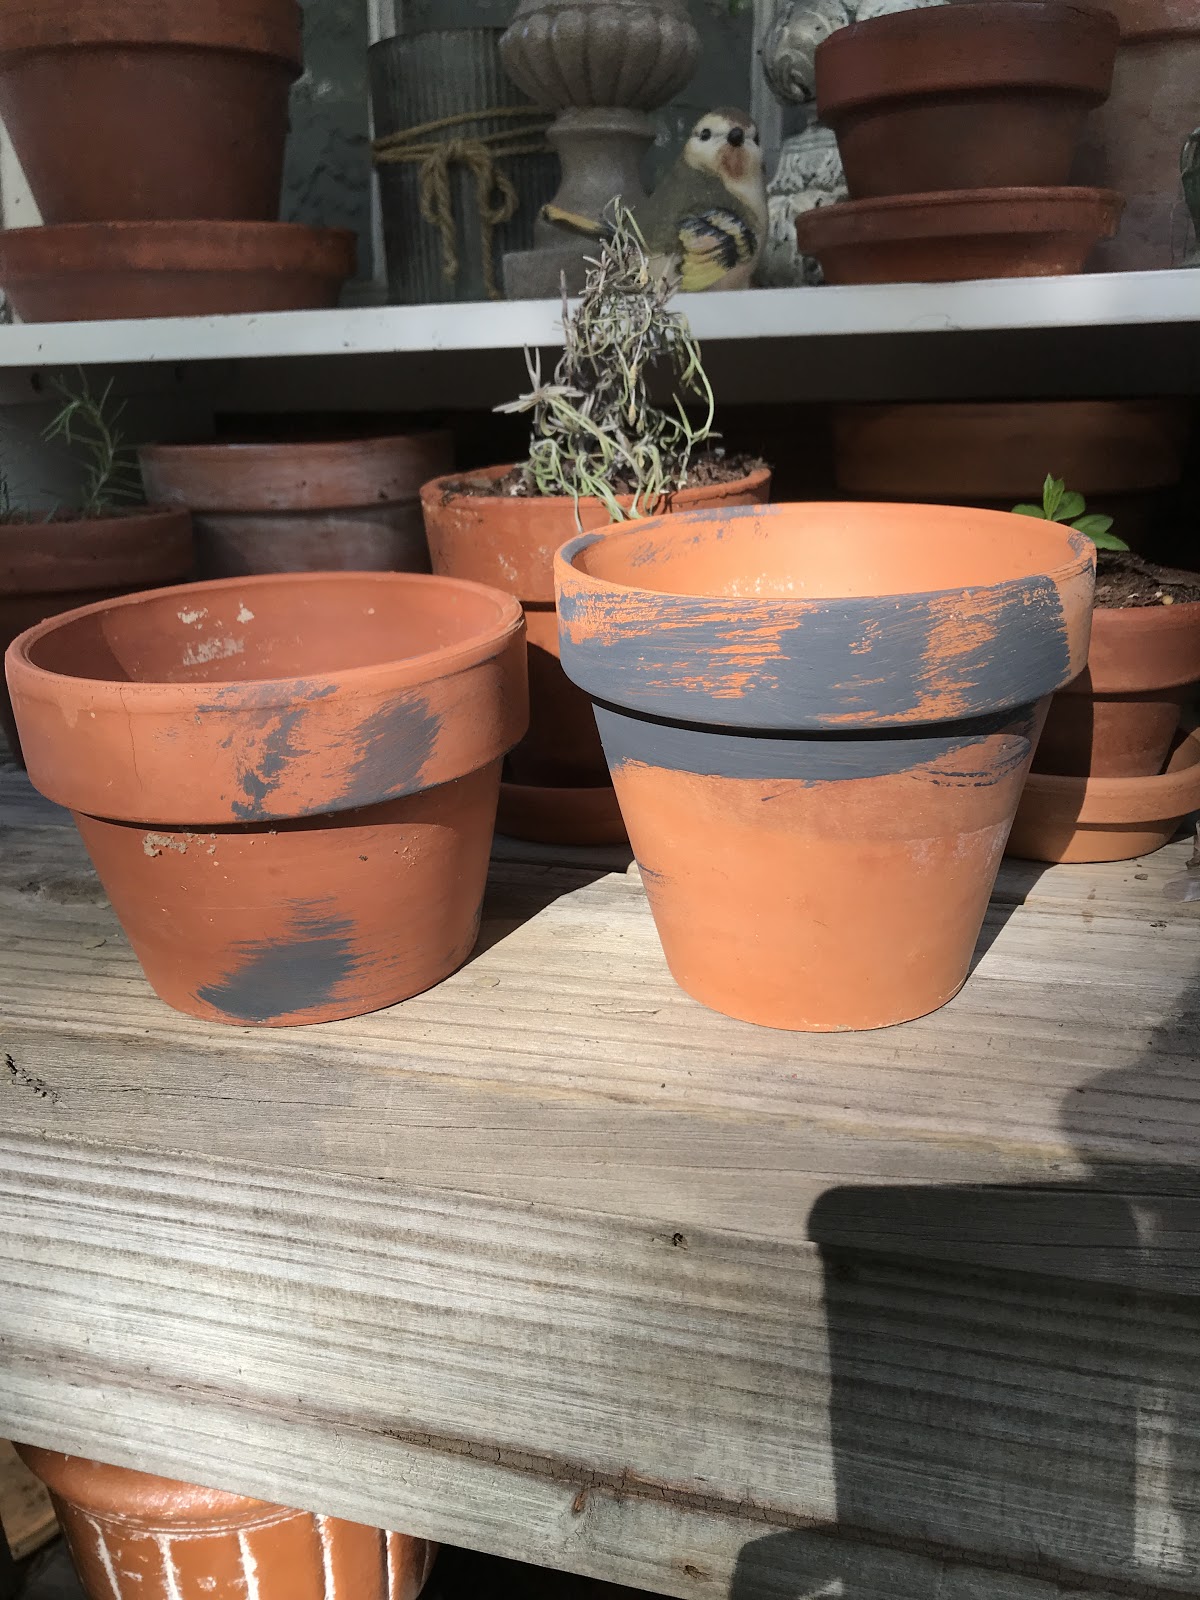
Don’t try to cover the entire pot with paint. You want some of the terra cotta to be revealed.
I like these short pots with saucers.
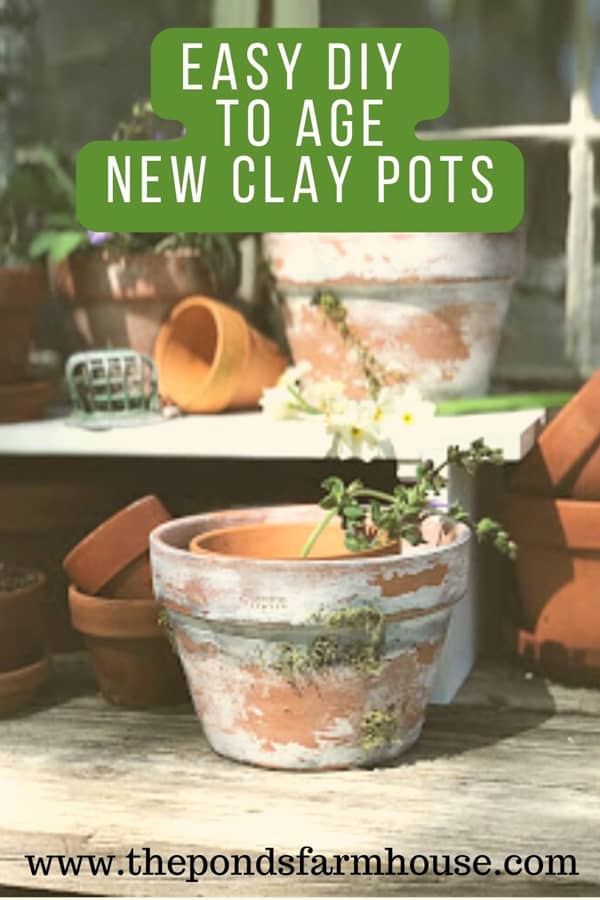
How To Get A DIY Chippy Look
To get a DIY Chippy look on your new pots, brush the pots with Mod Podge once the paint is dry. eave the coverage thicker in some areas, and don’t worry about covering the entire pot.

Allow the Mod Podge to dry.

Break Time
This is what the pots are looking like at this point. Because mod podge takes longer to dry, this is an excellent time to break up your moss and prepare your glue for the next step. You can also have lunch, go for a walk, or rest.
You want to be sure to allow drying time before the next step.

Add More Paint To Age Clay Pots
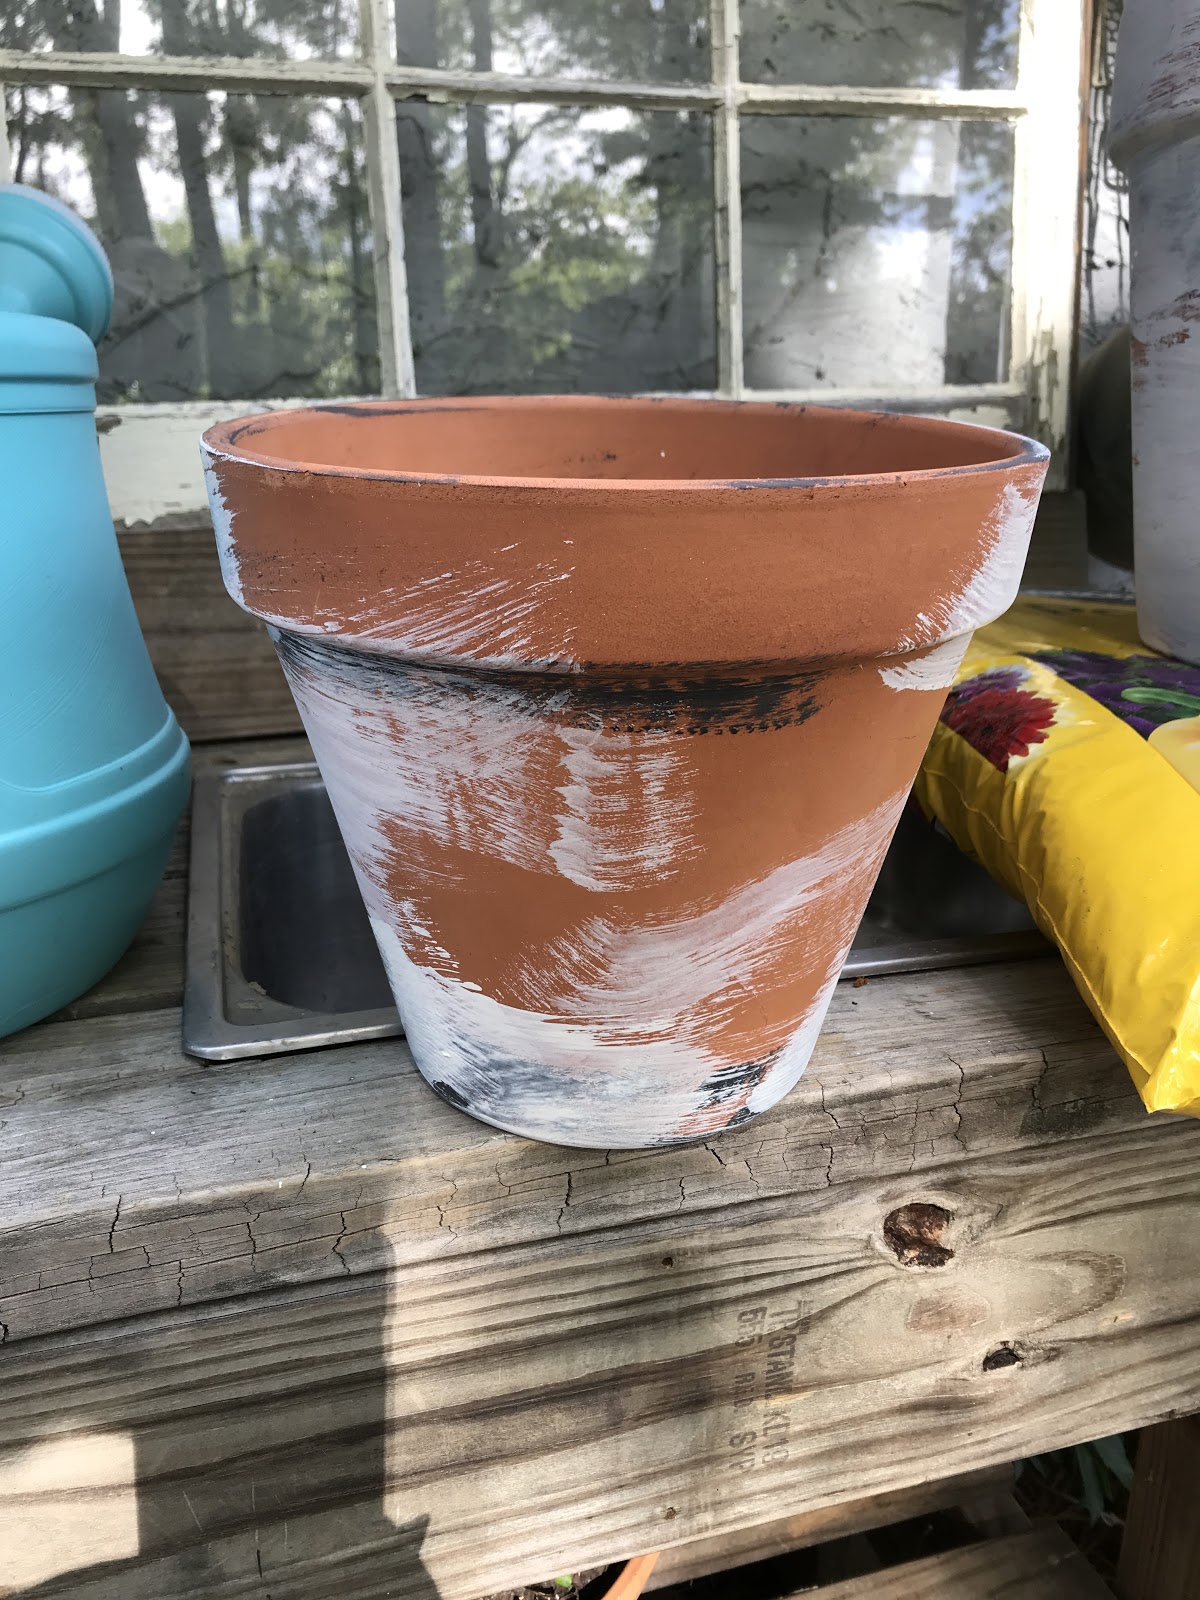
Now you want to add more white paint. This time, the mix is 2 parts paint to 1 part water because you want a slightly thicker mixture than the first. Apply random strokes of thicker white paint.
Here, I’ve started adding the thicker white paint. Once again, don’t cover the whole pot. Have I said that before?? LOL!!

Time to Sand
It’s important to allow everything to dry thoroughly because you will be sanding next.
Use your fine-grit sandpaper or sanding block to sand away some of the paint and Mod Podge to create a peeling paint look.
If you are satisfied with the chippy look, then it’s time to move to the final step.
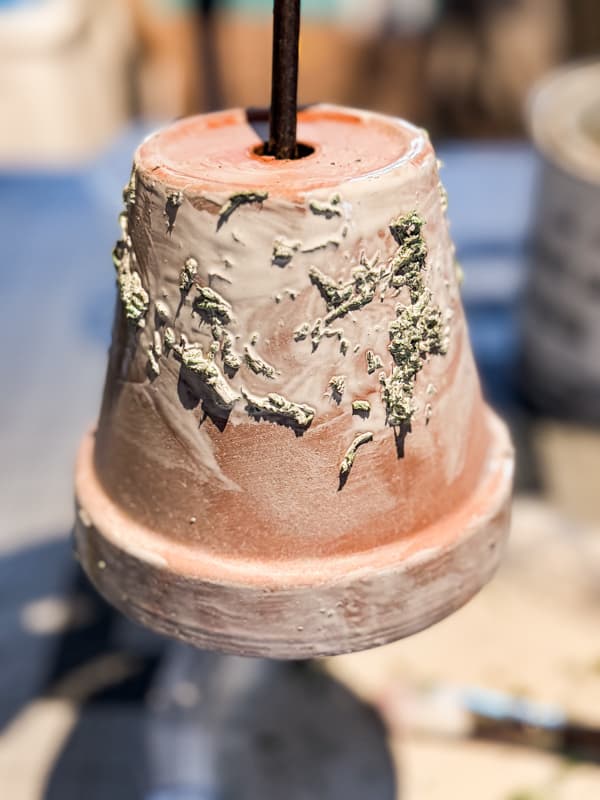
Add More Texture with preserved moss
Now, you are ready to add moss.
I use a toothpick to apply Mod Podge glue to the areas where I want moss, and then I apply tiny pieces of the moss to each pot in random places.
If you only want tiny pieces of moss, you only need a small amount of glue. If you want heavier coverage, let it dry and add more to what you’ve already done. This will ensure that the moss doesn’t fall off.
Option for Heavier Moss Coverage
Here is another way to get much heavier coverage.
Place the moss in a plastic bag to crush it into smaller pieces, and place the crushed moss on a sheet of wax paper. Then, coat the pot with a thick layer of glue or use a spray adhesive.
Roll the glue-covered areas of the pot over the moss until you get the desired coverage.
Optional Step
If you want to ensure that your pots will stay looking like they do right now, you can spray a light coat of clear matte sealer over them. I like for mine to continue to age, so I just let nature take over from this point.
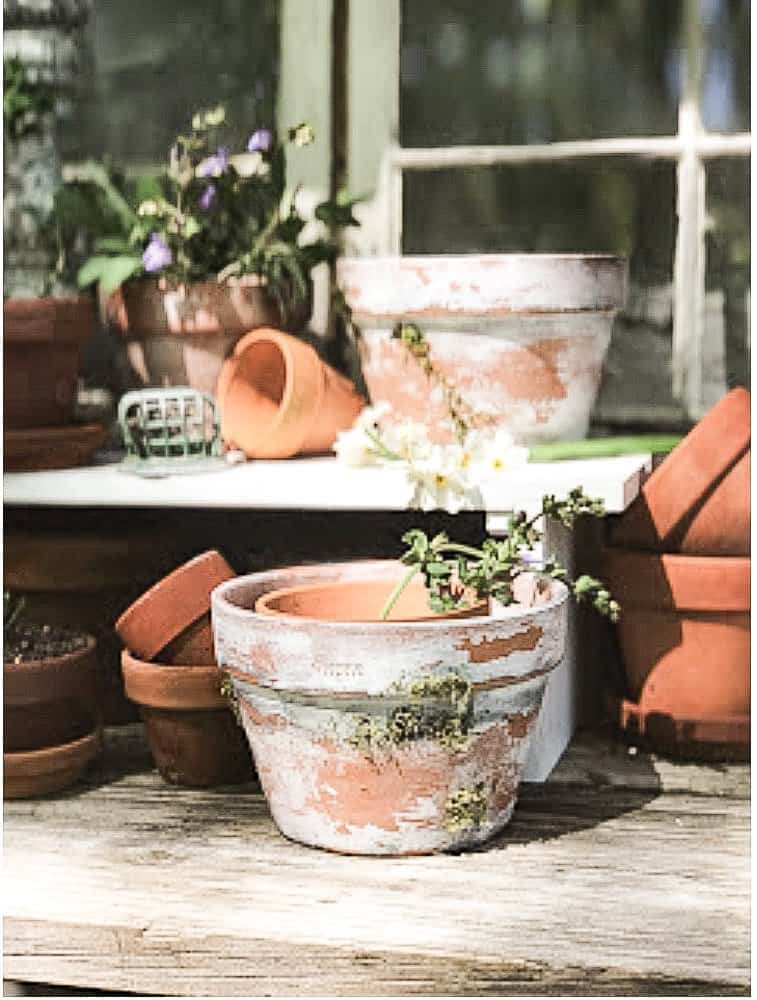
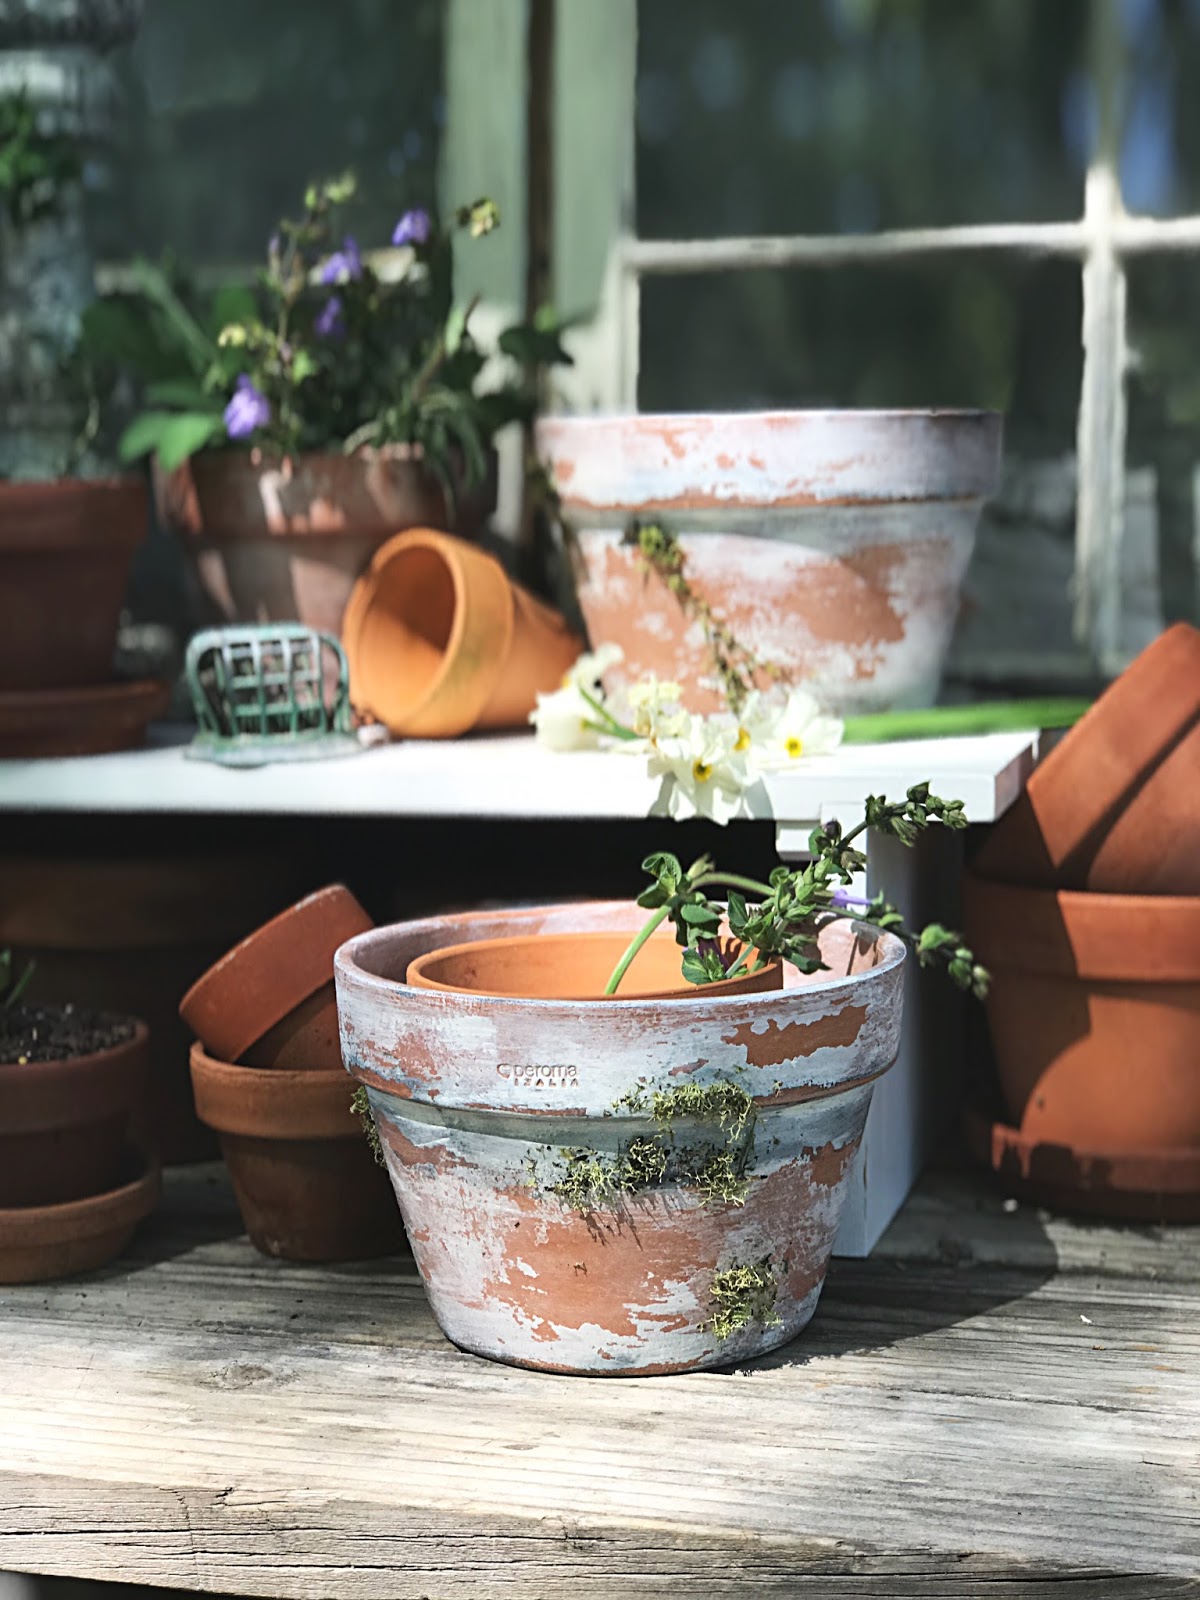
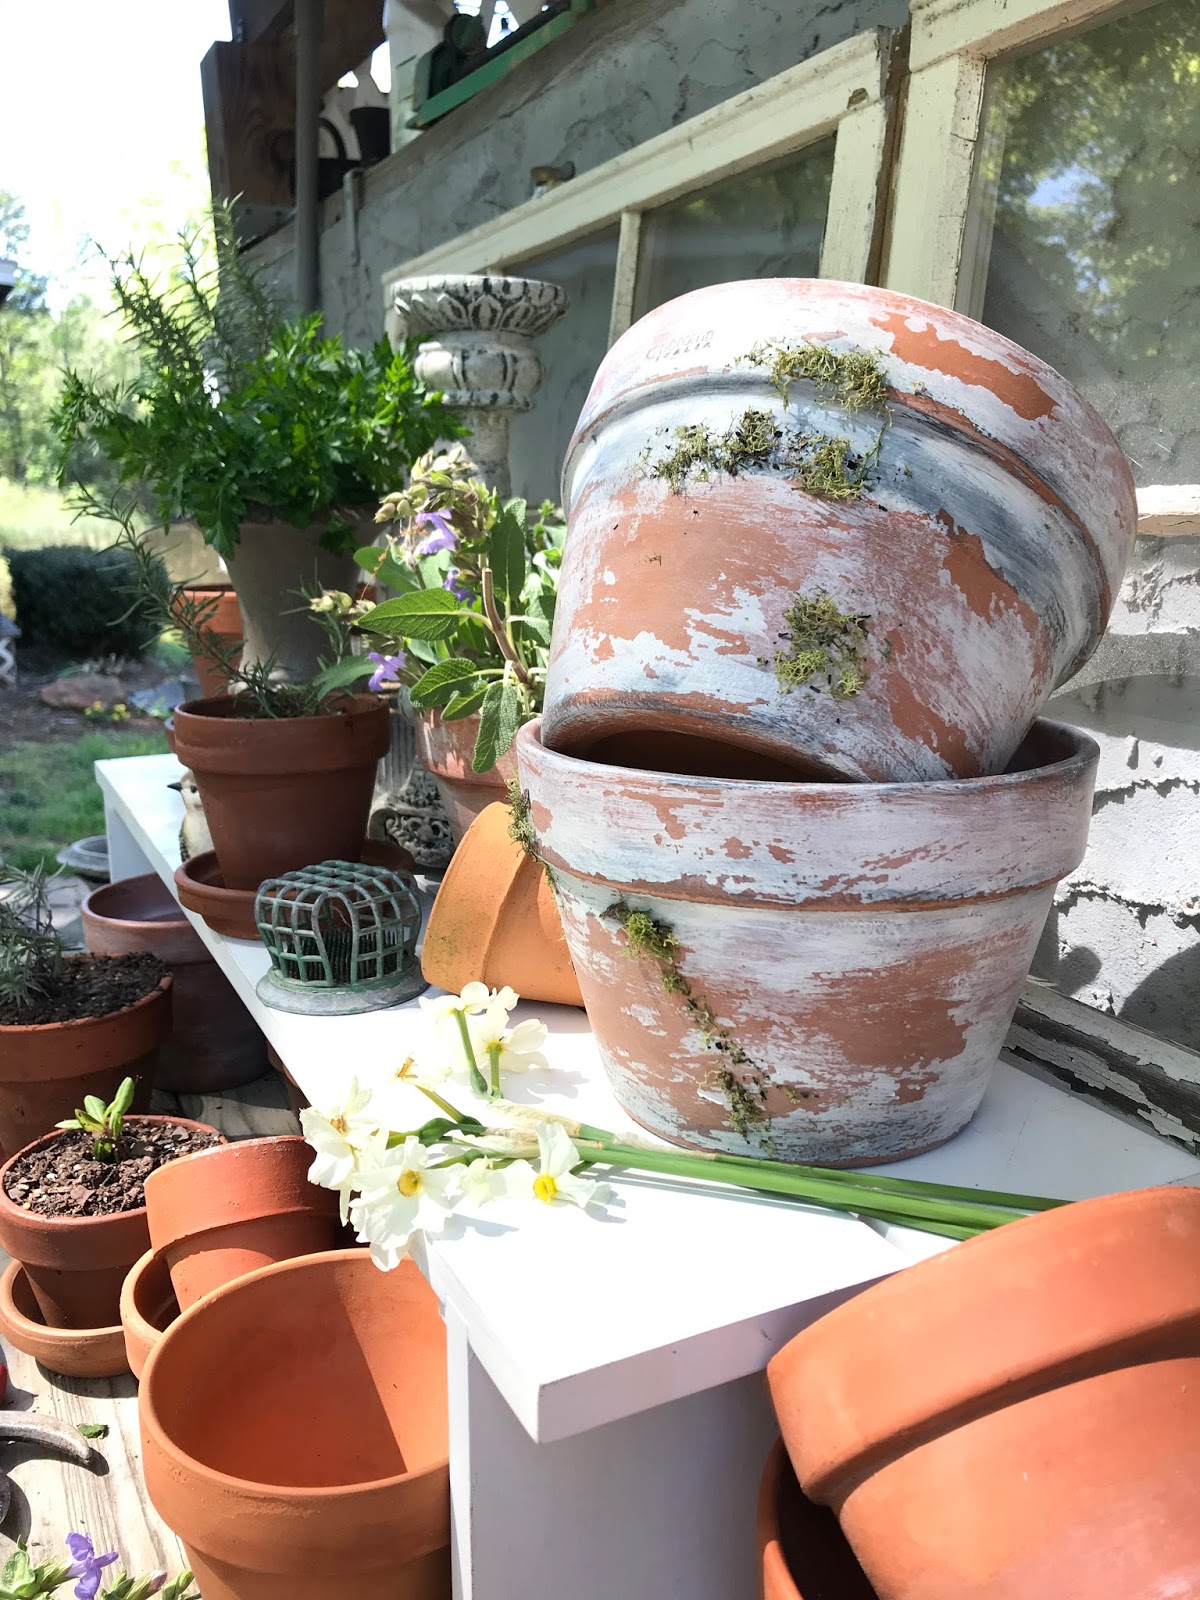
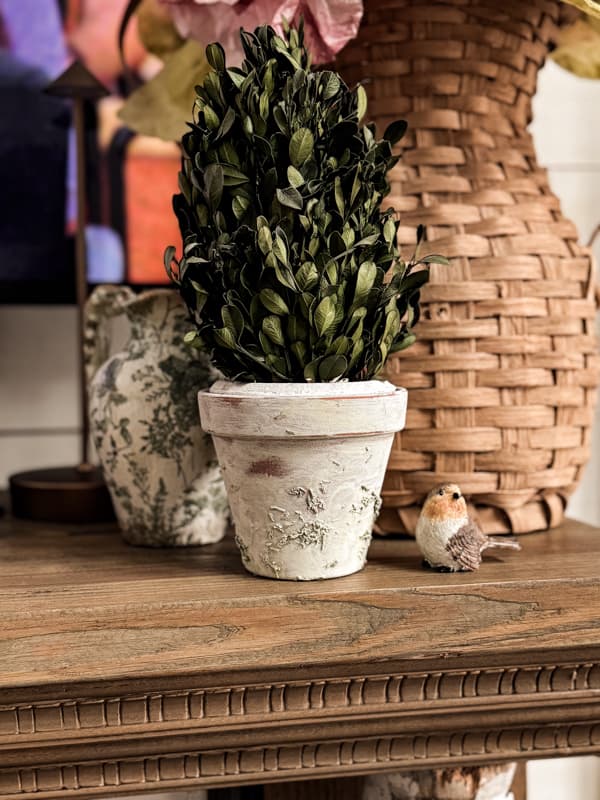
This is the look I desire for my pots.

Optional Decorative Pot Ideas
Don’t have much time, but still want the look of aged pots? Here is an alternative clay pot technique using the same materials. Here are the steps to create this quick and easy aged pot.
- Mix white paint with water: 1 part paint to 2 parts water
- Paint a light coverage over the pot.
- Add mod podge to a small amount of the paint/water mixture and add crushed moss.
- Paint the mixture over the bottom section of the clay pot.
- Allow the edges to dry and sand with a sanding block to reveal areas of the clay pot.
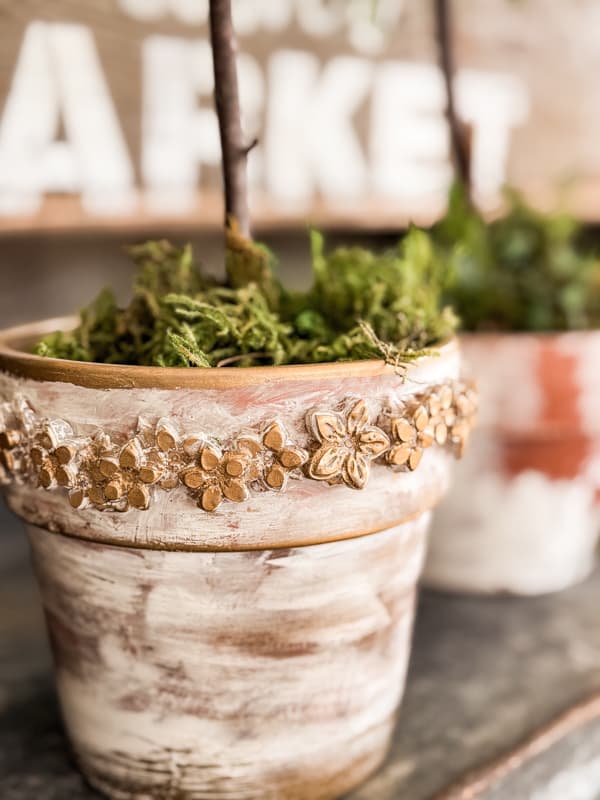
Decorative Clay Pot With Hot Glue
I recently shared this easy clay pot tutorial using hot glue to create a decorative design.
How To Use Aged Clay Pots!
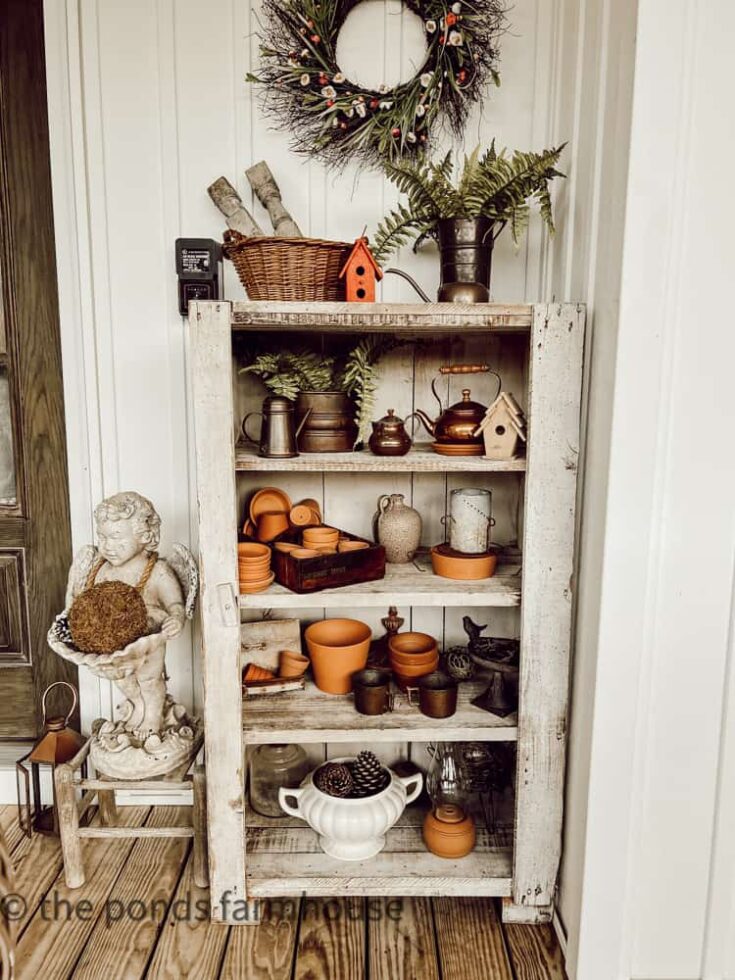
Here are a few ways to use the aged clay pots indoors and out.
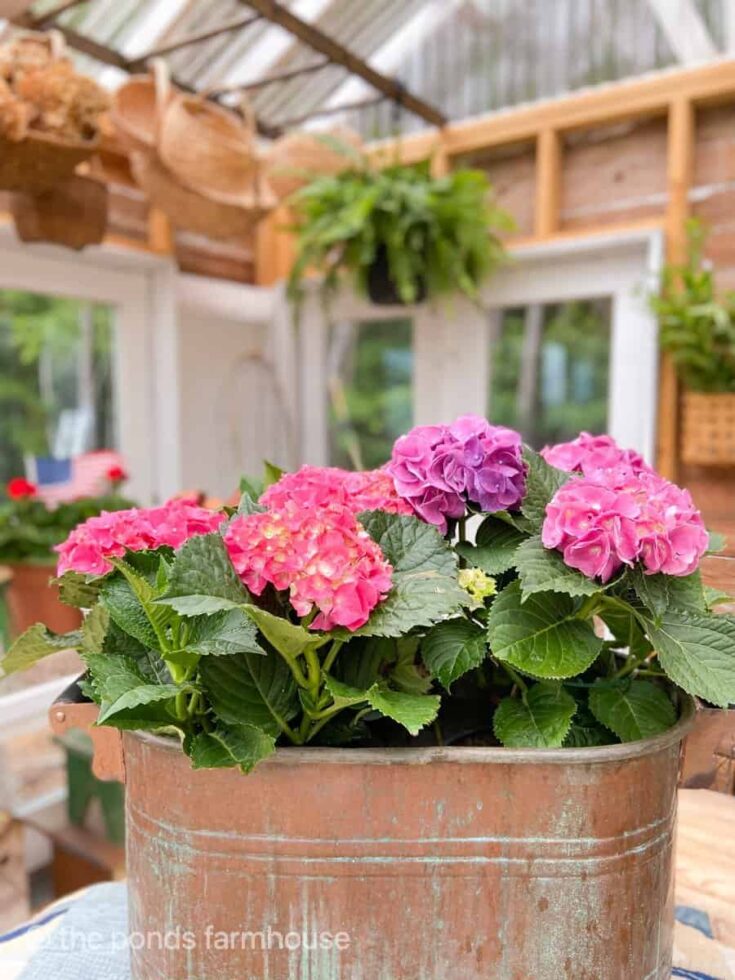
- Obviously, the first idea is to fill them with flowers and herbs for container gardens.
- Add them to a black-tiered plant stand or a gold plant stand.
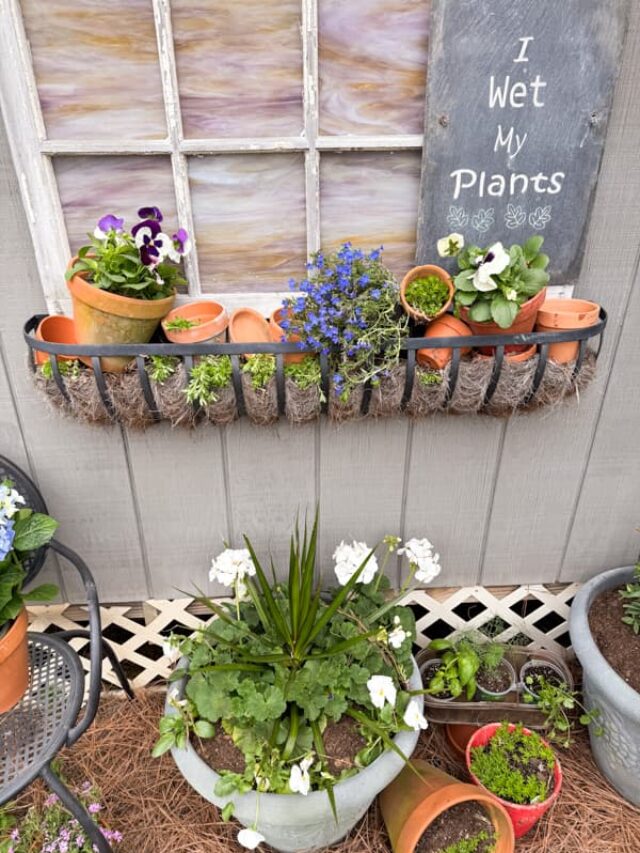
- Hang on a fence or wall with terra cotta pot hangers.
- Add a wall plant shelf to display
- Use the aged pots for DIY projects and centerpiece ideas.
- Display on a bottle drying rack
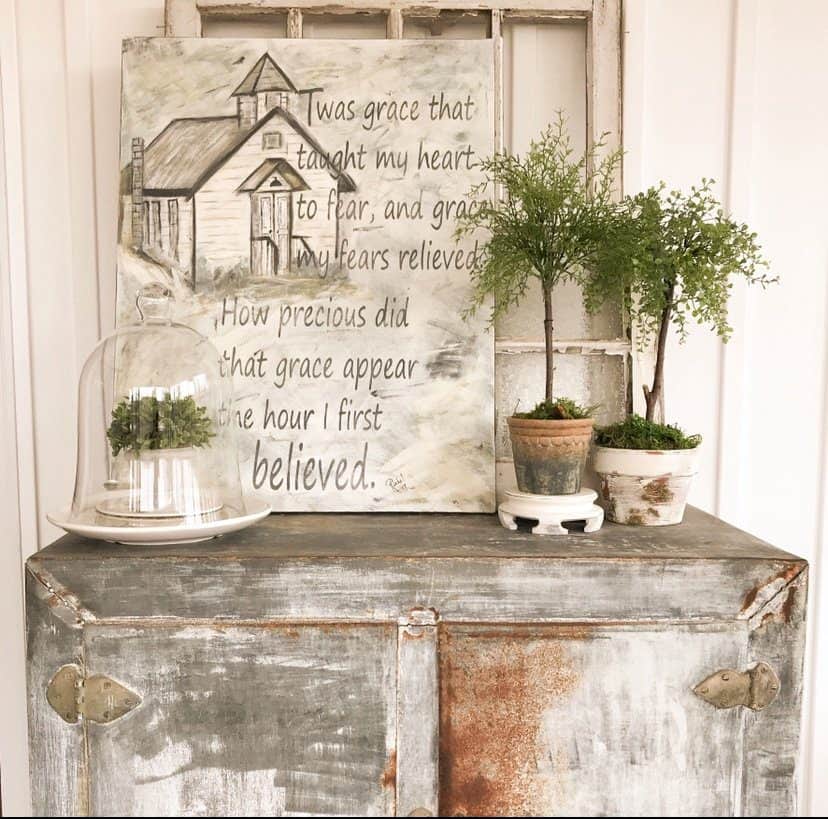
Here is one of the aged pots with a DIY faux topiary added that I use on my screened porch.
The church painting is available in my store.
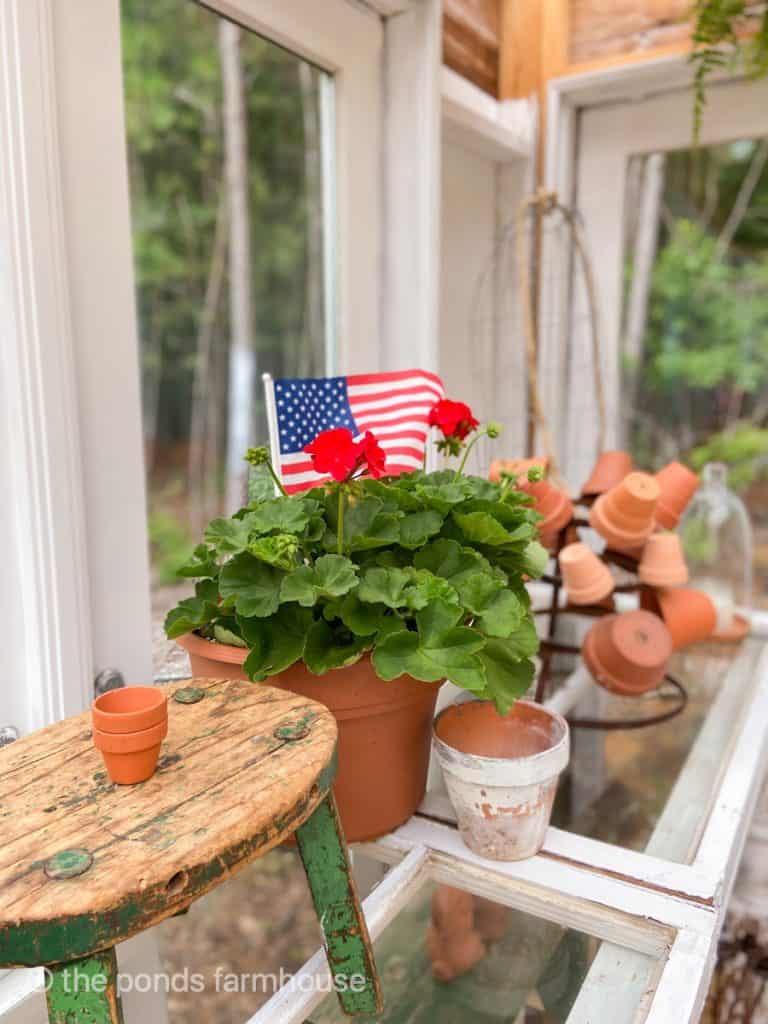
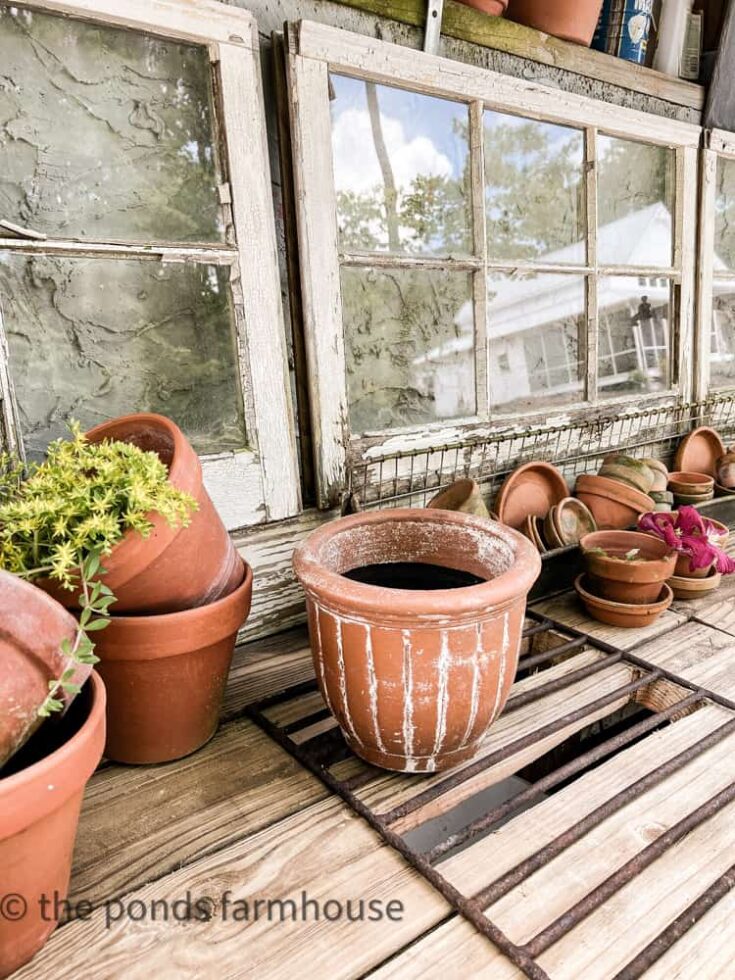
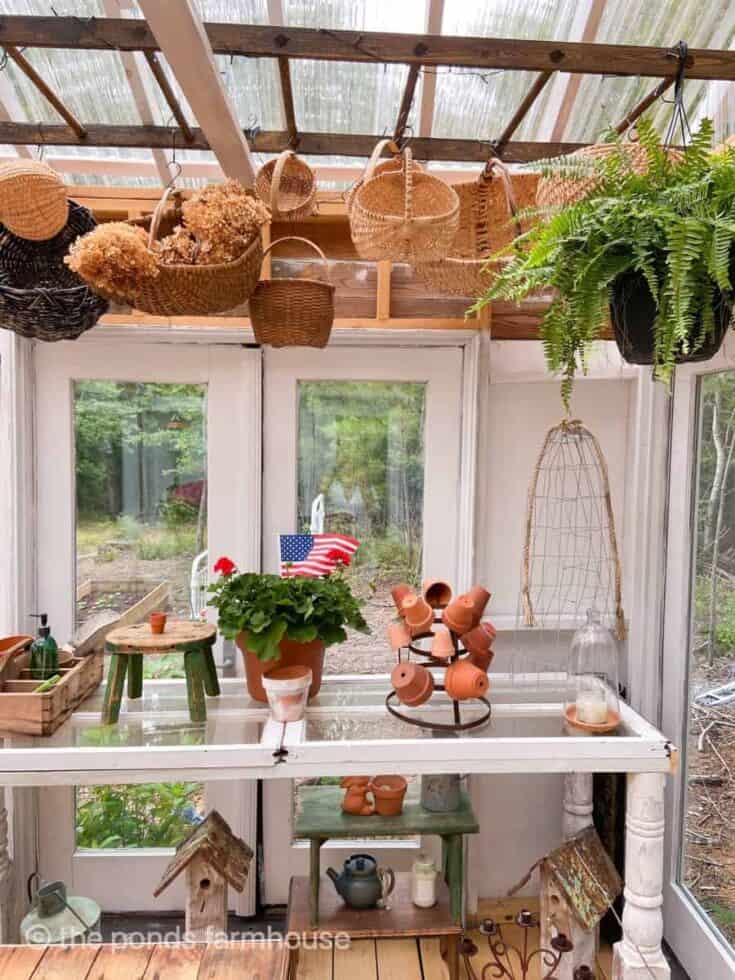
I love using the aged pots on pots filling my potting bench and in our DIY Greenhouse.

Display them in large planters or window boxes. Be sure to provide a good water source for window box planters. These cute terra cotta spikes would be great.
See Easy Container Garden Ideas To Spruce Up Your Outdoor Spaces for more details.
Resources: Shop This Post
Additional Outdoor Gardening Ideas
See additional ideas for DIY projects, gardening and potting bench ideas.
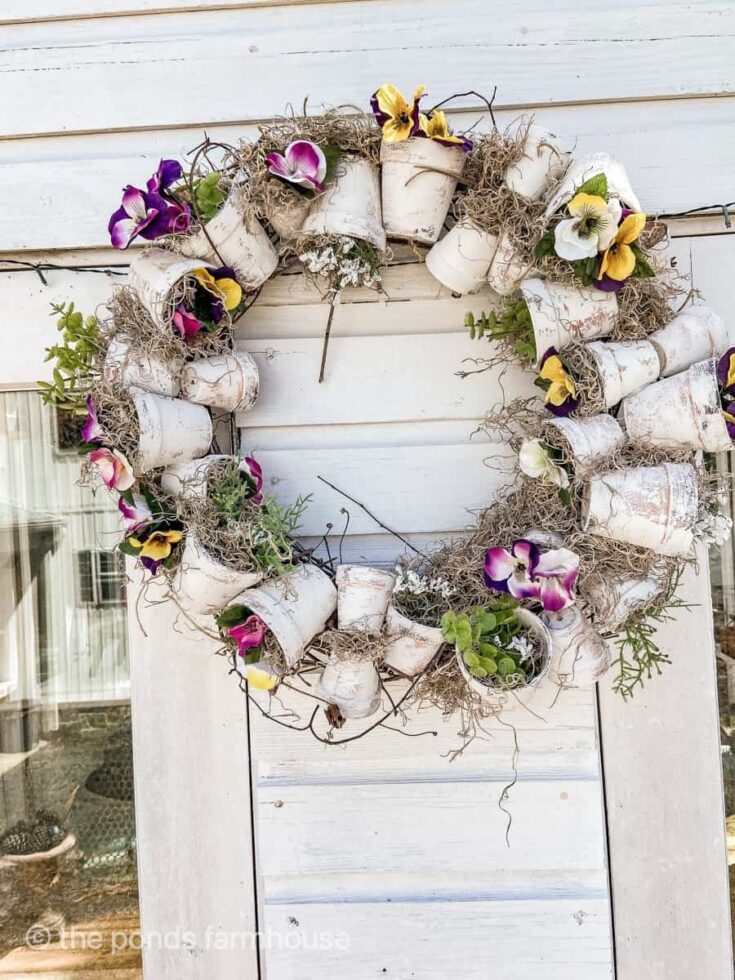
How to make an easy wreath using Dollar Tree Clay pots and Dollar Tree florals.
Use this simple tip to update a potting bench to make it more efficient.
How To Make a Gardening table for FREE with reclaimed architectural salvage.
Decorate with vintage garden decor for cheap with thrifted finds.
How to use potted herbs to create outdoor centerpiece for Free
Best DIY Projects for Greenhouse or She Shed Decor
Save money on next Springs plants by using these tips to overwinter your plants.
I hope you enjoy aging your clay pots. This is a really easy DIY, so I hope you’ll try it. If you have any questions, please feel free to ask. Your comments are so appreciated.
Happy Potting!
Pin It To Remember It
Did you find some great ideas you’d like to save for future reference? Hover over the images you’d like to save and pin to your favorite Pinterest Boards when you see the PIN button.
Good Morning
Rachel I LOVE these gorgeous pots. I also really like the older looking pots much better but have a bunch of new ones that I will try your method on. How fun you are getting a greenhouse. My husband made me a small one a few years ago from old vintage windows. Can’t wait to see what you will come up with
have a great day
deezie
Thanks so much Deezie! I want to use old windows and doors also. Can’t wait.
I love how your pots turned out. You made it look easy to do. Looks like something I might be able try. Thanks for sharing!!
Catherine,
I really appreciate your input. I’m so glad you like this diy. Thanks for stopping by.
Rachel
I absolutely love this diy. As always, did an amazing job! I too love this aged look on my flower pots, but could not find any I could afford. Thanks to you, I now can create my own this summer. You rock!!!
Ivory,
Thanks so much for these sweet compliments. You made my day..
Rachel
I love this idea. The pots look great.
Renae,
I really appreciate this.
Rachel, thanks for the great tutorial on ageing new clay pots. I am going to use your DIY to do some new clay pots that I have. I have 10 of the large clay pots that have aged just by being on our porch for over 10 years and I just love seeing them with the summer flowers planted in them. Now, I want to age some smaller pots for family and friends. I really like the look of your pots. You have so many great ideas! Enjoy your week!
Mary-Ann,
I’m so glad you found this helpful. Thank you for stopping by.
I love these pots, Rachel; they look so realistic. I will have to try this this summer.
Wendy,
I’m still using many of these pots and they get better with age. Thanks for stopping by.