Easy DIY Sherpa Christmas Tree Pillow Cover Tutorial
Have you seen the cozy Sherpa Christmas Tree Pillows at Pottery Barn? They are adorable and inspired me to create my own Christmas pillow cover for holiday decorating. This easy Sherpa fabric Christmas tree pillow tutorial uses inexpensive chenille pillow covers, sherpa fabric, and a few other supplies to create a similar style for a fraction of the cost. Let me show how easy it is to make.
(Posts on The Ponds Farmhouse may contain affiliate links. As an Amazon Associate, I earn from qualifying purchases. See the full disclosure details here.)
Table of contents
How To Make A Christmas Tree Pillow Cover
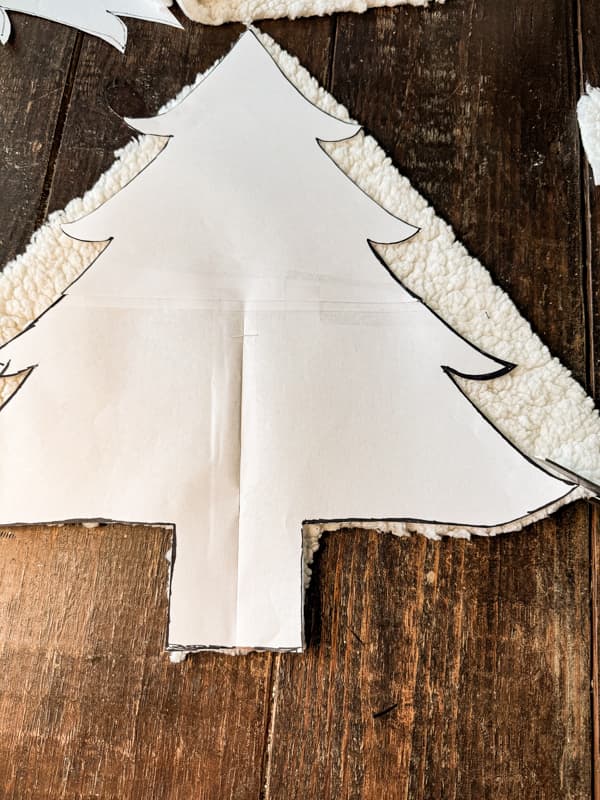
You only need a few supplies and a tree template to make a Christmas tree pillow cover. First, you need to get your pillow covers. I purchased mine from Amazon and love the quality. However, you can make your own if you prefer. Then, you can create a template for your Christmas tree.
I drew a whimsical tree on some craft paper. Then, cut the template to attach to the fabric to create the Sherpa Christmas tree. You can draw any shape that you desire. I recommend drawing one side of your tree and folding the paper at the tree center to trace the same shape on the other side. This way, your tree will be balanced on both sides.
Supplies
Here are the supplies I used to make the Christmas pillow cover.
- 2 Olive Green Chenille Pillow Cover
- Sherpa Fabric
- Permanent Fabric Glue
- Gold Metallic Yarn
- Multi Small Beads
- 20 x 20 Pillow Inserts
Prepare Sherpa Tree
First, you need to cut your tree from the Sherpa fabric. Lay the template on the bias of the fabric. This will prevent excess fraying and raveling. Once you have the tree cut, pull any loose threads from the edges and use scissors to trim if necessary. After the fabric stops unraveling, you can add the yarn and bead trim.
Add Decorative Beading
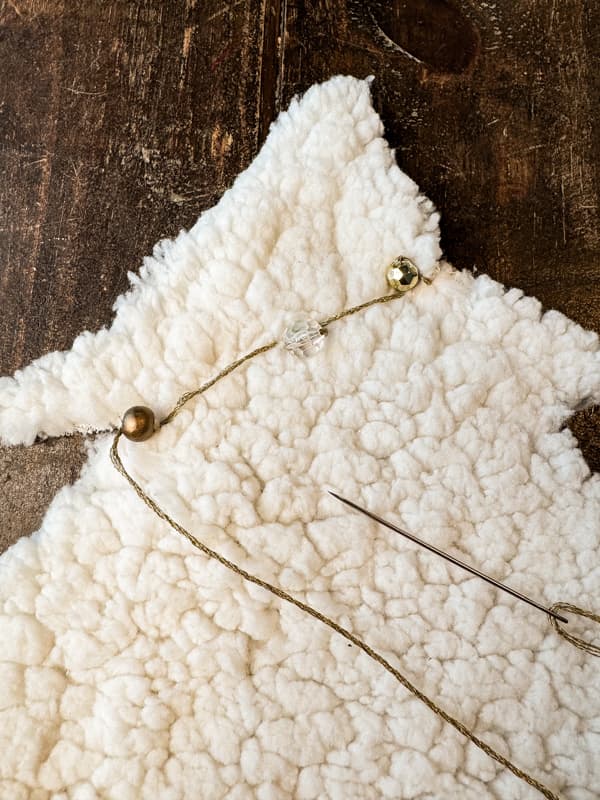
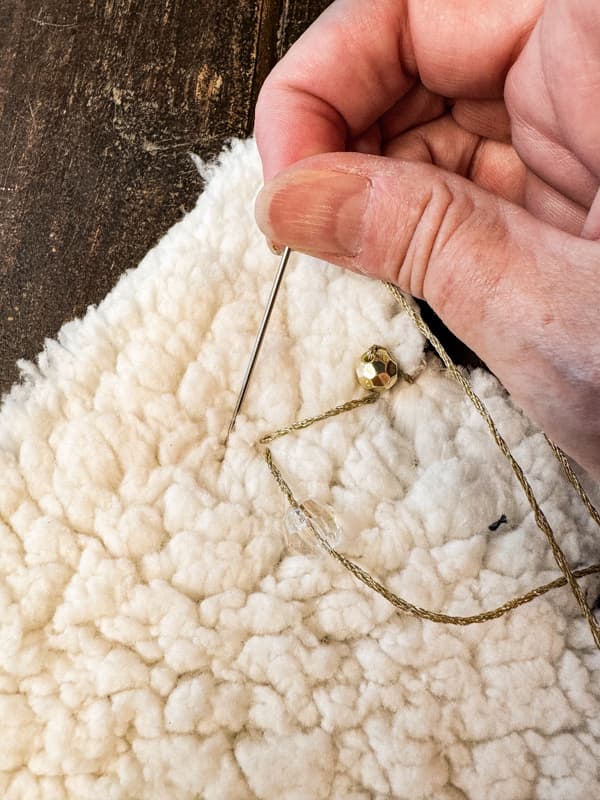
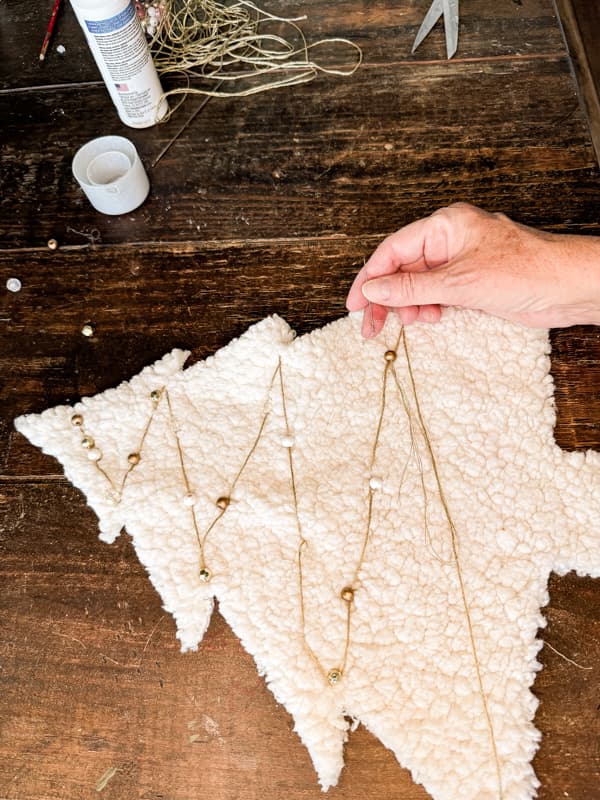
Thread a heavy-duty needle with the metallic yarn and create a design on the front of the Christmas tree similar to a garland. Add decorative beads as you go. Secure the beads so they don’t move on the yarn. Stitch each bead to the fabric with the yarn before moving to the next section.
How To Attach The Sherpa Tree To The Pillow Cover
Add a protective barrier inside the pillow cover to attach the Sherpa tree to the pillow cover. This can be a piece of cardboard or wax paper—anything that protects the interior should the glue seep through the fabric.
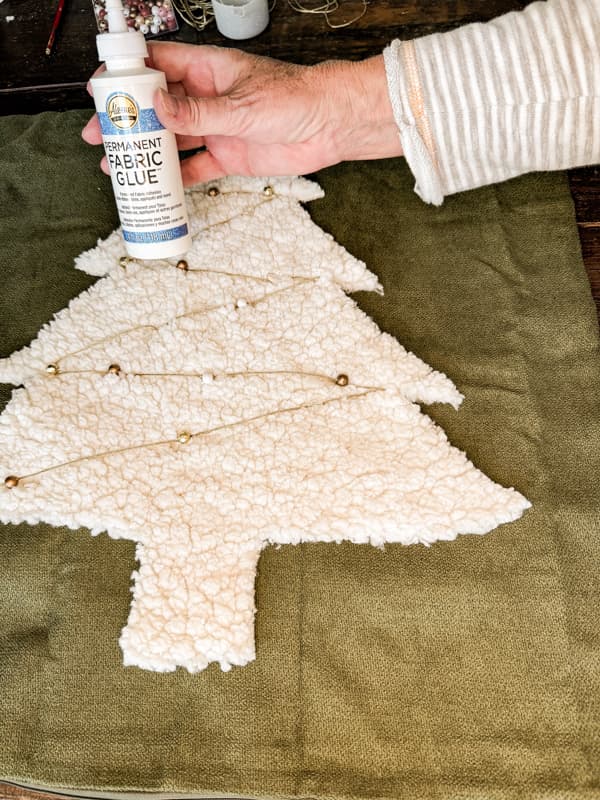
Next, position the tree on the center of the pillow cover. Begin adding the glue by rolling the top down and exposing the backside of the fabric. Add glue around the edges of the tree-shaped fabric and swirl some in the center. Then, roll the top back in place against the pillow cover and smooth it with your hands to secure it.
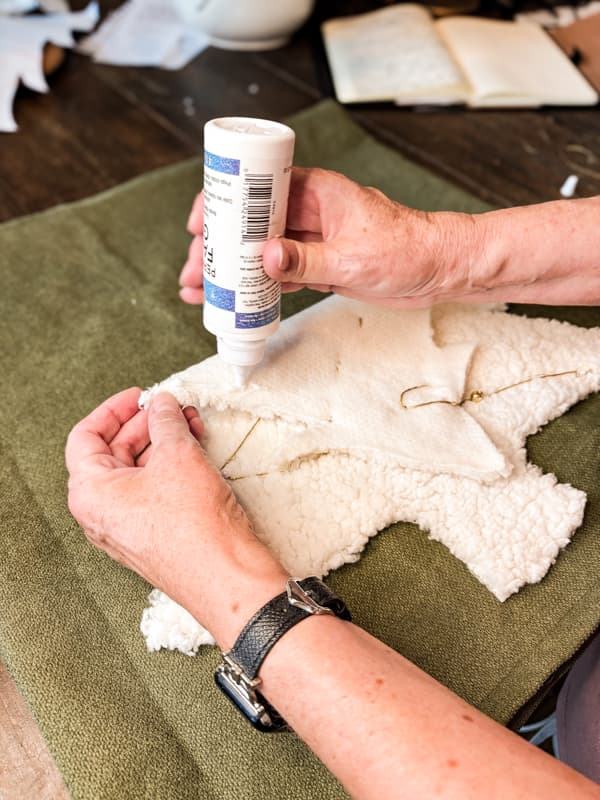
Finally, roll up from the bottom, ensuring you meet where the glue was applied from the top. Apply glue around the edges and center and press it back to the pillow cover.
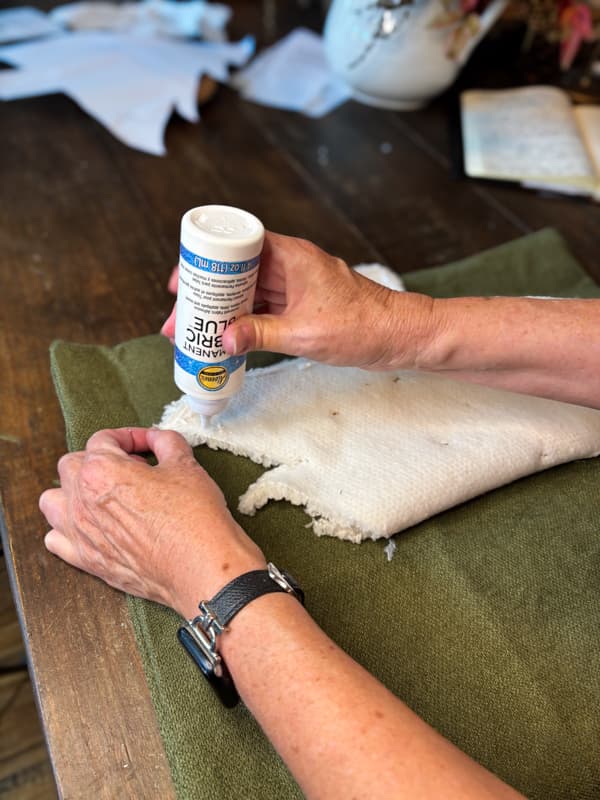
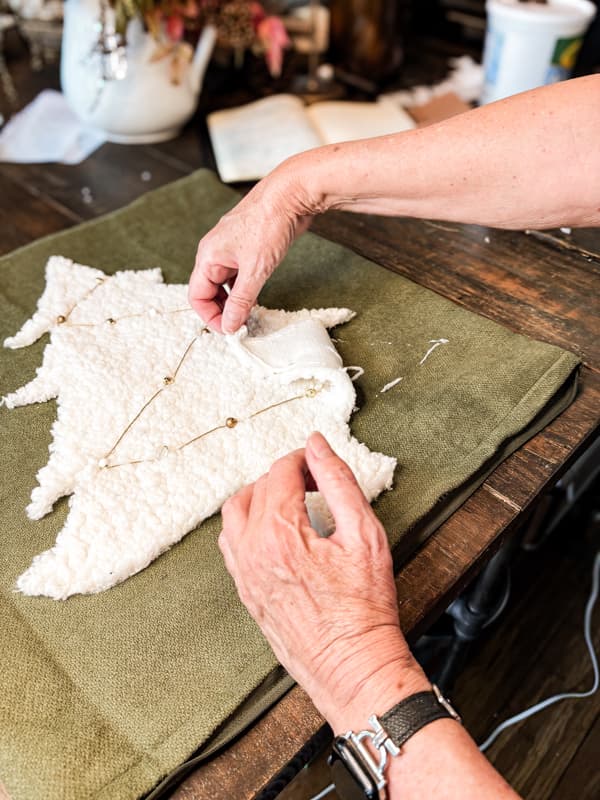
Ensure the tree is pressed firmly onto the pillow cover and set aside to dry.
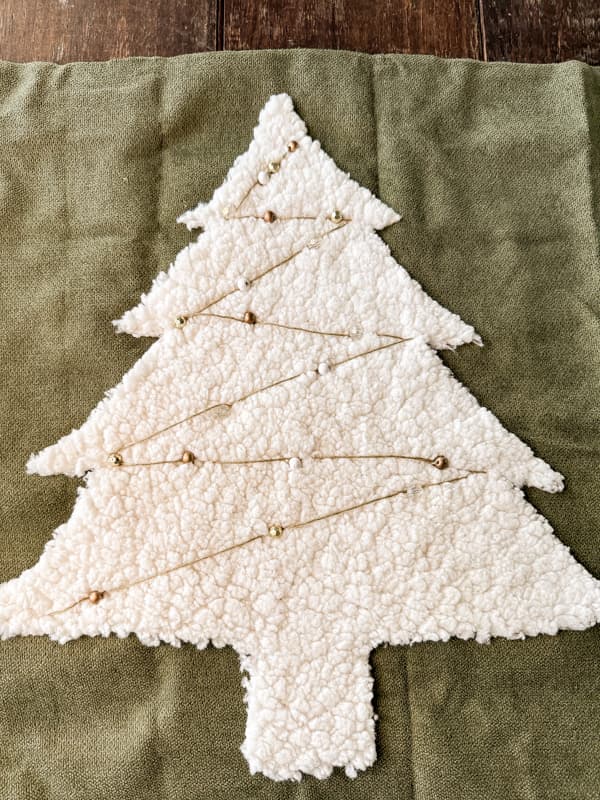
Pottery Barn Inspired Christmas Pillow Cover
I love how the Pottery Barn-inspired Christmas Pillow Cover looks with these Amazon cream tree pillows that are also similar to the Pottery Barn ones.
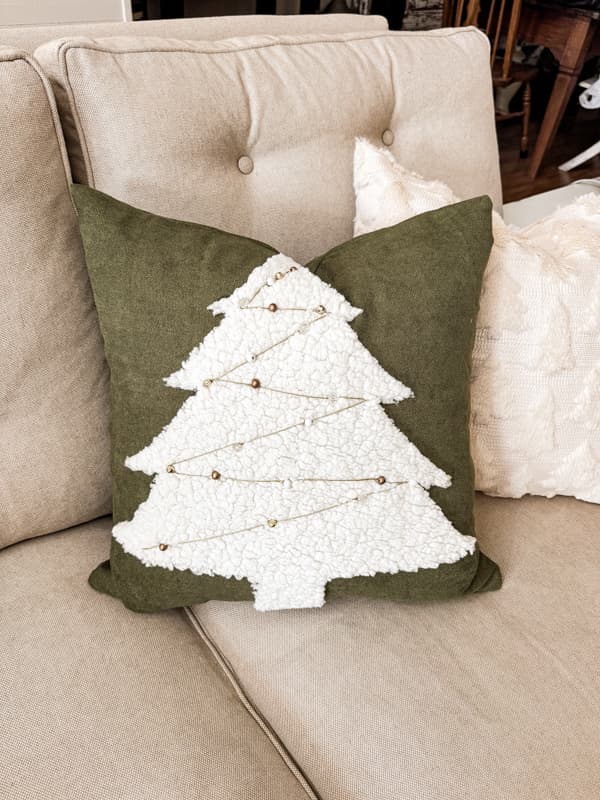
I made two pillows, including the pillow inserts, for $45.00 compared to the $79.00 each at Pottery Barn.
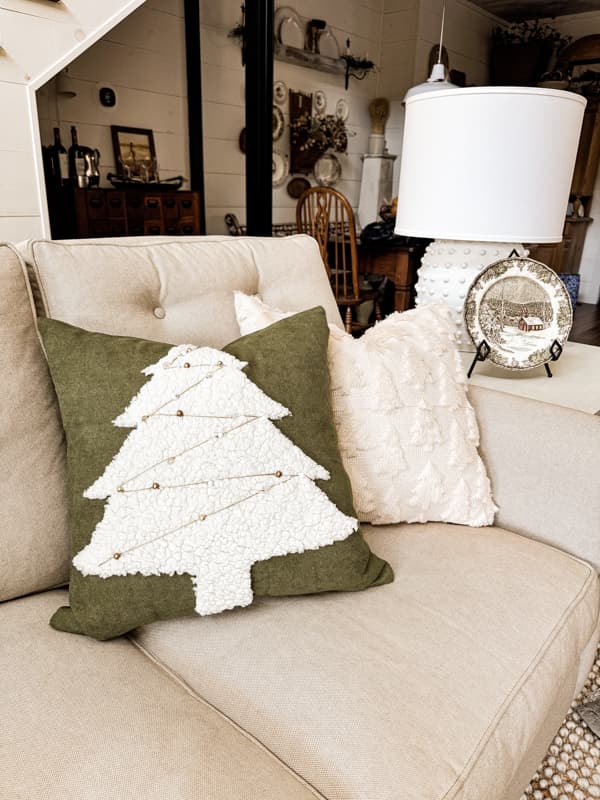
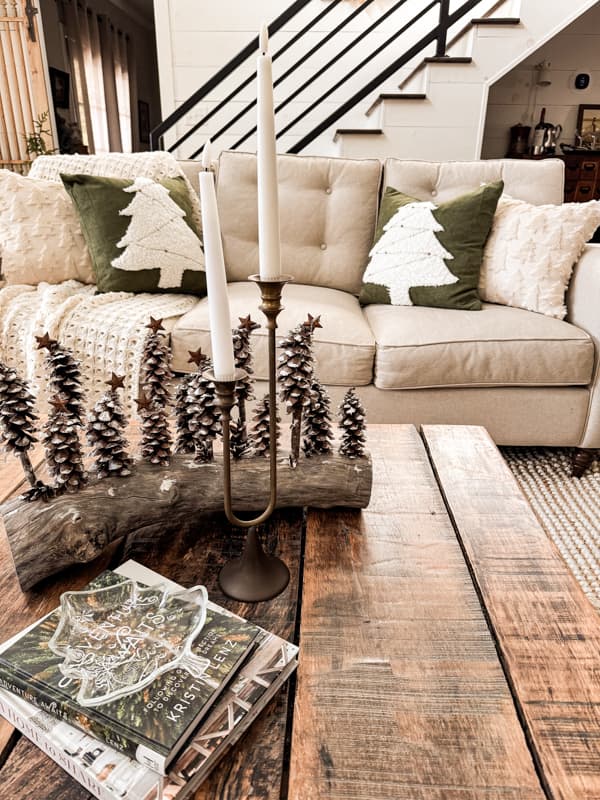
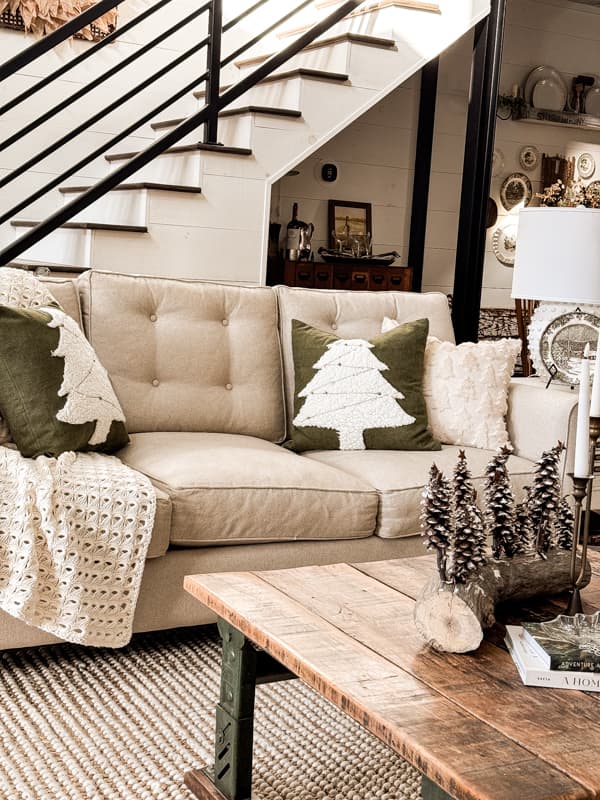
Although it’s just the beginning of November, the living room is starting to fill up with Christmas decorations. The rustic pinecone Christmas tree centerpiece is still on the coffee table for now, but I can use it in so many places, and there’s no telling where it will end up.
Related Articles
- Easy Decorative Pillow With Scrap Fabrics
- Upcycled Tin Can Christmas Lambs With Sherpa Fabric
- Easy DIY Tassel Garland Plus 5 Tassel Decor Projects
Video

Thank you for stopping by today. I look forward to sharing my next adventures with you.


