Easy DIY Hobnail Milk Glass Ornaments with Dollar Tree Supplies
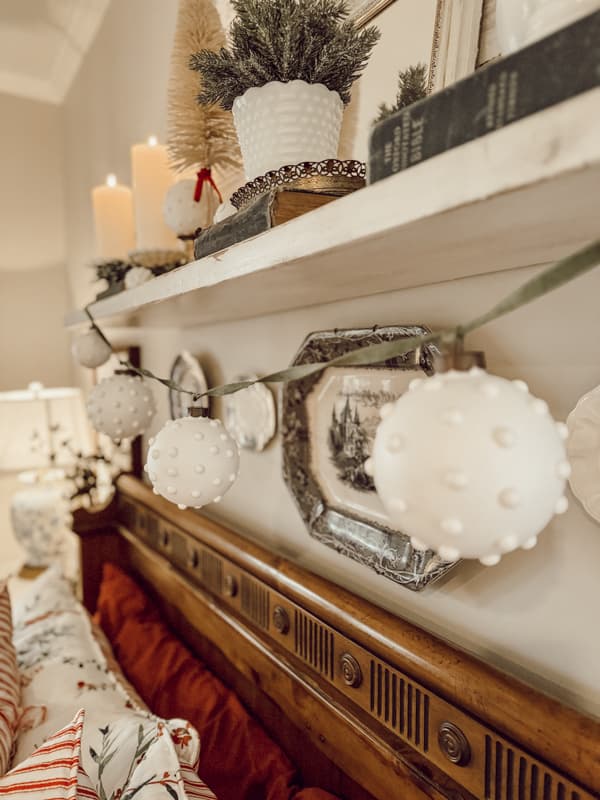
Are you a fan of the popular vintage hobnail milk glass? If you want a unique and affordable way to add a touch of vintage to your home this Christmas, check out these DIY Hobnail Milk Glass Ornaments. With just a few Dollar Tree supplies, you can create beautiful and unique ornaments that add a vintage vibe to your holiday décor.
They will look lovely adorning your Christmas tree, but you can use them in unexpected ways to add style throughout your home.
But first, let’s take a look at how easy they are to make.
(Posts on The Ponds Farmhouse may contain affiliate links. As an Amazon Associate, I earn from qualifying purchases. See the full disclosure details here.)
Table of contents
What Is Vintage Hobnail Milk Glass
First, milk glass is a creamy opaque white glass that was popular from the 1830s to the 1980s. It can be found in various shapes, including vases, pitchers, goblets, candy dishes, planters, compotes, and more.
It is made by adding arsenic to the standard glass recipe, which yields a faintly grayish but nicely opalescent effect. In the early factories, molten glass was dropped into heavy iron molds.
Vintage Hobnail Milk Glass has raised bumps over the surface, similar to polka dots. The pattern is attributed to the Fenton Glass Company. However, you will find pieces from other manufacturers with a similar pattern.
Hobnail is considered one of the most desirable patterns of milk glass. It adds a whimsical, fun feel to simple vases and more.
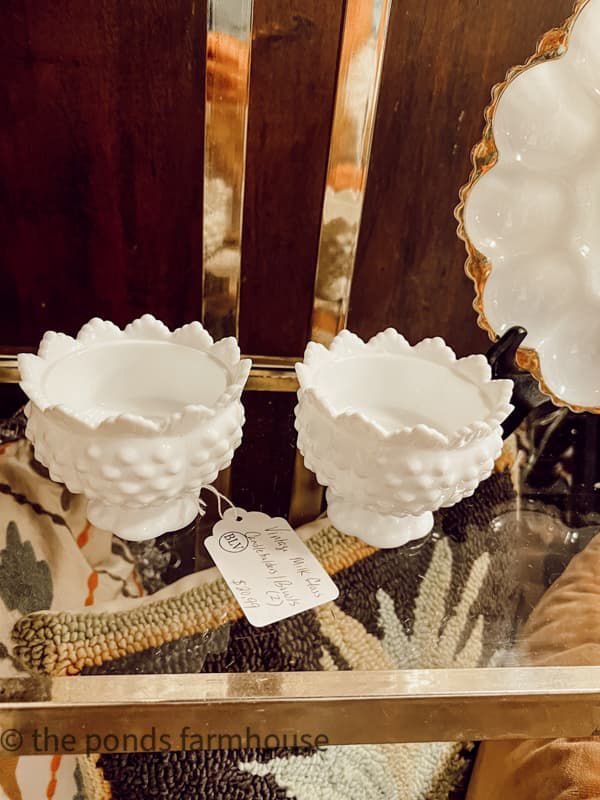
I have a good collection of milk glass pieces and decided that hobnail milk glass Christmas ornaments would be an excellent addition to our holiday decor. Naturally, the first place I checked for supplies was Dollar Tree because the prices are amazing, and you get a lot of bang for your buck.
Easy DIY Hobnail Milk Glass Ornaments
First, I wanted the hobnail milk glass ornaments to have a vintage feel, so I looked for ornaments that had removable hangers.
I also wanted them to have the same milky finish as real milk glass, so here’s what I did.
Supplies
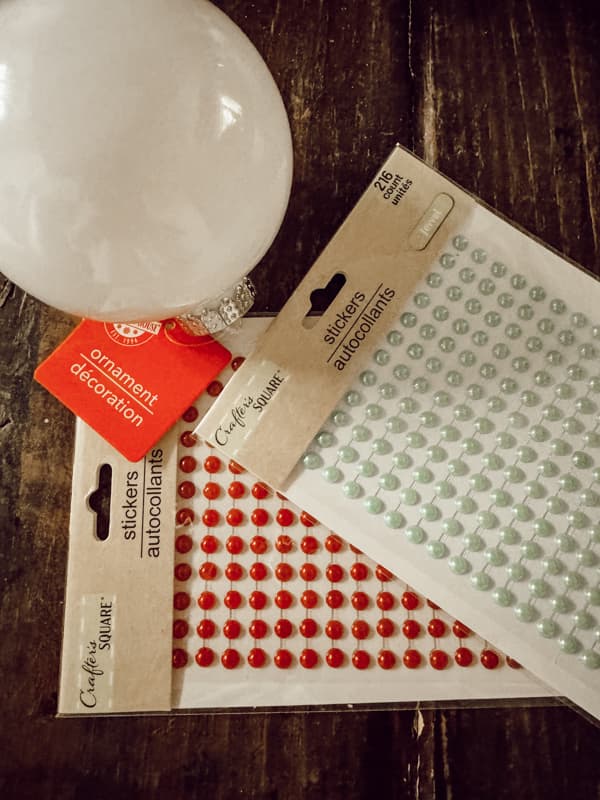
- White Ornaments with removable hangers from Dollar Tree – If unavailable, these are a great option.
- Optional – Recycle old ornaments for Hobnail Milk Glass ornaments.
- Stick-on Beads or Pearls (Dollar Tree had a limited supply of the pearls, but here’s another option.
- Chalky White Spray Paint
- Rust Spray Paint
- Painters tape
- Optional Ribbon – Green Velvet
Recycle Old Christmas Ornaments
I used a combination of Dollar Tree White ornaments for today’s craft project. In addition, I had some older ornaments I recycled.
You can use all recycled ornaments to save on buying new ones if you prefer.
How To Prepare The Ornaments
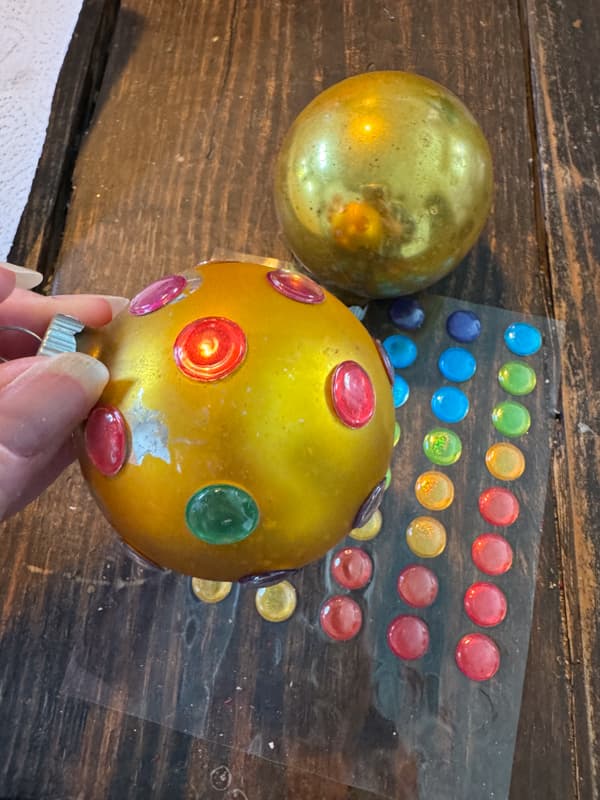
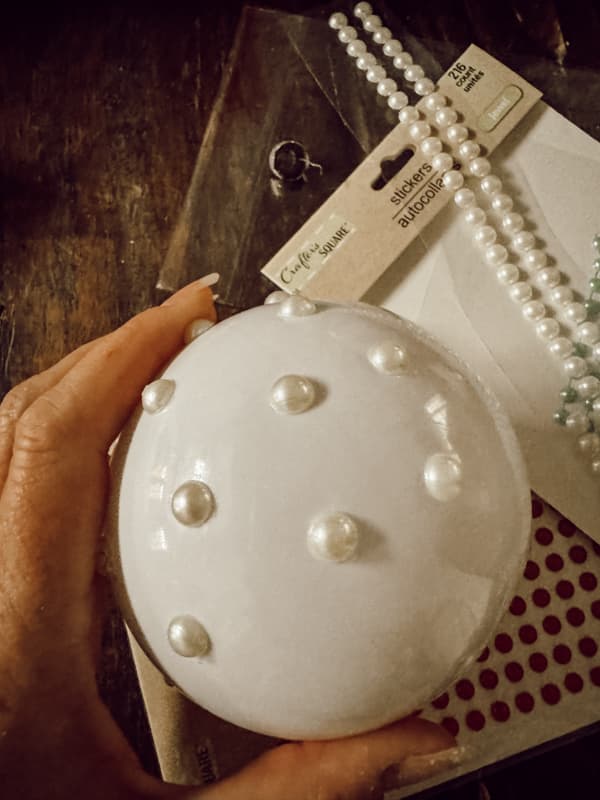
First, remove the cap hangers from the ornaments and add self-adhesive bead stickers.
You want to space the stickers as evenly as possible around the entire surface of the ornament.
Once you have all the stickers in place, you are ready to paint your ornaments.
How To Easily Paint To Look Like Hobnail Milk Glass?
First, I recommend using flat, chalky white paint. Although milk glass can be shiny, it has a milky look, and gloss paint will look unnatural.
Begin by adding the ornaments to a stick or wire that you can hold to paint them.
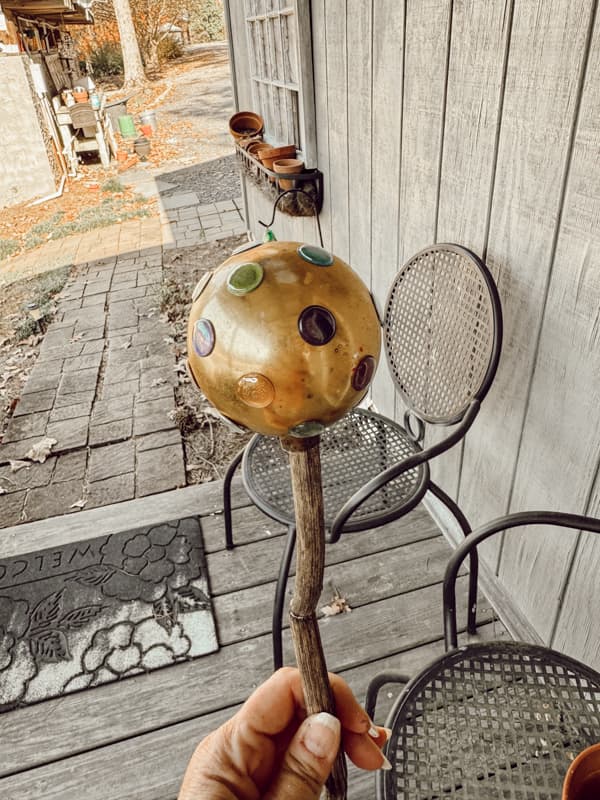
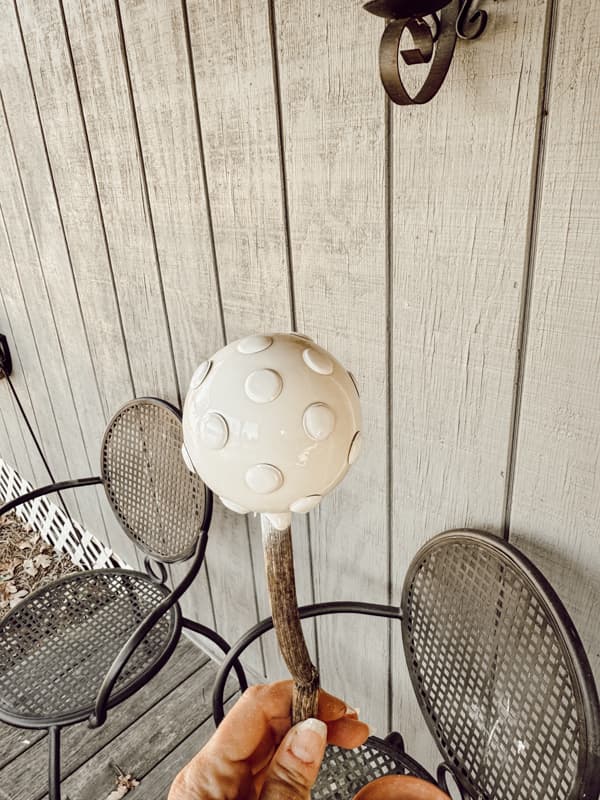
Hold the spray can a distance from the ornament and lightly spray the entire surface.
Insider Tip
White ornaments with light-colored beads are the easiest to paint. One good coverage should be enough. However, the darker the ornament and the beads, the more coats of paint will be needed.
The gold ornament with the multi-colored beads required three light coats of spray paint for complete coverage.
Paint Hangers
If you want the hobnail milk glass ornaments to appear vintage, I suggest painting the hangers with a darker paint color. For this step, I used textured rust spray paint.
Place a length of painter’s tape, with the sticky side up, attached to a box or other surface. Then, press the hangers to the tape.
The hangers are very lightweight, and this will prevent them from blowing away when you apply the spray paint.
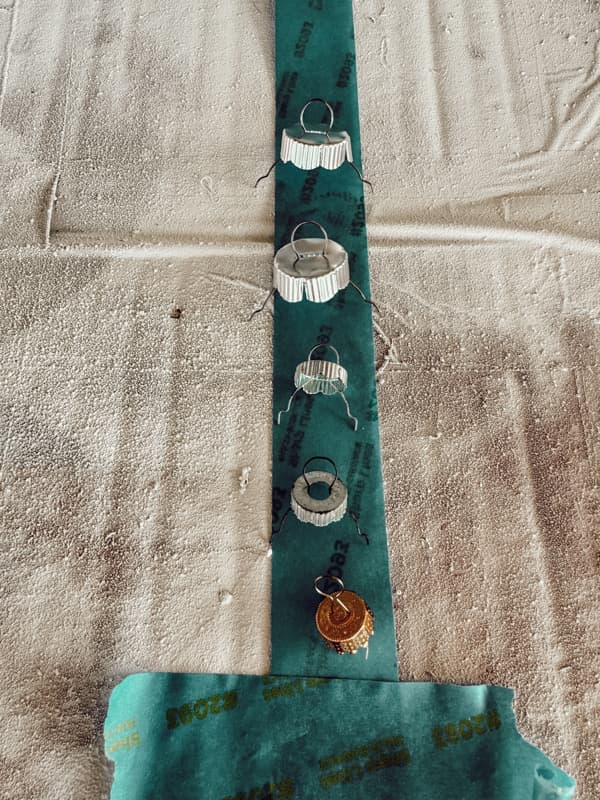
Once everything is dry, reattach the hangers to the ornaments. Now, you are ready to decorate with your hobnail milk glass ornaments.
How To Decorate With Hobnail Milk Glass Ornaments
The most obvious way to use the easy DIY Hobnail Milk Glass Ornaments is to fill your Christmas tree with them. They would look beautiful mixed with gold ornaments.
I decided to make a garland with mine, and here’s how to make one yourself.
Determine how long you want to garland and allow for attaching the ornaments and for hanging it. I recommend cutting the ribbon at least three inches longer than you think you need it.
Cut your ribbon and begin in the middle by running the ribbon through the hook and tying it securely. Add one ornament at the center first, and then work out from either side.
Continue until all the ornaments are tied to the ribbon.
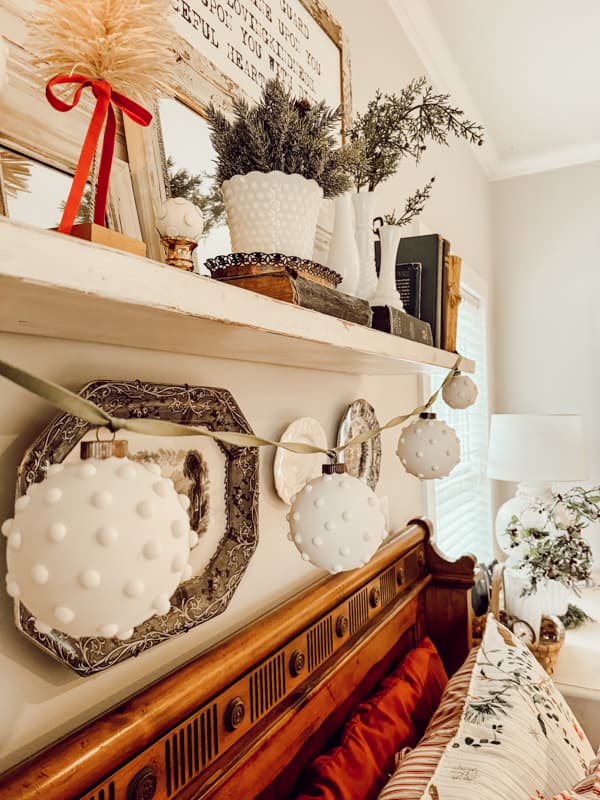
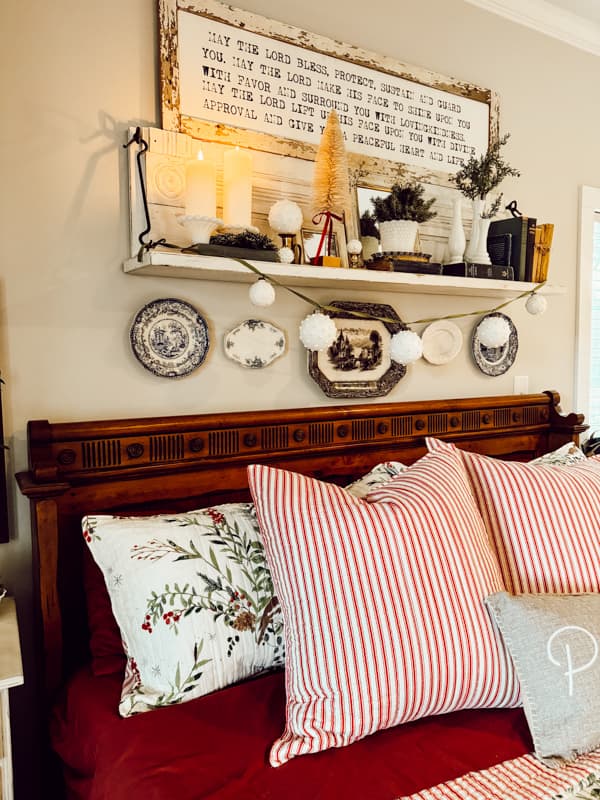
I am using mine on the repurposed mantel above our bed. The green velvet ribbon and hobnail ornaments look lovely with the holiday bedding.
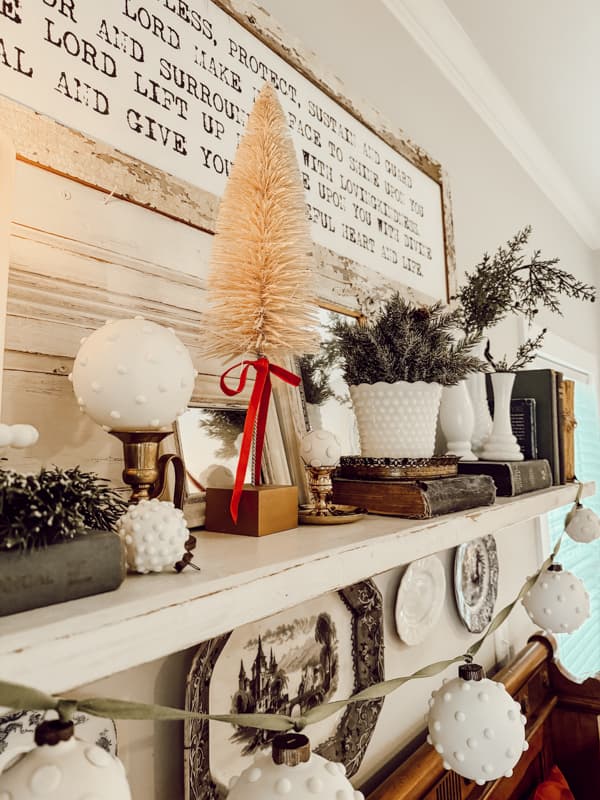
In addition, there were several ornaments that I didn’t use. Those were added to brass candlesticks and placed on the shelf with some vintage milk glass pieces.
You can use the garland and the hobnail milk glass ornaments in any area of your home. Here are a few that were added to the living room mantel.
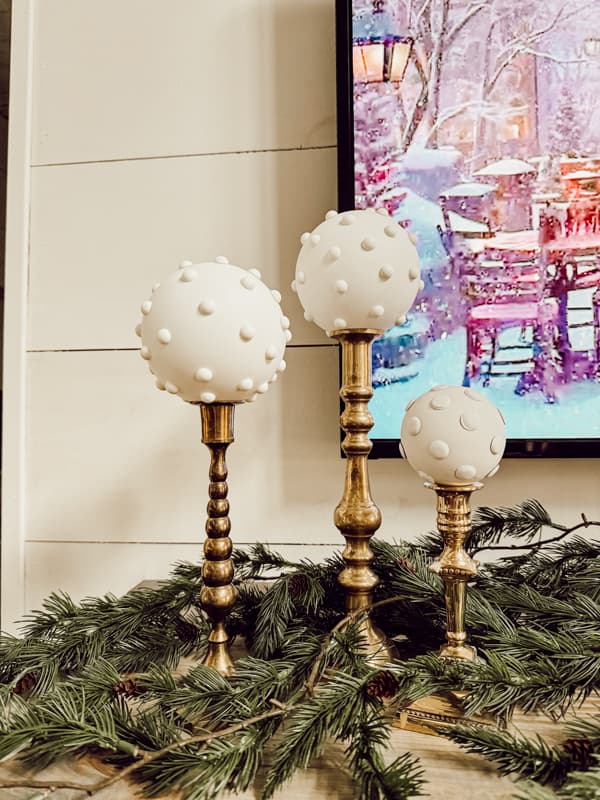
To create a fun vignette, gather several various heights of brass candlesticks and add an ornament to the top. You can also mix candles with the ornaments for a fun look.
You may ask, “When did Rachel get a living room mantel?”. Stay tuned because Brad and I have been busy building and repurposing. I can’t wait for you to see the results.
Dollar Tree Ornaments
If you enjoyed this budget-friendly idea, see 5 Easy Dollar Tree Ornament Makeovers for other Christmas Decor that looks boutique-worthy!
DIY Christmas Ornaments and More
DIY Christmas Ornaments and Other Inexpensive Craft Projects for Christmas
Inexpensive Way To Make High-End Ornaments with Dollar Tree Wooden Cutouts.
Thrift store container DIY
Don't throw away old Christmas Decor until you read this post.
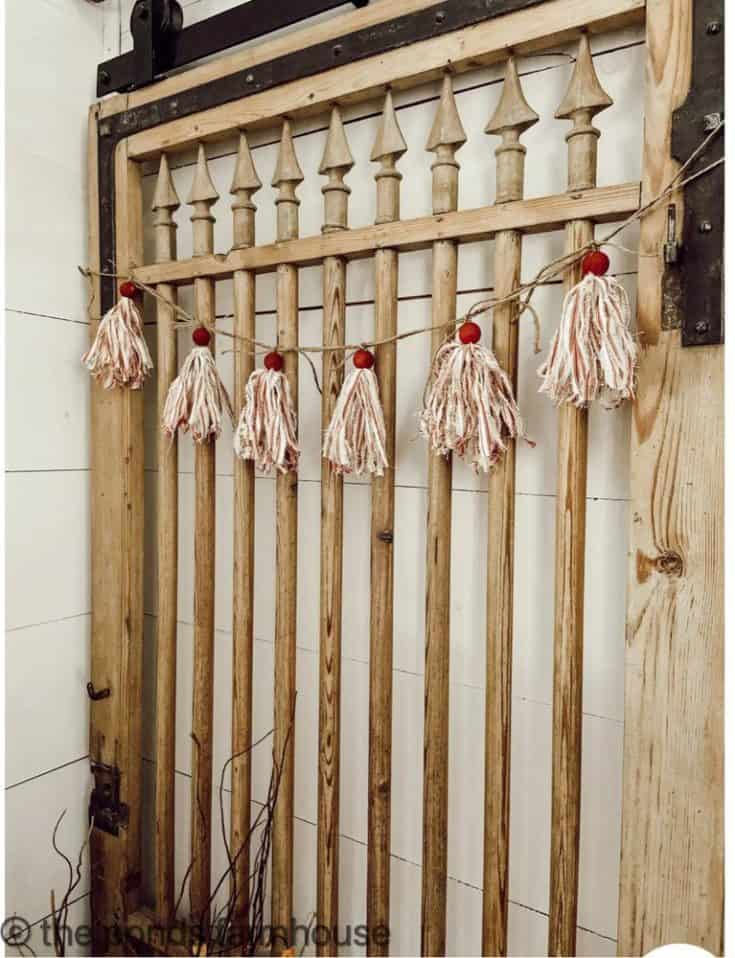
Make tassels to decorate your home and packages this holiday
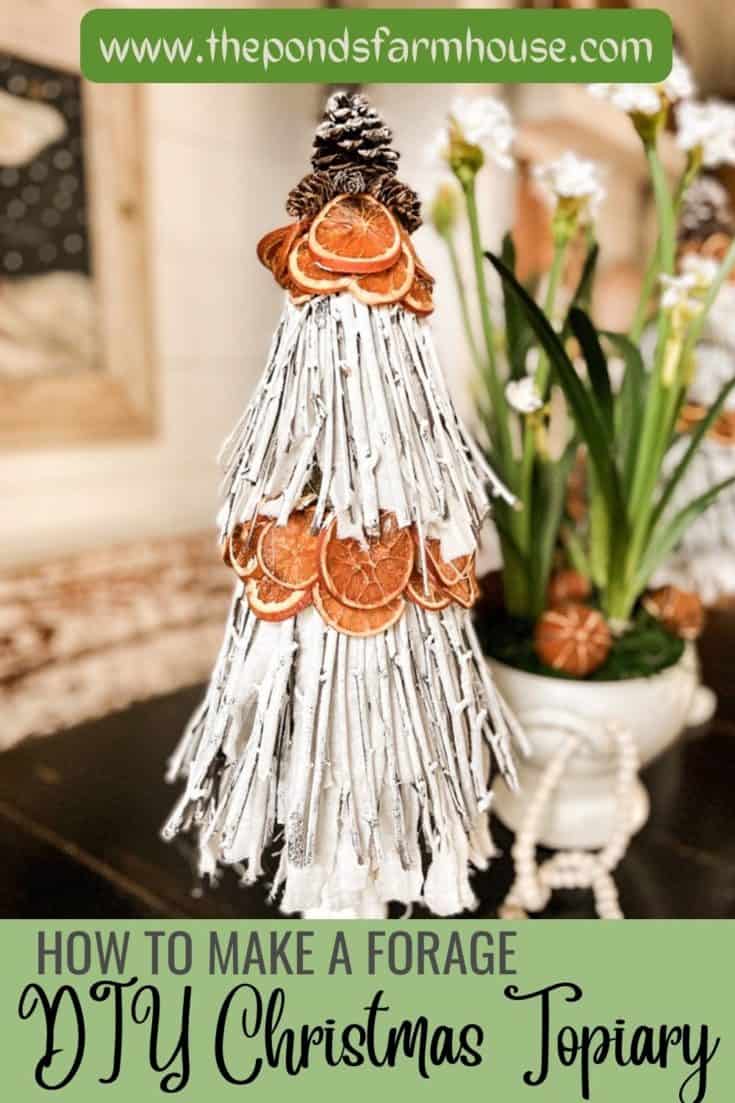
Foraged and Sustainable, Eco-friendly Christmas Topiaries
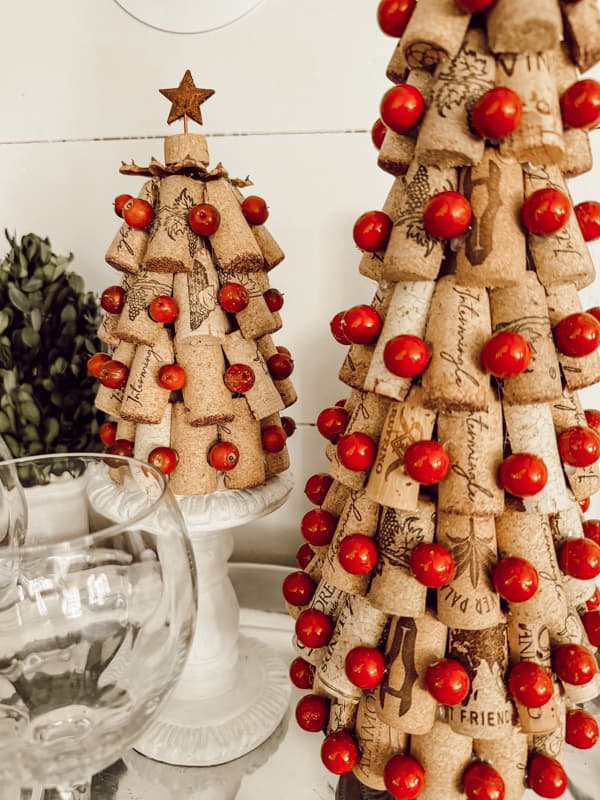
How To Recycle Wine Corks to Make a DIY Wine Cork Christmas Tre
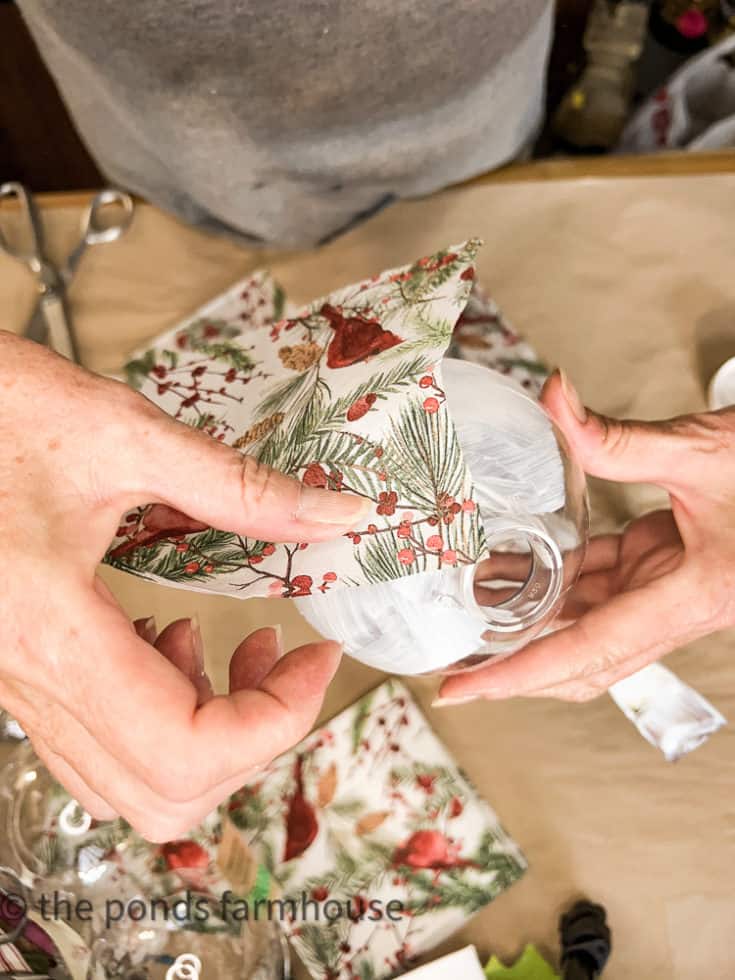
Create custom Christmas Ornament with easy decoupage technique
Easy to make Air Dry Clay Ornaments - Unique One-of-a-kind design that you can get the whole family involved in making.
Resources
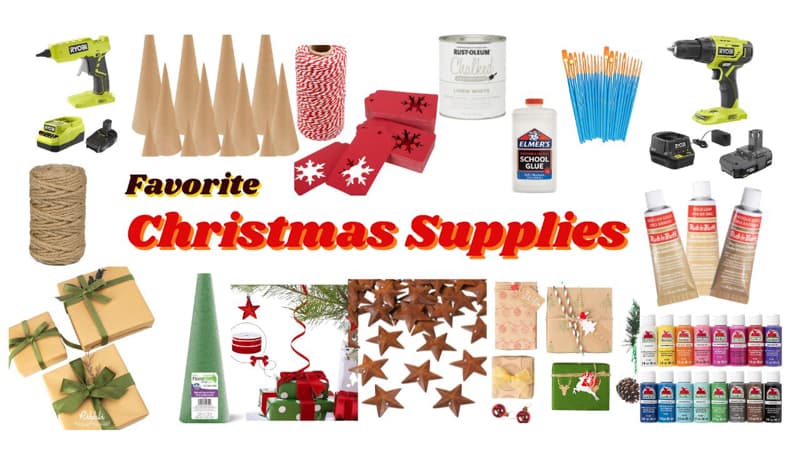
For your convenience, I have listed resources for items used today and for similar items. Just click the images for more details.

Thanks so much for following along today. Please let me know if you liked this project, and I’d love to see your version.

Pin It To Remember It
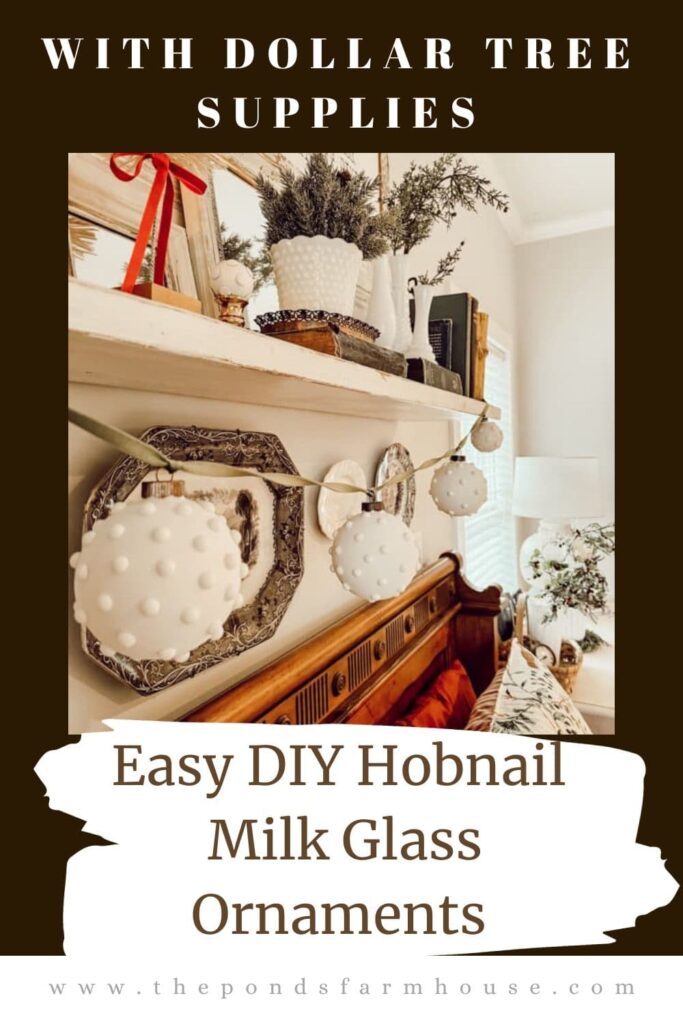
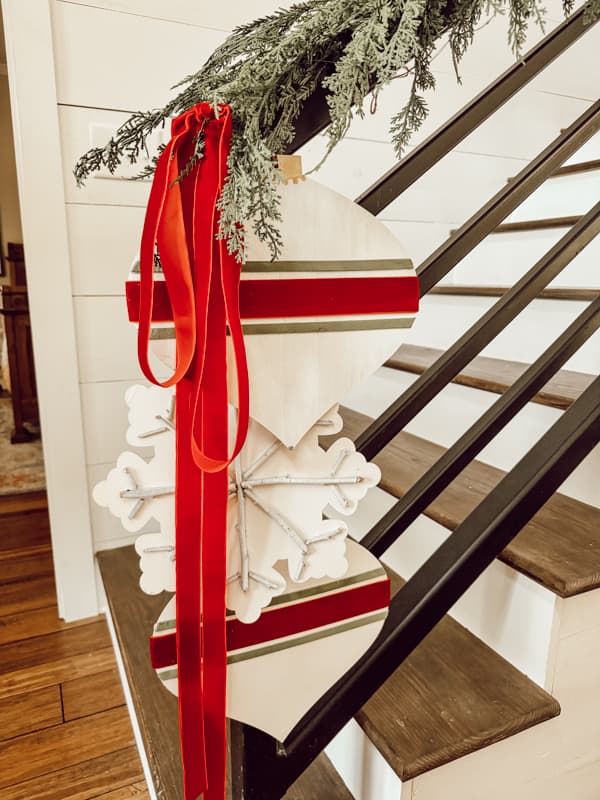
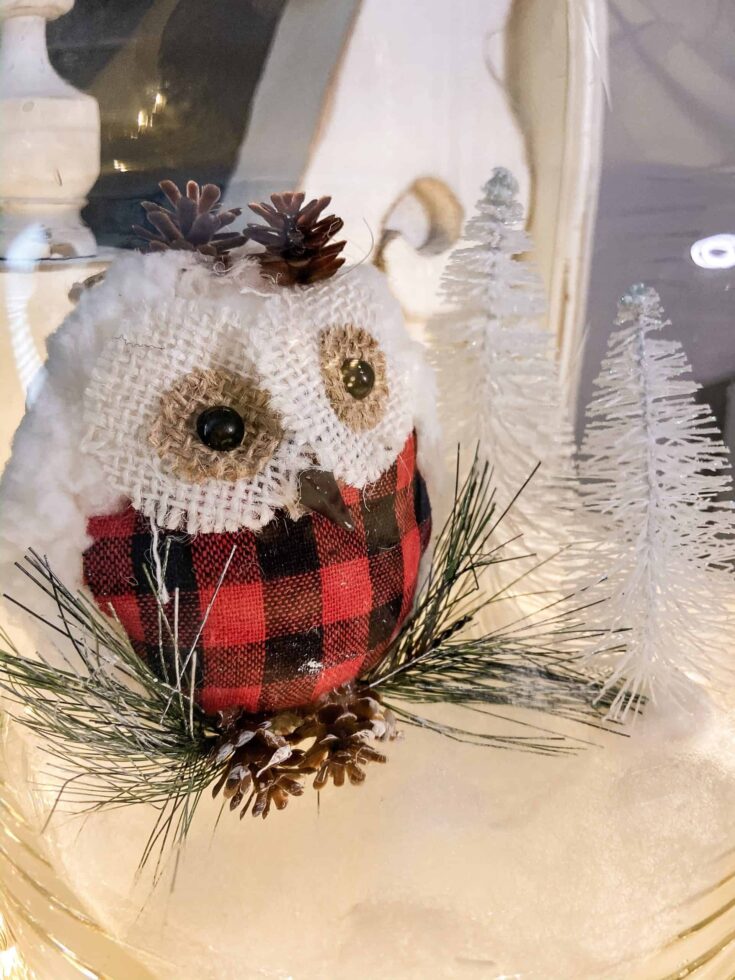
Did you find some great ideas you’d like to save for future reference? Hover over the images you’d like to save and pin to your favorite Pinterest Boards when you see the PIN button.




This is such a great idea. The ornaments look great.
Renae,
I am so glad you like them.
I love the hobnail ornaments. SOOO cute!
Lauren,
I’m so glad you like them. Thanks for your comment.
Rachel, just brilliant and so easy. Why didn’t I think of this?!?
Mary,
I’m so glad you like it. Thanks for stopping by.
Now that’s a clever Dollar Tree project!! So cute, Rachel.
Jennifer,
I’ve been all over Dollar Tree this year. they have so many cheap things that can be upgraded.
Wow love the hobnail Ornaments you sure have a lot of great ideas ….like the big Ornaments from the dollar tree…..wow
Eva,
That is such a sweet compliment. I appreciate your encouragement.