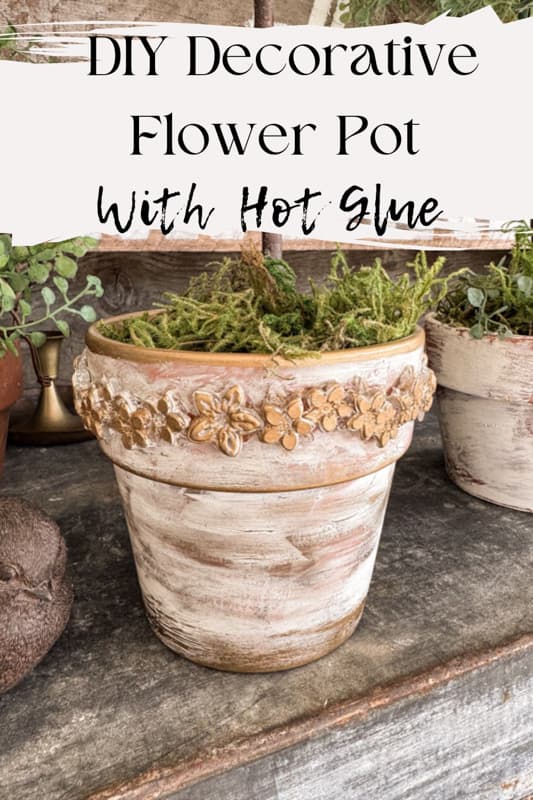
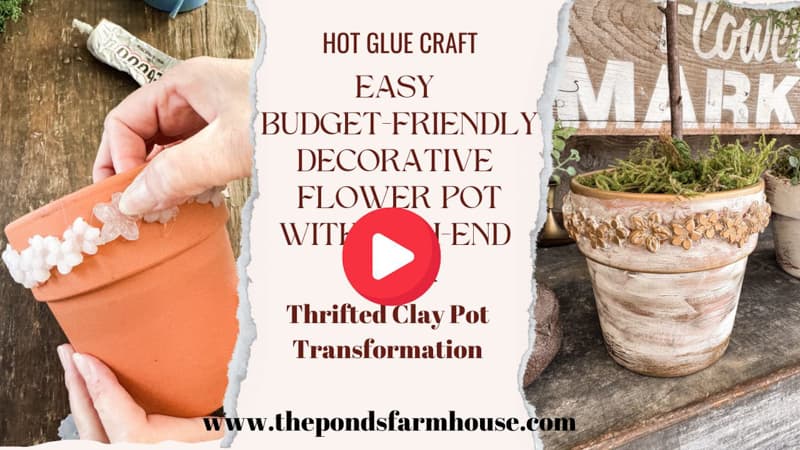
Easy DIY Decorative Flower Pots with Hot Glue
As you know by now, I love finding creative and budget-friendly ways to add charm to my house and gardens. Since I’m dreaming of Spring, I’m swooning over all the adorable decorative planters I see online. Instead of adding them to my cart, I’ve discovered an inexpensive way to create stunning DIY decorative flower pots with an easy hot glue craft technique. Just by adding flower-shaped hot glue to simple, inexpensive clay pots, you can create stunning planters that look like the designer versions. Join me as I show you how to transform these humble pots into beautiful works of art in minutes.
(Posts on The Ponds Farmhouse may contain affiliate links. As an Amazon Associate, I earn from qualifying purchases. See the full disclosure details here.)
Embellish Decorative Flower Pots With Hot Glue
Don’t you love decorative flower pots for displaying your plants and herbs? Unfortunately, they are not cheap and are easily broken or damaged when filled with soil and fresh flowers. Therefore, a budget-friendly option is to make your own, and I can show you how.
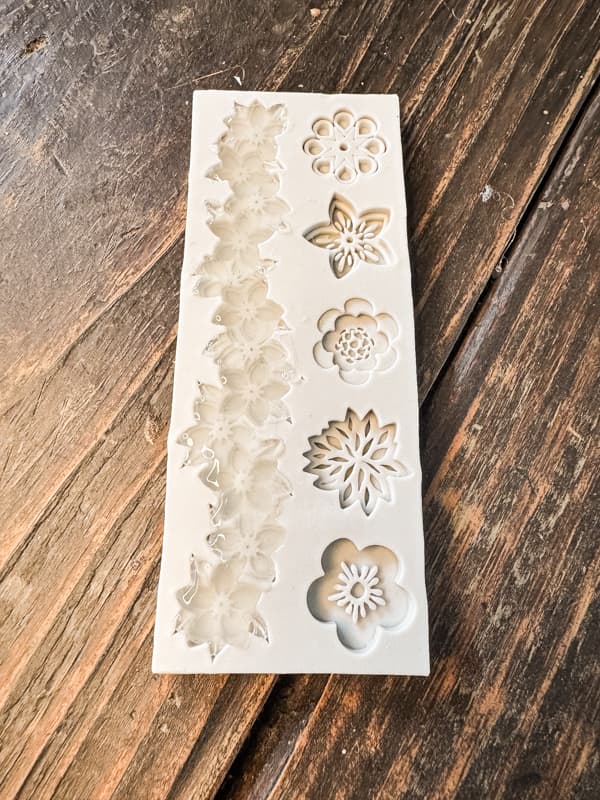
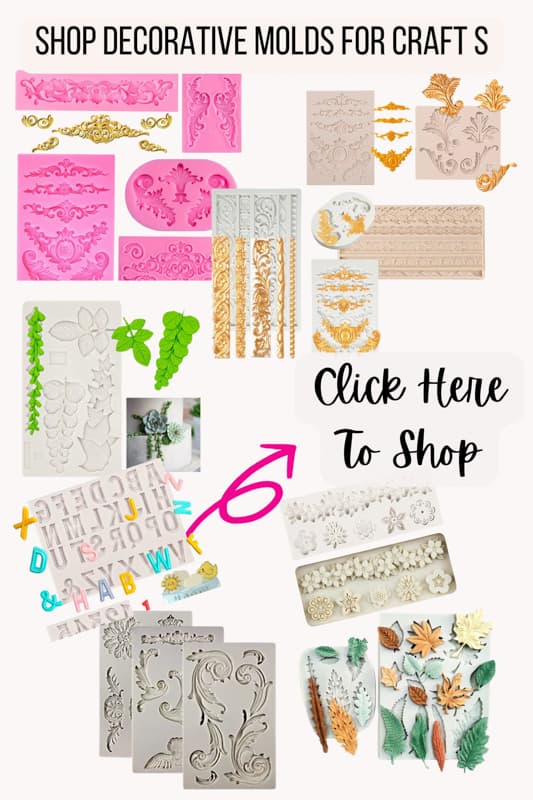
I purchased this inexpensive silicone flower mold for just $6.00. With this one mold, you can make multiple decorative pots. It can be used for cake decorating, but I purchased it to create decorative decor designs. It can be filled with a variety of materials, including…
- Resin
- Plaster
- Concrete
- Clay
- Hot Glue
- Soap
- Wax
Since I was applying the ornamental design on a rounded surface, I used hot glue because it is more flexible.
How To Create Decorative Hot Glue Designs
You can purchase many decorative molds to create designs for your flower pots. I decided on this adorable flower design. In addition, you will need several hot glue sticks to fill the trays.
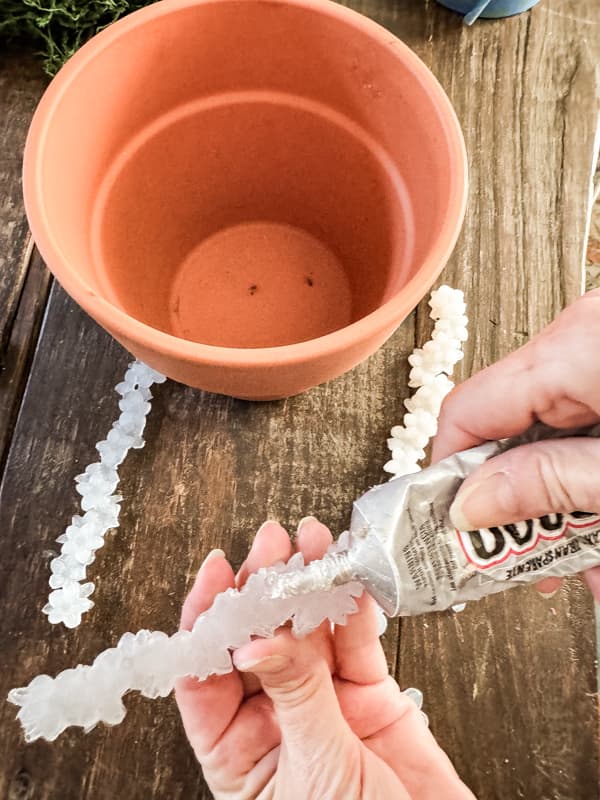
I used a small $2.00 thrift store clay pot, which required three strips of the flower design to cover around the rim. There was still a tiny gap, so I added one of the individual flowers included on the silicone tray to fill the space.
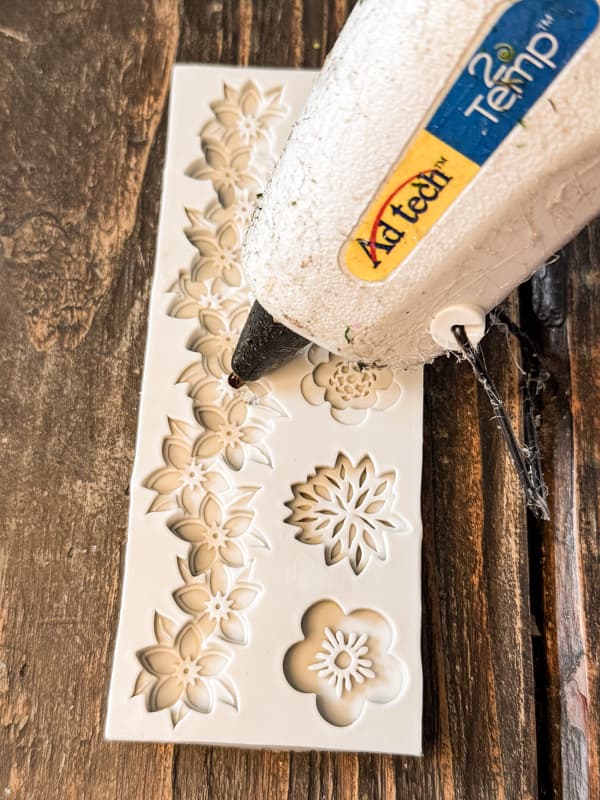
Step One – Create a Design With Hot Glue
The first step is to heat your hot glue gun on high and fill the mold with glue to create the flower design. Ensure that you get the glue into all the edges. Set the mold aside and allow the glue to dry completely. Then, repeat until you have enough flowers to cover the design area. The glue peels out of the tray easily.
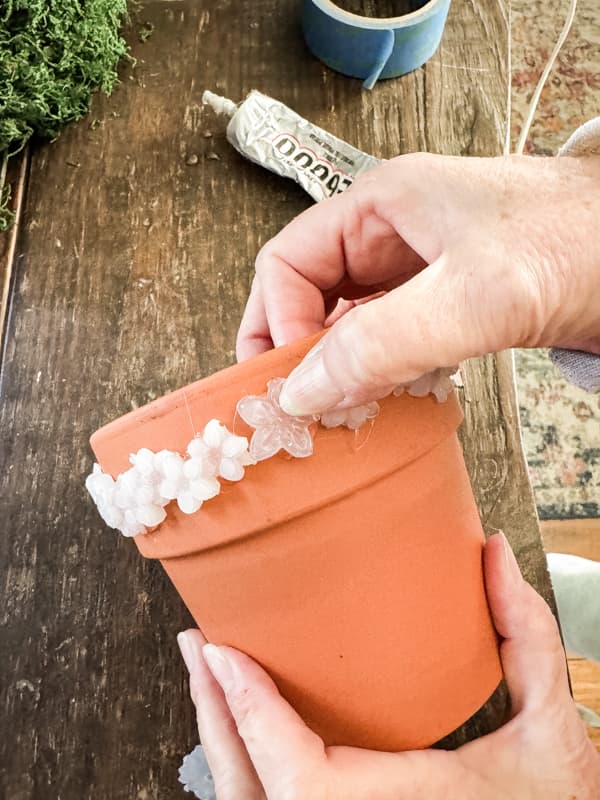
Step Two – Attach Design To Clay Pot
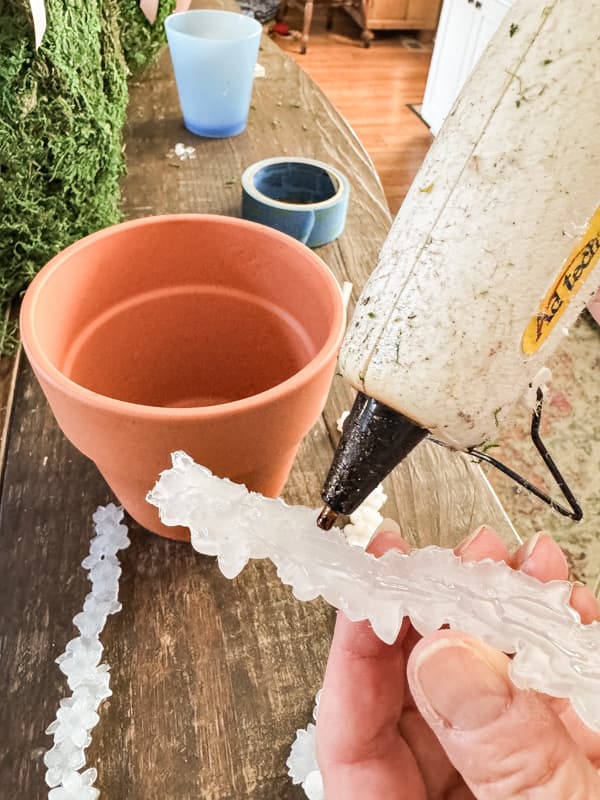
I decided to use my tried-and-true method of permanently attaching items with glue. First, I added E6000 glue to the back side of the flower design. Then, I added some hot glue over the top. Finally, I pressed the flower design onto the clay pot and held it until the hot glue set. Repeat for each piece until your design is to your liking. Using this technique to apply glue allows you to complete this step in only a few minutes!
Step Three – Paint Decorative Flower Pot
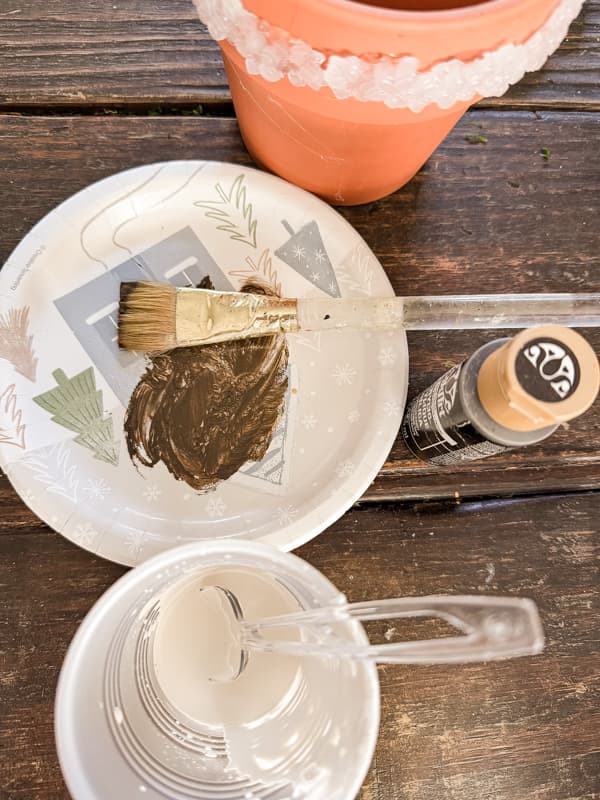
Now, you are ready to paint your decorative flower pot. There are many options for adding color to clay pots. You can spray paint a solid color, add an aged pot finish, paint a wash over the pot, etc. I chose to add a slightly distressed, aged appearance to my pot.
I began by adding a few swipes of dark brown paint. Then, I added a 50/50 water to the chalk paint for a whitewash appearance. I brushed the whitewash over the entire pot, paying extra attention to the raised decorative flowers.
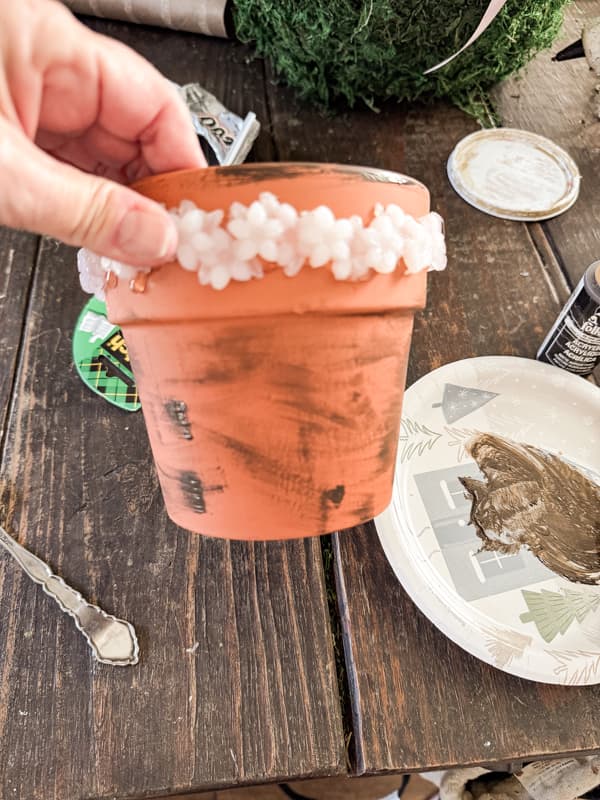
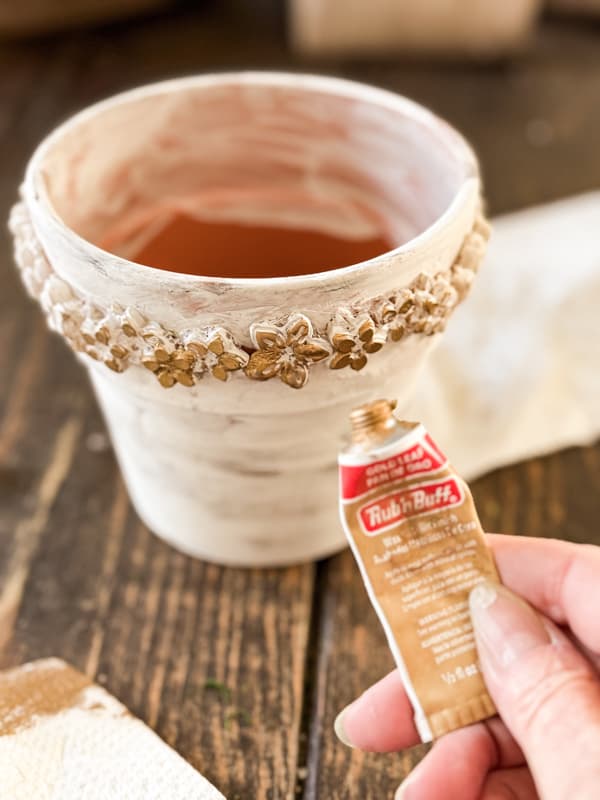
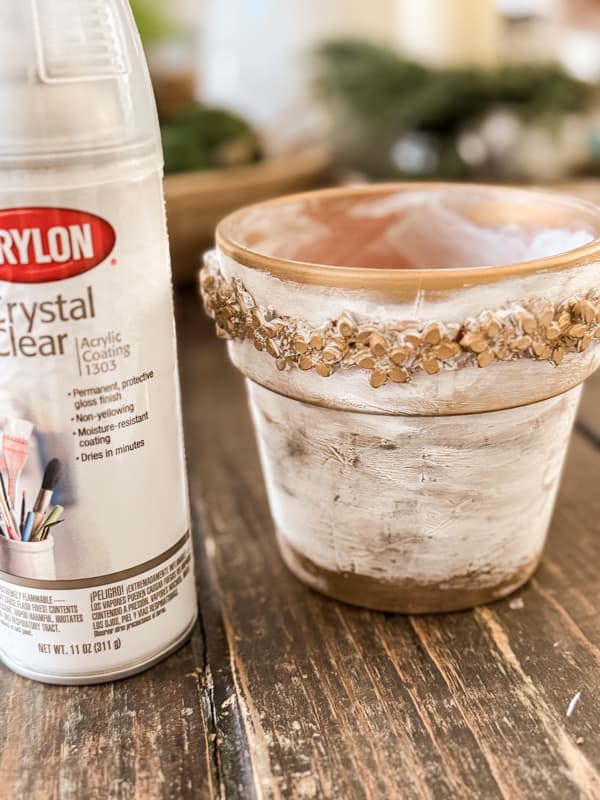
Step Four – Add Gold Leaf Rub N Buff
I wanted to enhance the decorative feature of the upcycled clay pot, so I added a touch of gold. To apply add gold leaf Rub N Buff to a paper towel and apply a light coverage over the raised flower design. In addition, I added some around the edges of the pot and a light rub over the pot sides to add some texture. Once I was happy with the finish, I added a light coat of Crystal Clear Spray Sealer to protect the finish.
Hot Glue Craft Flower Pot
This hot glue craft only took minutes to complete and I’m loving the results.

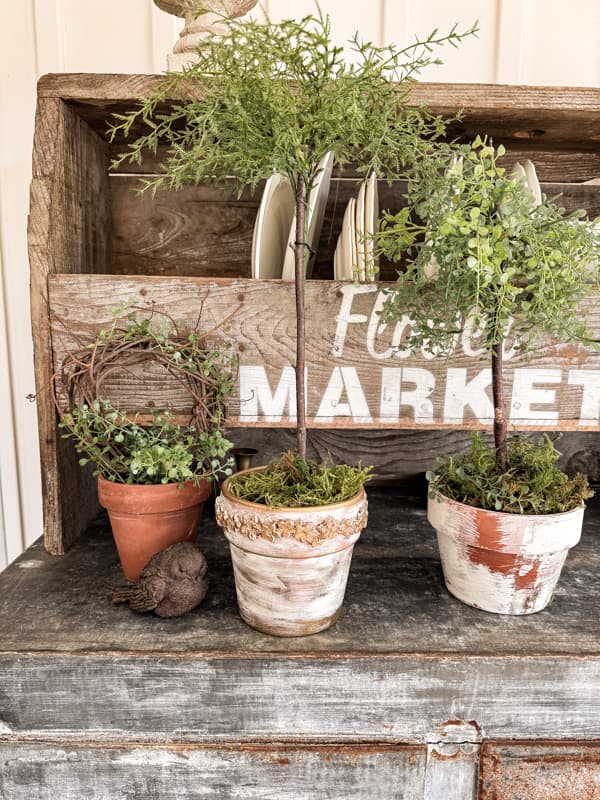
I added a fun topiar to the decorative flower pot and combined it with some of some faux aged pots.
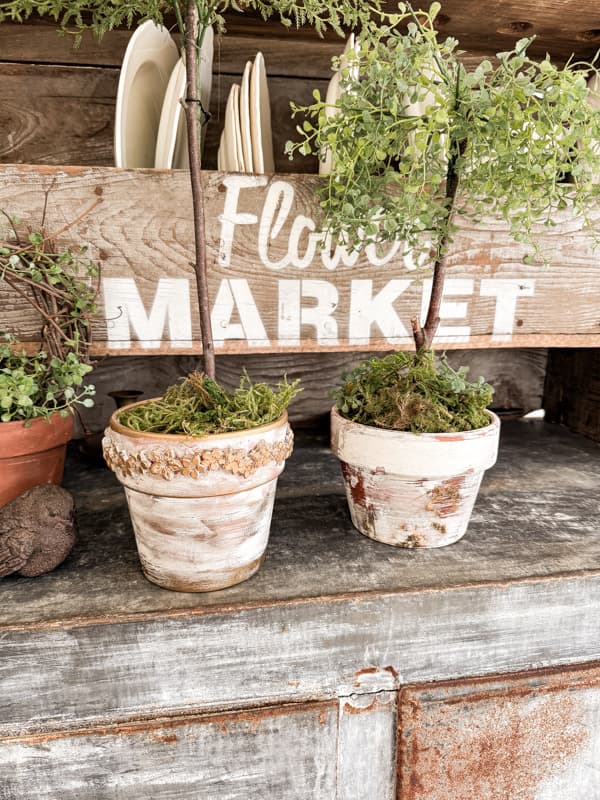
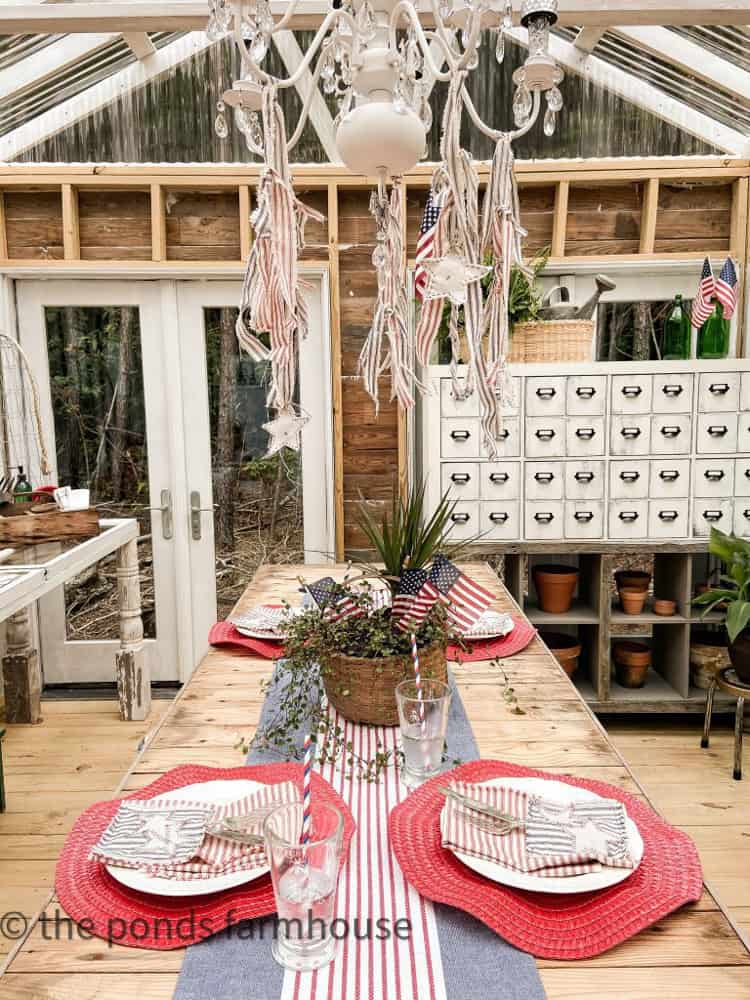
The porch is looking more like Spring with the addition of these budget-friendly fun pots and topairies. On average you will pay $20-30.00 for this type of decorative pot. However, by using a thrifted clay pot and this hot glue craft idea, I created this flower pot for under $7.00. Now that I have the silcone flower mold, I can make more for even less.
FAQ
Video
Resources
For more silicone mold options and supplies, click here or the images below.
Thank you for stopping by, and I look forward to sharing my next adventures with you.


These pots are so cute!
Peggy,
I’m so glad you like them. Thank you for stopping by and I appreciate you for following along.
Rachel, I love this idea! I have a few molds and I never thought about using hot glue as the medium. I’ve been itching to make plaster molds of a large swag and piece that hangs down to decorate the front of our fireplace mantel (in a box along the front). I’ve been afraid to mix the plaster since there are small holes in the metal piece I’d be copying. With glue, I could just gently cut off the excess.
Thanks again for the great craft ideas,
Hugs,
Barb
Barbara,
Yes, I’m sure this would work great for your mantel. Let me know how it turns out.
Kim
Thank you for sharing.
KariAnne,
Thank you so much for sharing.
Wow….Thank You for sharing fabulous idea
Eva,
So glad you like it. Thank you for stopping by.
These pots feel like the perfect way to celebrate Spring, Rachel. I love how the flower garland you added to these pots gave it an extra special touch. I can definitely see these on a beautiful tablescape or used in gift/care packages too. Can’t wait to try this and will feature on From the Front Porch. They’re adorable! Hugs, CoCo
CoCo,
I really appreciate this.