Easy DIY Birch Bark Christmas Angel: Thrift Store Transformation
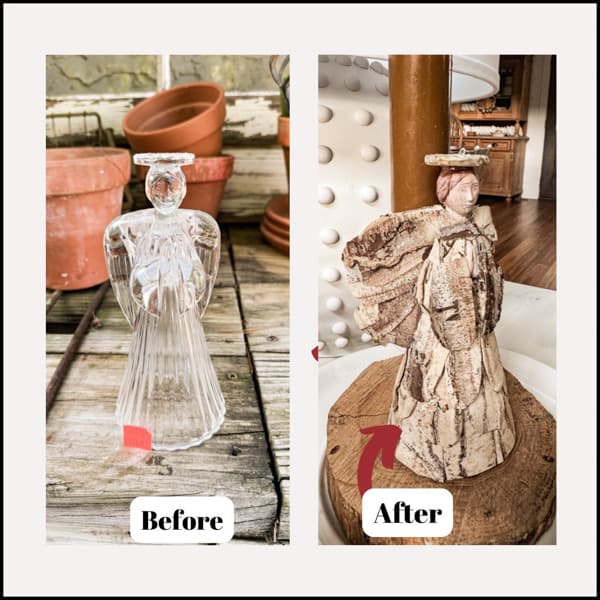
Have you seen all the rustic birch bark Christmas decorations this year? If you like that rustic holiday style and are looking for unique and budget-friendly Christmas decorations, wait until you see what I did. In today’s easy DIY tutorial, I will show you how to transform a thrifted glass candlestick holder into a rustic, birch bark Christmas angel.
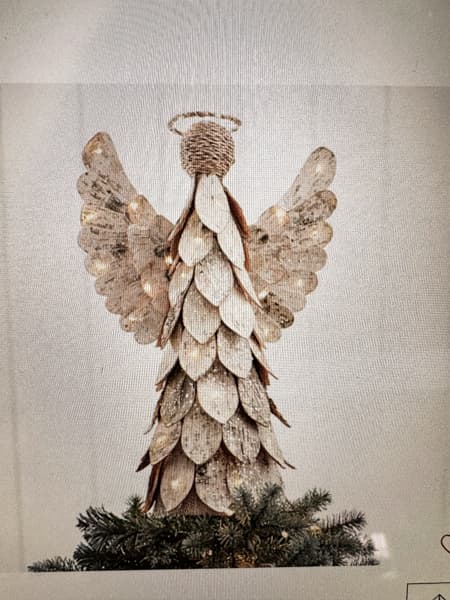
I was inspired by the Pottery Barn Christmas Angel Tree Topper and snapped a screenshot. When I found this glass angel candlestick holder for only $1.87, I knew I could cover it with birch bark for a similar look. Let me show you what I did.
(Posts on The Ponds Farmhouse may contain affiliate links. As an Amazon Associate, I earn from qualifying purchases. See the full disclosure details here.)
Table of contents
How To Make A Birch Bark Angel Look Alike
I’m never sure what I’ll find when I add inspiration to my thrift store shopping list. However, it seems that when you are looking for specific items, something similar will appear. You have to have an open mind to the creative process.
Thrift Store Find
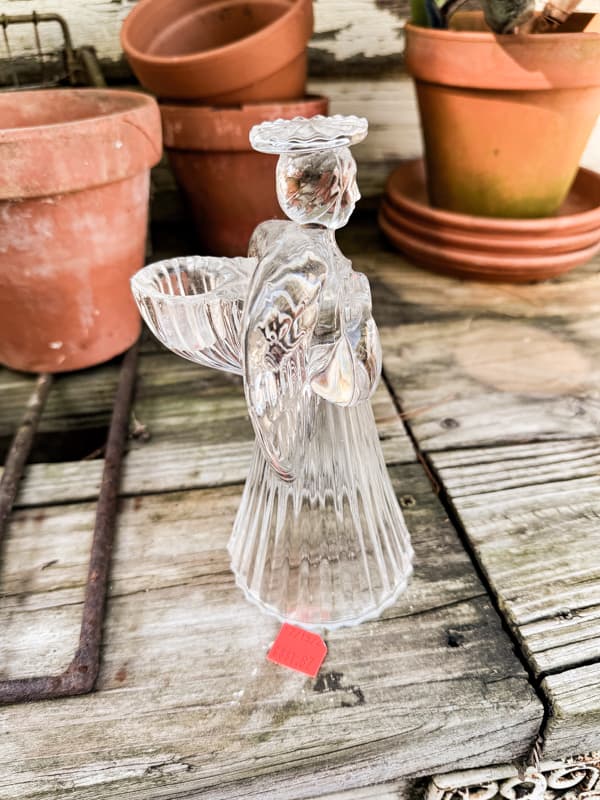
When I found this glass angel candlestick holder, it didn’t look much like my inspiration photo and was not a tree topper. However, I saw potential and for $1.87, I felt I could risk trying to duplicate the look. Plus, I already had a roll of birch bark ribbon that would be perfect for a small project.
Supplies for DIY Birch Bark Project
Since I already had my base, only a few supplies were needed to create the Christmas Angel.
- Birch Bark—I used birch bark ribbon; however, you can also purchase these birch sheets if you are working on a larger project.
- Metallic Gold Spray Paint – or you can use white if you prefer.
- Flesh Tone Craft Paint – I mixed two colors to achieve the flesh and hair tones.
- Hot Glue Gun
- Finger Protectors
- Small Paint Brushes
- Scissors
- White or Crystal Glitter
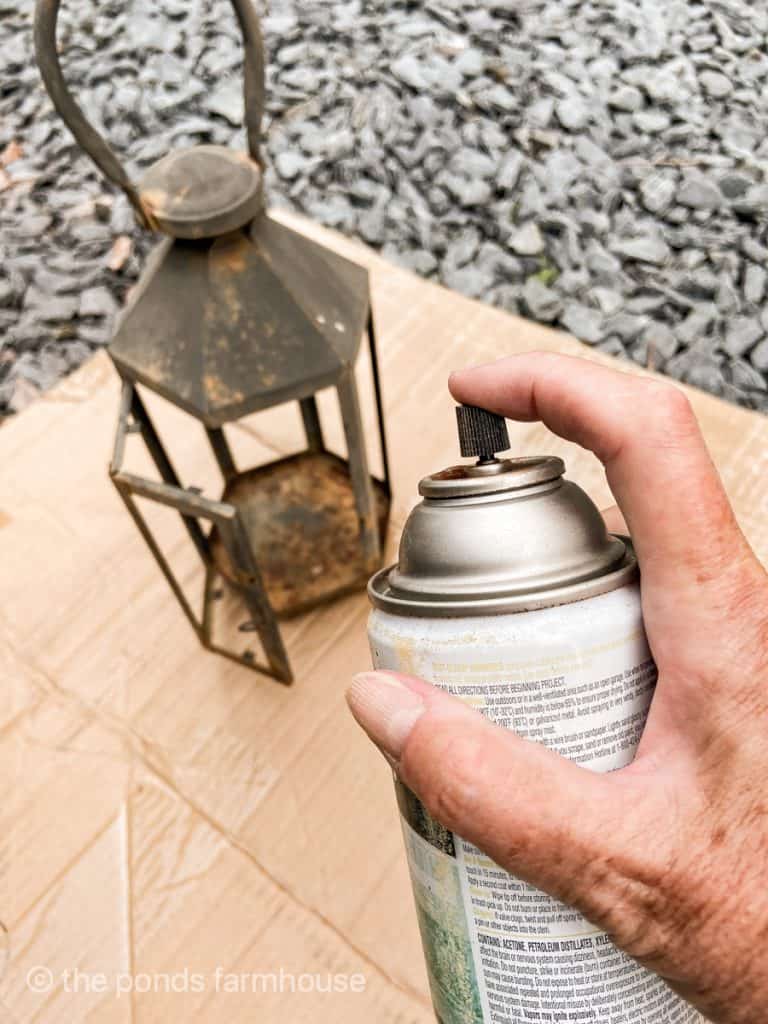
Spray Paint Thrifted Angel
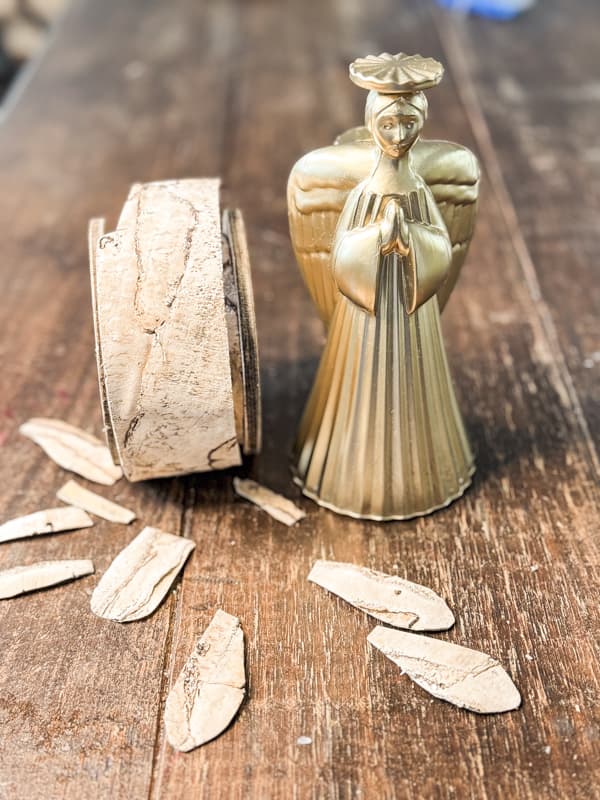
The first step is to spray paint the thrifted angel. I used metallic gold leaf because I planned to use the angel for Christmas decorating. However, in hindsight, I could have used white spray paint just as effectively. The majority of the angels will be covered in birch bark, and most of the exposed areas will later be painted with craft paint.
Cover Christmas Angel With Birch Bark
Once the paint is dry, you can cut the birch bark into pieces to fit the shape of the angel.
Start at the bottom of the angel and use hot glue to attach small sections of the bark to the base. Apply the first row even with the bottom. Use a liberal amount of hot glue to each piece to ensure a firm hold.
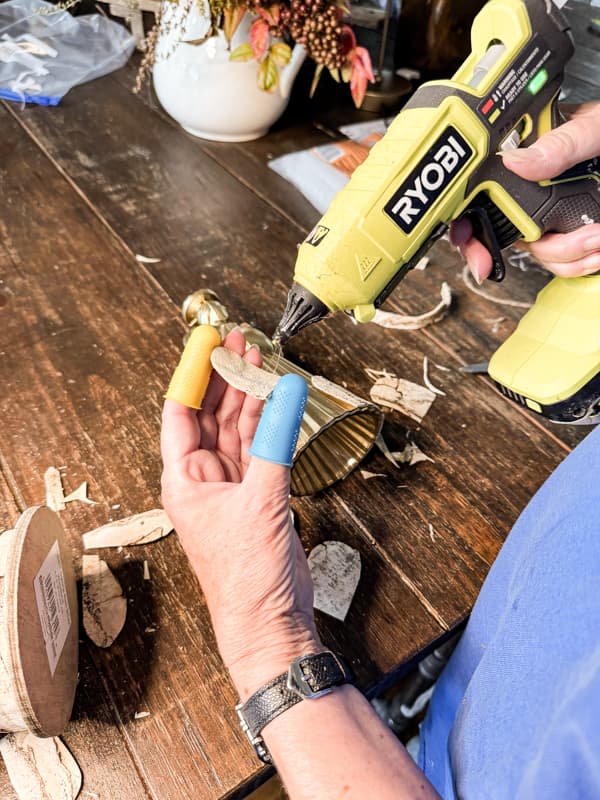
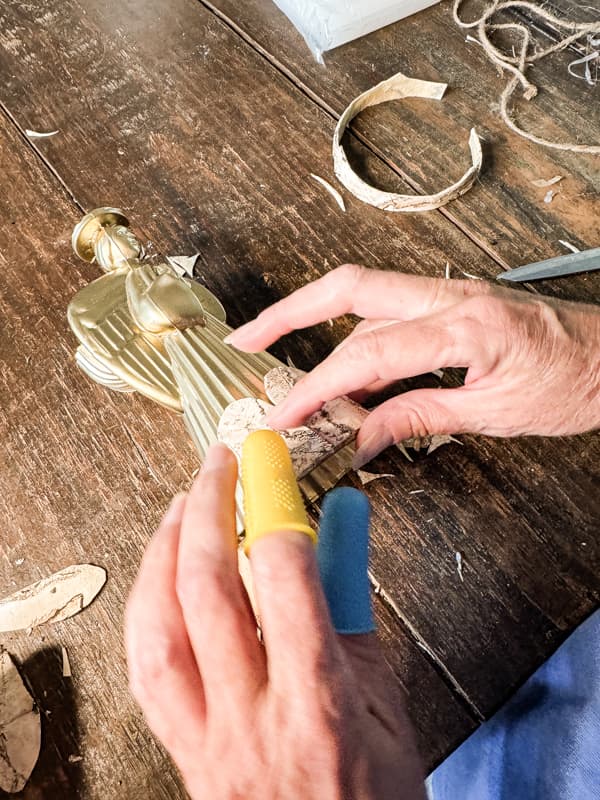
Because the base is round, I cut the pieces small enough to wrap around easily without breaking the bark. As you move up to the smaller sections, cut the pieces wider at the bottom and narrower at the top.
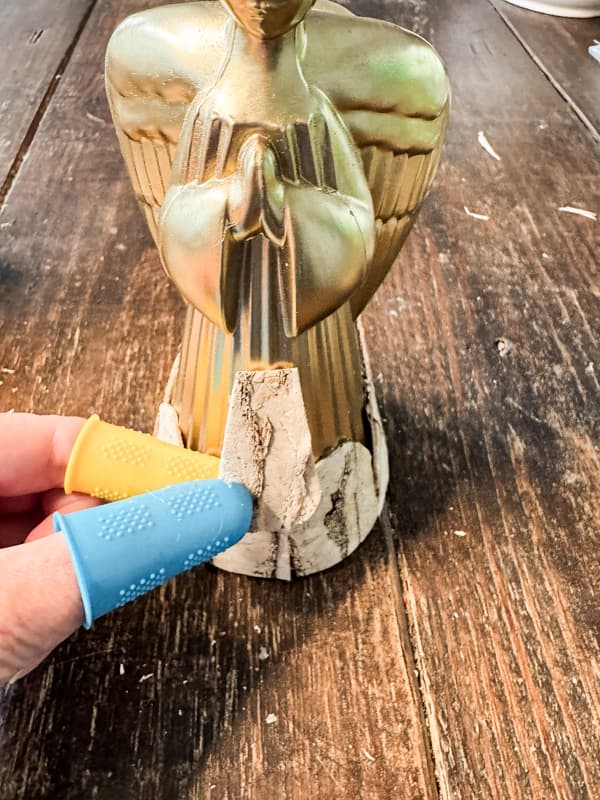
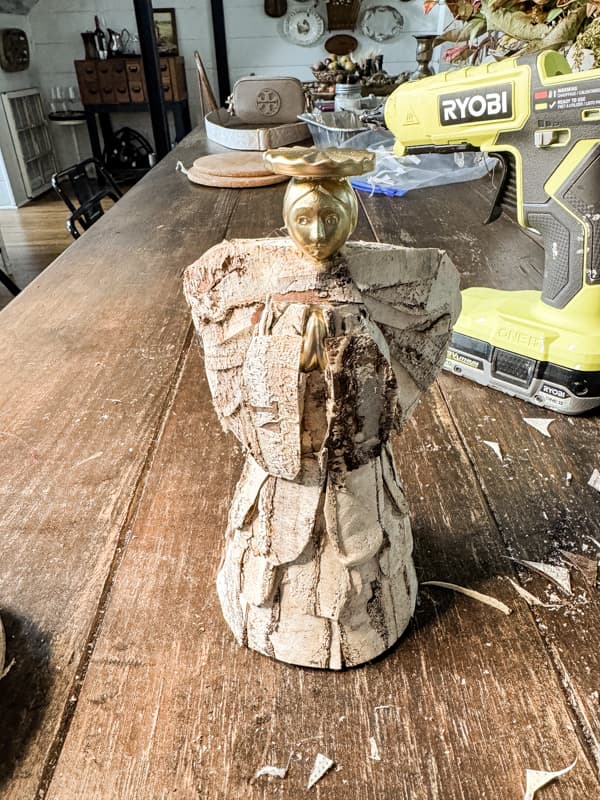
Next, apply a second round of bark while overlapping the first row. Ensure that you cover the glass form as you go. As you move up the angel’s body, some of the pieces will need to be shaped to fit around the arms and wings.
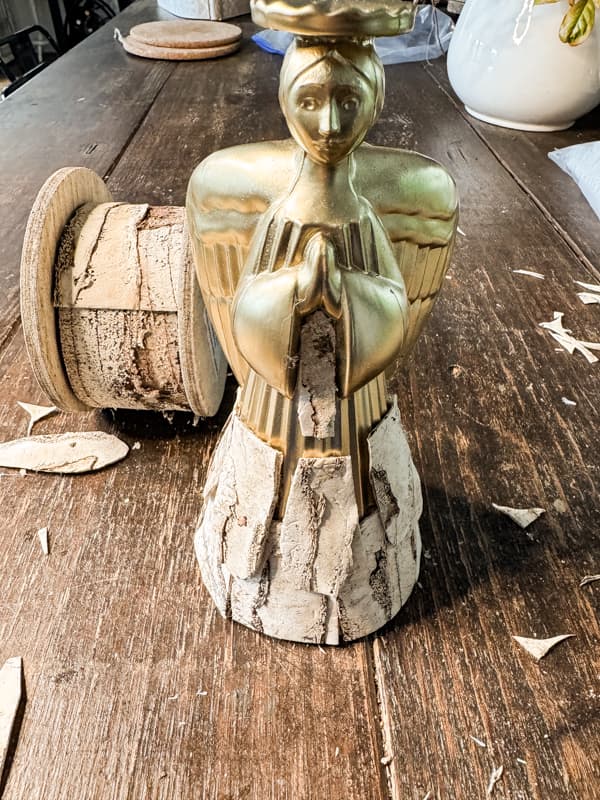
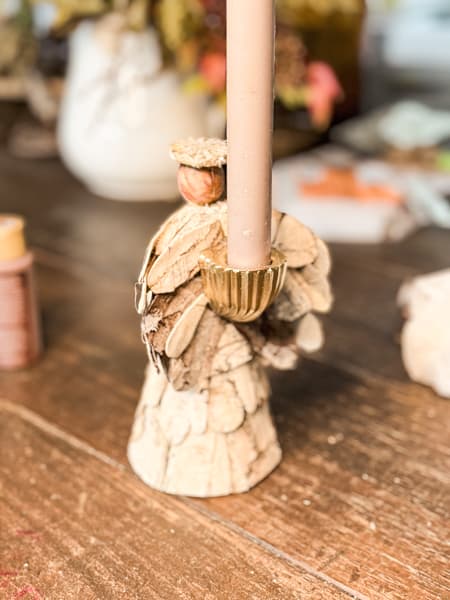
Cover the wings in the same manner but allow them to extend beyond the body of the glass angel. When you apply the wings from the backside, allow them to meet the front wings. Everything except the head, halo, hand, and candlestick holder is covered.
How To Paint Hands and Face
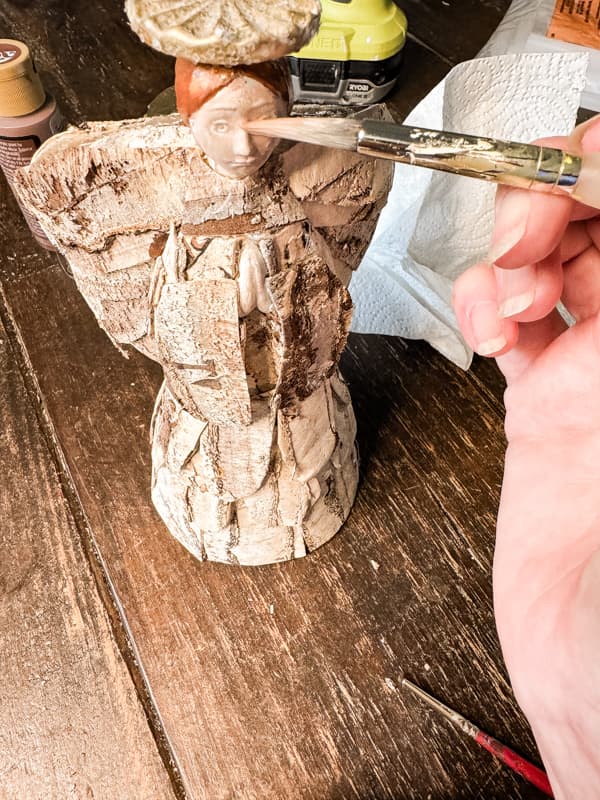
I had originally thought the gold face and hands would be left bare. However, once I had all the birch bark in place, I didn’t like the combination. Therefore, I decided to paint the hands and face with a flesh-tone paint. I also painted the hair a bronze tone. Instead of purchasing more paint, I mixed a couple of colors to get the desired effect.
I decided to leave the halo and the candlestick holder gold. However, I did add some glitter to the halo. You can paint over the halo with Mod Podge or glue and sprinkle some glitter over it, giving it a little extra shine.
Birch Bark Christmas Angel Candlestick Holder
My inexpensive thrift store find can be used as a candlestick holder or alone for a rustic holiday decoration.
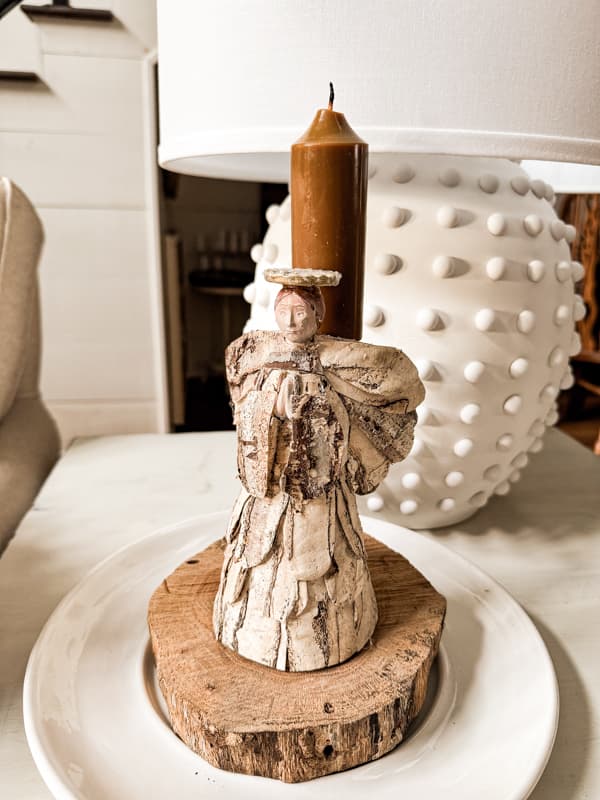
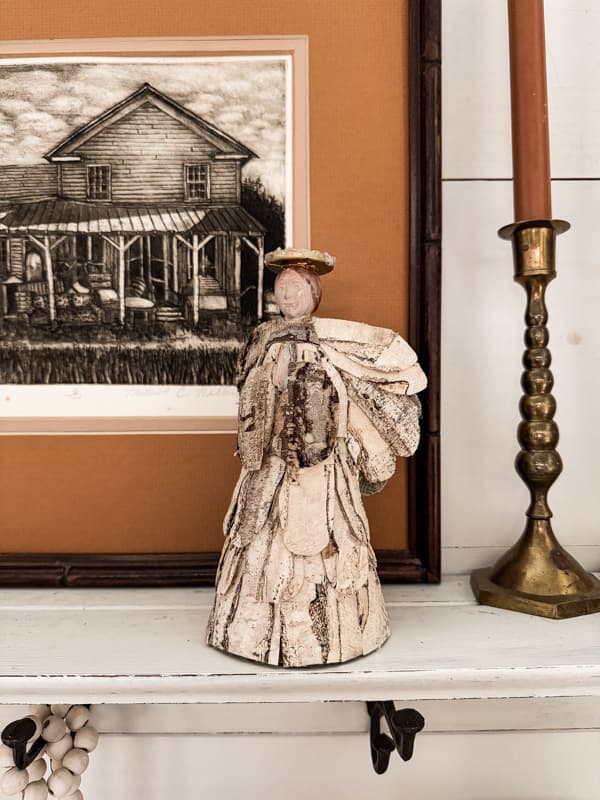
She looks pretty from all sides and will look amazing styled with holiday decor on a shelf, mantel, or coffee table.
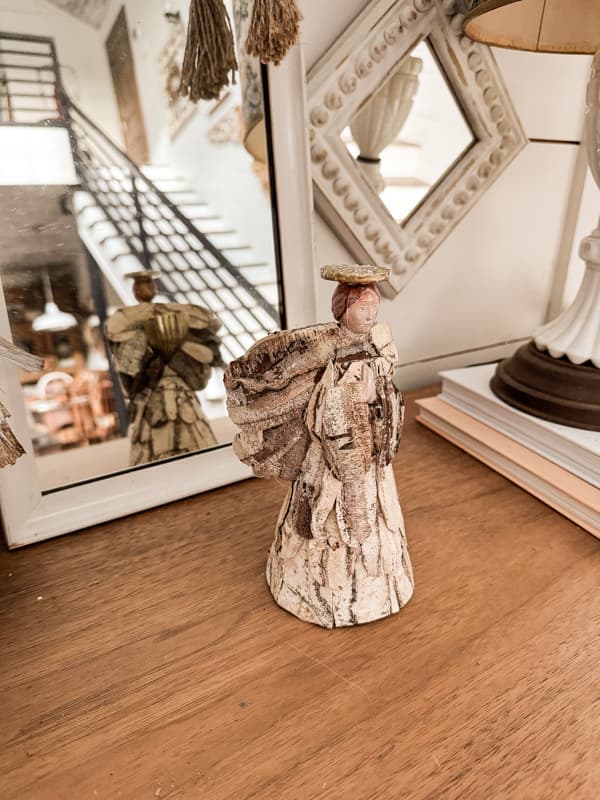
With or without a candle, I love her rustic charm. Which do you prefer?
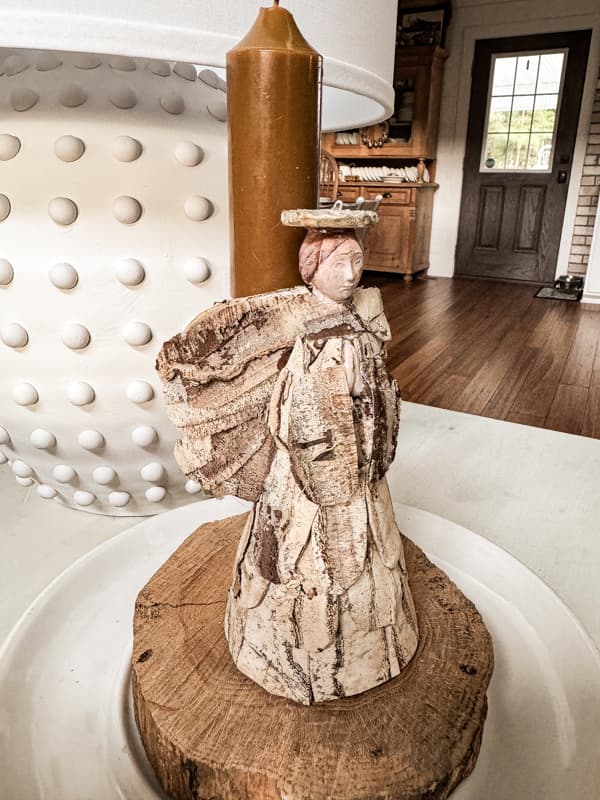
Conclusion
If you are looking for budget Christmas decorations, don’t overlook inexpensive thrift store finds. Go with an open mind about transforming your finds with paint or other embellishments. This $1.87 thrift store find now looks similar to the $79.00 Pottery Barn Angel. Excluding the paint drying time, it only took me 45 minutes to make the transformation. Since I already had the other supplies on hand, that’s quite a savings.
Related Articles
If you liked this project, here are a few similar before and after transformations you will enjoy.
- How To Decorate With Vintage Candlestick Holders
- Mossy Thrifted Birdhouse Makeover
- How To Cover Tin Cans With Foraged Twigs
I hope you enjoyed today’s tutorial. Thank you for stopping by, and I look forward to sharing my next adventure with you.

Pin It To Remember It
Did you find some great ideas you’d like to save for future reference? To save, hover over the images and pin to your favorite Pinterest Boards when you see the PIN button in the upper left-hand corner.

Rachel, your birchbark angel is beautiful! I like how you have put the angel on the round piece of wood. This is perfect! And, as usual, your instructions are great. Have a wonderful weekend.
Mary-Ann,
I appreciate this so much. Thanks for stopping ny.
I am blown away! It doesn’t even look like the same angel as before. It’s amazing! pinned
Cindy
I’m so glad you like it. It was an easy project.
I love her! I did not know there was birch bark ribbon to be had!! Thank you for sharing that, but mostly, your Angel. I think I like her without the candle, but maybe it was the color. Maybe a white or gold one for me.
Karolyn
I’m so glad you love my Angel. I’m so happy with how she turned out. And yes, the ribbon is easy to use. You can cut the pieces to fit with regular scissors. I’ll be honest I’ve never purchased the sheets of birch bark but I assume they are easy to cut as well. I hope you find an angel to update. Thank you for your sweet comments.
Wow, your angel is lovely and I like her best without a candle. Such a creative transformation.
Angie,
I’m so glad you like her and thanks for your input! I appreciate you for stopping by.
I just found a glass angel candle holder and I’ll try making her over following your tutorial!
Angie,
Oh, I can’t wait to see how she turns out. I’m so glad you are going to make one. I’m loving mine this Christmas. Have the best day and I hope your angel brightens your Christmas!