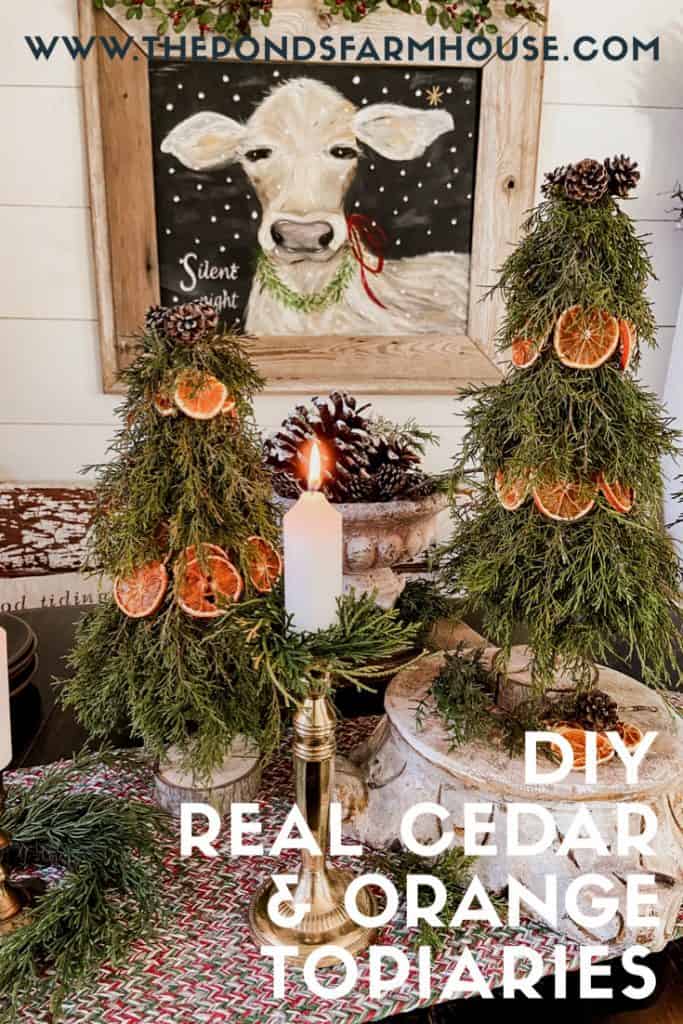
DIY Real Cedar & Orange Topiaries
These DIY Real Cedar and Orange Topiaries are a sustainable and budget-friendly way to decorate for the Christmas season. Follow this easy step-by-step tutorial to fill your home with the wonderful fragrance of live greenery and save money this holiday.
I love to add fresh greenery to the house during the holidays. Cedar adds such a wonderful fragrance and looks great for several weeks.
You can also see how to use fresh cedar to make this garland and refresh this wreath for Christmas.
(Posts on The Ponds Farmhouse may contain affiliate links. As an Amazon Associate, I earn from qualifying purchases. See the full disclosure details here.)
Table of contents
Materials Needed
- Wooden Base
- 3.8 x 11.8 Styrofoam Cone
- Dowel Rod or stick
- Hot Glue Gun
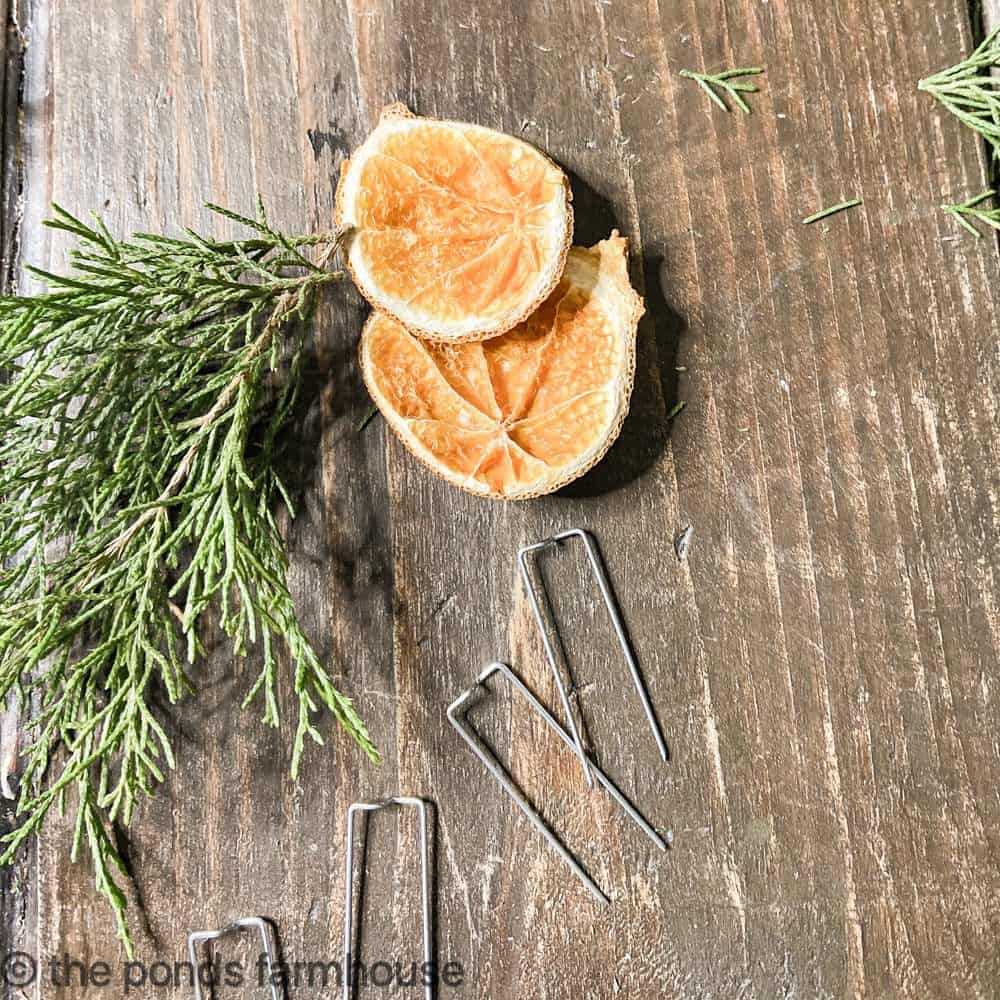
- Floral Pins
- Dried Orange Slices
- Fresh Real Cedar or Faux Cedar – Cut approx. 5 – 6 inch lengths
- Small Pinecones
How To Make Base for Cedar & Orange Topiaries?
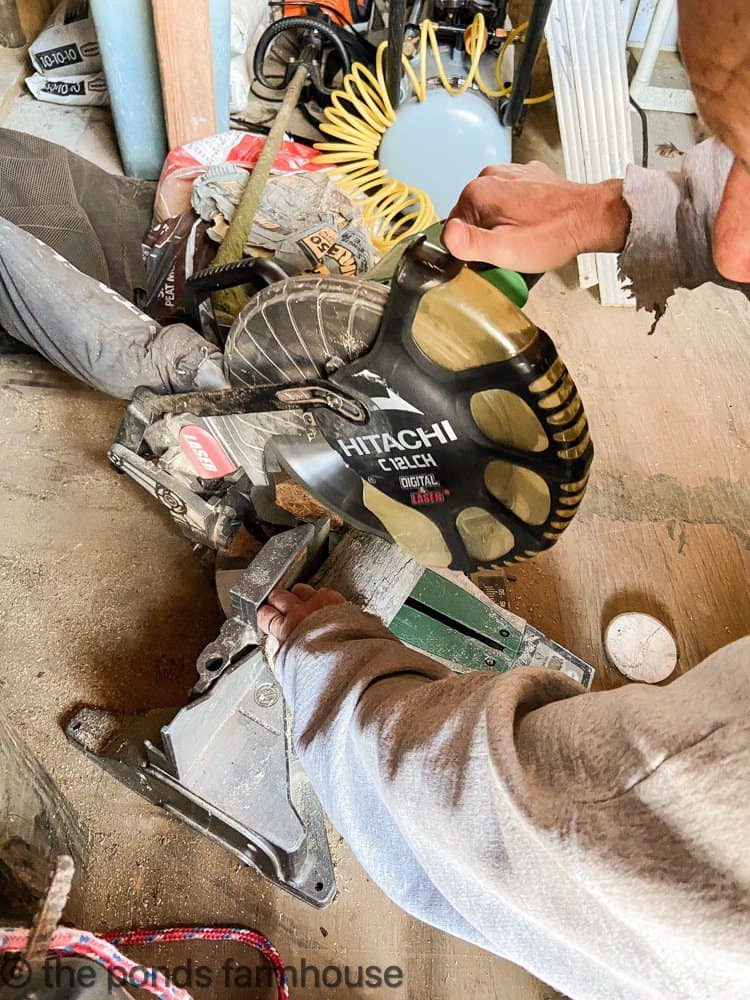
First, find a tree limb or branch that is the same diameter or larger than the base of your cone. Using a chain saw or pole saw, cut a section long enough for the number of bases you need.
Then, cut the branch into 1-inch sections using a chop saw.
Note: You are not into chainsaws and such, so purchase some precut bases from the links above.
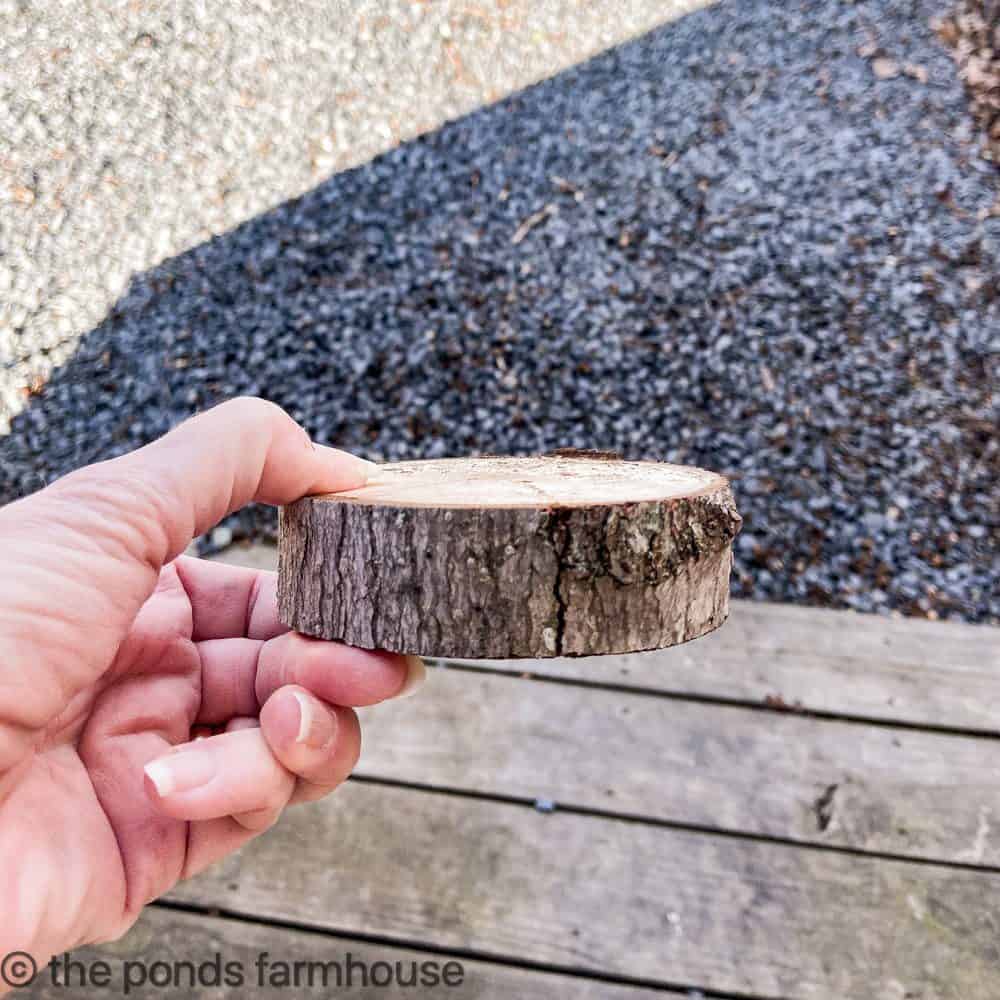
The finished base should look like this.
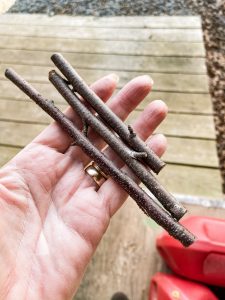
Next, find some straight sticks, or you can use a dowel rod for the trunk of your topiary.
Then, drill a hole in the exact center of the wooden base using a cordless drill with a drill bit the same diameter as the sticks or dowel rods.
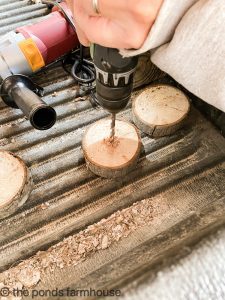
Then twist the stick into the drilled hole until it feels secure. If necessary, you can add a drop of wood glue.

Next, you will place the Styrofoam cone on the base by inserting the stick into the center of the bottom of the cone. Press down to the desired height.
How To Make DIY Real Cedar & Orange Topiaries?
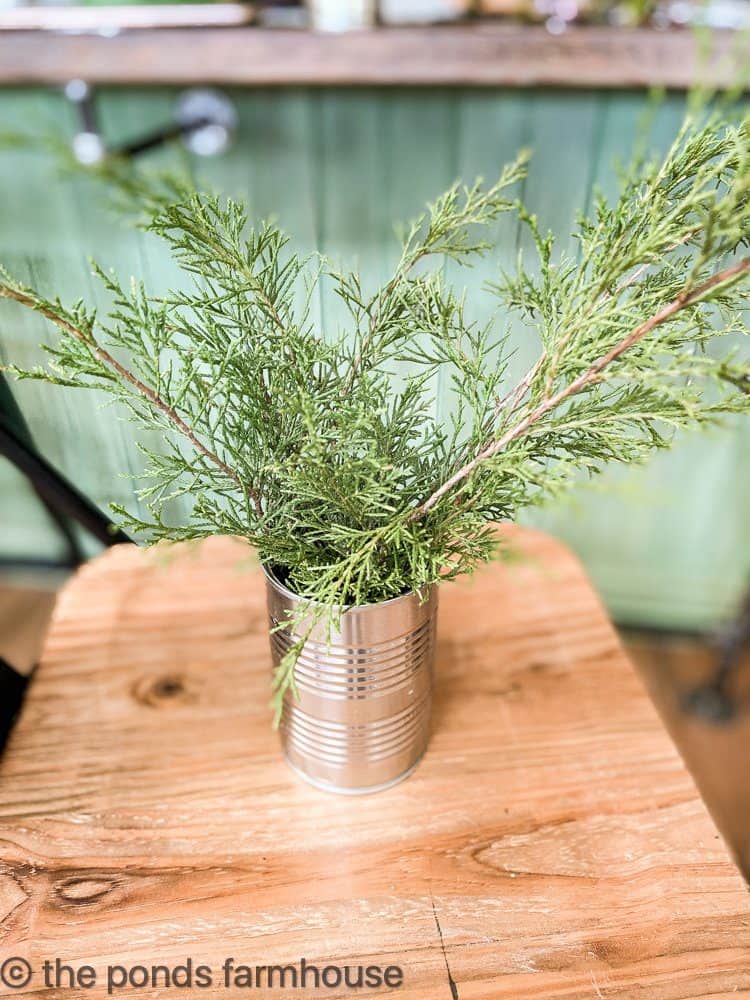
Before making the topiaries, you will want to gather the cedar pieces and cut them to the desired length. For the 11.8-inch styrofoam cone, I found 5-6 inch pieces work well.
Then you may want to learn how to keep the cedar fresh longer with these tips.
How To Add The Cedar?
Gather 3 -4 sprigs of your precut real cedar into bundles. Using the floral pin, gather the ends of the branches inside the pin head and press them into the cone.
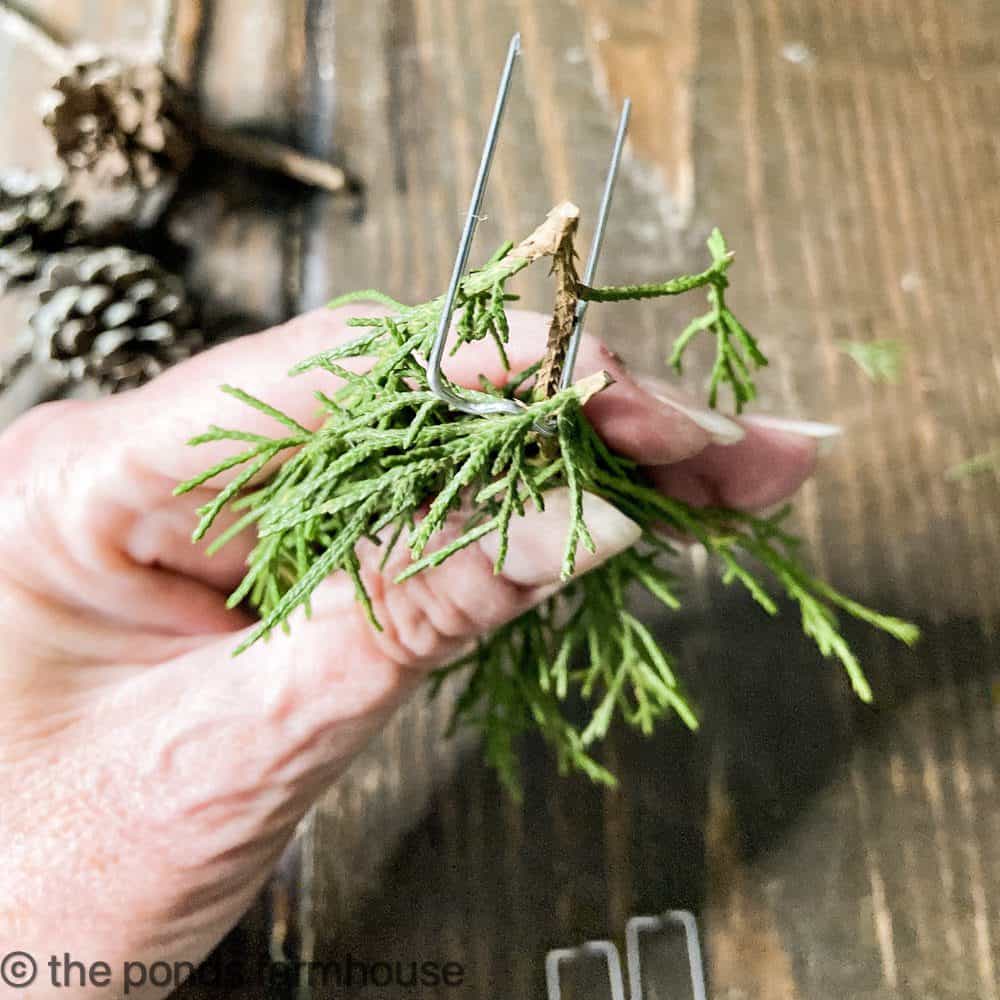
The bottom of the stems should reach the bottom of the cone because you don’t want the cone to be visible at the bottom.
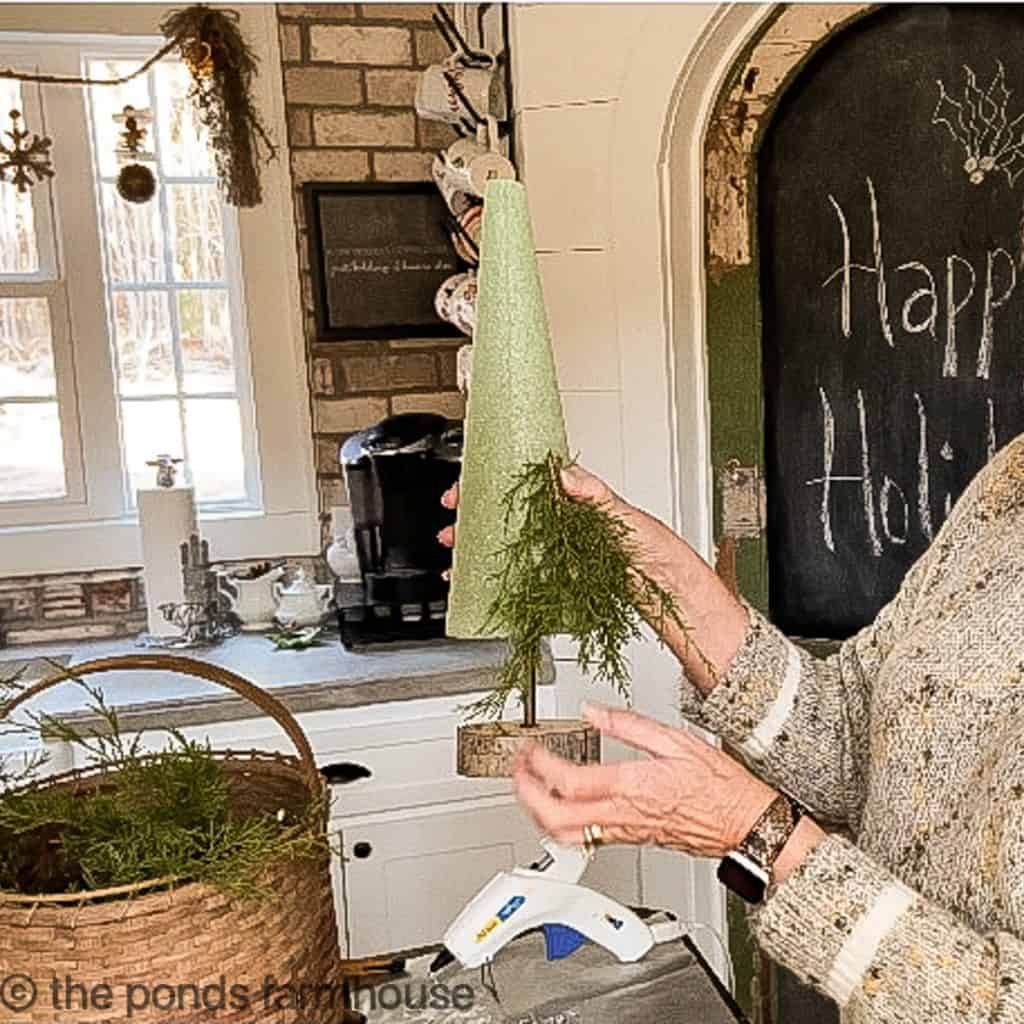
Continue adding bundles until the cone is covered around the base and the cedar looks like a skirt.

You can watch the full video tutorial on my YouTube Channel by clicking here.
How To Add Dried Orange Slices
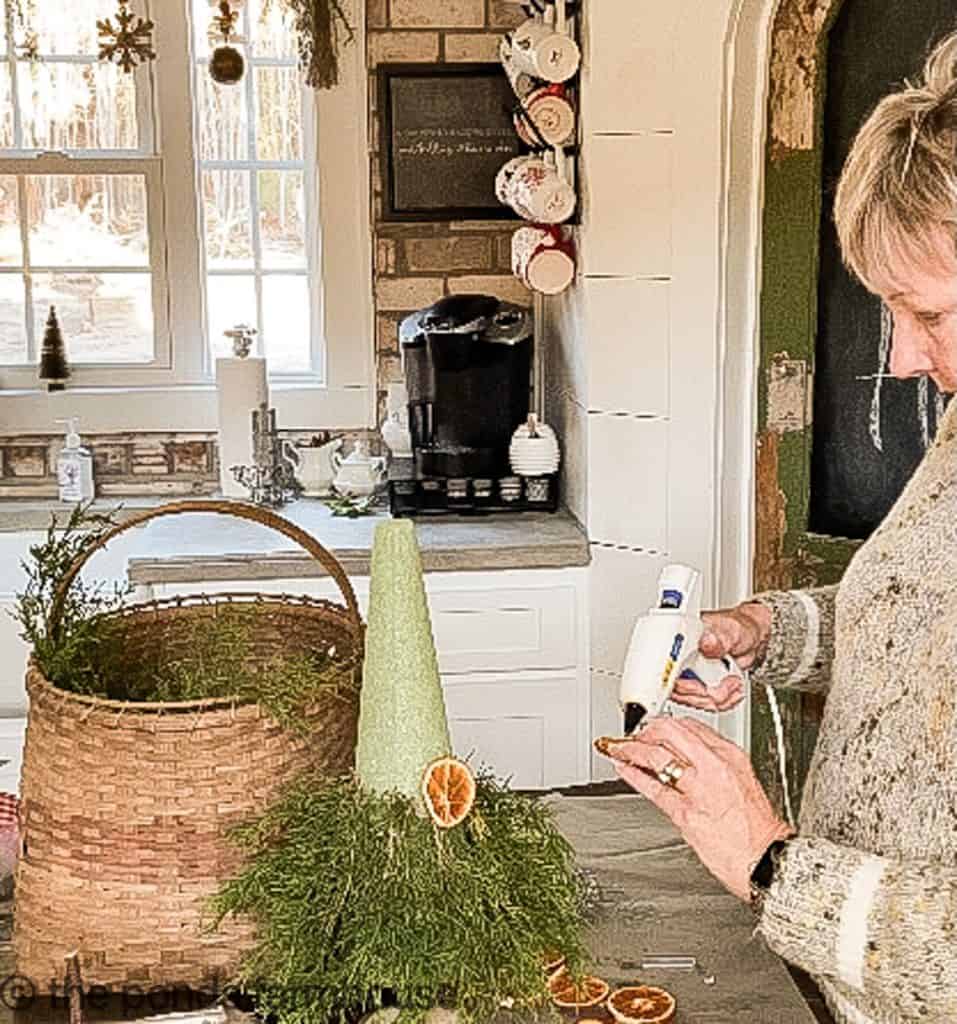
For this next layer, you will need a glue gun and dried oranges slices. If you missed my post on how to dry fruit, you could see it here.
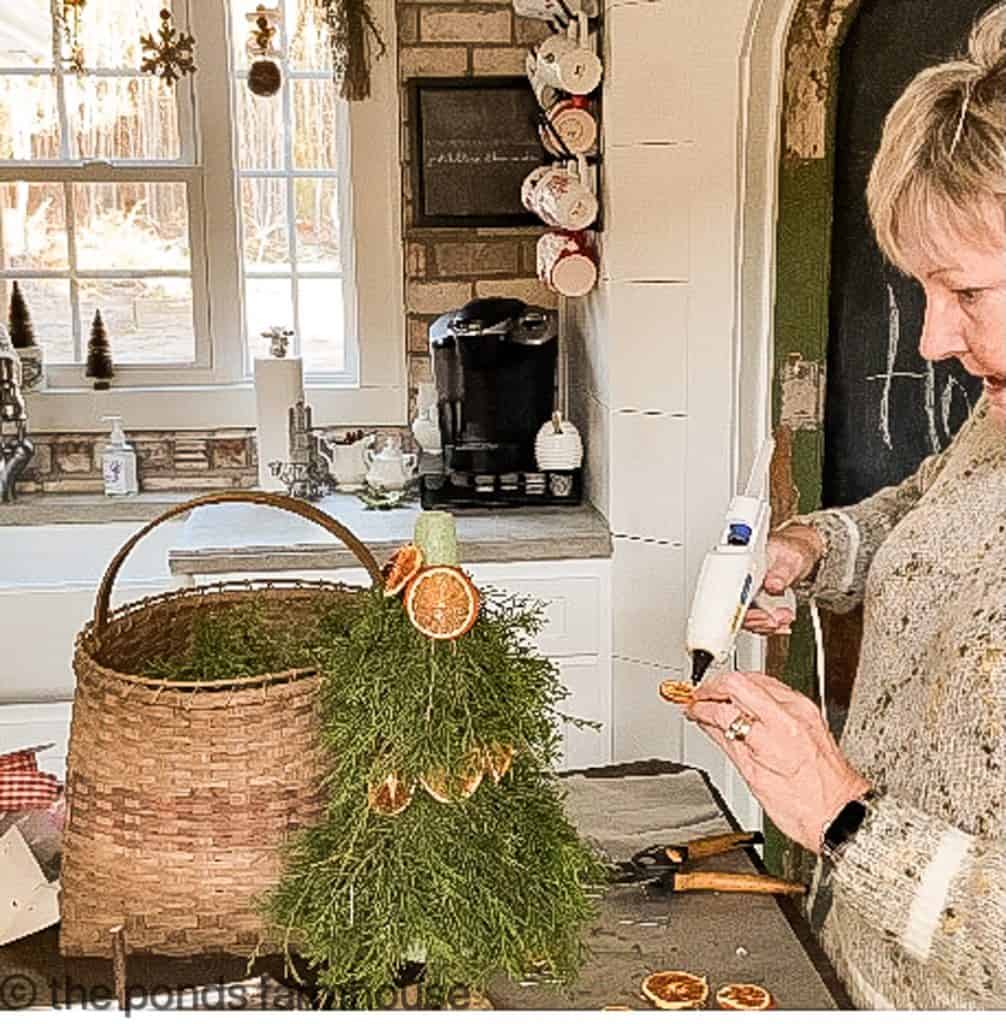
Add a drop of hot glue to the orange slice and press it to the cone just above the cedar. Continue with orange slices all around the top of the cedar. Don’t worry if you see gaps between the oranges. Fill in between the oranges by adding a drop of hot glue to cedar sprigs and covering any exposed areas.
Round Two
Repeat with another row of cedar using the floral pins to apply and then another round of oranges. Once again, fill in any gaps by using hot glue to attach small cedar sprigs.
How To Finish The Top Cedar & Orange Topiaries
For the final step, I gathered some tiny pinecones to add to the tops of the topiaries. However, you can purchase small pinecones if necessary. Other items that can be used for the top of the topiary, such as a metal or wooden star, would be cute.
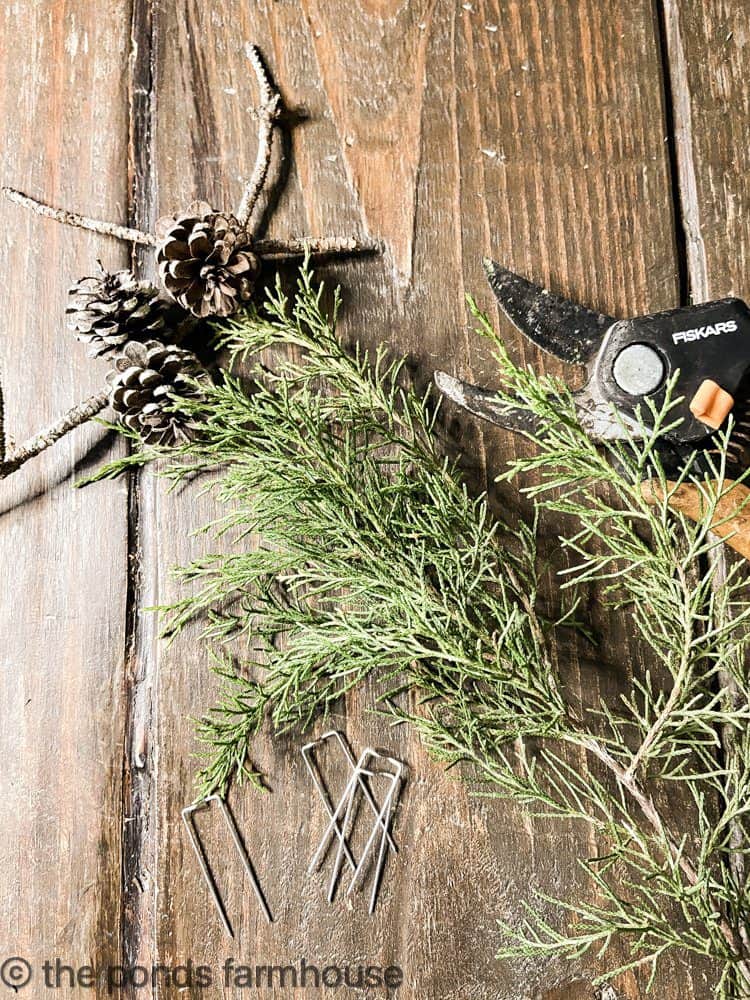
Using hot glue, adhere two to three tiny pinecones to the top. Then fill in around the pinecones with small sprigs of real cedar to cover any exposed cone.

In addition, you can trim any areas that need to be shaped with scissors. This will give the topiaries an appealing appearance.
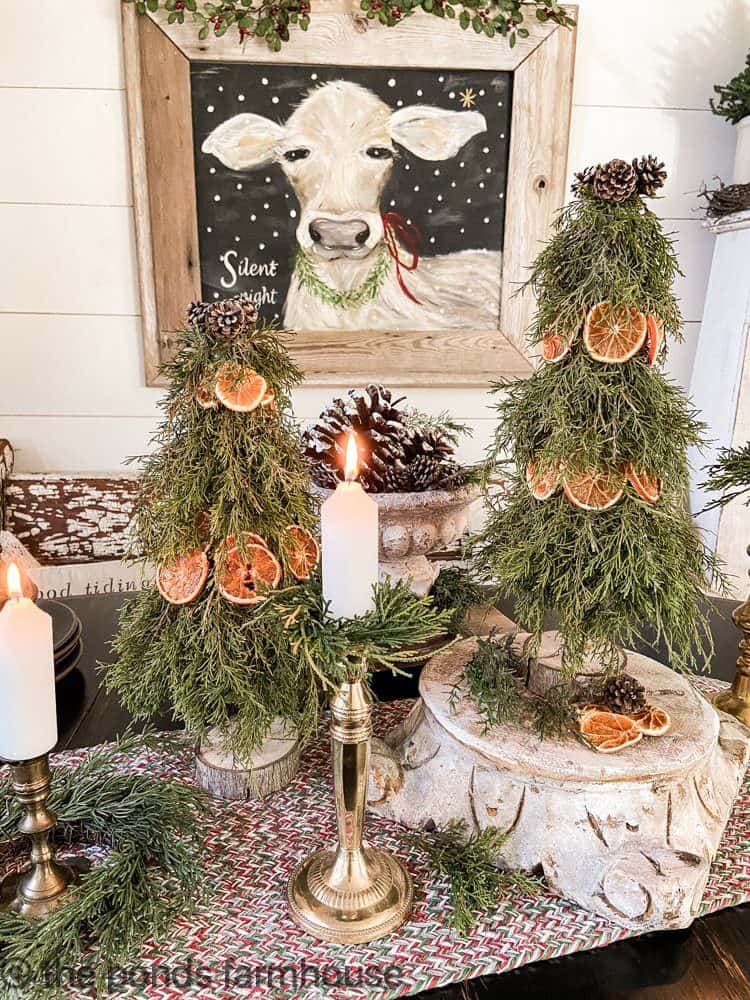
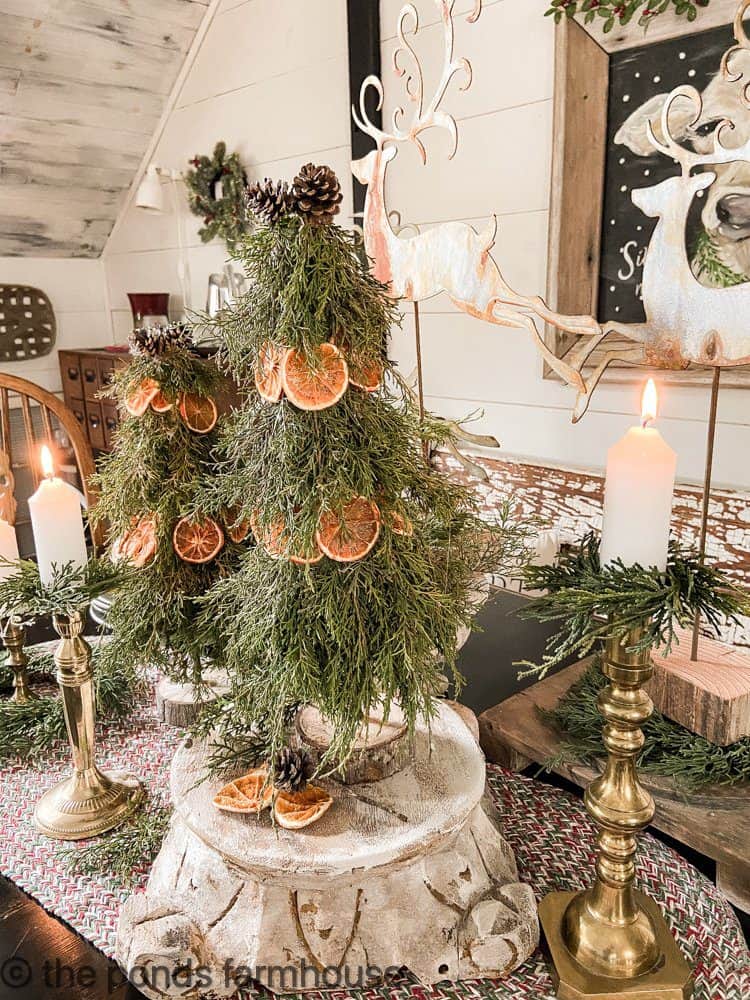
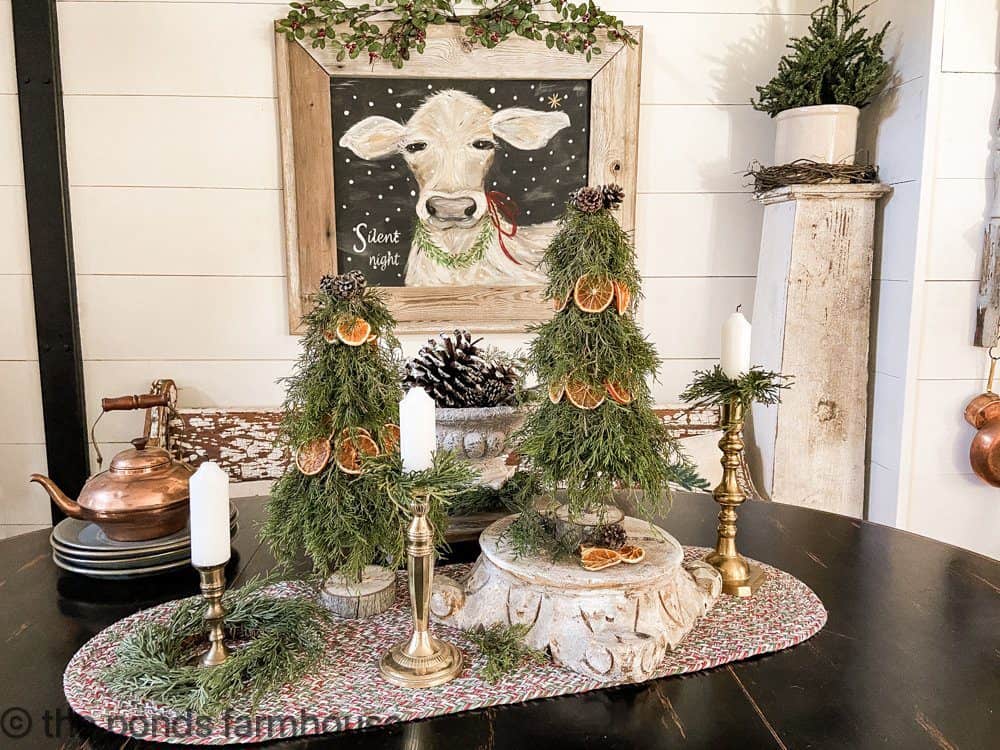
DIY Real Cedar and Orange Topiaries
The finished topiaries look great as a table centerpiece mixed with other natural elements.
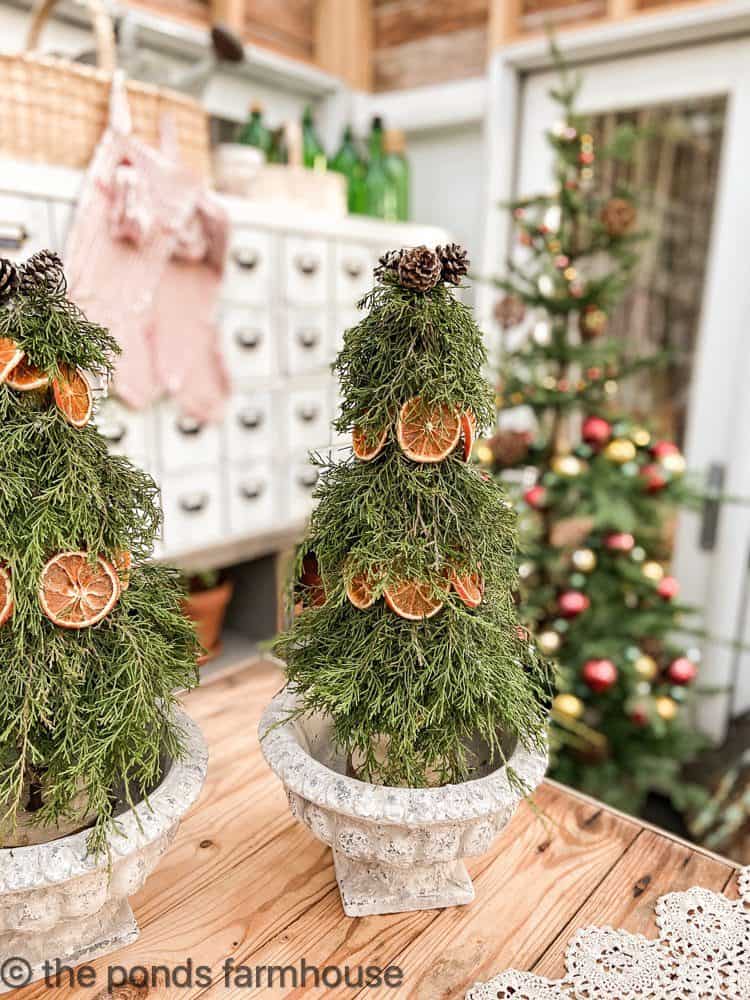
Placing them in small urns is another way to use your DIY Real Cedar & Orange Topiaries.
One last note: If you want to keep your topiaries beyond the holiday season, you can use faux cedar, and the dried orange slices will last for years.
When the real cedar becomes dried, I remove the dried oranges and save them for the following year.
This link at the beginning of this post is for some authentic-looking faux cedar.
Placing them in small urns is another way to use your DIY Real Cedar & Orange Topiaries.
If you like sustainable DIY Ideas for the holidays, DIY Dried Orange and Herb Garland, and how to make a Cedar Garland that won’t fall apart.
In addition, you would like the post on How to make a Kissing Ball here.
Additional Topiary Ideas
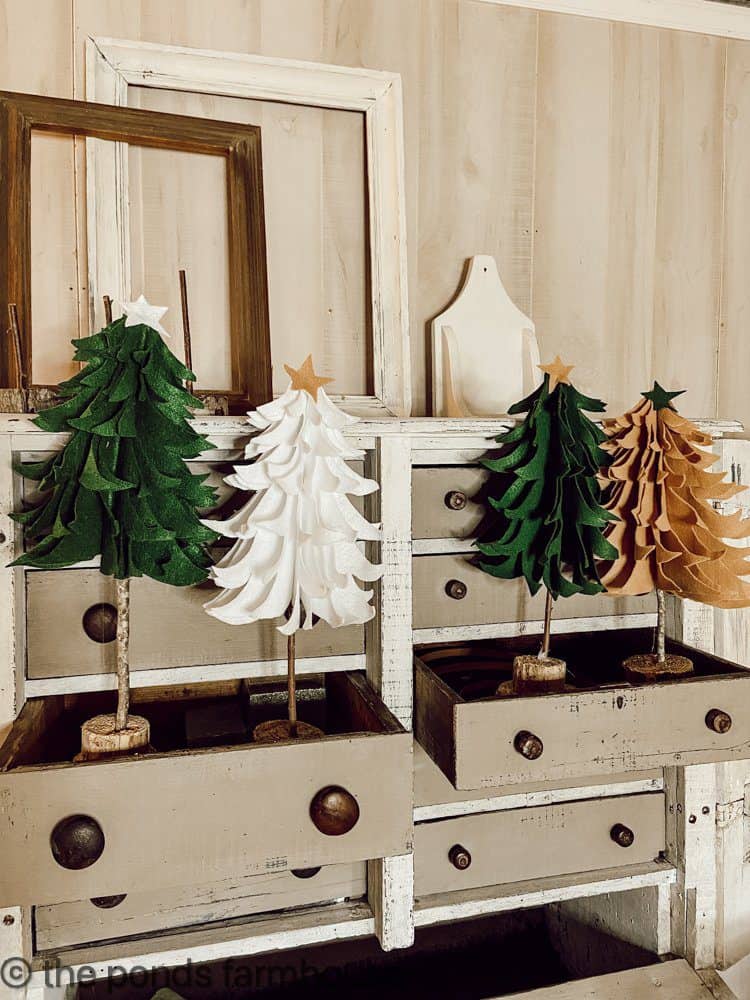
If you liked these topiaries, you would like this tutorial for Felt Christmas Trees.
- Amazing DIY Christmas Greenery Trees Tutorial
- Corn Stalks Topiaries
- Fresh Boxwood & Lemon Topiaries
- Easy Topiaries You Can Make Yourself
- Grapevine Topiary
- Sweet Gum Ball Stems
Thanks for your support and happy holidays.

pin it to remember it


Adorable and Pinned! Thanks, Rachel.
Miche,
You are so kind. Thanks for always lifting me up.
Rachel
You are something else girl friend! I just love that idea! I have cedar all in my yard! Thank you so much for sharing that DIY!
Margie,
I’m so glad you like these. Thanks for making my day. Have a great one.
Rachel
I love these!! So very clever! Thank you for sharing!
Karolyn,
I really appreciate you for stopping by.
Rachel
these are wonderfully rustic, Rachel. makes me want to run out in the yard with clippers. I’ve been wanting to do something with fresh greens and I’m sure the dried orange slices smell heavenly! Pinned!
Debra,
I’m so glad these inspired you. Thanks so much.
Rachel
Those topiaries look so fun and I bet they smell so Christmasy! Thanks for the great idea. Pinned
Cindy,
I’m so glad you liked this.
Rachel
Wow, these are stunning and so well put together. Very creative!
Julie,
I really appreciate this.
Love these!
Amber,
I’m so glad.
Beautifully done. Thanks for the lovely photo’s and easy to follow tutorial. Pinned! Have a most happy and healthy holiday.
Debbee,
Thank you so much.
These are absolutely gorgeous! I used dried oranges throughout my home this Christmas season, too and have really loved the fragrant, natural accent. Your topiaries are fabulous! Thanks for sharing at Vintage Charm! Pinned!
Cecilia,
I really appreciate this. Thanks so much.
Wow! These are stunning!
Sarah,
I’m so glad you like them.
Rachel
Hi Rachel, this post is so amazing. I am so glad I found you.
I can already tell we will be great friends. Its funny you say to collect the Christmas craft supplies early. My girlfriend and I were doing the Dollar Tree tour today!
I love your style and will enjoy receiving your blog posts.
Wendy,
Thanks so much. I’m so glad I found you as well. I loved your pumpkin placemats and can’t to see your other creative ideas.
These trees are gorgeous! I love them.
Renae,
I really appreciate this.
This is such a fun idea! Pinned.
thanks so much.
I am crushing on these!! I love, love them!!
Jennifer,
I’m so glad you like them.
thanks so much for sharing Stacy.
Thanks for sharing this at Farmhouse Friday. I know they were featured in a magazine but now I’m featuring them this week too. Not quite the same I know. LOL! Already looking forward to what you link up next!
Cindy,
It’s always an honor to be featured by Farmhouse Friday. Thanks so much.
These are stunning, Rachel!! The use of real cedar is amazing. How incredible these look for fresh and natural Christmas decor!
Rachel,
I’m so glad you like them. I’ve loved using them.
Rachel, your topiaries are just beautiful! I’d love to feature them this weekend in my Saturday roundup!
Kim,
I”d love that. Thanks.
I love the cow picture! May I ask where you bought it?
Cindy,
It is one of my original paintings. I have prints available and here is the link.https://www.thepondsfarmhouse.com/store/Original-Art-Prints-c57135032
Thanks for sharing.