DIY Portable String Light Posts
Do you love those fun string lights hanging over a patio or garden area? I do too and I’ve wanted some for so long but we don’t have anything to attach them to. Also, I didn’t want to have a bunch of poles PERMANENTLY blocking my view of the Ponds. What to do, What to do?
Here’s how we built our portable light posts and what we learned along the way. Yes, we made some mistakes but all is well that ends well. Follow along and I’ll share all the dirty details.
Step 1 – find containers
We first found some 5 gallon buckets to use as bases for the portable posts to sit in. We got lucky and found these in a trash pile.
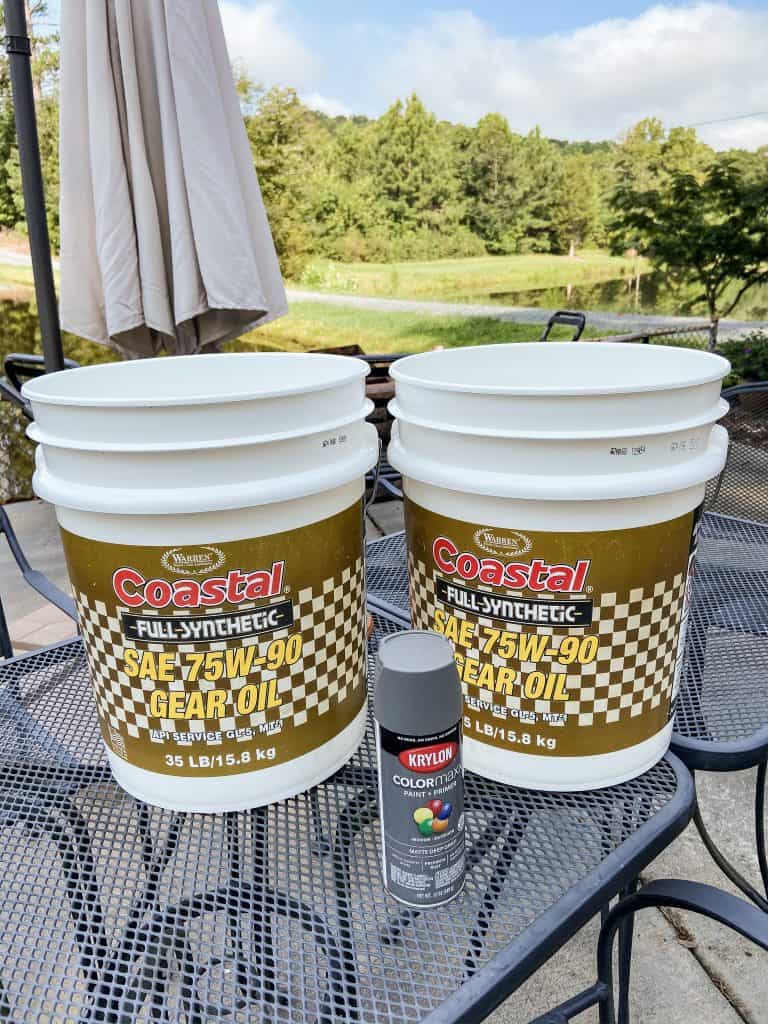
Step 2 – Paint the Buckets
Next, I painted the buckets with a gray spray paint in order to conceal the beautiful graphics. You can’t complain about the graphics when they are free buckets, but since these buckets will be used around our concrete patio area, I wanted the color to blend with the area. If you love trash to treasure projects, you may enjoy this one here.
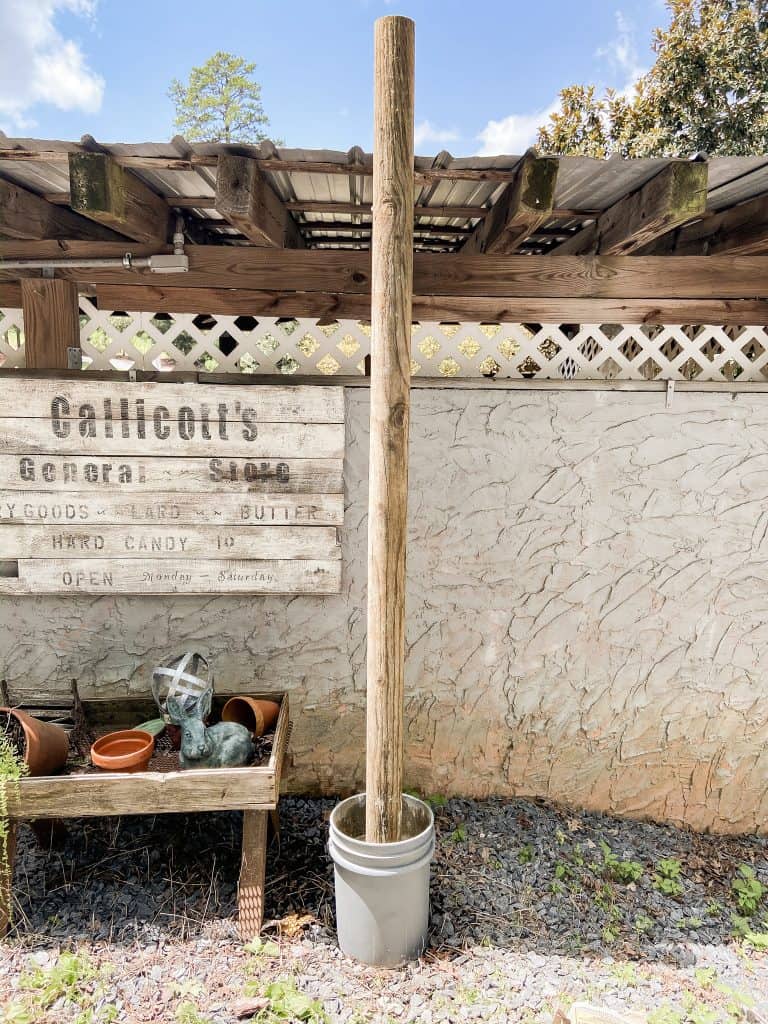
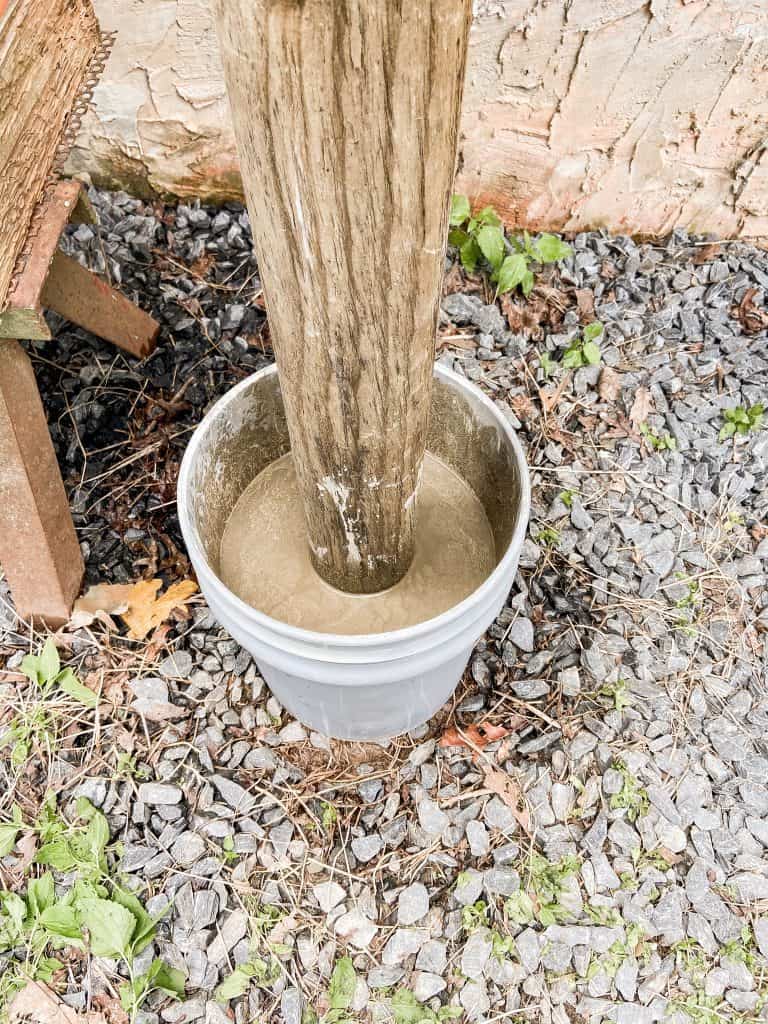
Step 3 – add posts
For this project we choose to use 8 foot round posts because they were lighter weight and less expensive than a 4×4 post. We used a 50 lb. bag of Quikrete concrete mix for each bucket.
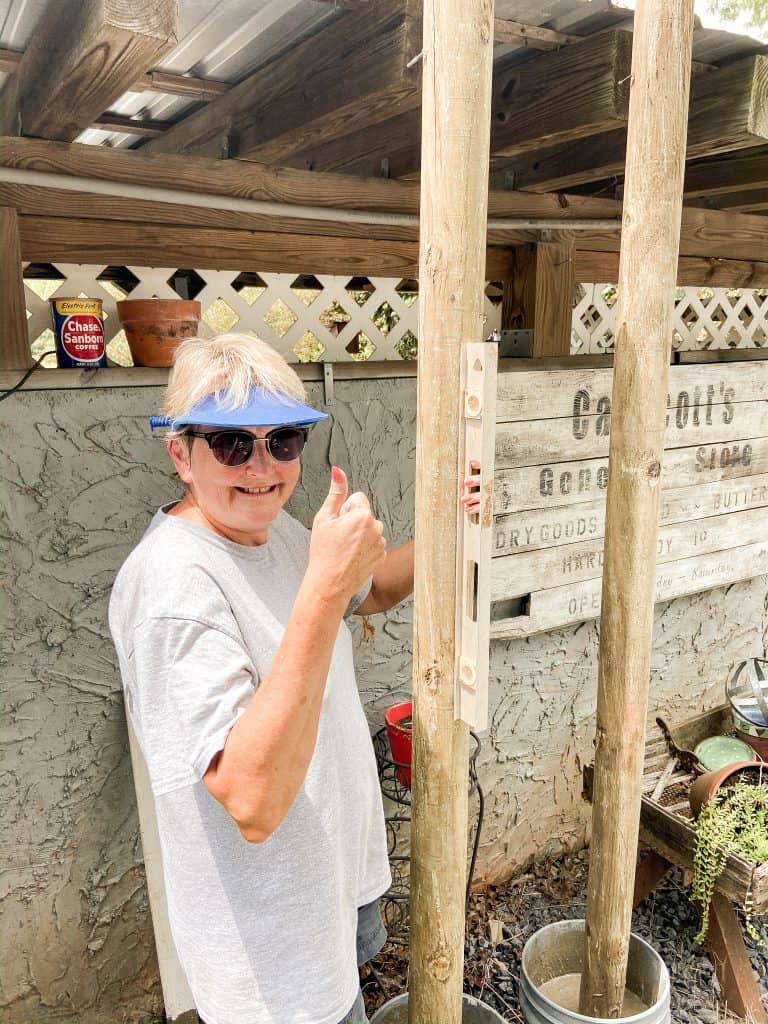
Step 4 – level and brace posts
Once you have the poles in the concrete, it’s important to make sure they are level and braced to allow the concrete to set up. We choose to place the posts along the back side of our outdoor kitchen and use nails attached to the beams to hold the posts in place.
Step 5 – Attach Hardware
After a few days, the posts were securely set in the concrete and it was time to attach the hardware. For this step we used heavy duty Eye Screw Hooks and snap hooks to attach the string lights to the post.
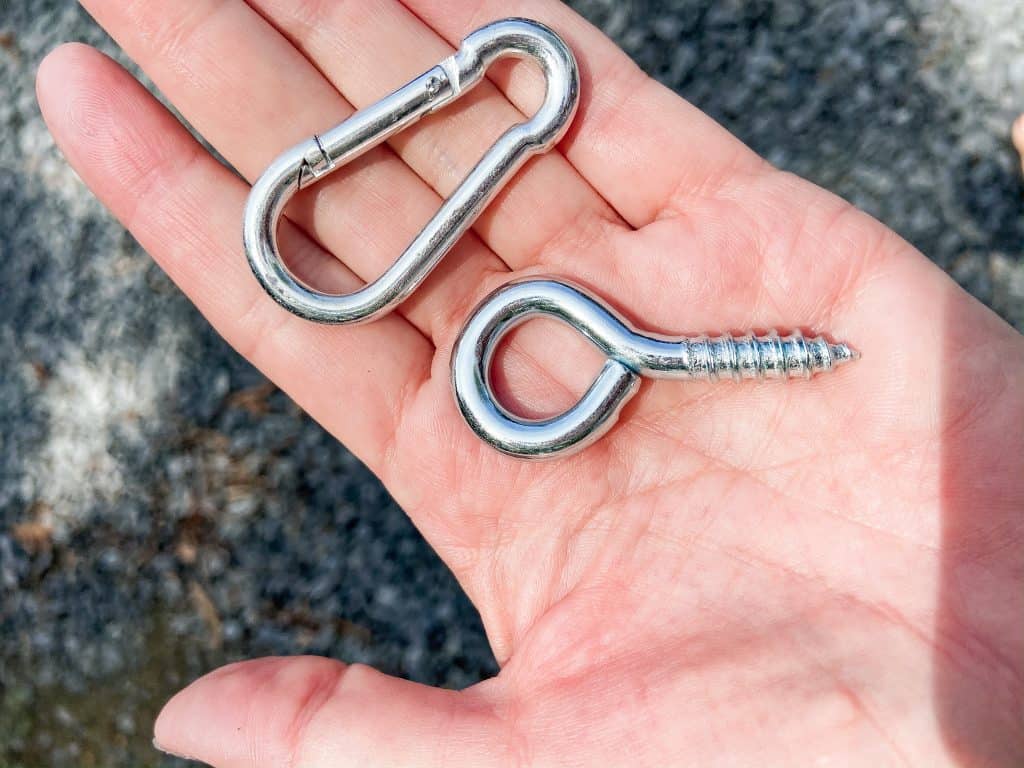
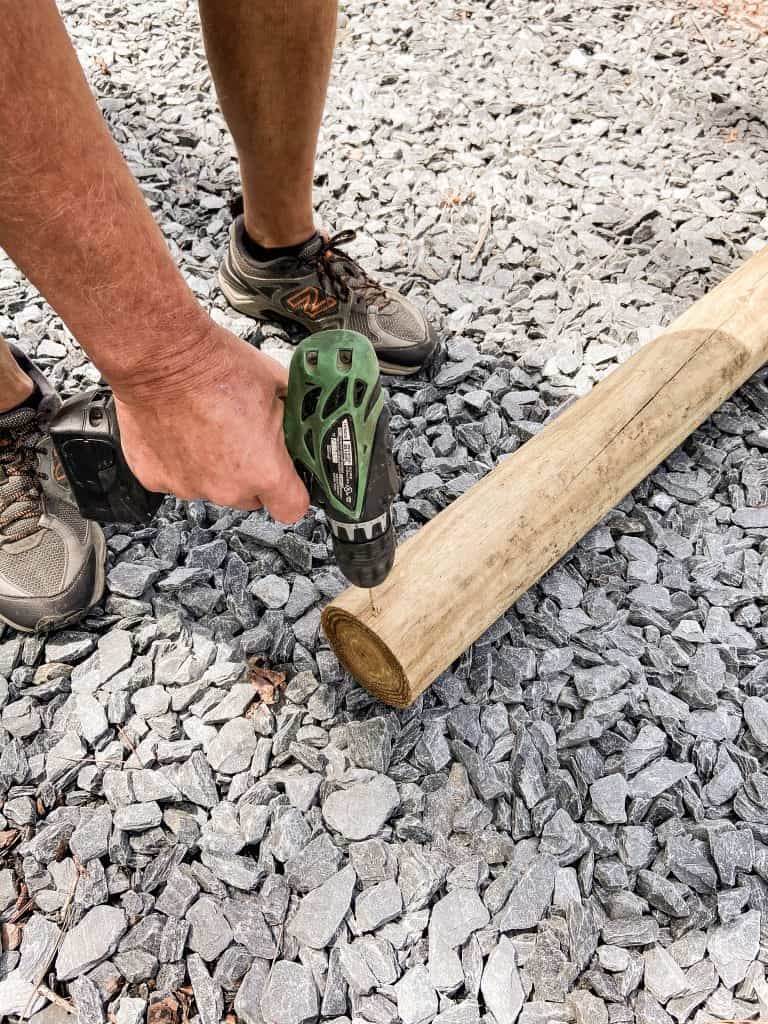
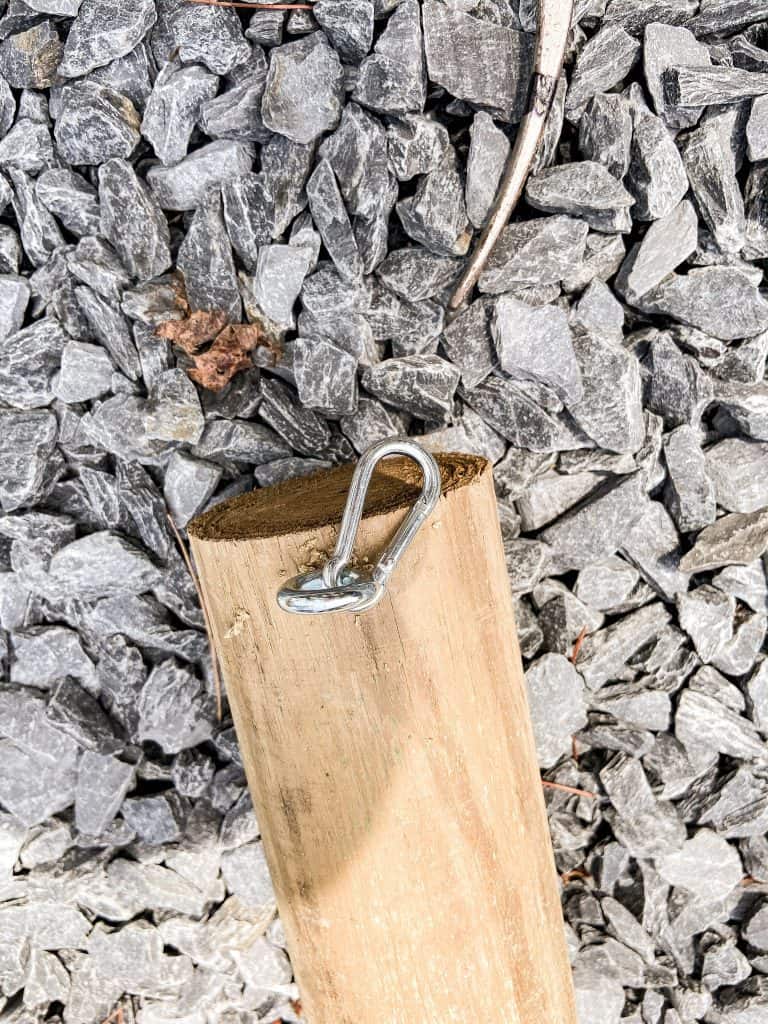
Begin by using a cordless drill and drilling a pilot hole near the top of the post, approx. 1 inch from the top. Now attach an eye screw hook into each pilot hole.
Then you can attach one of the snap hooks to each eye screw and these will be used to attach the string lights.
Step 6 – place Portable String Light Posts in Position
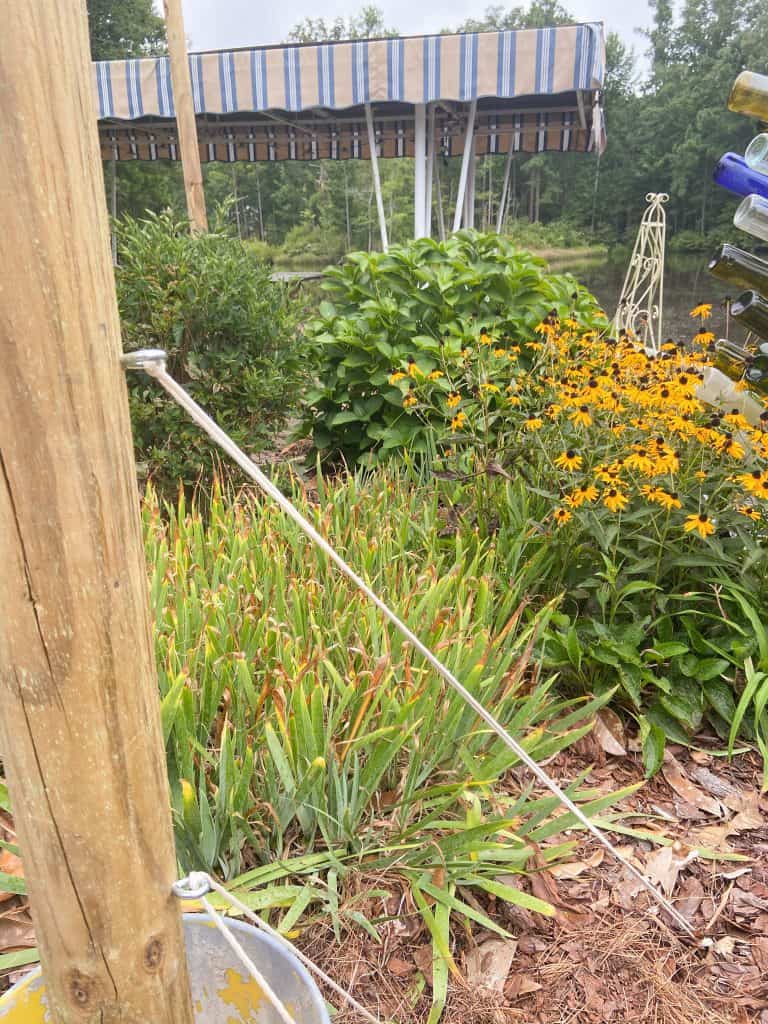
Everything had been going as planned until this step. Here are some lessons that we learned during this process. First, the portable post must be placed on a solid and level surface because soft ground or any sloop will result in the pole tipping once any weight or pressure is put on the post. In addition, you may need to add some anchors to the posts to prevent this from happening. We added an additional Eye Screw Hook to the post and used a metal stake and nylon cord to anchor any of the poles that didn’t feel stable. Note: Although all the posts didn’t need the anchors, as a precaution we anchored them all anyway. The weight of your lights and distance between each pole will be a factor in determining whether anchors are needed.
Step 6 – Attach your string Lights to the Portable Poles
Finally, use the snap hooks at the top of the poles to attach your string lights. We had a large area to cover and used two sets of lights. We also invested in a dimmer for more subdued lighting.
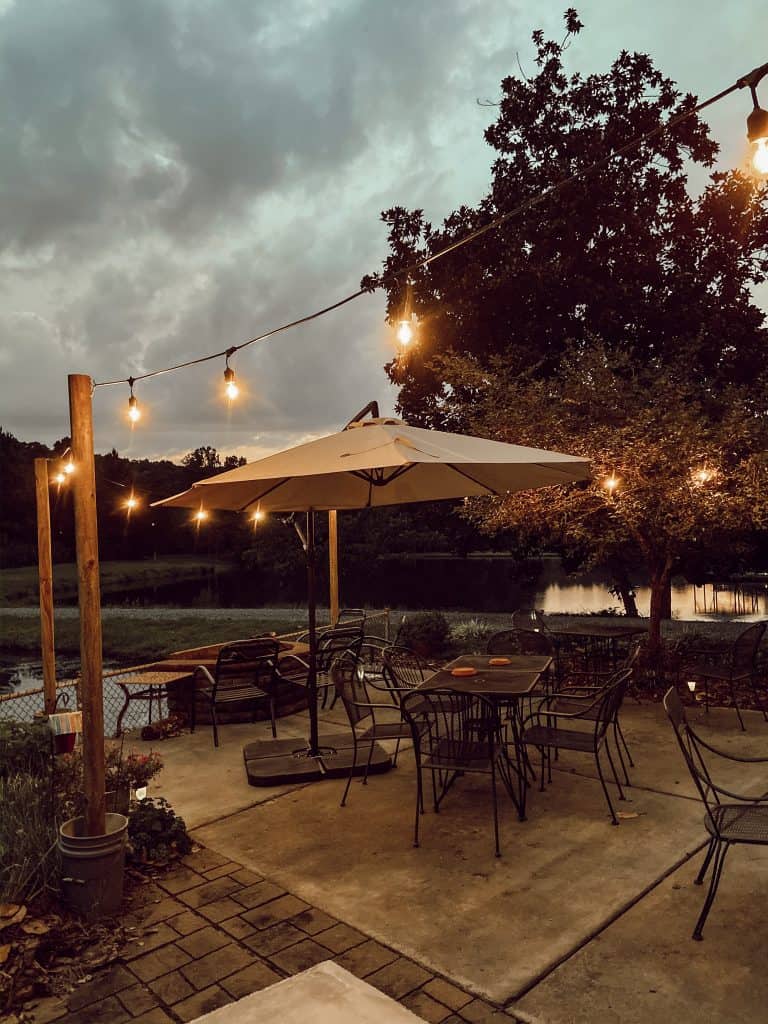
When attaching the String Lights, it’s important that they are pulled tight so they don’t sag. We found that the time and energy to set up of the posts and string lights was a little more involved than we had hoped it would be. Therefore, moving them around to other locations on the property will not be as easy as we had originally planned. Although the portable string light poles are not as portable as we had originally anticipated, we are loving the new look for our patio area.
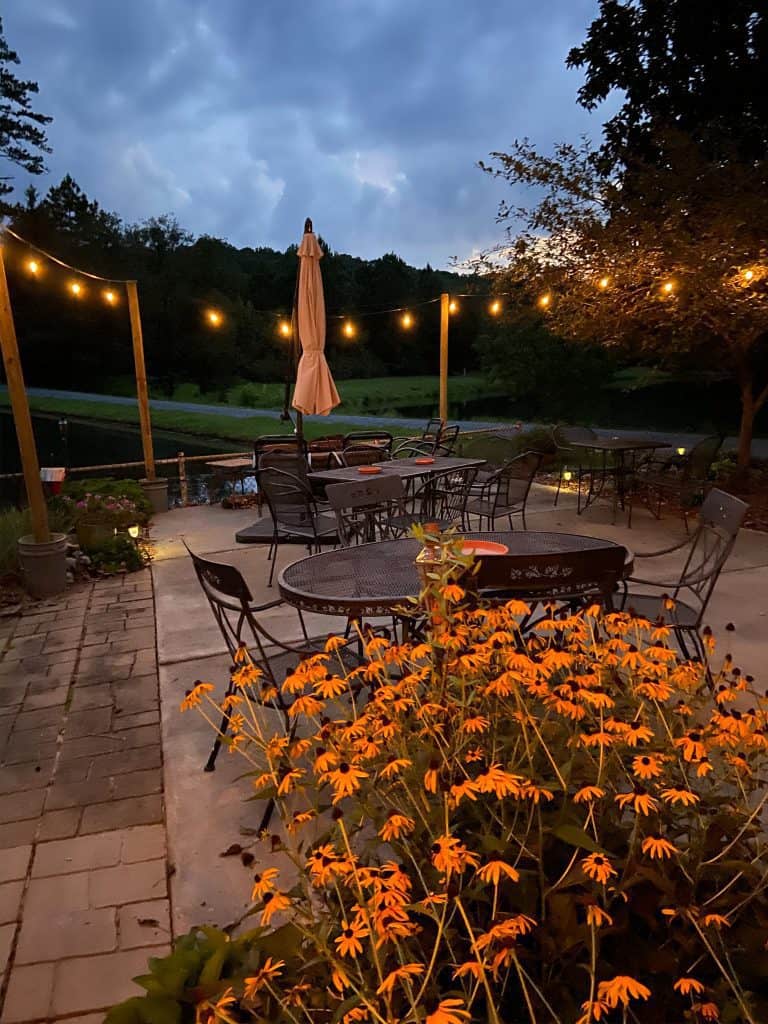
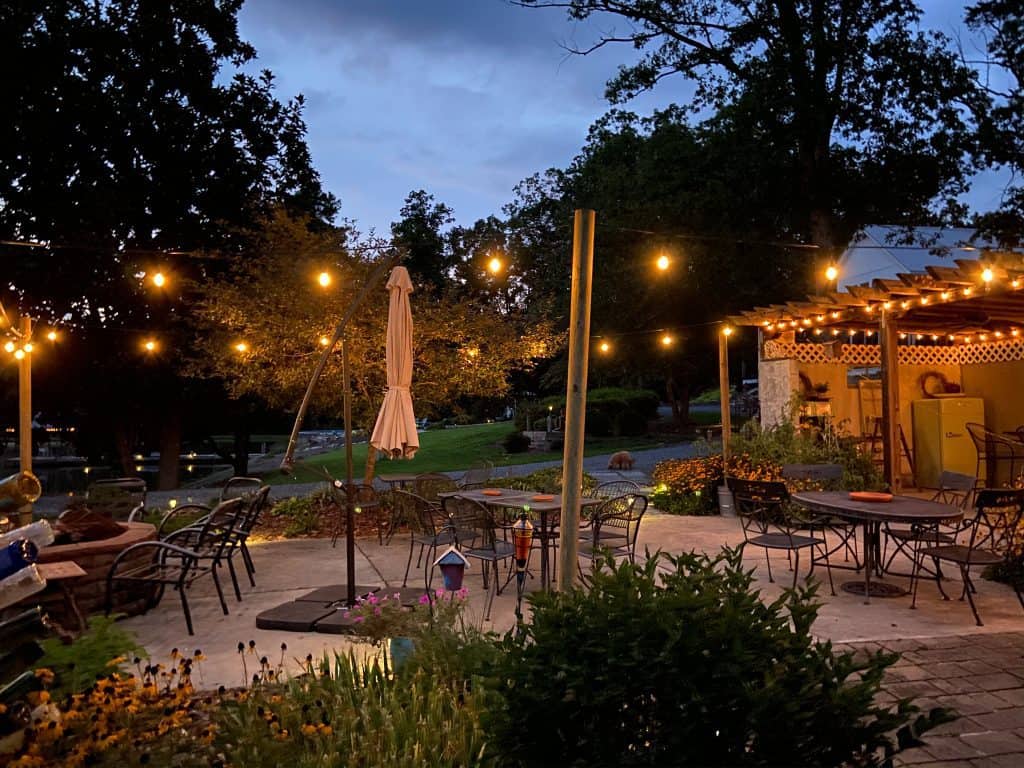
This view of the outdoor entertaining area and kitchen makes all the hard work so worth it. If you’d like to see more before and afters of the outdoor kitchen, link here.

Good Morning Rachel
I am always amazed at the projects you come up with. I would never have thought of using a pail. Honestly you can’t even tell once they are painted the gray. I love this. I have always wondered how people string lights outside. It just makes the whole area so magical looking. I can’t wait to show this to my husband because of course I want to do this now
thanks for sharing Rachel
have a great weekend
deezie
Deezie,
Good luck with the project. It wasn’t as easy as we anticipated, but we love the results.
Rachel
Hi Rachel, this may have been more involved than you hoped but sure looks pretty. Love the warm glow.
Better safe than sorry is our motto too.
Cindy
Cindy,
Thanks so much for your sweet encouragement.
Rachel
Beautiful, good job!
Darlene,
I really appreciate your comments. Thanks for stopping by.
Rachel
Rachel, this looks so soothing & inviting! I’m wanting to string lights around our pool. I hadn’t thought of the lights & poles being in our view all the time. We dont want to block the deer:)! My husband just retired!. I’m so looking forward to doing projects! I’ve already told him I want an outdoor shower like yours I better progress slowly so I don’t scare him off!
Thanks for all you share. I love how you & your husband work together, we think that’s fun too! Enjoying country life together
Phyllis,
We are very happy with the results but portable is a bit of an exaggeration. LOL Good luck with your projects. BTW! The outdoor shower was about as easy as these lights.
Rachel
That looks fabulous! I will definitely be trying this on our small patio. Thank you.
Miche,
If your patio is small, this will be a much easier project. Our problem was the distance between each post.
Thanks for stopping by.
Oh wow I just love this! It looks so pretty at night! Thanks so much for sharing it with us at Farmhouse Friday!
Michelle,
Thanks so much.
Rachel
I just love this!!! So creative … going on my wish list.
Thank you so much for sharing all the details for us. Will make anyone who
does this job easier. Kindness is great.
I would like to know what length between posts would you consider the max
one should go.
Thank you again for sharing your beautiful creativity.
It’s really an individual choice. I try to post a min. of 3 times a week. Some times more depending on my calendar.