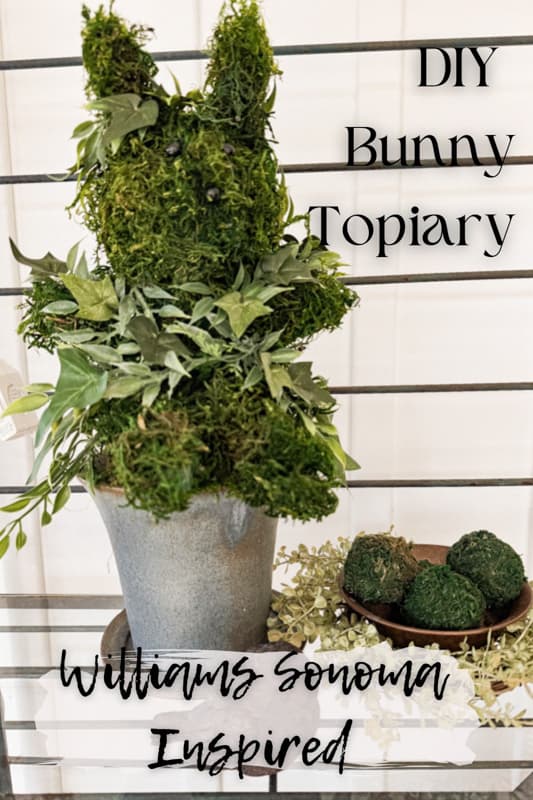
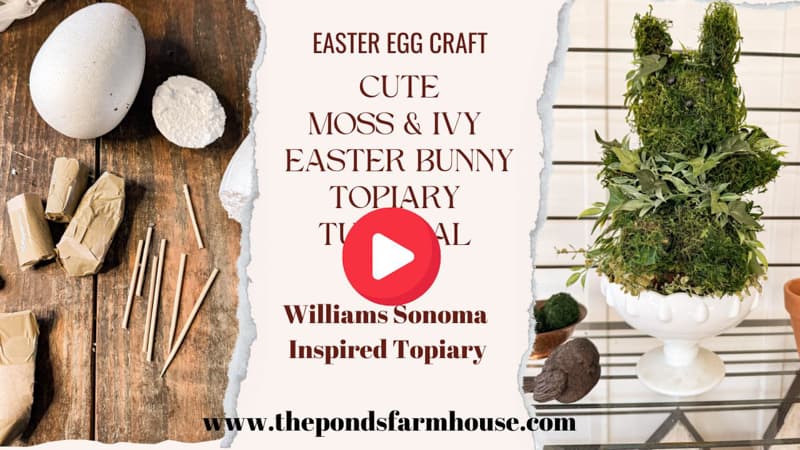
Make A Cute Moss Easter Bunny Topiary: Williams Sonoma Style
Want a designer Easter bunny decoration without the designer price tag? I’m all about the bunnies this year and fell in love with this moss and ivy Easter topiary by Williams Sonoma. I was able to make a similar one for a fraction of the cost, and I know you’ll want one, too. It’s a fun Easter craft, and I’ll walk you through the process step by step!
(Posts on The Ponds Farmhouse may contain affiliate links. As an Amazon Associate, I earn from qualifying purchases. See the full disclosure details here.)
How To Make A Moss Easter Bunny Decoration: Williams Sonoma Inspired
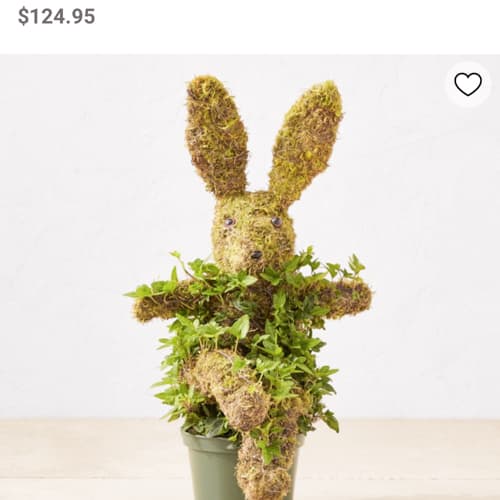
Bunnies are popping up all over the farmhouse, and it’s not even March yet! But I’m ready with several bunny DIY projects under my belt. The moss bunny topiaries from Williams Sonoma inspire this latest Easter bunny decoration. The bunny-shaped topiary caught my eye with its cute arms and legs wrapped with moss and a climbing ivy vine. The one that I’m copying is $129.00 online, and I was able to duplicate the look for approximately $7.00. Check out these budget-friendly supplies.
How To Create The Bunny Topiary
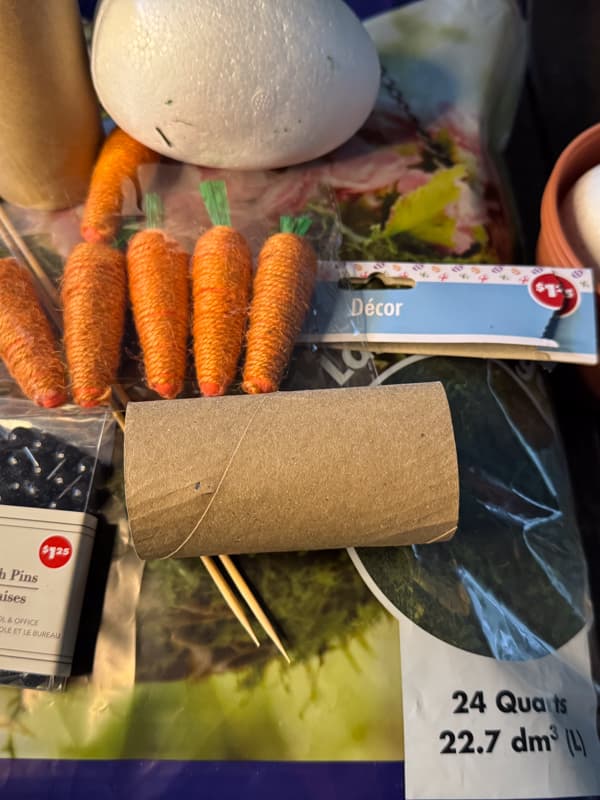
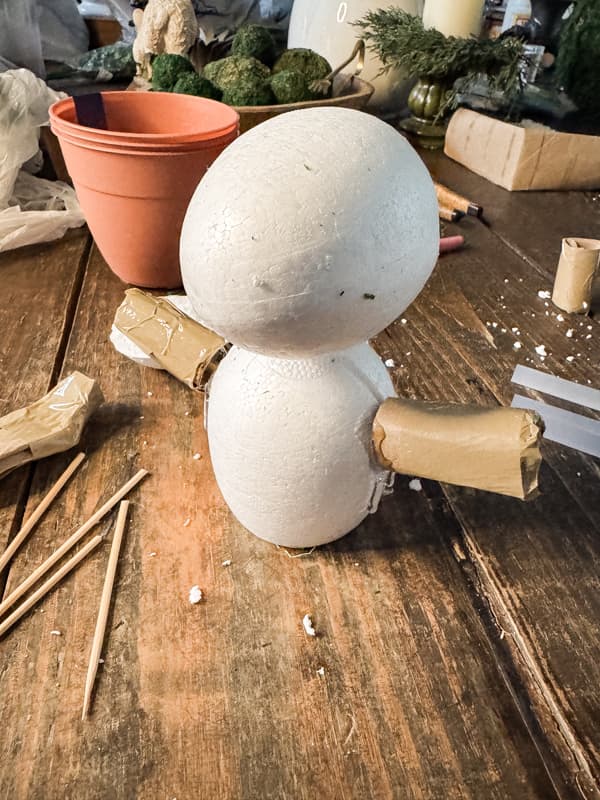
First, I was challenged to create a base for the bunny topiary. I finally settled on using a couple of large Styrofoam eggs for the body and head. Next, I used recycled toilet paper rolls to craft the arms and legs. The ears will be added using a couple of the Dollar Tree small decorative carrots, and I used bamboo skewers to hold everything together. Here are my step-by-step instructions.
Step One – How To Make Arms and Legs For Topiary
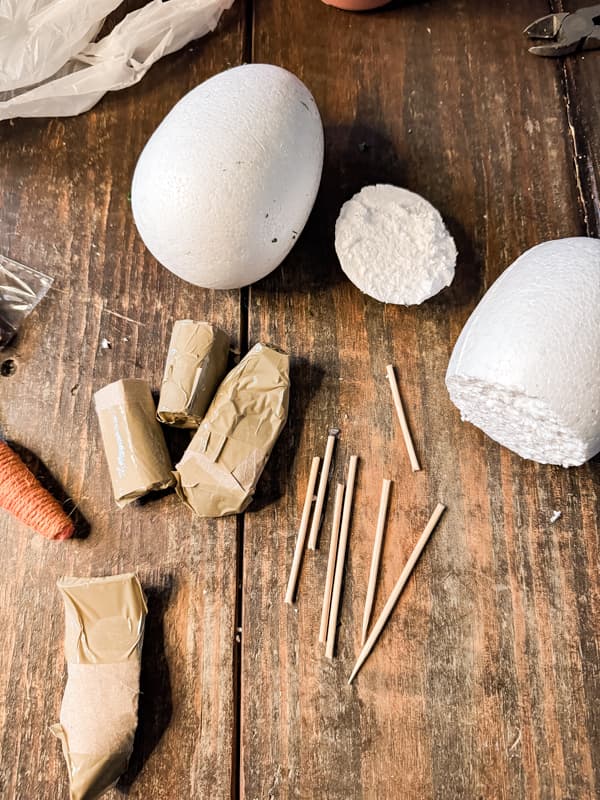
The first step was to create the arms and legs. For the arms, I cut one toilet paper roll in half, rolled it into itself to form a small tube, and wrapped packing tape around the tube.
I used a whole roll for each leg. Using the same technique as above, I rolled the tube, but this time, I bent the roll to represent the knee and foot. Using the packing tape, I secured the shape of each leg. One was bent more than the other. I kept referring to the inspiration photo to get the same look. It doesn’t matter if the finished items are rough because you will cover them with moss.
Step Two – Create Bunny Body
Next, I created the bunny body with the Styrofoam eggs. I cut the small end off of one egg to use as the body, and I removed the large end from the other egg for the head. I attached the head to the body by sticking a piece of bamboo skewer into each and securing the connection with hot glue.
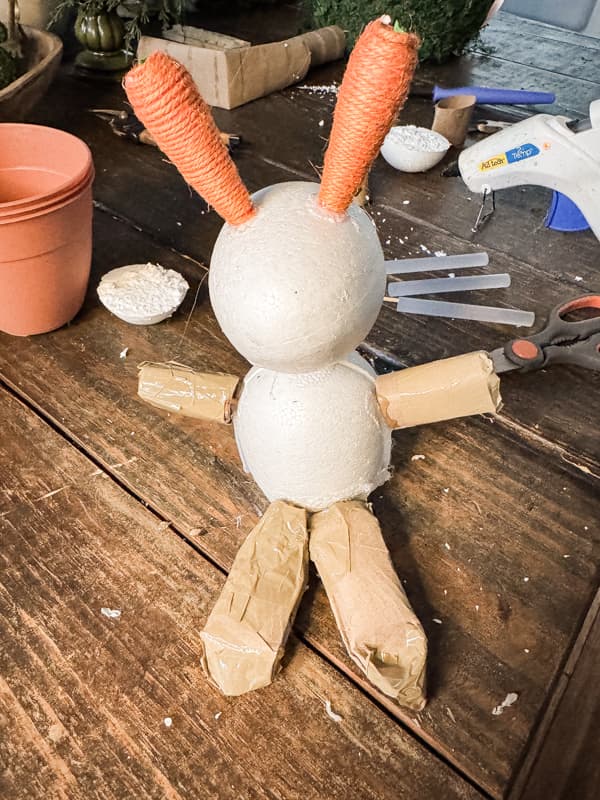
Step Three – How To Attach Arms, Legs, and Ears
Attach the arms, legs, and ears using short bamboo skewers. Add hot glue to one end and stick it inside the toilet paper arms and legs until the glue dries. Then, add more hot glue to the other end and push it into the styrofoam body.
To attach the ears, first cut the green stems from the carrots and add a skewer to the small end of each carrot. Then, use hot glue to secure the carrot to the skewer and to the Styrofoam head.
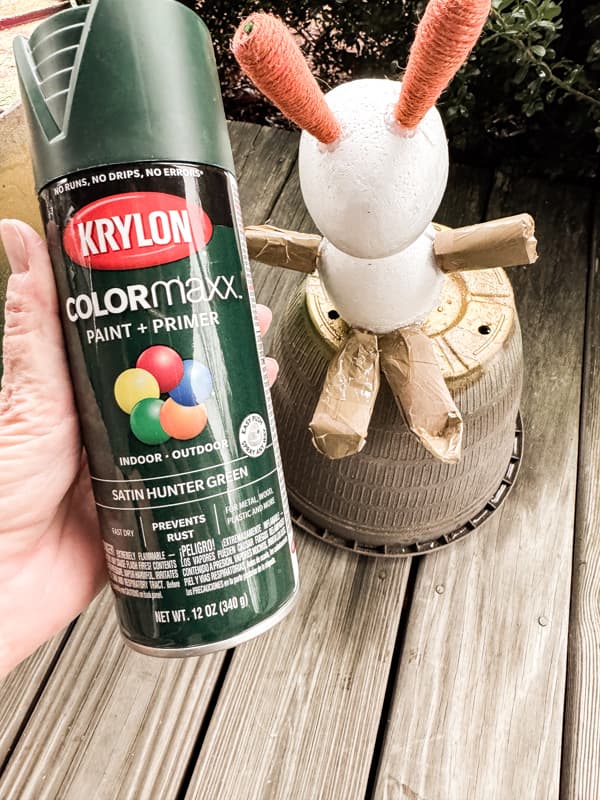
Step Four – Paint The Bunny
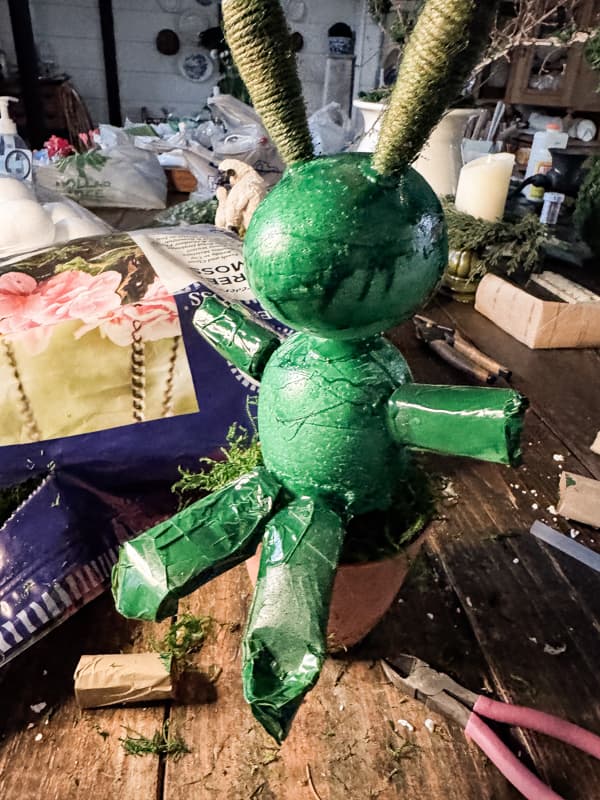
Now, you are ready to paint the entire bunny with spray paint. Place the bunny in a well-ventilated area and spray-paint it green. It’s not necessary to apply a heavy coverage, as you will be adding moss over the top.
Step Five – How To Add The Bunny To The Container
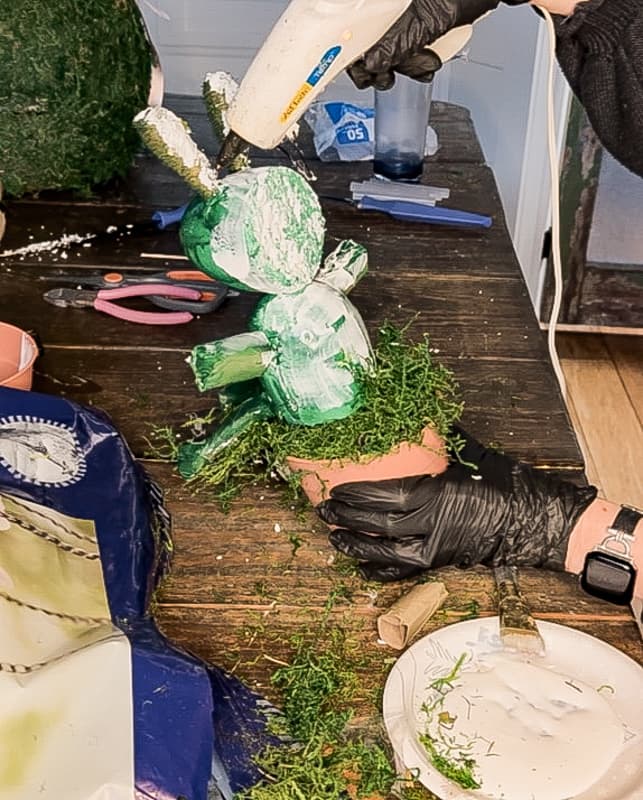
You will want to add the bunny to the container before adding the moss. I used the other halves of the styrofoam eggs and applied hot glue to secure them inside a Dollar Tree pot. Then, I filled in the top of the pot with moss. I used a longer skewer and pushed one end up the bottom of the bunny. Finally, I added hot glue to secure the other end in the styrofoam inside the pot. Allow the legs to dangle over the side of the container.
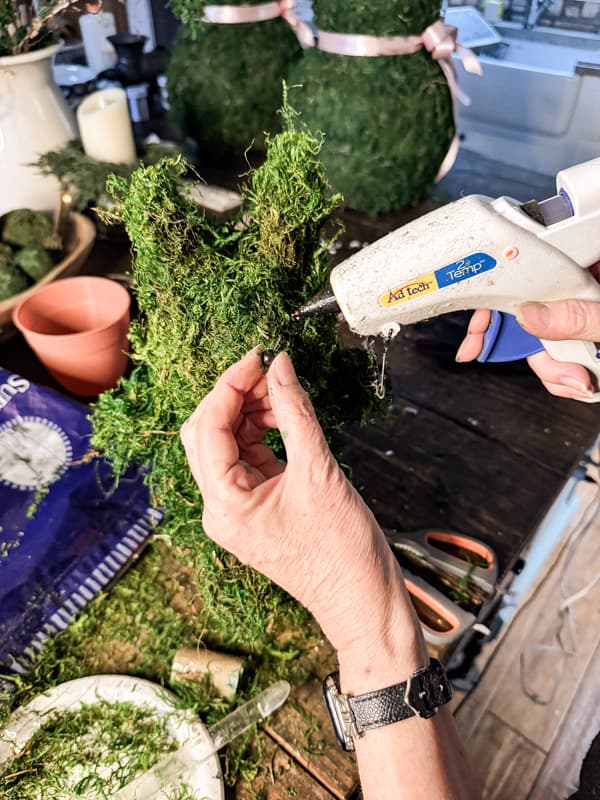
Step Six – Apply Moss To Create Easter Bunny Decor
For the next step, I used Elmer’s Glue and hot glue to attach the moss to create the Easter Bunny Decor. Begin by painting Elmer’s glue on the surface of the bunny. Then, apply hot glue and press a small amount of moss into the adhesive until you have covered the bunny entirely. Trim off any excess moss to shape the topiary.
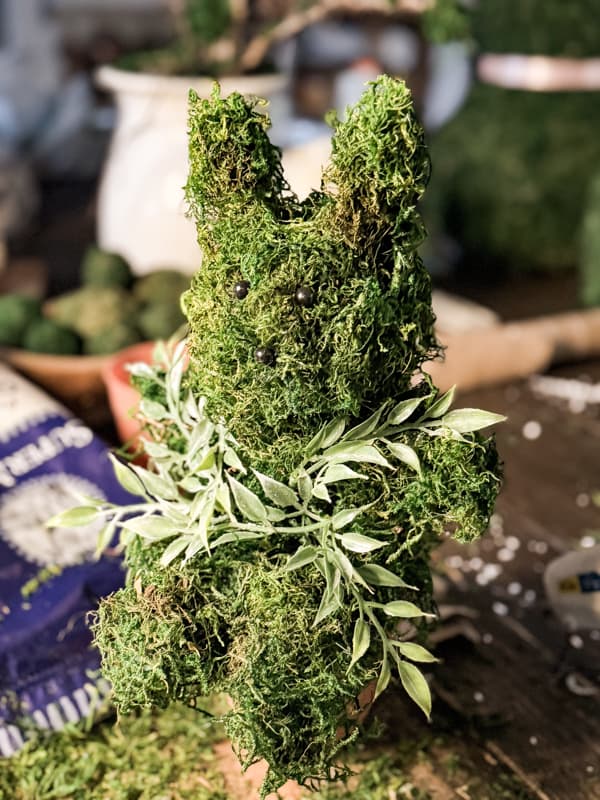
Step Seven – Add Eyes and Nose
I used some black push pins from Dollar Tree to create the eyes and nose. However, you can use beads, buttons, or any items that will add the appearance of eyes.
Add a drop of hot glue to the pin and push it into the styrofoam at the area where you would assume the eyes and nose are located.
Step Eight – Add Greenery Vine To Bunny Topiary
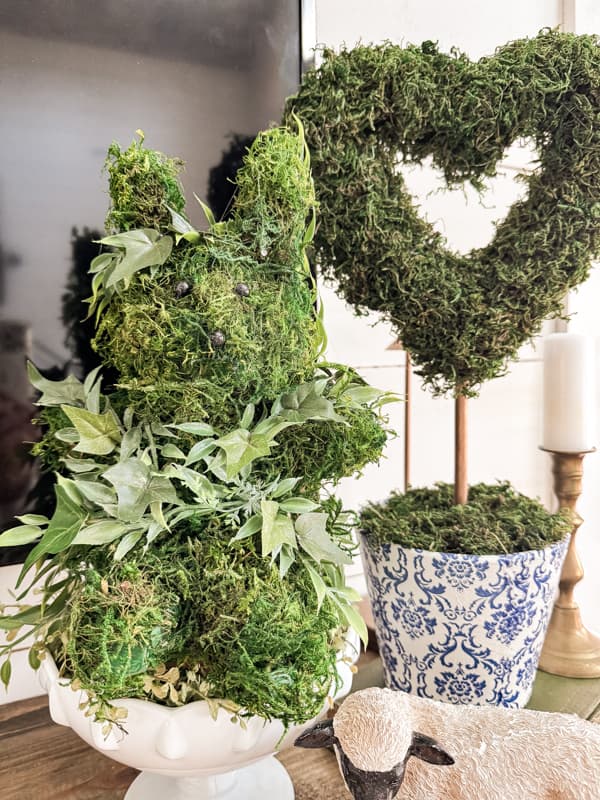
Finally, I used some inexpensive vine and ivy from Dollar Tree to create the bunny topiary. Use hot glue to secure the vine as you wrap it around the bunny’s body, neck, and arms. Now, you are ready to decorate with your Williams Sonoma look-alike Easter Bunny Decor.
Decorate With Williams Sonoma Dupe Topiary
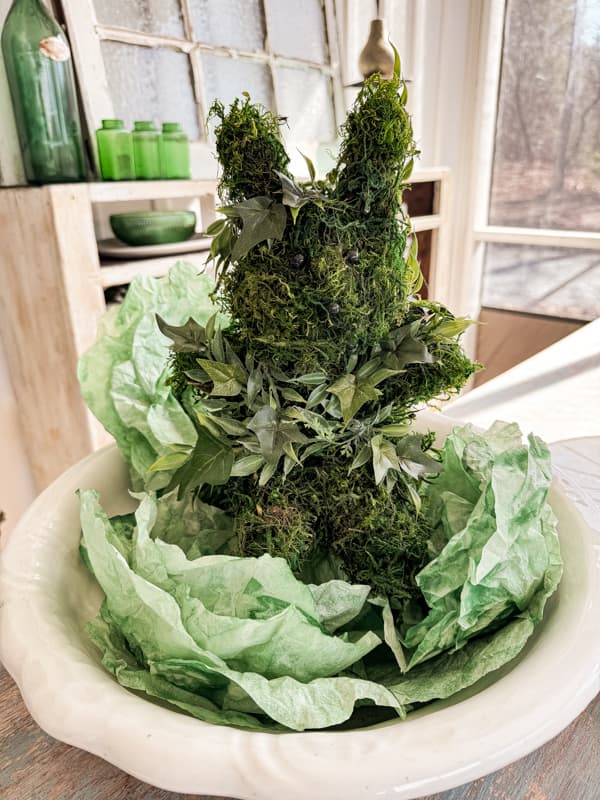
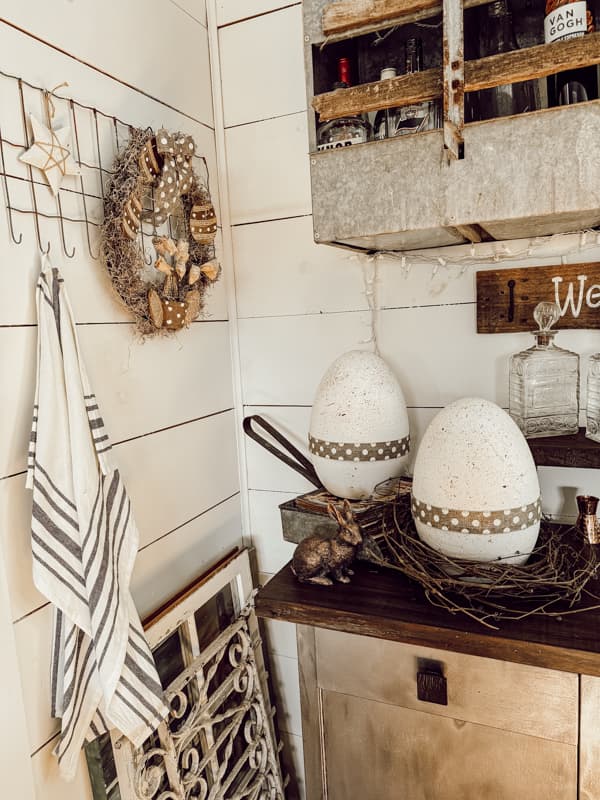
I tried displaying the adorable Easter bunny decoration in several containers and locations around the farmhouse. This sweet display is on the baker’s rack on our screen porch and the bunny is sitting inside a vintage white milk glass compote. Then, I moved it indoors and combined it with the DIY Moss Heart Topiary.
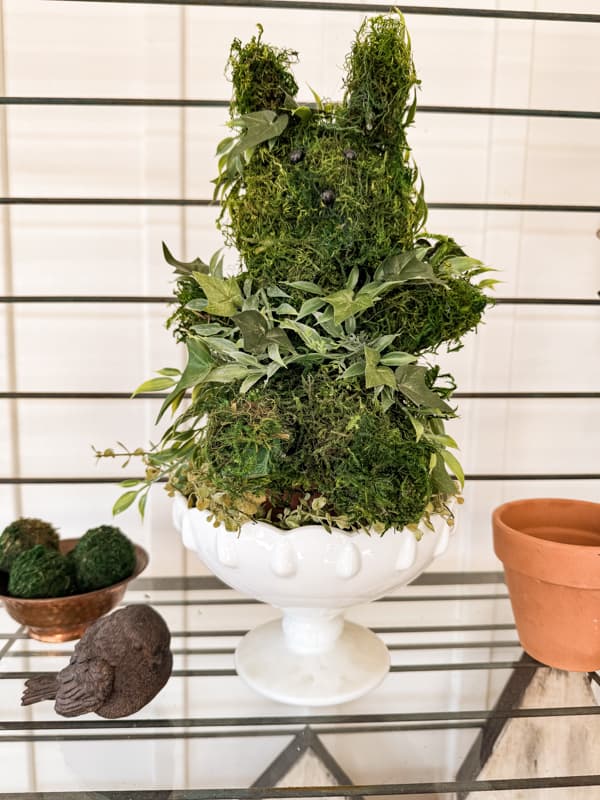
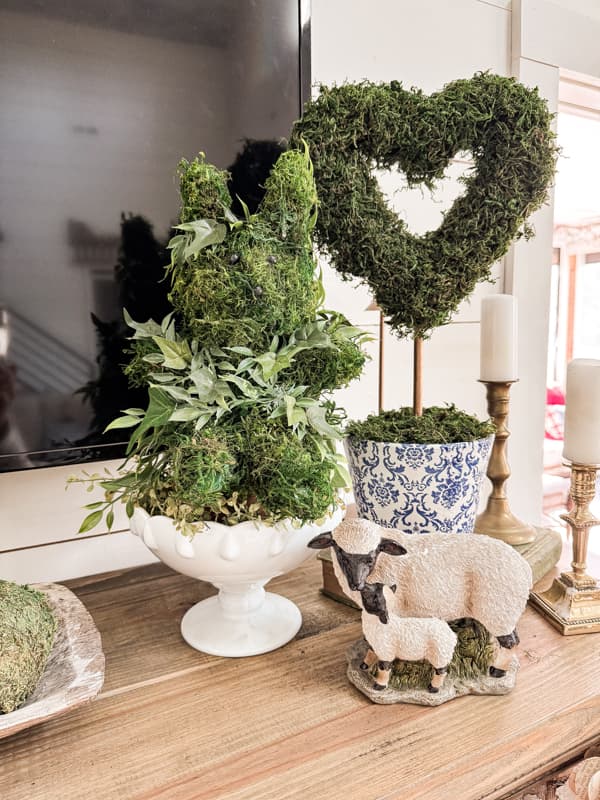
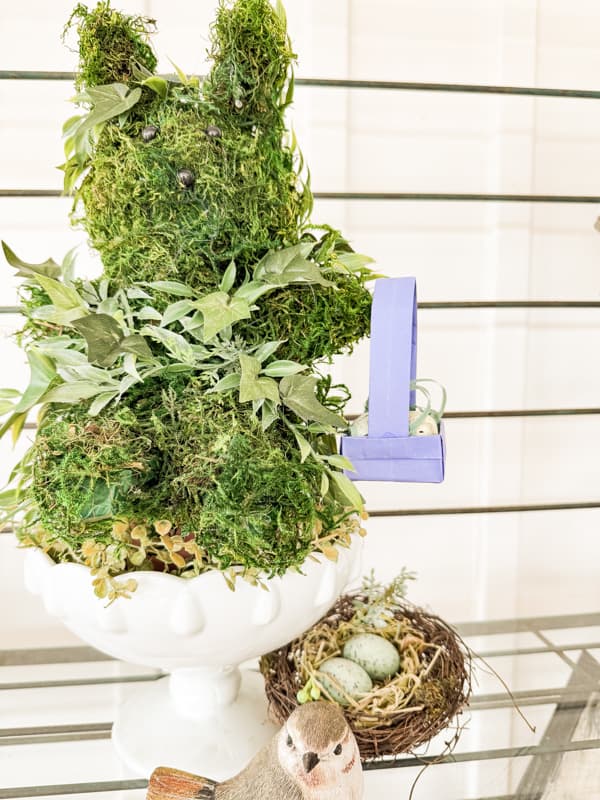
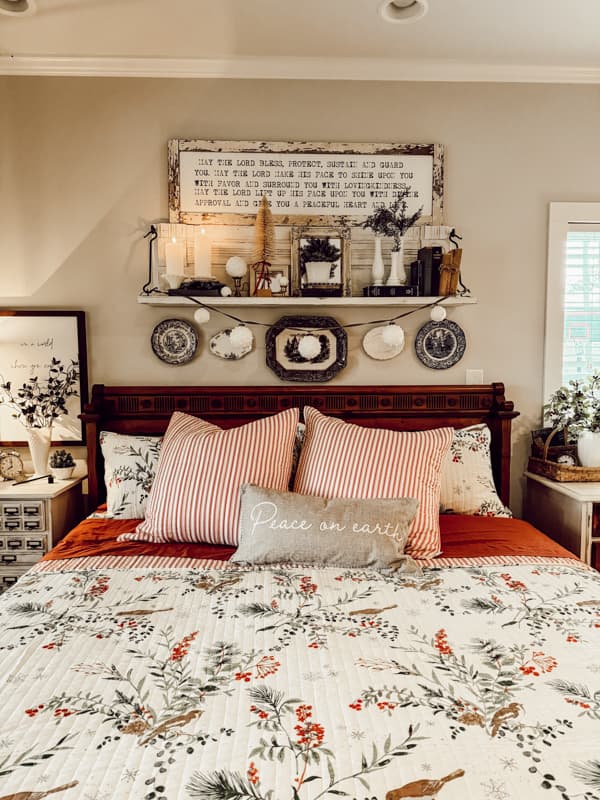
The 15-inch-tall bunny is a good size to display on a mantel or shelf and will also look good in an Easter centerpiece vignette. Isn’t it adorable?
You can display your DIY bunny alone or grouped with other Spring decorations. Either way, you will love the addition to your Easter decorations.
I couldn’t resist adding this cutie to a few of the DIY paper cabbages I made earlier.
FAQ
The topiary is perfect for Easter decorating and you can add a sweet little Easter basket it you would like.
Related Articles
- Large Moss Bunny With Dollar Tree Supplies
- Dollar Tree Rabbit Frame Easter Topiary
- How To Keep Moss Looking Fresh For Years
- Thrifted Bird Moss Makeover
Video
I hope you enjoyed today’s tutorial and I look forward to sharing my next adventure with you.


This is adorable! Thanks for sharing!
Blessings, Candy
Candy,
I’m so glad you like it. It was fun to make. Please let me know if you make one. I’d love to share a photo of your version on my Sunday, Dirt Road Adventures.
Wow! Your bunny is super cute, I like it more than the inspiration bunny. Your creative crafting is amazing.
Angie,
What a sweet compliment. I’m glad you like bunny. He’s so fun and I’m using him on my dining table for a centerpiece. I’ll be sharing the whole table later this month. Thank you for following along.
This is totally adorable, Rachel! I can’t get over how you crafted your own bunny form too. It’s such a creative base for the layer of moss and ivy. I love it! Can’t wait to share this on tomorrow’s From the Front Porch, it’s fabulous, CoCo
CoCo,
you are so kind. I appreciate your for all your support and encouragement.