DIY Cottage Oyster Shell Garland: A Unique Coastal Craft Idea
Looking for a unique coastal craft to add a touch of charm to your home? Look no further than this DIY cottage oyster shell craft garland! This easy-to-make oyster shell craft is perfect for beginners and can be customized to fit your style.
I decided the beach cottage could use a touch of fall, and after seeing some vintage fishing corks in a shop, a nautical garland would be perfect.
I have been planning to create a DIY cottage craft using oyster shells, and I thought adding vintage fishing corks would make a charming rustic nautical garland.
After browsing for old fishing corks, I soon discovered they were beyond my budget. As a result, I opted to craft imitation nautical corks utilizing wooden beads.
I am thrilled to show you the outcome of this project! The authenticity is simply breathtaking, and I can’t wait for you to see it for yourself.
Table of contents
Where To Get Free Oyster Shells
Oyster shell crafts are very budge-friendly because you can usually get your shells for free.
If you have a Seafood Restaurant in your area, you should have no problem getting free oyster shells.
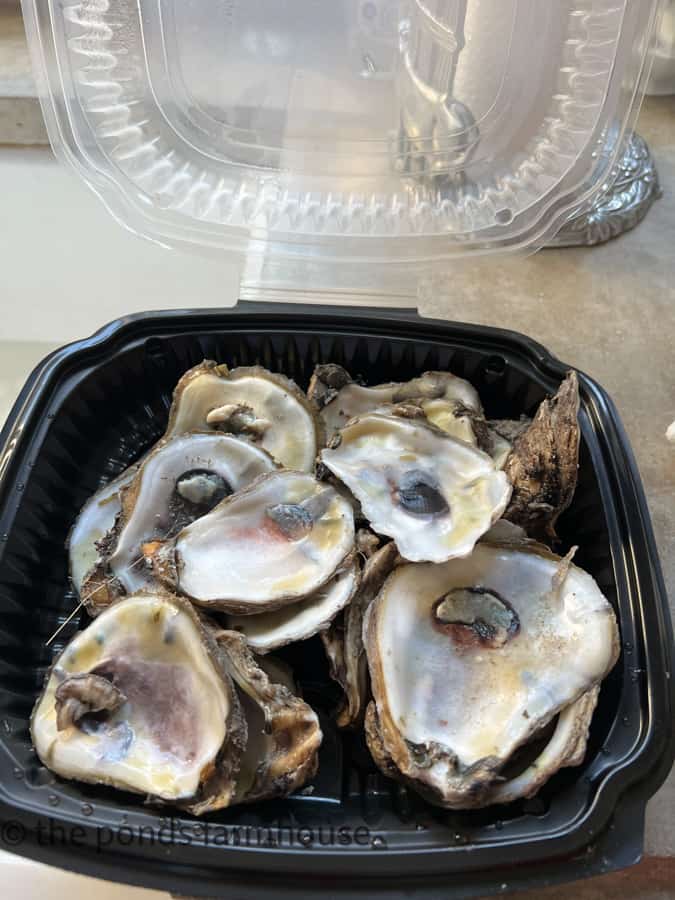
If you’re a fan of steamed oysters like me, make sure to ask the restaurant to save your shells in a to-go box. And don’t worry if you’re not a fan; inquire with the waitress about saving some shells from other diners.
(Posts on The Ponds Farmhouse may contain affiliate links. As an Amazon Associate, I earn from qualifying purchases. See the full disclosure details here.)
How To Prepare Oyster Shells for Crafts
Preparing the oyster shells almost immediately is important to avoid an unpleasant odor.
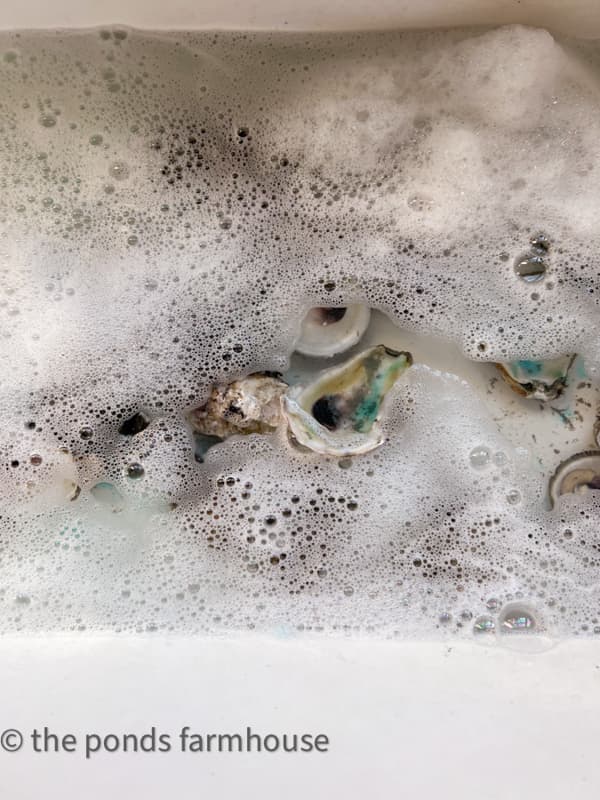
Begin by adding the oyster shells to soapy water and washing thoroughly, ensuring that all oyster meat is removed from the shell.
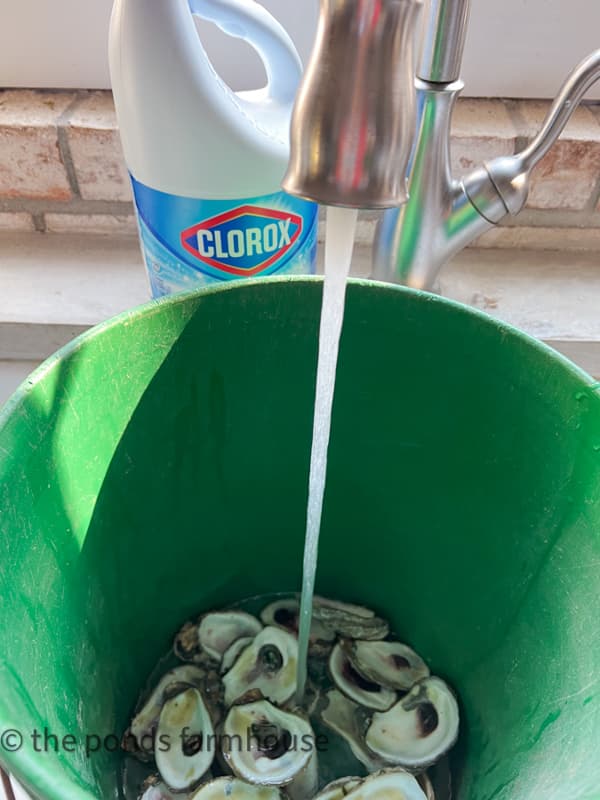
Rinse the shells and then transfer them to a bucket filled with 1 part water to 1 part Clorox.
Allow the shells to soak for a few hours to remove any odor residue.
Rinse and place on a surface lined with a towel or paper towel. Allow shells to dry for several days before proceeding.
Drill Hole In Oyster Shell
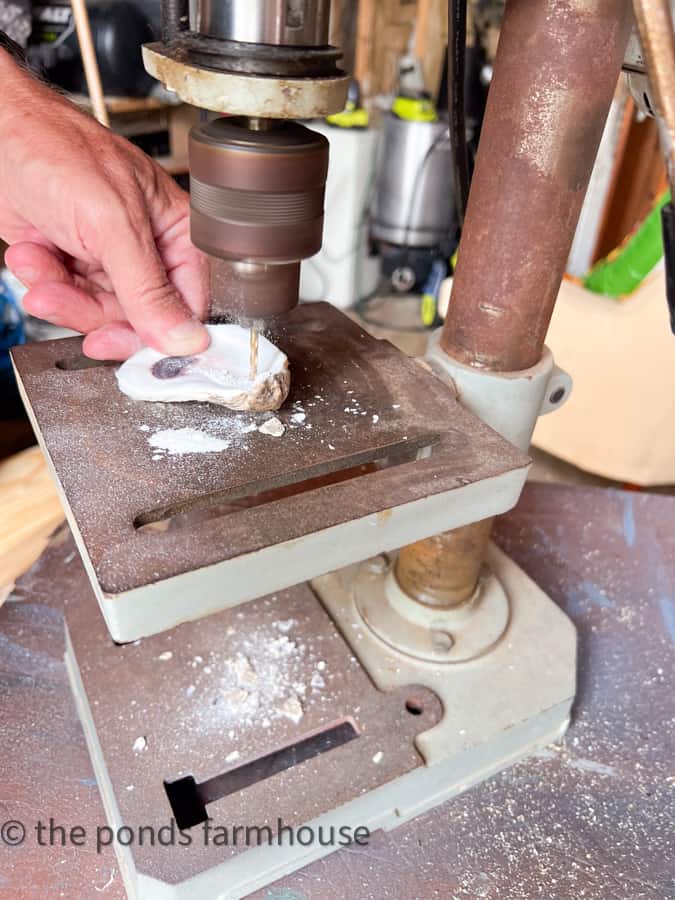
If you plan to use your oyster shells for a garland or hanging coastal craft, you must drill a hole in the shell to attach twine or fishing line.
Oyster shells are surprisingly hard. To drill a hole, you will first need a masonry drill bit.
I recommend a 1/8-inch masonry drill bit if you use a heavy-weight jute twine for your garland.
You can use a handheld cordless drill but must be careful to keep the shell steady. If possible, I recommend using a drill press as a safer option.
This small Demel drill press is a perfect, budget-friendly option.
How To Paint & Decorate Oyster Shell Craft
Now you are ready to paint and decorate your shells.
After cleaning the shells, I decided the natural organic, pearly surface was perfect for our rustic beach cottage decor. However, to add a touch of glam, I added Gold Leaf Rub N Buff to the outside edge and back of the shell.
To add the outside rim, I added a drop of gold leaf to a napkin and wiped around the edge.
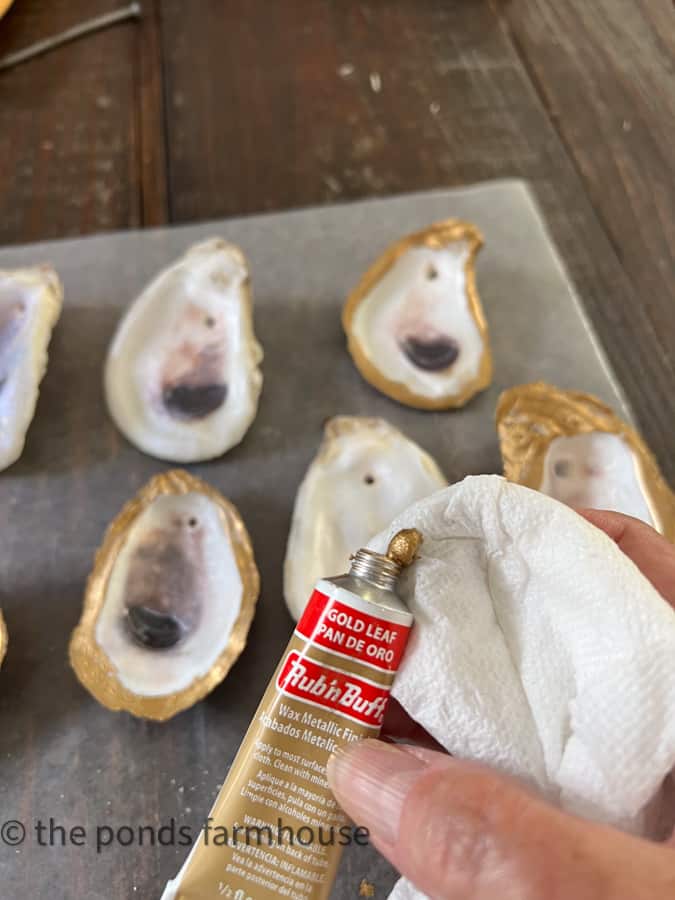
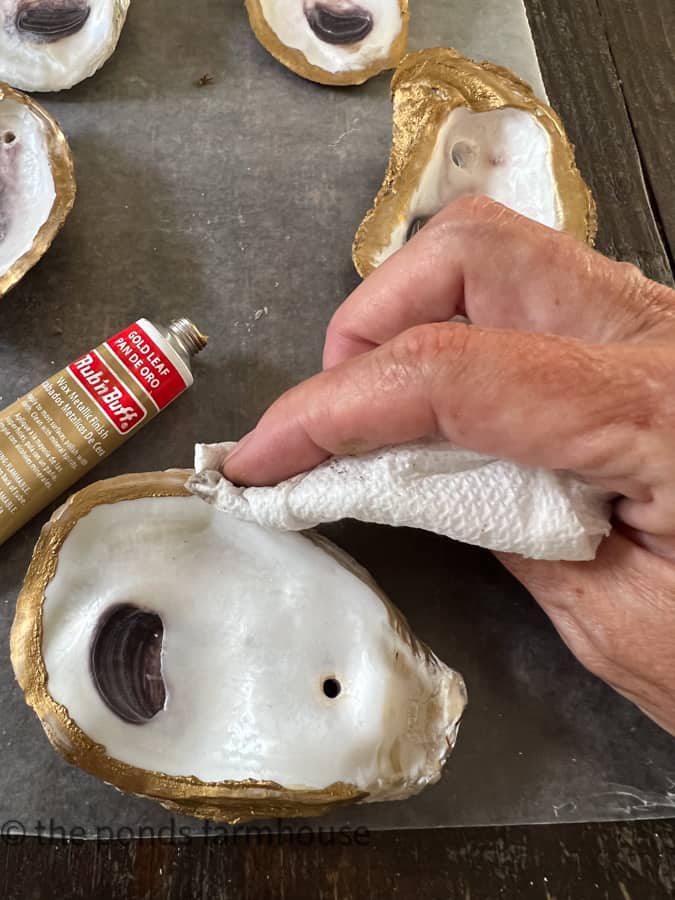
To add color to the backside of the shell, I used a cheap paint brush and brushed the gold left over the surface. I didn’t go for 100% coverage because I liked some of the white shell exposed.
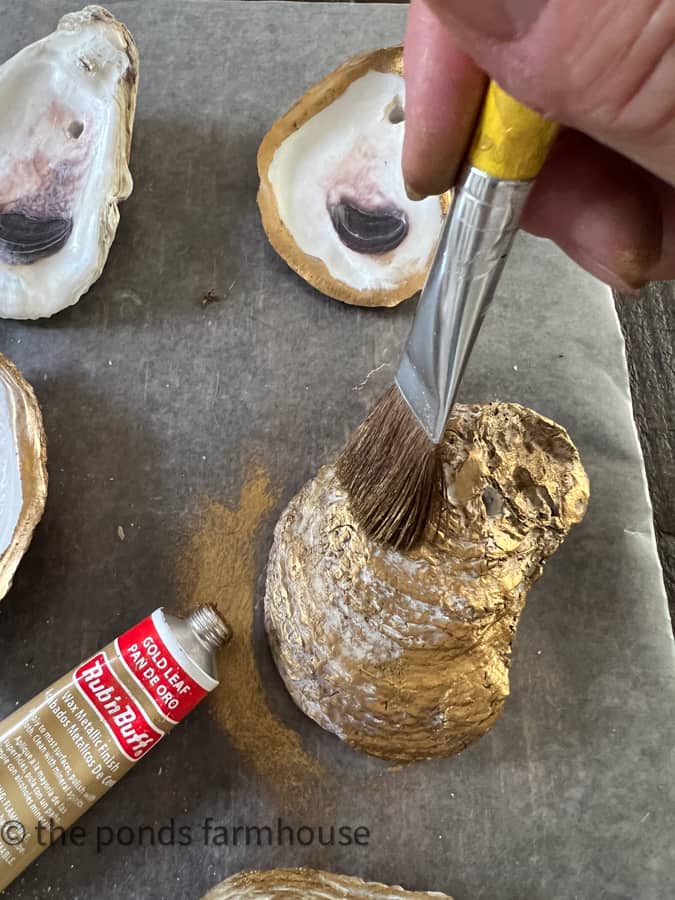
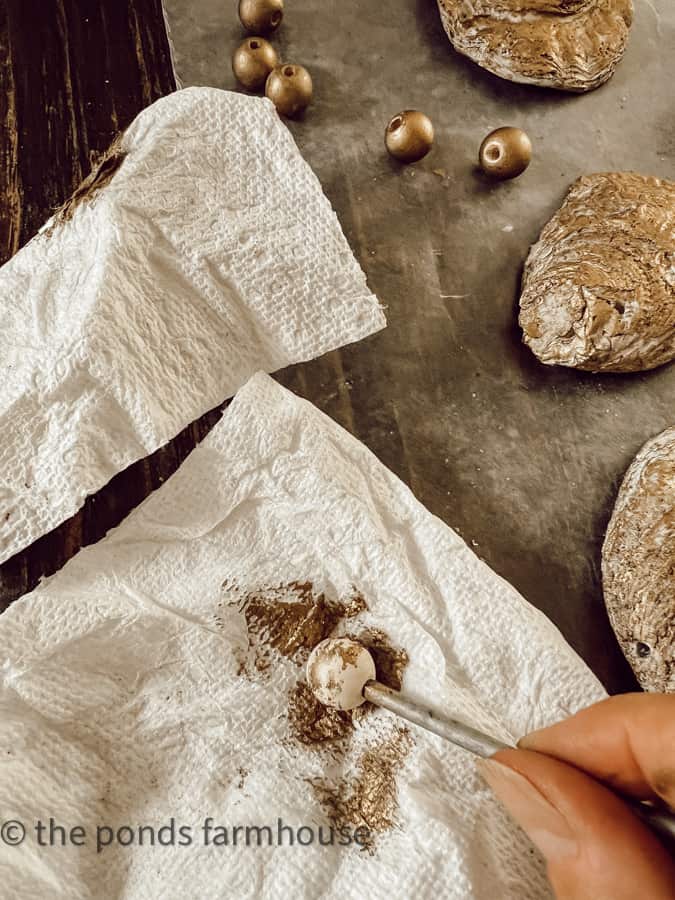
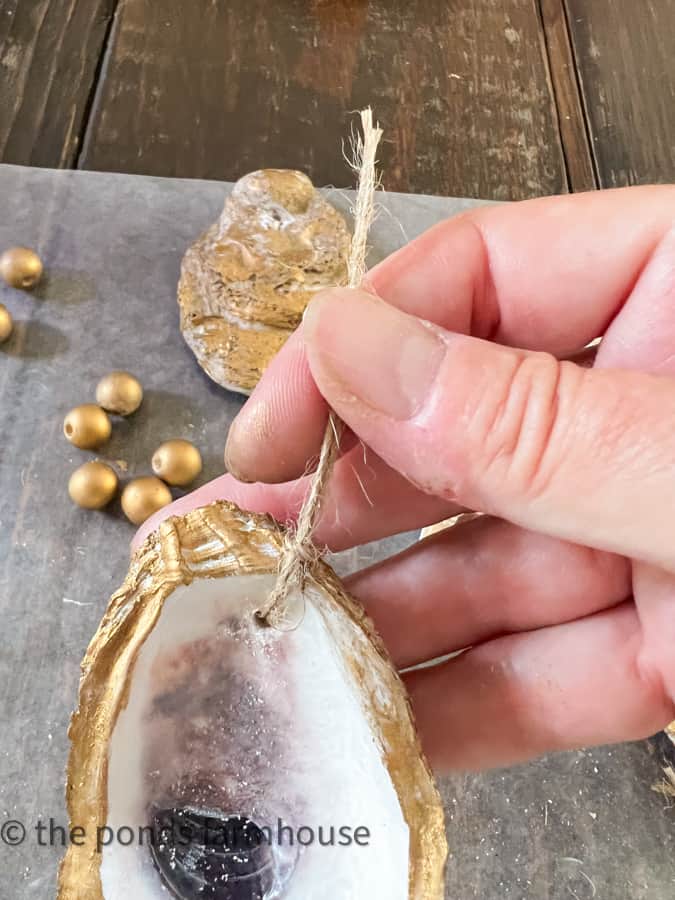
Although I used the faux cork beads for most of the coastal garland, I attached a gold bead to the oyster shell.
The beads were rubbed with the gold leaf using a paper towel.
To add the bead, attach a small length of jute twine and string a single gold leaf bead at the top of the shell.
How To Make DIY Nautical Corks
After seeing the vintage fishing corks, I began searching for large beads that were shaped similarly to the corks I had found.
I found these large round beads and a package of large oblong beads on Etsy. They were close in size and style to the real vintage corks.
So this is how to make the beads look like DIY Nautical Corks.
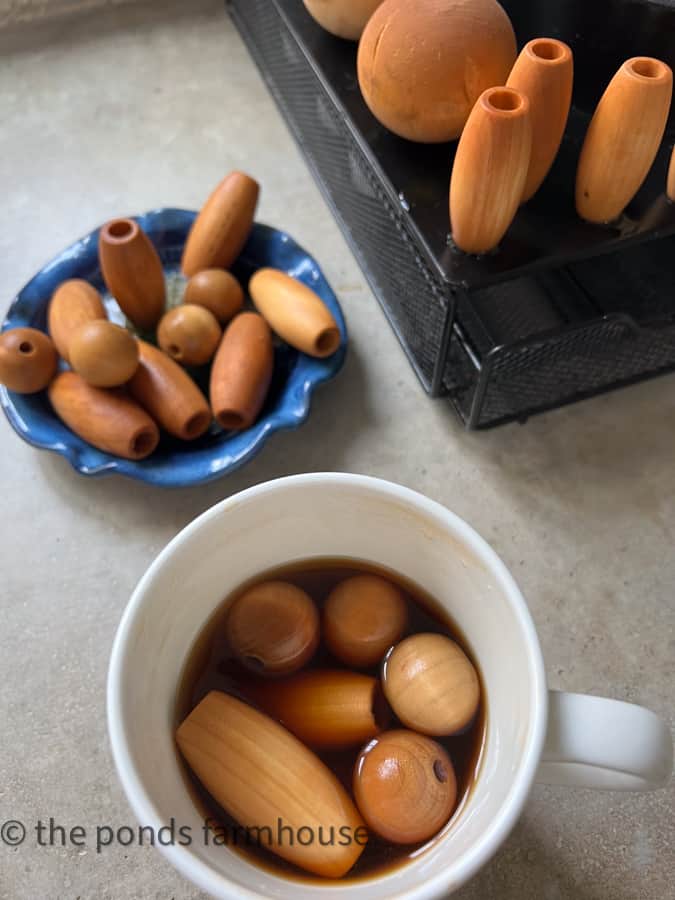
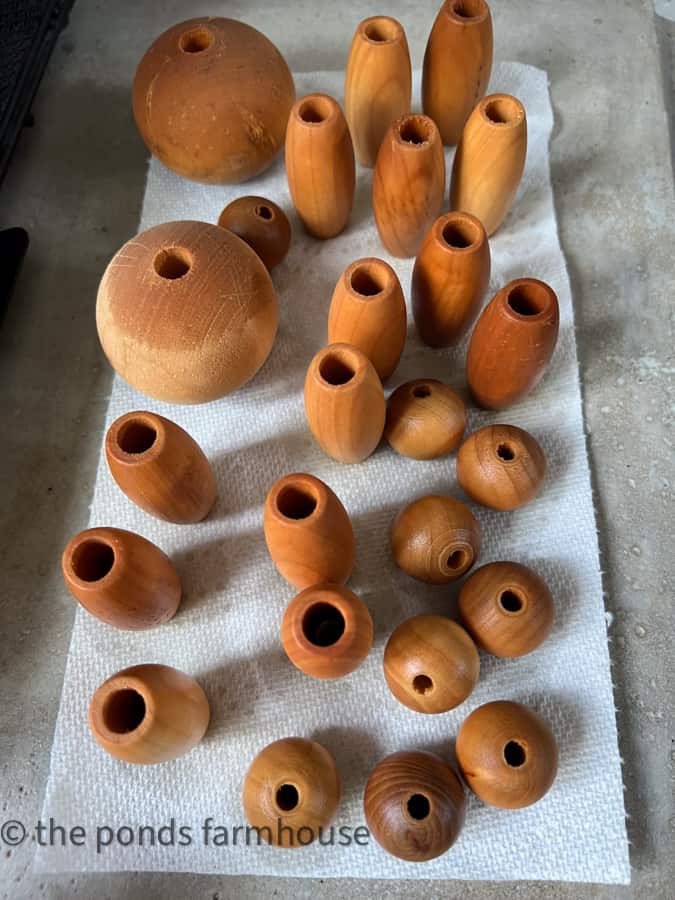
While I worked on the shells, the wooden beads were soaked in coffee to stain the wood.
After soaking for a few hours, remove and allow them to dry.
How To Distress Beads
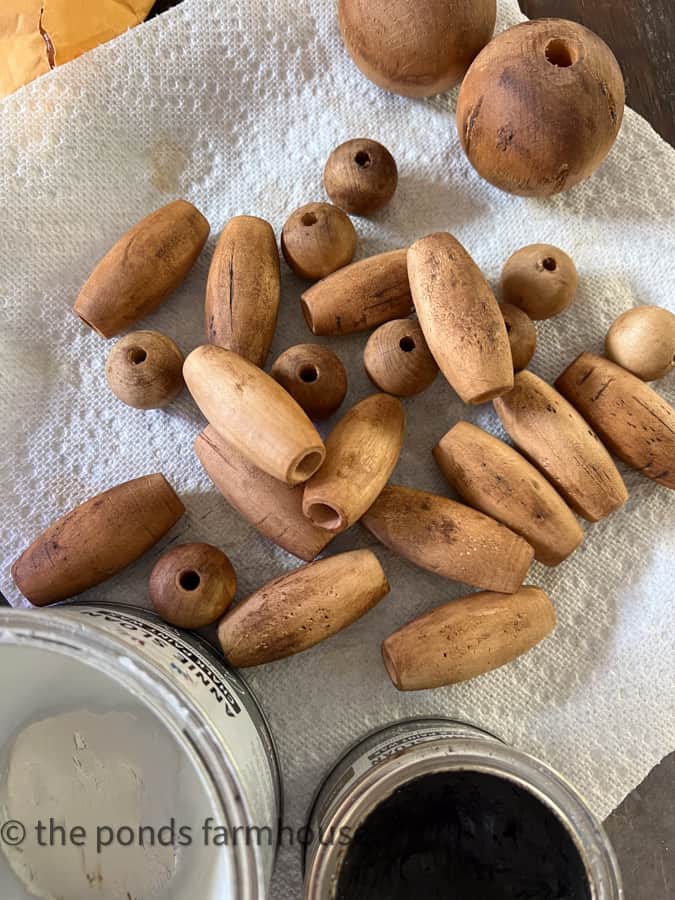
Next, to create a distressed cork appearance, I used a knife to damage the surface of the beads.
You can use an ice pick, scissors, knife, or nail to gouge out pieces of the wood.
Once the beads are distressed, add a coat of dark wax to the damaged areas and buff until the beads are smooth.
I think the results look really authentic.
How To Assemble Oyster Shell Craft For Coastal Garland
Finally, to assemble the Oyster Shell craft, lay out all your beads to get a general idea of the coastal garland length.
Cut the jute twine several inches longer for a tassel and knotting.
To begin, tie a knot leaving the amount of tassel you desire. Start adding your beads to the twine in any order that you want.
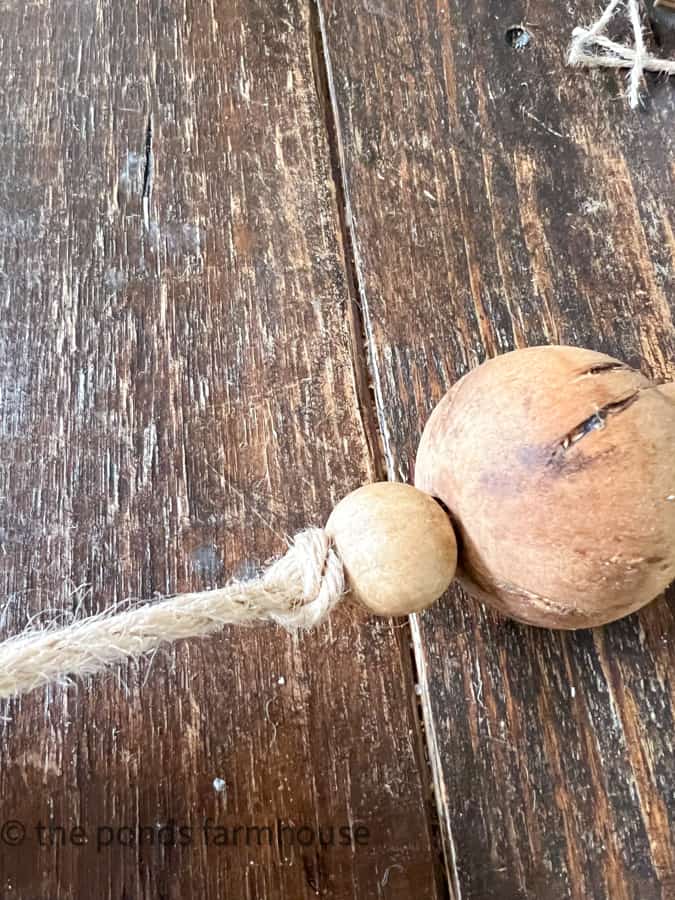
To add the oyster shells, tie the jute twine from the outside around the larger string of the garland. You should tie in a tight knot and cut any excess away. Pull the bead tight around the oyster twine to conceal the knot.
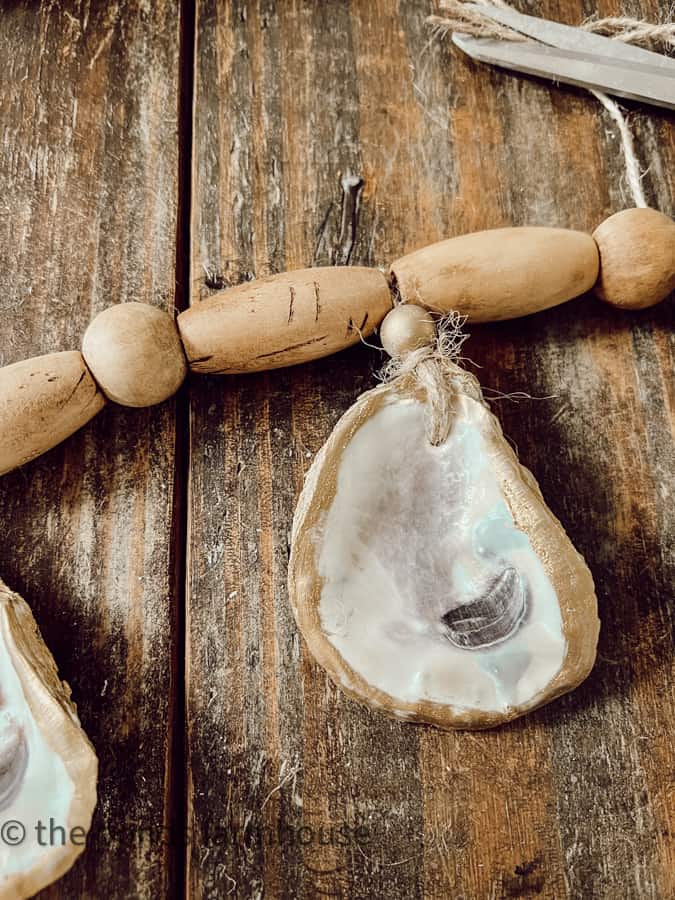
Continue until the jute twine is filled with your beads and shells.
After the garland is complete, cut away excess twine and ravel the jute twine at the ends to form a tassel.
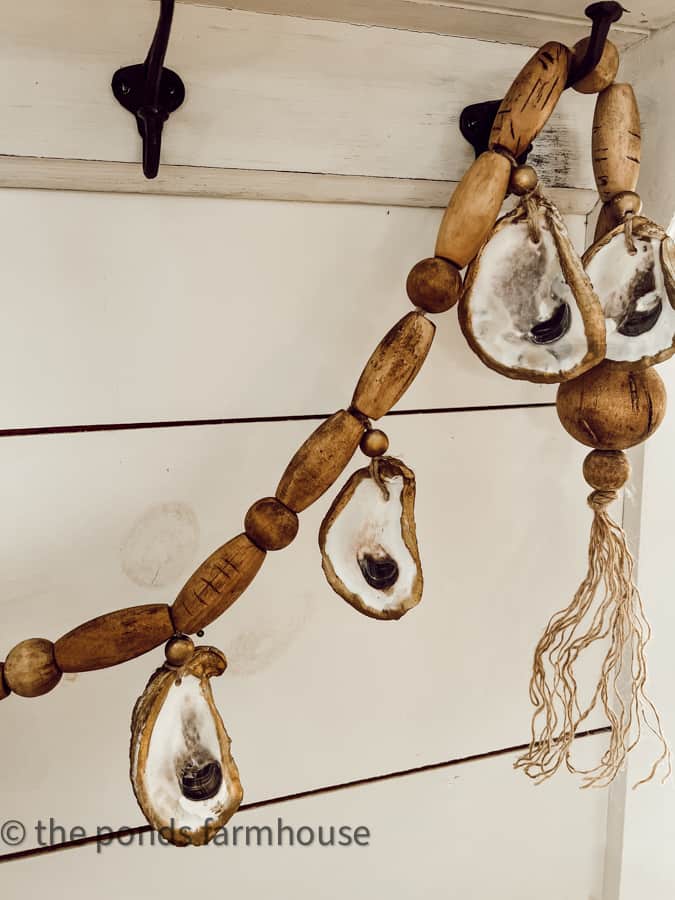
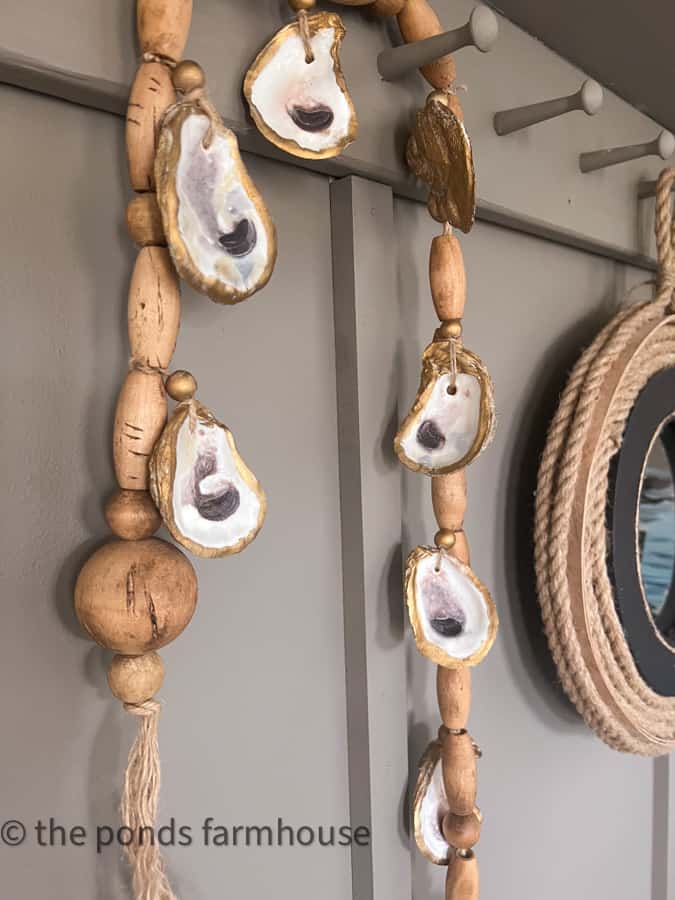
How To Decorate With Coastal Garland
There are several ways to display your coastal garland.
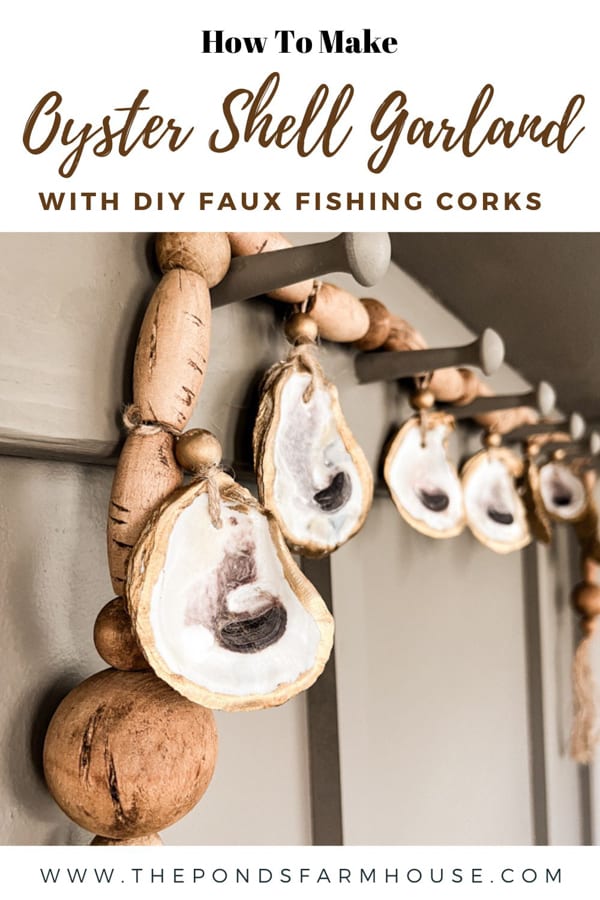
It looks beautiful hanging from a pegboard rack or coat rack.
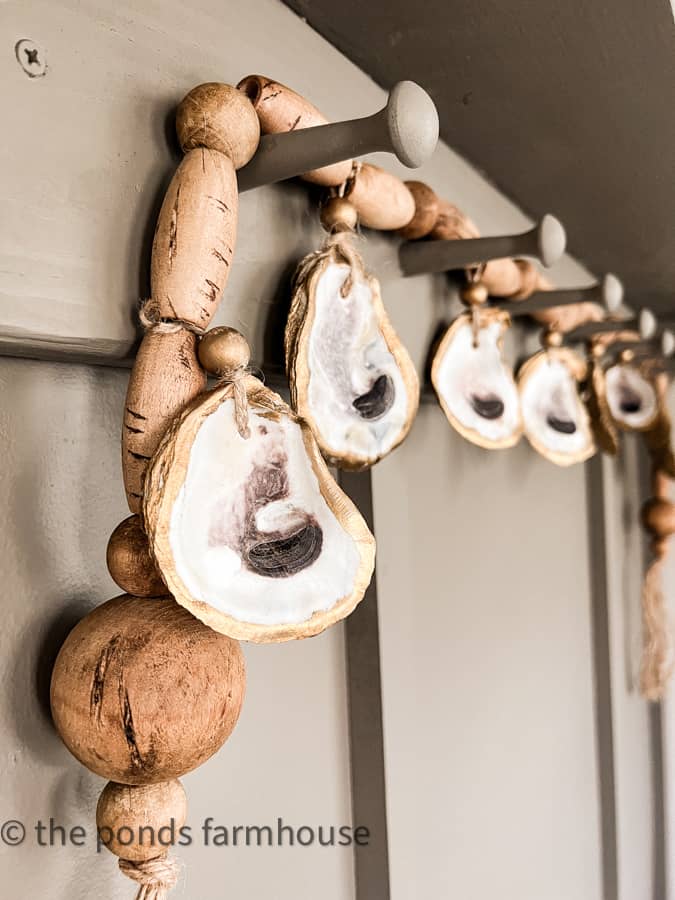
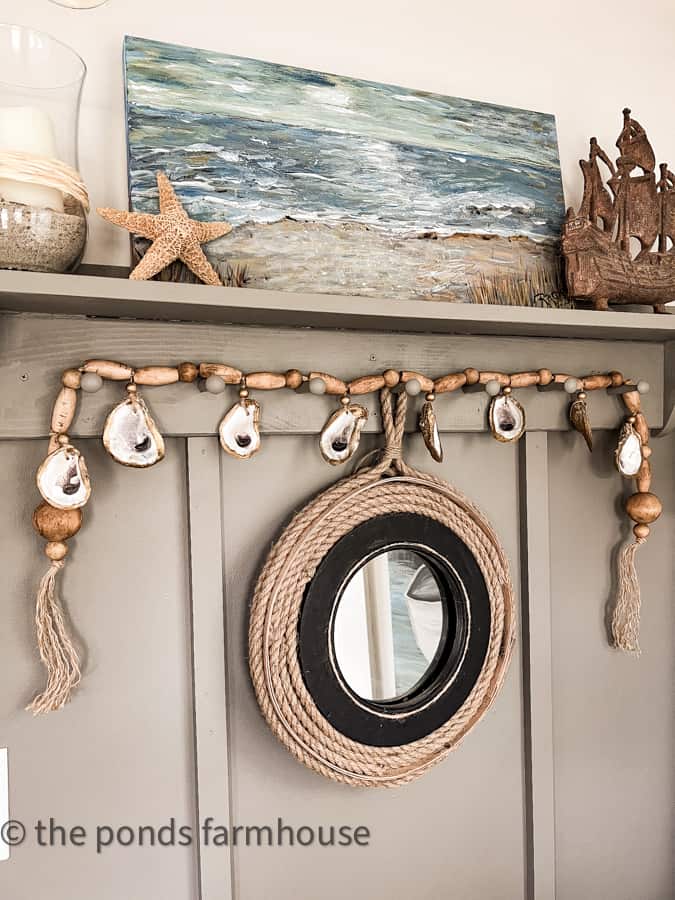
I’ve added mine to the accent wall in a beach cottage, and it’s a perfect complement to the DIY nautical mirror.
The coastal garland also looks great on a vintage platter or wooden bowl. You can mix it with additional sea shells for a table arrangement.
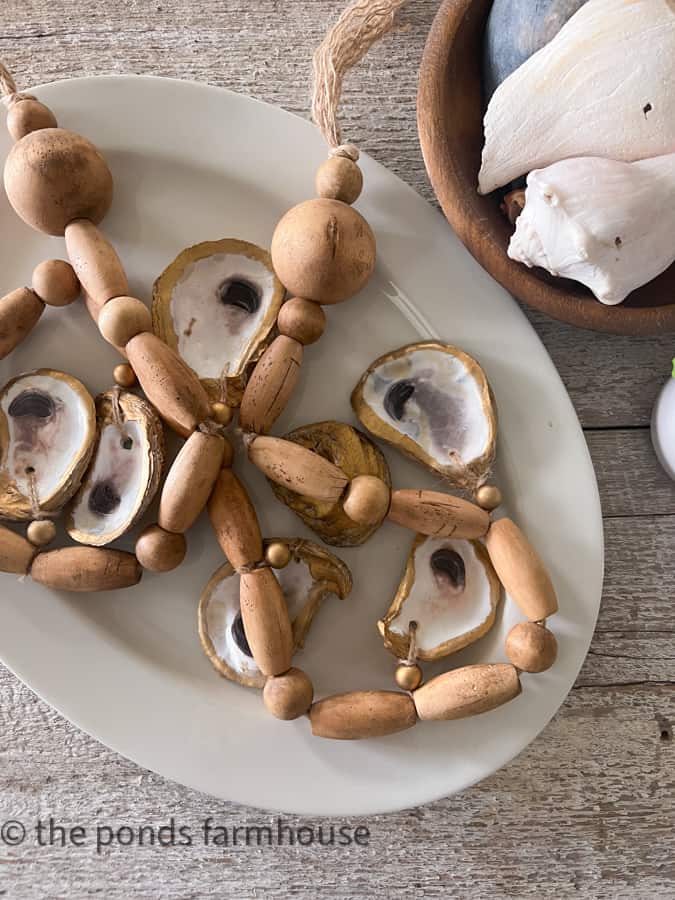
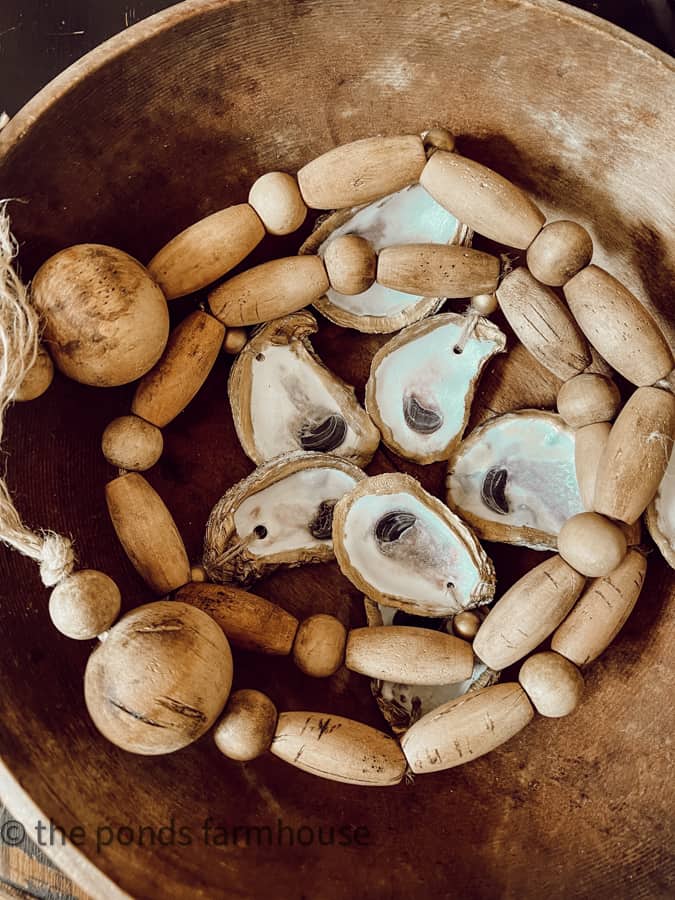
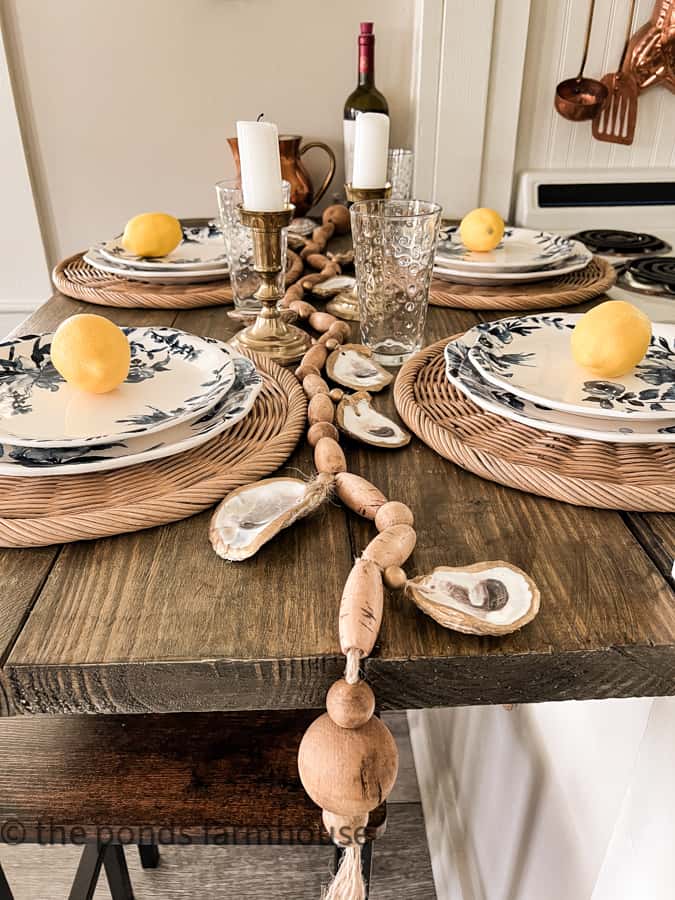
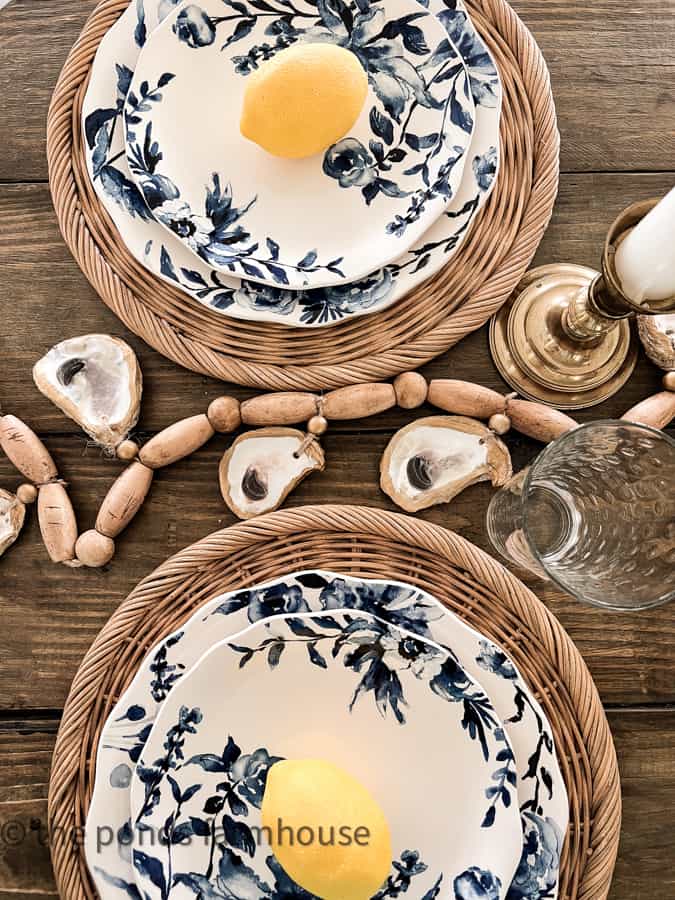
The garland also looks fantastic when placed on the center of a nautical tablescape as a table runner.
Resources
Other Coastal-Inspired Craft Ideas
- DIY Nautical Mirror from Thrifted Supplies
- Easy Accent Wall
- Pottery Barn Dupe Candleholders
- 15 Simple Coastal Decor Ideas for Any Home
- DIY Decoupage Oyster Shell Ornaments
- Upcycle Oyster Shells For Decorative Ring Dishes
Other Garland Tutorials
- Corn Stalk Garland for Fall
- Craft Paper Leaf Garland
- Budget-Friendly Christmas Snowflake Garland
- Easy Heart & Vintage Seed Packet Garland
- Coffee Filter Floral Garland
- How To Make A Dried Fruit and Herb Garland
- DIY Christmas Tassel Garland And More
I hope you enjoyed today’s coastal craft idea. The coastal garland is a timeless decor addition used year-round to decorate a coastal-inspired home.

Pin It To Remember It
Did you find some great ideas you’d like to save for future reference? Hover over the images you’d like to save and pin to your favorite Pinterest Boards when you see the PIN button.


Wow so pretty!
Stacy,
Thanks so much.
Super cute idea. This looks so great at your beach house. I love it.
Renae,
I appreciate this.
This is so pretty! You have the best ideas!
Kristin,
I’m so glad you like it.
I freakin’ love this!! You know I love the coastal look. The coffee stain comes out so good too.
Jennifer,
I’m so glad you like it.
I love your dirt road adventures and the dirt road recap. The oyster garland is to die for! Have a great week,
Teri
Teri,
I’m so glad you liked this. I appreciate you for stopping by and sharing. Have the best day.
Love these
Regina,
Oh, Thank you so much.
Another fantastic DIY! Those beads came out so pretty. Thank you for sharing!
Cheryl,
Thank you for stopping by. I appreciate your encouragement.
The “corks” look fantastic. What a brilliant idea.
Wanda,
I was happy with the results. Old corks are so expensive and this was a budget-friendly alternative.