DIY Christmas Napkin Rings: Sparkling Snowflake Tutorial
I recently stumbled upon the most gorgeous snowflake napkin rings, perfect for a Christmas winter wonderland tablescape. But the price tag? A whopping $29 each! Instead of splurging, yes, you guessed it, I created my own Christmas napkin ring version using affordable supplies from Dollar Tree. Join me as I show you how to quickly transform simple wooden snowflakes into sparkling, festive DIY napkin rings for a fraction of the cost.
(Posts on The Ponds Farmhouse may contain affiliate links. As an Amazon Associate, I earn from qualifying purchases. See the full disclosure details here.)
Table of contents
How To Make Sparkly Christmas Napkin Rings
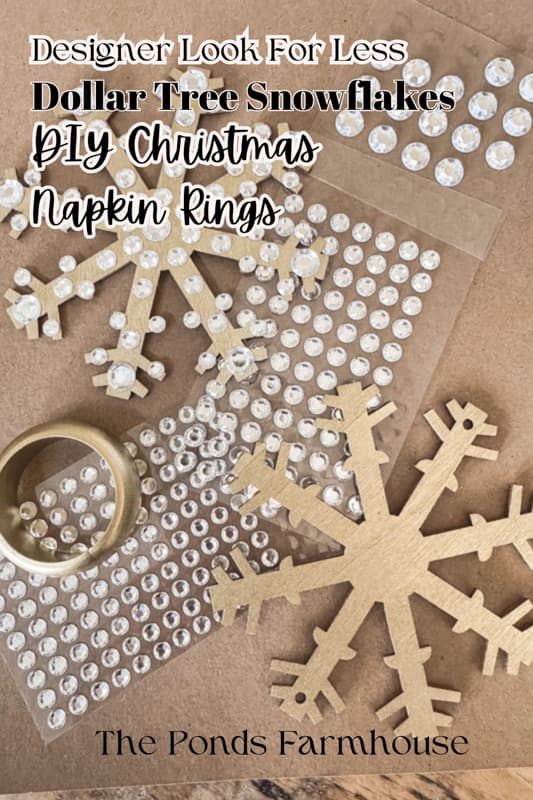
When I saw those gorgeous sparkling Christmas napkin rings, I was really tempted. But I knew I could make something similar for a lot less. I had already purchased a package of wooden snowflake ornaments at Dollar Tree, but I had yet to decide what to do with them. After a quick search on Amazon, I saw I could get a large supply of rhinestones for $9.00. Plus, I’m always picking up napkin rings at the thrift store, so I knew I had something I could use. Here are the supplies I used and how I created my version of the designer napkin rings.
Supplies
- Package of Wood Snowflakes
- Clear Rhinestones
- Gold Leaf Spray Paint
- E-6000 Glue
- Plain Wood Napkin Rings (if you don’t have thrifted ones, these are a good price)
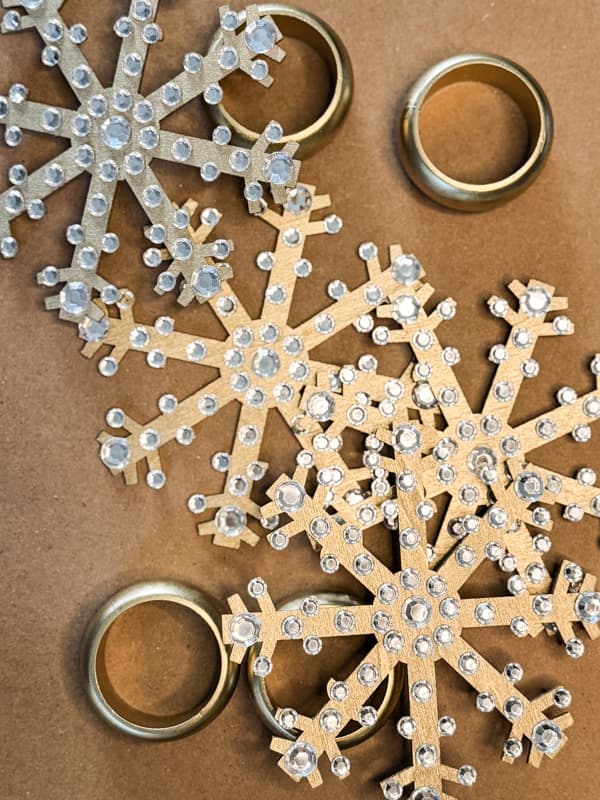
Step One – Spray Paint Wood Snowflakes & Napkin Rings
The first step was to spray paint the wood snowflakes and the thrifted napkin rings. Both were instantly transformed with just a quick spray of Metallic Gold Spray Paint.
Step Two – Attach Rhinestones
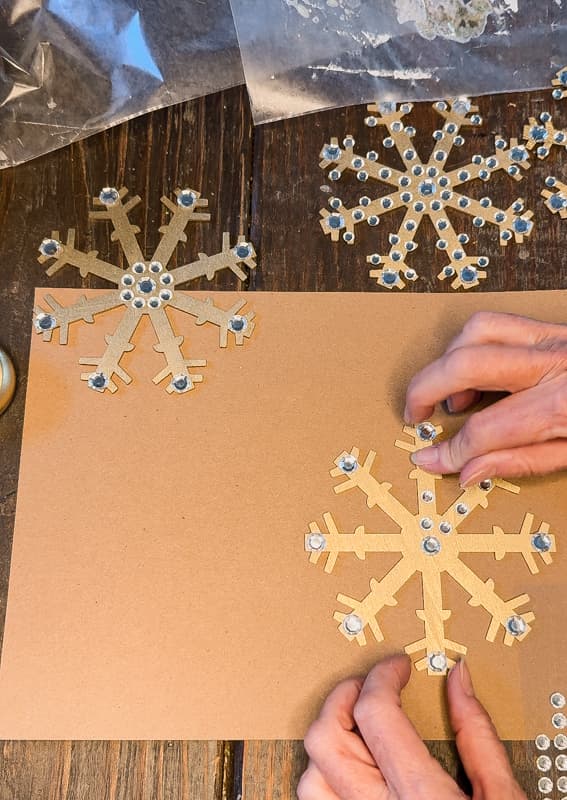
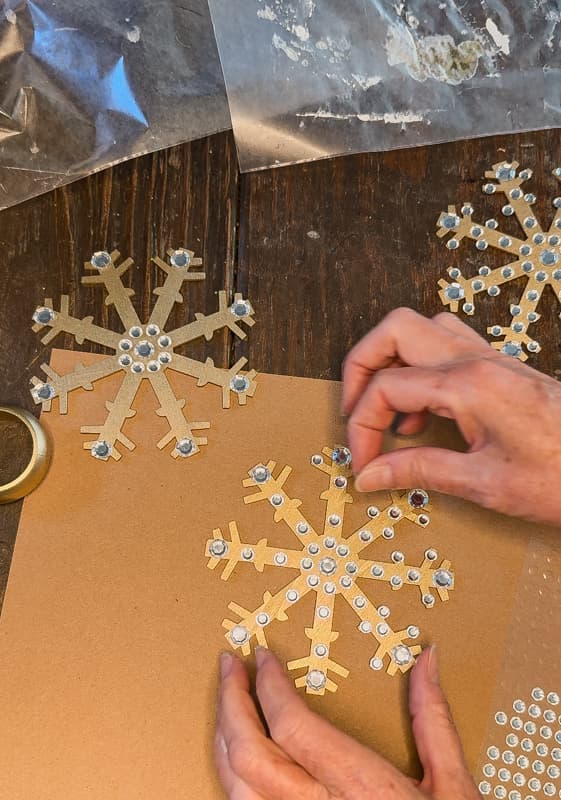
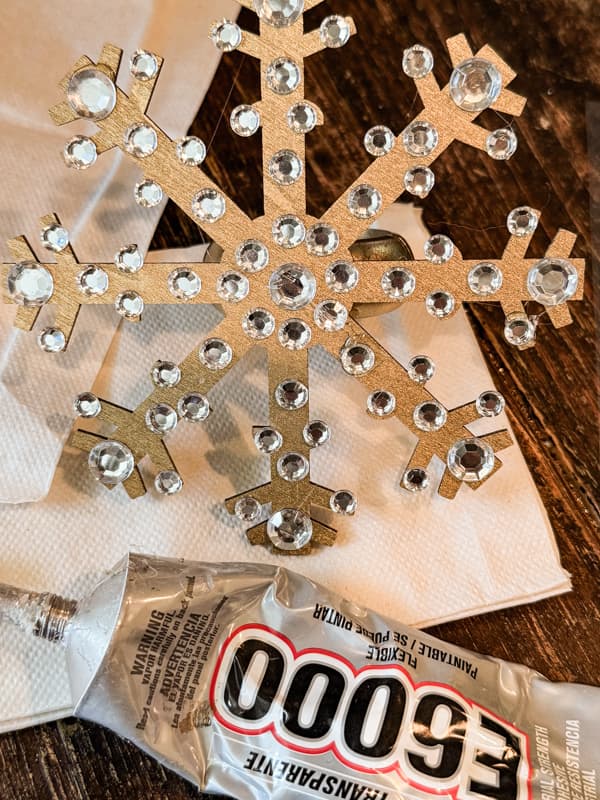
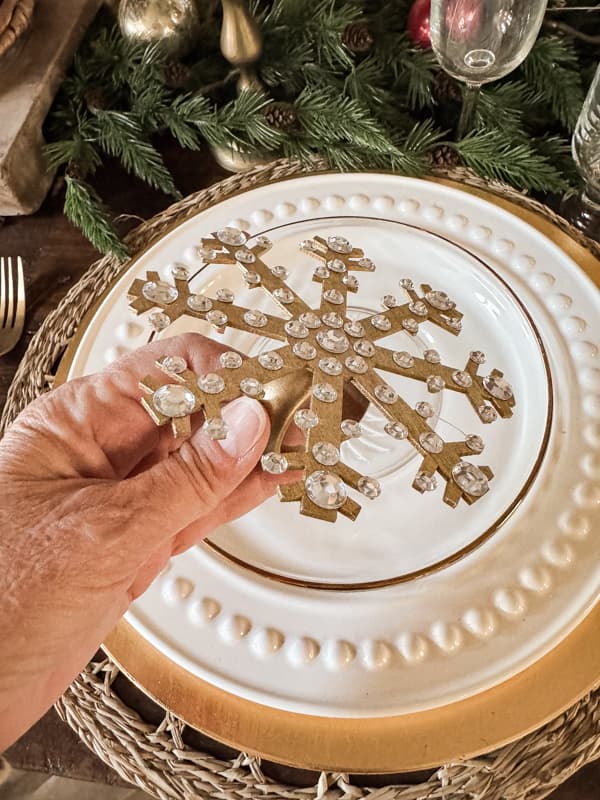
After the spray paint dried, I began to add the rhinestone. I used three sizes to create my design. They have an adhesive backing, so applying them to the snowflakes was easy. You can arrange them in any design that appeals to you.
Insider Tip
Press the rhinestones firmly to the wood when applying them to the snowflakes. In addition, avoid touching the adhesive side as much as possible. If you drop them, I recommend using a new one.
I found that the adhesive holds well to the wood, but if the adhesive is jeopardized, it will fall off. After I finished, I shook and tapped the Christmas napkin rings to see if any stones were loose. I secured those that were loose with a dot of E-6000 glue.
I also noticed that the rhinestones attached to the edges of the wood were the less secure ones. If possible, place each stone on a solid surface.
Step Three – Attach Napkin Ring To Snowflake
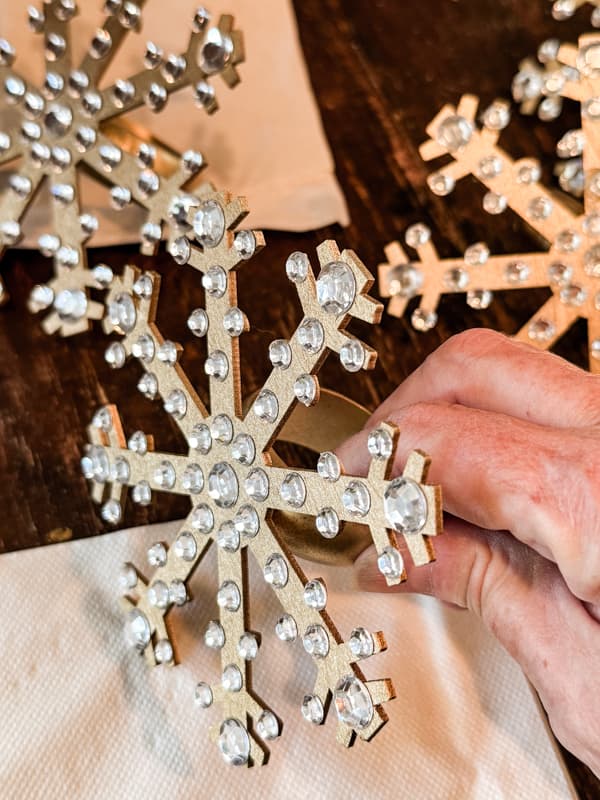
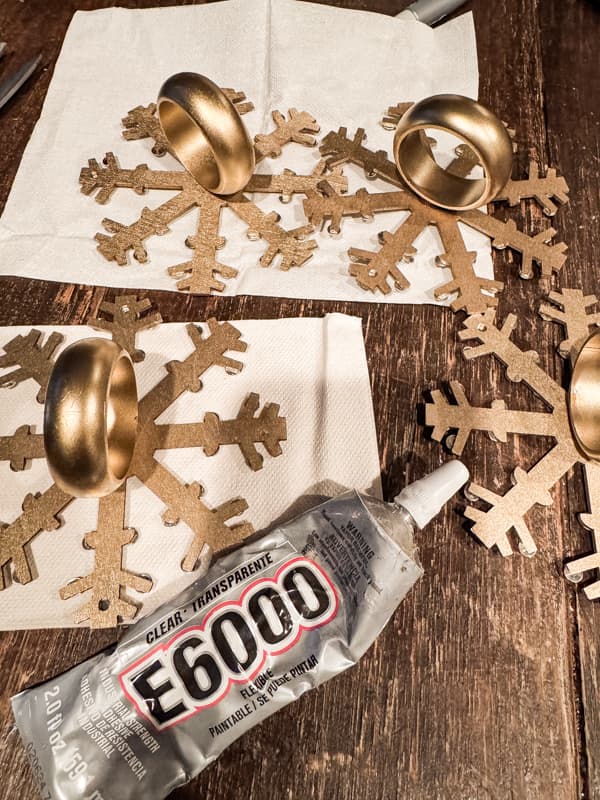
Finally, you want to securely attach the napkin ring to the sparkly snowflakes. I placed the snowflakes flat on a table where they would remain for several hours. Then, I added E-6000 glue to the center and put the napkin rings in the glue. Ensure that the ring is centered and standing straight. Leave in place until the glue is dry. If the ring wants to tilt, add painter’s tape to hold it in place. Another option would be to add hot glue, which will dry faster.
DIY Christmas Napkin Rings
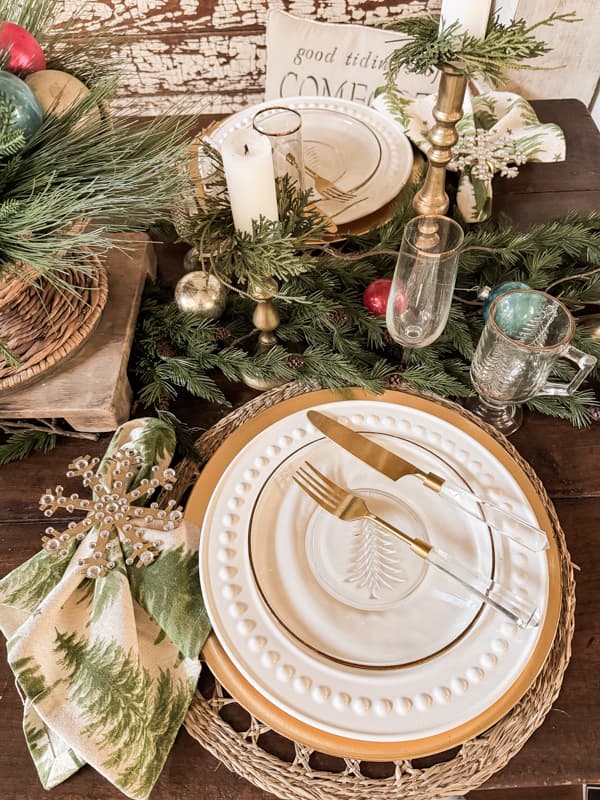
The DIY Christmas napkin rings add an elegant sparkle to the dining room table. I decided to use them with Christmas tree napkins. However, they would be beautiful with pure white or red napkins for the holidays.
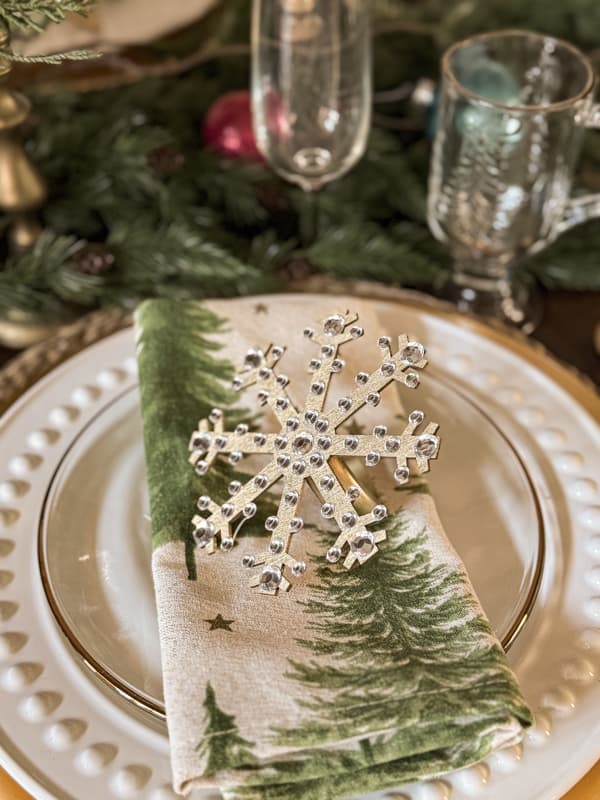
They are enhanced with the addition of gold plate chargers and gold-rimmed tableware.
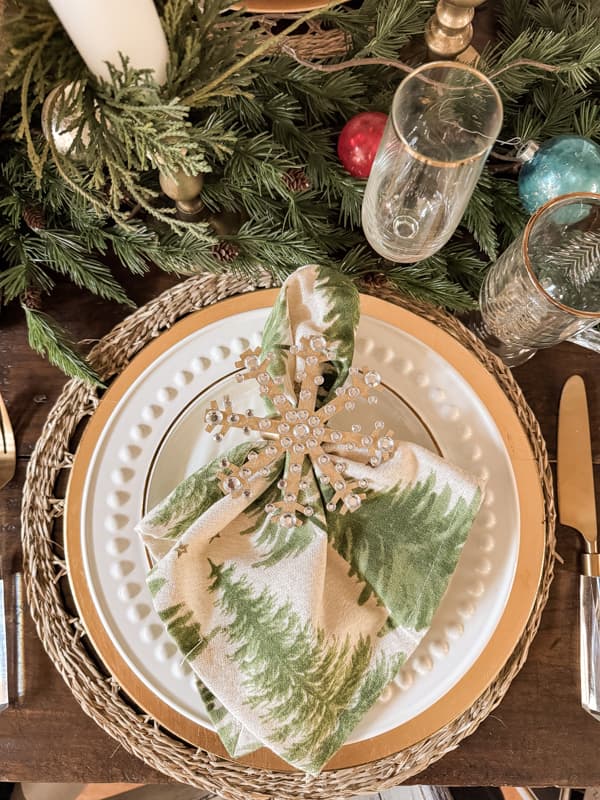
The gold cutlery and gold-rimmed Christmas tree salad plate combine with the rhinestone-crusted snowflakes for a festive winter tablescape.
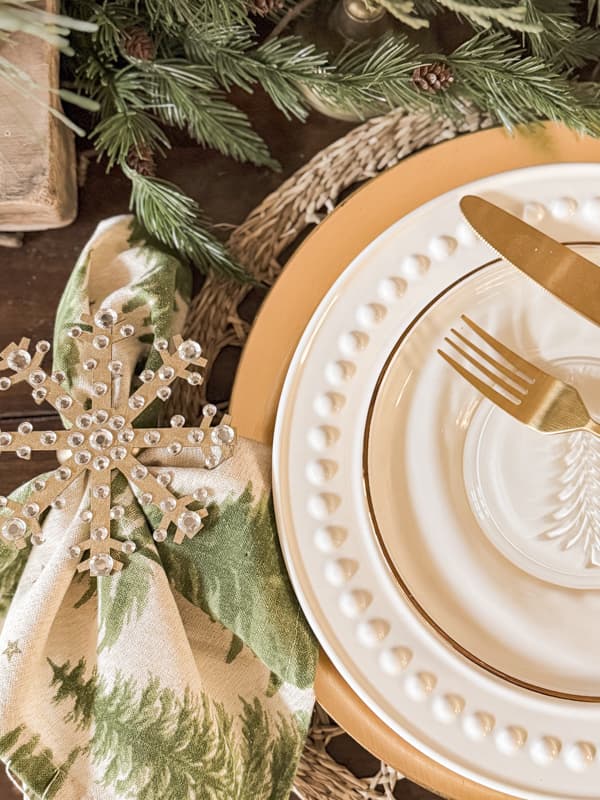
Your guests will love the stunning Christmas napkin rings and will never guess they were so easy and inexpensive to make. The snowflakes will make them a great addition to any table during winter entertaining.
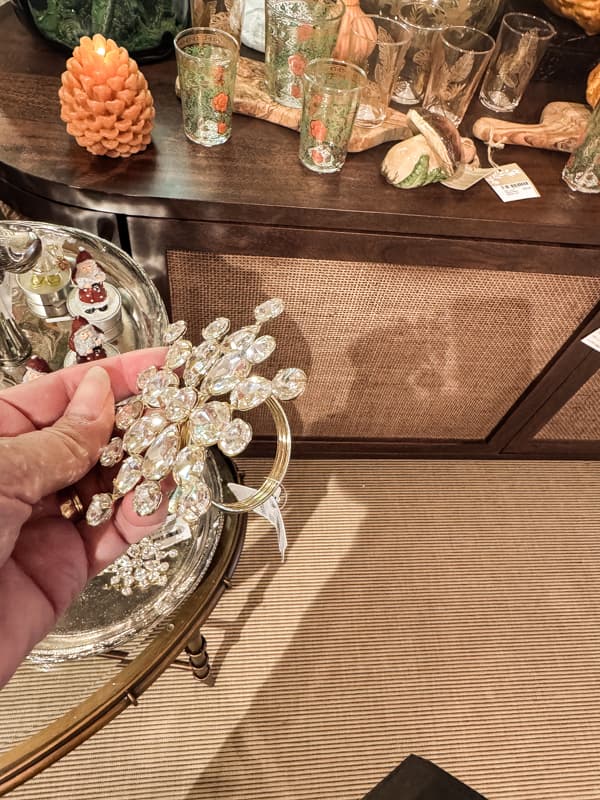
Designer vs. DIY
Below, you can see the original designer napkin rings compared to the DIY version. They are not exact, but it’s not a bad comparison when the DIY versions cost less than $3.00 each vs. the $29.00 designer option.
Related Articles
If you like the idea of making napkin rings, you will also enjoy these easy tutorials.
- Craft Stunning Blue & White Napkin Rings With Budget-Friendly Decoupage
- DIY Tropical Napkin Ring Dupe for Under $5.00
- Pottery Barn Inspired DIY Leaf Napkin Rings
- Easy Twig Napkin Rings
- Adorable Burlap Napkin Rings
Resources



They are beautiful…..and the price is fabulous….
Thanks for sharing…
Merry Christmas to you and your family….
Eva,
Thank you! So glad you like them. Have a blessed week.
PRETTY! I like yours better than designer. You are so creative. I don’t have the patience to be crafty.
Nancy,
These are so easy anyone could make them. Thank you for stopping by. I’m glad you like them. Have best week.
Give me all the sparkly things, Rachel! I love the way these came together. They’re so pretty! I’ve been in and out of town way more than I expected to be this month so I haven’t been able to decorate much and your posts are putting me in the holiday spirit. I love these and will share them on an upcoming From the Front Porch! Hugs, CoCo
CoCo,
I really appreciate that. I hope things are settling down and you can enjoy the rest of the holiday season. Have the best week.
Great idea and could be used for other things as well. I always love your DIY’s.
Blessings, Candy
Candy,
Yes, any of the wood cutouts at Dollar Tree would work. You can also use these as tree ornaments. So many options. Thanks for your input. Have a blessed day.
Rachel, your snowflake napkin rings are so pretty! I have to go to the Dollar Store and try to find these wooden snowflakes. I saw them in November so, hopefully, they will still have some. I love your gold silverware. The napkins you used with the snowflake rings are really pretty. This is another fabulous DIY you have shared with us and I thank you for doing this. Your ideas are just the greatest. They always look so nice and expensive! You are so gifted, Rachel, and I am so glad that I subscribe to your posts. Each one is so special! Bless you for being so special!
Mary-Ann,
I hope you find the snowflakes. However, any of their small cut-outs would make great napkin rings. Even the Christmas trees I used for the party cheese marker. Have the best week. And I appreciate you so much all your comments.
I like DIY snowflakes over $29.
Linda,
Thank you! I’m so glad you like them. And they were so easy to make. Thank you for taking the time to comment. I appreciate you! Have a blessed and Merry Christmas.