DIY Anthropologie-Style Cheese Markers: Air Dry Clay Fall Decor
Want a fun fall craft project that is easy and fun for the whole family? Elevate your fall charcuterie boards with these adorable, handmade cheese markers. Inspired by Anthropologie’s Foliage Cheese Markers, these air-dry clay creations add rustic charm to your fall tables. Get creative and let the kids help with this easy and fun DIY cheese marker fall craft project.
(Posts on The Ponds Farmhouse may contain affiliate links. As an Amazon Associate, I earn from qualifying purchases. See the full disclosure details here.)
Table of contents
Anthropologie-Inspired Fall Cheese Markers
I always check out the latest seasonal decor and tableware from Anthropologie, Pottery Barn, Ballards, etc. These companies never fail to inspire my seasonal decor. However, I always think “I could make that for less”. So when I saw these cute foliage cheese markers at Anthropologie, I knew immediately I wanted make them. So here’s what I did.

Supplies For DIY Cheese Markers
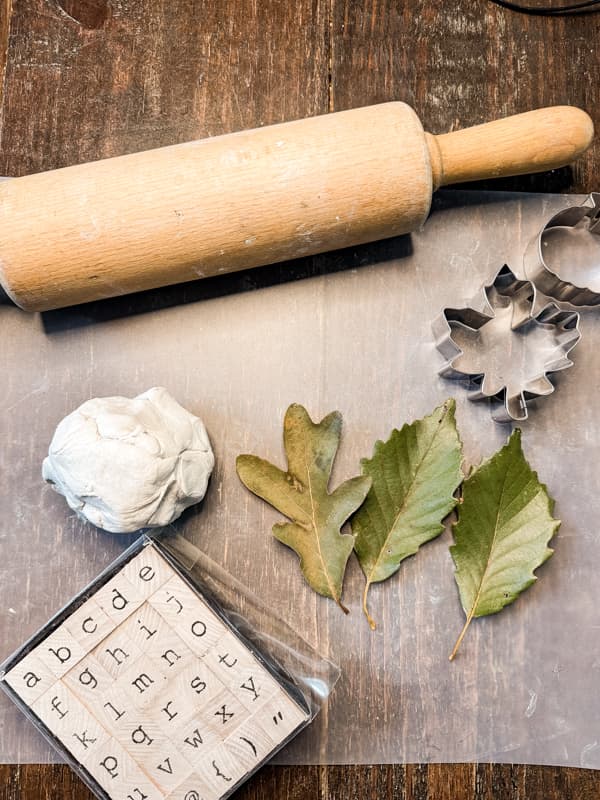
Here are the supplies I used to make the DIY Cheese Markers.
- Air Dry Clay
- Long toothpicks
- Craft Paints
- Maple Leaf Cookie Cutter
- Pumpkin Cookie Cutter
- Fall Leaves
- Exacto Knife
- Rolling Pin
- Plastic Mat or cutting board
- Lower Case Alphabet letter stamps
- Food Grade Clear Sealer
How To Make Handmade Cheese Marker
The first step to making handmade cheese markers is determining what shapes you want them to be. I was inspired by the leaves that Anthropologie used, so I searched my cookie cutters and found a maple leaf and a small pumpkin. I wanted more variety than just the two shapes, so I foraged for some small leaves to use as templates. Here is how that worked for me.
DIY Air Dry Clay Fall Leaf Cheese Markers
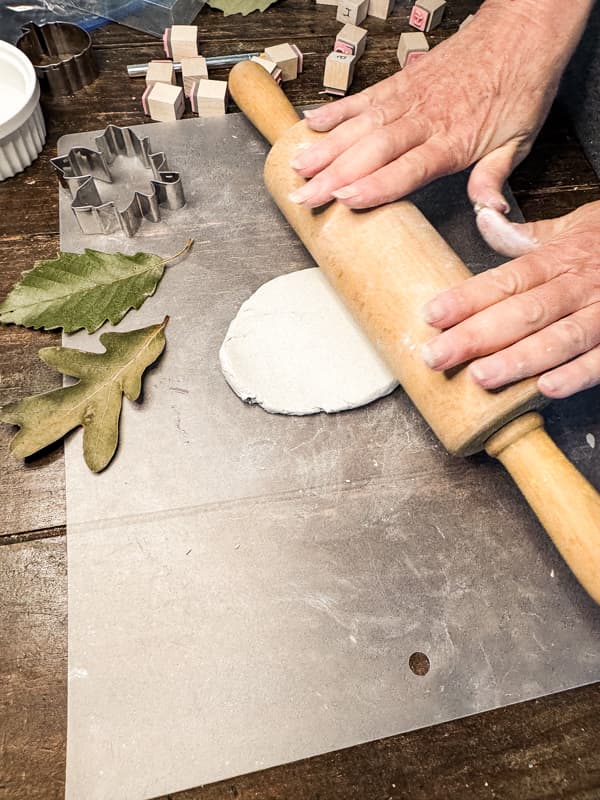
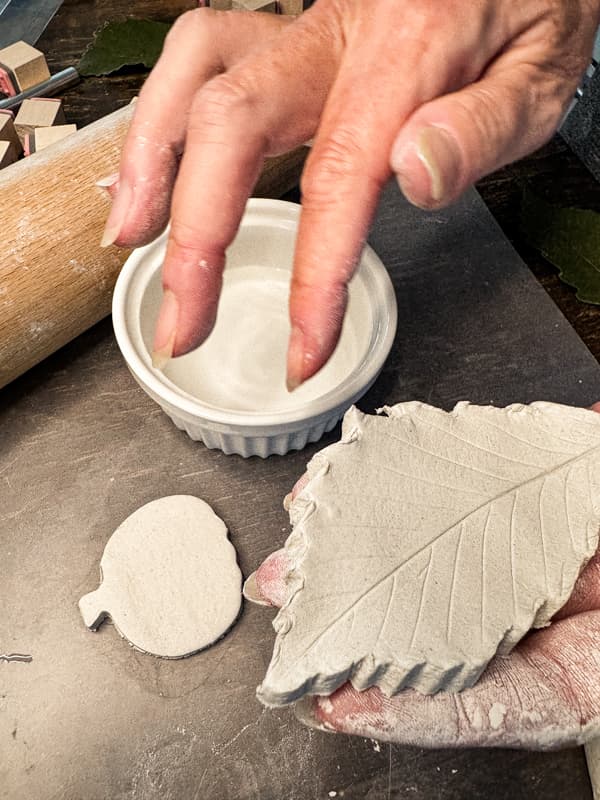
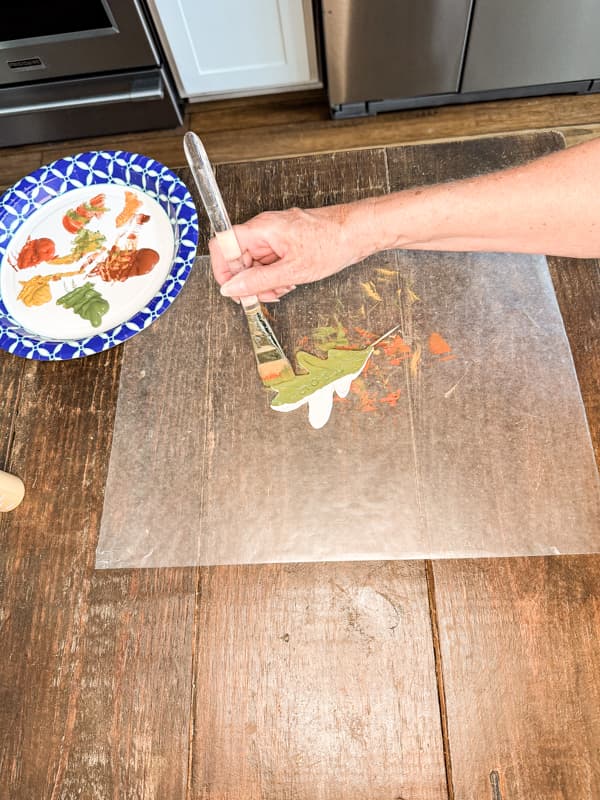
To make the air-dry clay fall leaf cheese markers, roll out a small amount of your air-dry clay onto the plastic mat. Ensure there are no air bubbles and that your clay is approximately 1/4 inch thick.
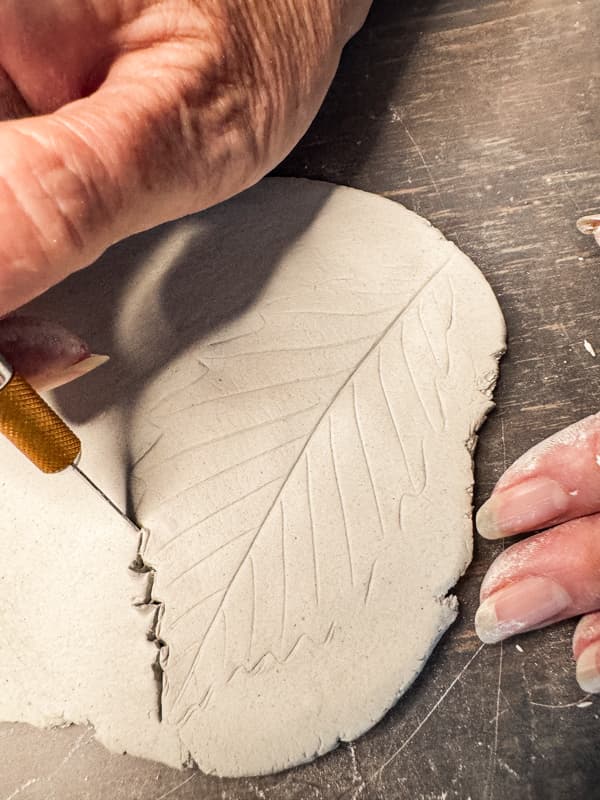
Begin by pressing your leaf into the clay to form a pattern. If you have cookie cutters, press them into the clay to cut out your design.


For the design created with your foraged leaves, you will need an exacto knife to cut out the clay design. Gently cut around the outside edges of the leaf and remove any excess clay. If your design has any rough edges, add a drop of water to your fingertips and rub the edges to smooth.
Insider Tip
Be cautious when adding water to the air-dry clay designs. If you use too much water, your leaf may not be strong enough. Should this occur, add more clay and roll it together with your design. Then start the process over.
Add Design Details
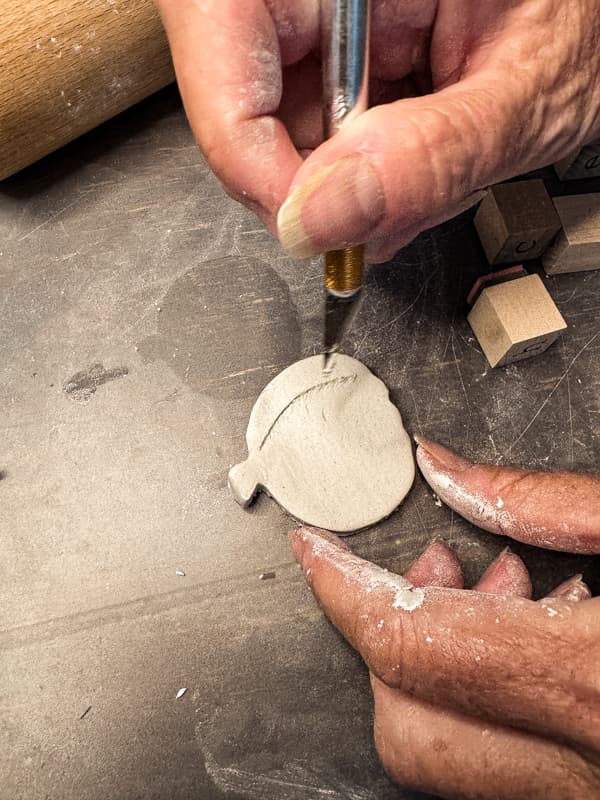
Next, you are ready to add your design details. Begin by using the exacto knife to cut or enhance the leaf veins or pumpkin details.
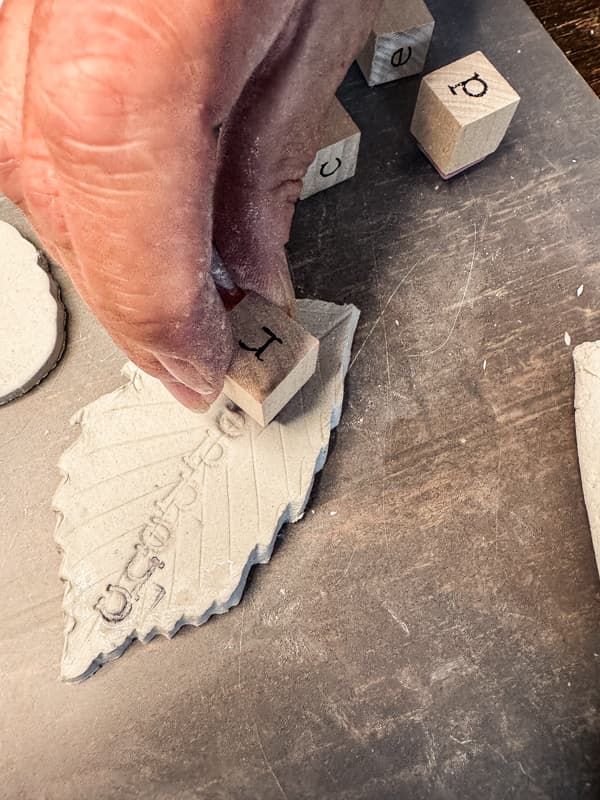
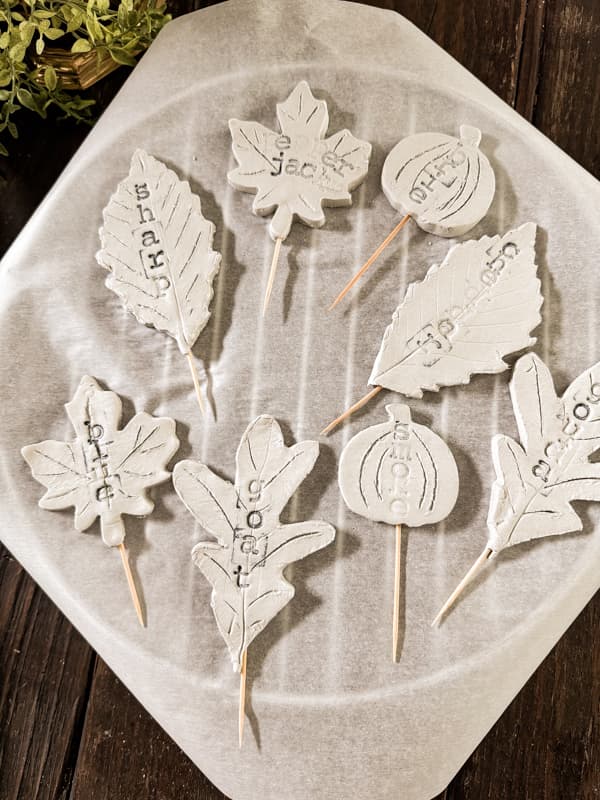
Next, determine what cheese names you desire on your DIY cheese markers. I used the cheese that we most often serve at a party. Use your lower case alphebet stamps to add the names to the centers of the air-dry clay leaves and pumpkins. Press the stamp into the clay just enough to see the letter.
How To Add The Toothpick To The Cheese Markers
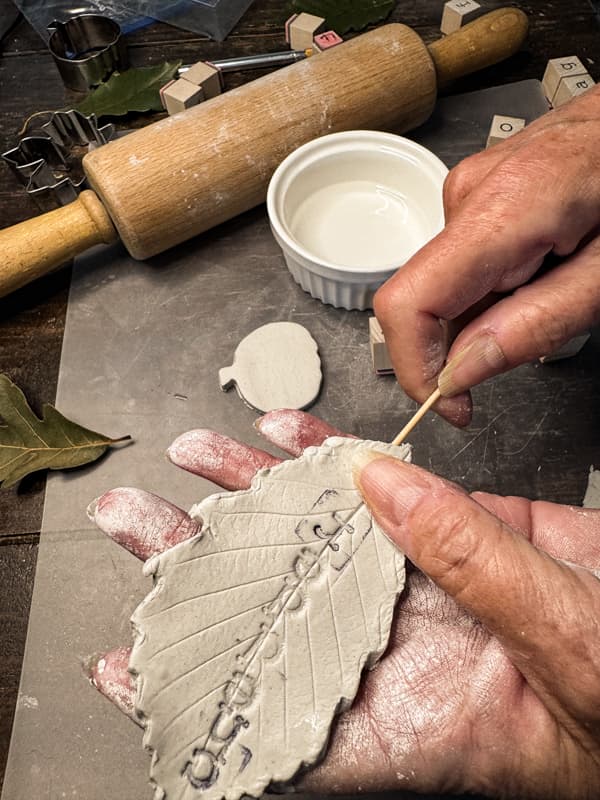
Next, you are ready to add the toothpicks to the air-dry clay cheese markers. I used cocktail toothpicks that are slightly longer than standard toothpicks. To insert, hold the clay leaf and insert the toothpick at the bottom of the leaf. Push gently keeping your fingers at the backside and front of the leaf to ensure that you are not puncturing the outside of the clay. Once you have all the DIY cheese markers constructed, you are ready to allow them to dry.
Dry The DIY Cheese Markers
First, you don’t want to rush the drying process. Allow the clay to dry naturally, in a cool, dark area such as a pantry. Put the DIY cheese markers on a wire tray with a covering of parchement paper to begin with. Then as they begin to harden remove the paper to allow air flow under the clay. I let mine dry for 3 days before moving to the next step.
Paint The Cheese Markers
The air-dry clay is completely dry and you are now ready to put the finishing touches on your markers. Choose craft paint colors that represent the designs you have created.
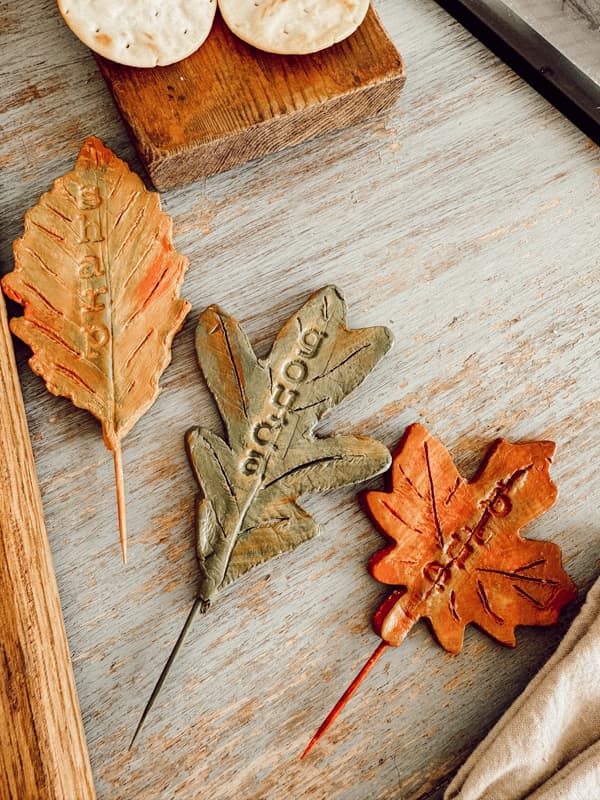
I painted my fall leaves with the soft yellows, greens, and rust that you see in natural falling leaves. I mixed some of the paints to create a two dimensical color on the cheese markers.
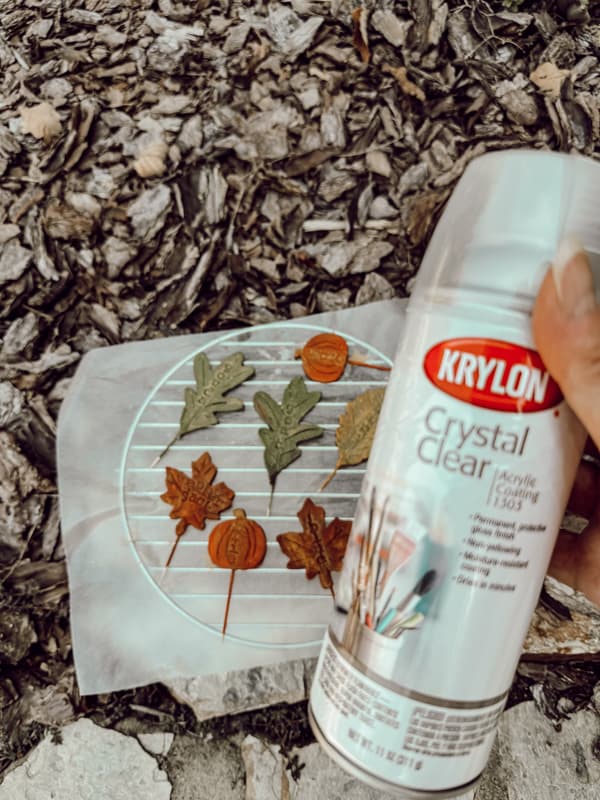
Seal With a Waterproof Food Grade Sealer
The final step is to seal the handmade cheese markers with a waterproof food grade sealer after the craft paint is dry. I used Krylon Crystal Clear Spray Sealer and coated both the front and back side of the makers.
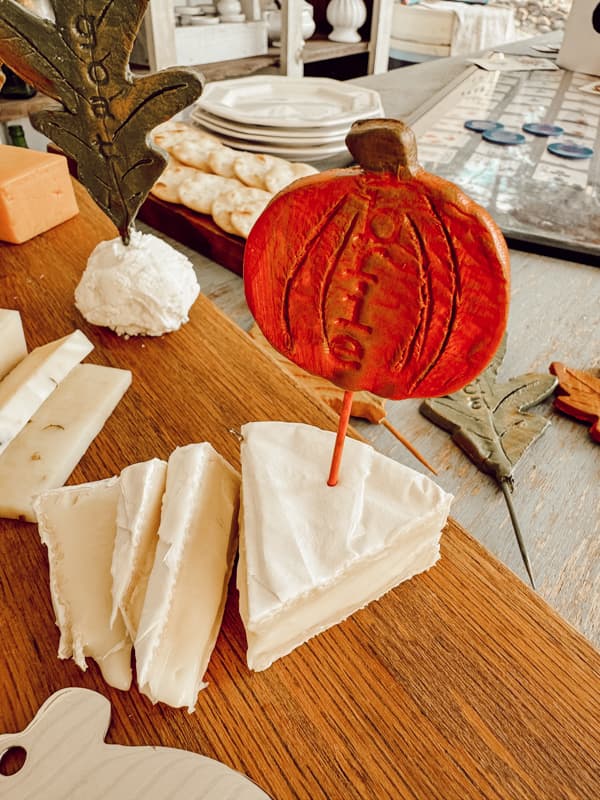
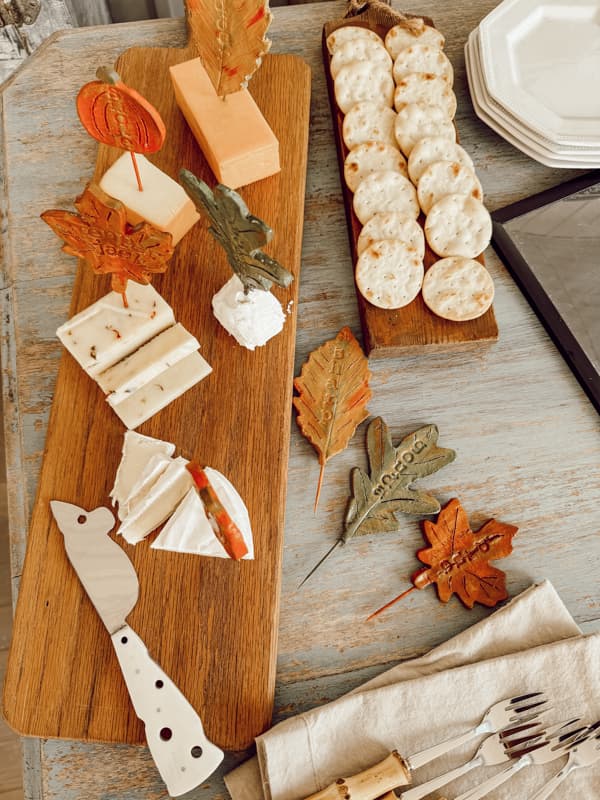
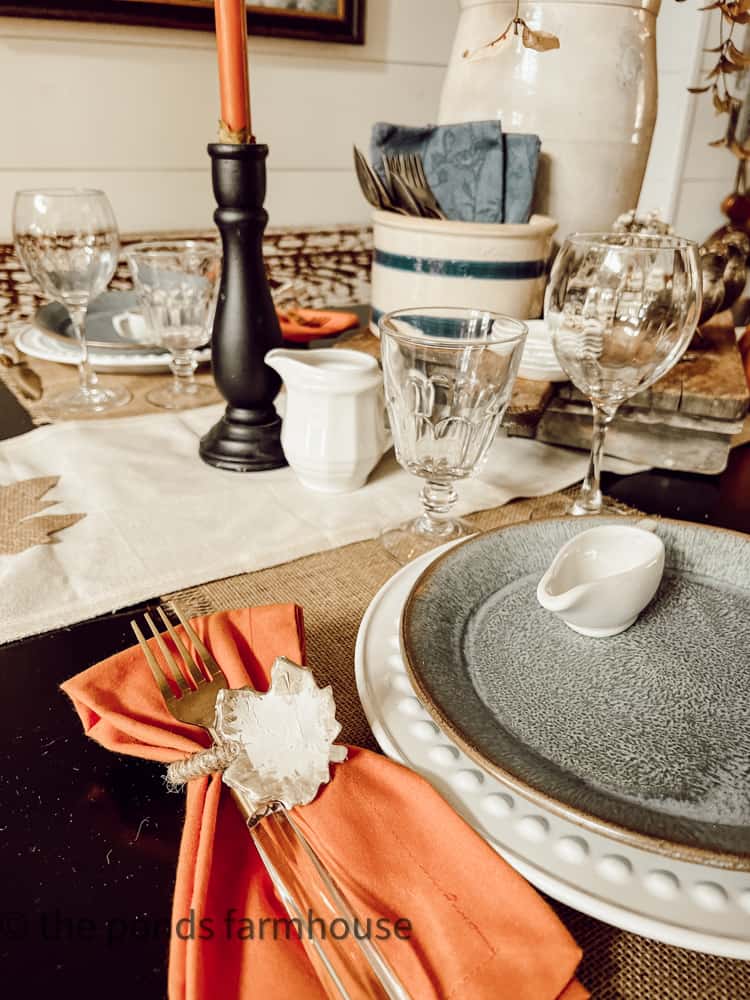
Add Handmade Cheese Markers To Your Table
Now it’s time for the fun part. You get to decorate your table with your new handmade cheese markers. I am planning a game night dinner party and will be providing a cheese tray for the event. These handy markers will enhance the table setting and help my guest to identifiy the array of cheeses available.
They were so fun to make and it would be a great project to include the kids. There are so many options for design so unleash your creativity.
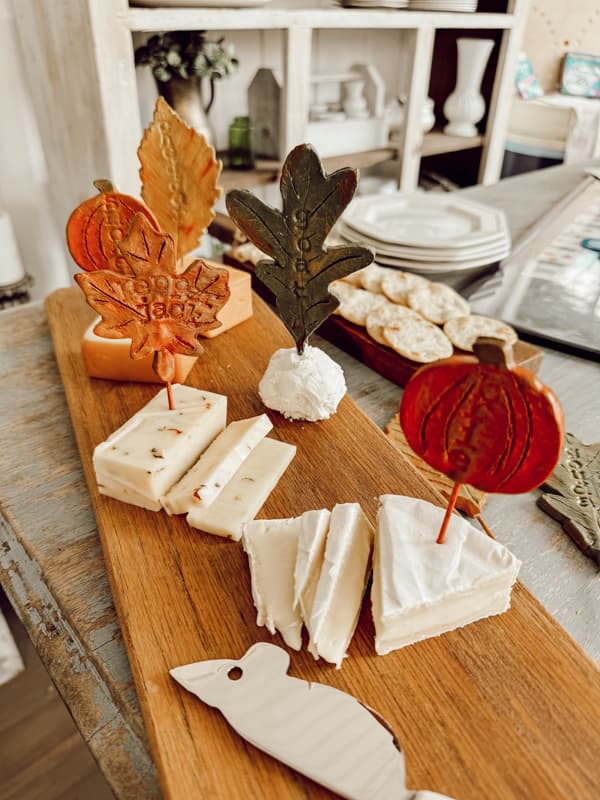
An Oopsie!
I had one oopsie and wanted to share it with you so you don’t make the same mistake. You will notice that I have a rather large leaf for goat cheese. The goat cheese is soft and the larger cheese markers are heavy. Do you see the problem? I was able to get it to stand but with any jostling, it was easy to tip over. It definetly would not withstand guests partaking of the goat cheese.
I should have switched the goat for the brie and all would have been fine. I can make another goat cheese marker or put the cheese in a bowl to help support the marker.

All the other markers worked like a charm although I didn’t need a few of them for this small gathering. Be sure to check back next week to see the decorated Game Night Supper Club table.
Resources
Related Articles
- DIY Air Dry Clay Pottery Barn Leaf Napkin Rings
- Air-Dry Clay Easter Egg Trinket Trays or Bowls Pottery Barn Dupe
- Christmas Ornaments made with Air-Dry Clay
- DIY Budget Flower Wall Sconce With Air-Dry Clay
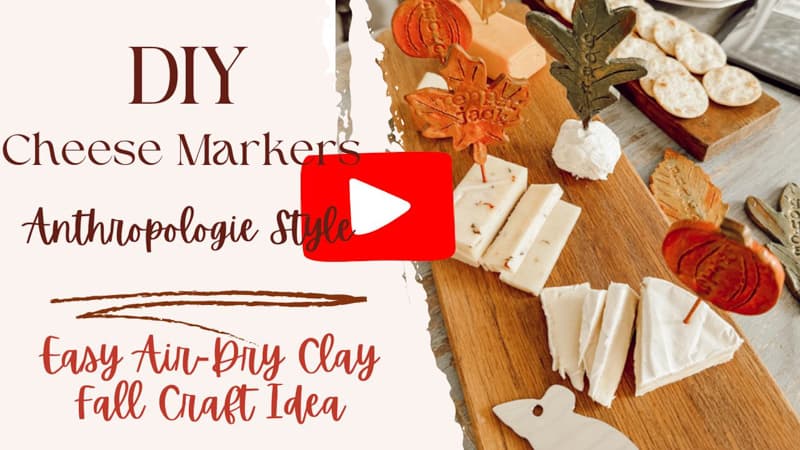
Video
Thank you for stopping by today and for following along. Stay tuned for my next adventures.


Rachel, these are amazing! I have never worked with air dry clay and this totally motivates me too. A really great project! Happy weekend!
Kim,
I’m so glad you like it. Thank you.
Rachel, I have never used air dry clay. These are so stunning and unique. I love how you painted them and put on the lettering. Wondering if I am even capable of doing this! Ha!
Mary,
I know you are more than capable.
Your cheese markers are super cute and look fun to make!
Angie
I’m so glad you like them. They are fun to make also. I appreciate you for stopping by.
Oopsies and all, those are fantastic!!! I needed a craft for my lady friends and these will be perfect. Thank you!
Cindy,
That would be a great idea.
These are SO pretty, Rachel! Visiting by way of Farmhouse Friday! Would love to see these this week at Tuesday Turn About! The party re-opens on Tuesday at 6am EST… Hope we see you there!
Julie,
I will do so.
@Rachel, Thanks for dropping in and linking up! I’m delighted to be sharing your post at this week’s party!
Julie,
Thank you so much for featuring my craft idea.
Popping back in to say thank you for sharing this with us on Farmhouse Friday. I’m featuring it tomorrow. Tonight is when I show my friends what we’ll be doing. I’m so excited! pinned – again!
Cindy,
Thank you for this. I hope they love it.
These Clay Leave Cheese Markers are GORGEOUS, Rachel!
Don’t forget to join us over at the Creatively Crafty Linky Party every Wednesday through Sunday
https://creativelybeth.com/creative-crafts-linky-party/
Followed and Pinned!
Creatively, Beth
Beth
Thank you and just joined the party.
Love these so much, Rachel… I’m featuring them in my post tomorrow of 21 Autumnal DIYs You’ll Fall For!
Julie,
I appreciate this so much. Thank you!