Adorable DIY Mushroom Christmas Ornaments: Easy Acorn Craft
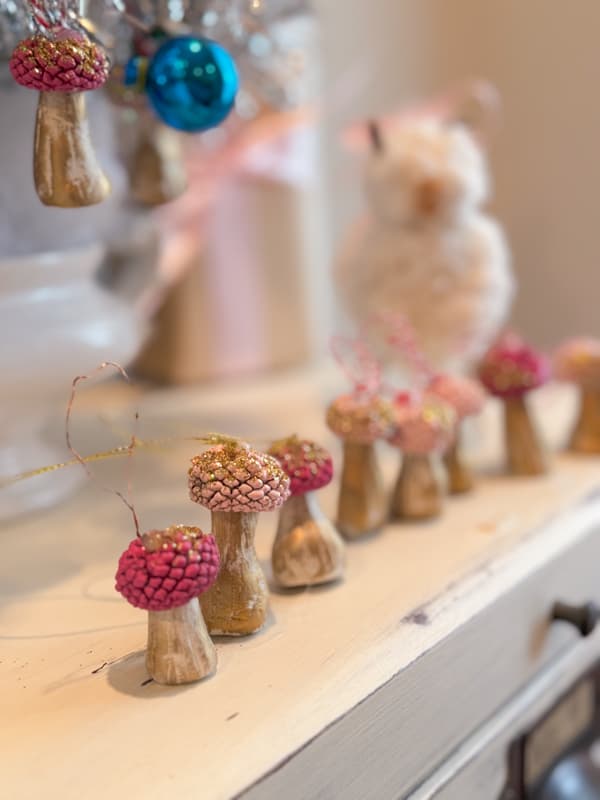
Looking for a nature-inspired Christmas craft? You are going to love this adorable craft idea. Acorns are falling, and I was inspired to create an easy acorn craft for Christmas decorating. As I picked up a large acorn cap, I immediately thought of a mushroom. So here is a fun mushroom Christmas Ornament tutorial that the whole family will enjoy.
Start gathering those acorn caps, and let me show you how easy this craft is.
(Posts on The Ponds Farmhouse may contain affiliate links. As an Amazon Associate, I earn from qualifying purchases. See the full disclosure details here.)
Table of contents
Why Use Acorns For Christmas Ornaments
I love looking to nature for decorating inspiration year-round. However, Christmas is the perfect opportunity to embrace sustainable decor choices. Gathering from nature, repurposing old decorations, and creating budget-friendly craft projects are my favorite ways to decorate. If this appeals to you, you will love this acorn craft.
When I first picked up the acorn caps, I envisioned a rustic mushroom Christmas Ornament. But as I began to gather more caps, another idea sparked, and I’m so glad I followed my instinct because these are the least rustic mushrooms—they are just the cutest.
Supplies DIY Mushroom Christmas Ornaments
I used these supplies and tools to create these adorable mushroom Christmas ornaments.
- Foraged Acorn Caps – I gathered the largest ones I could find.
- Spray paint – I used two shades of pink. – Hot Pink and Bonnet Pink
- Air Dry Clay
- Elmer’s Glue
- Gold Fine Glitter
- Hot Glue Gun
- Gold String or Baker’s Twine
Step One – Spray Paint Acorn Caps
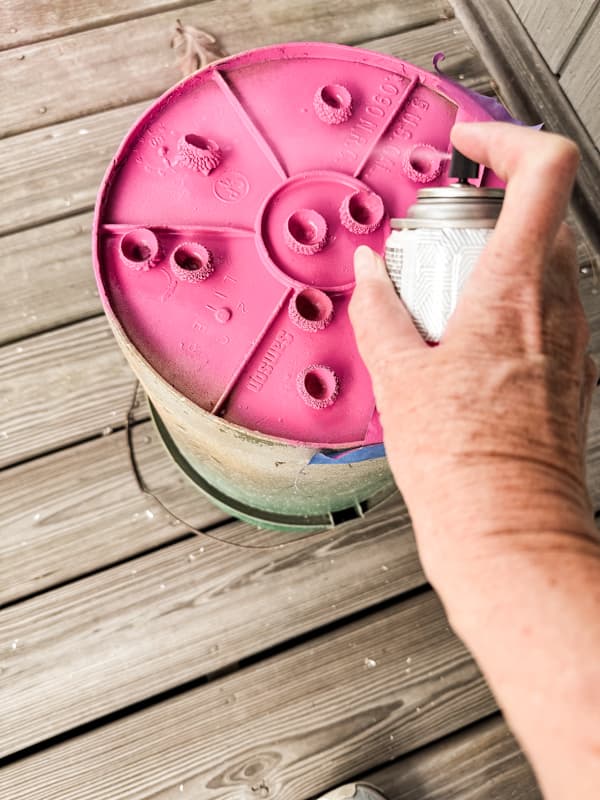
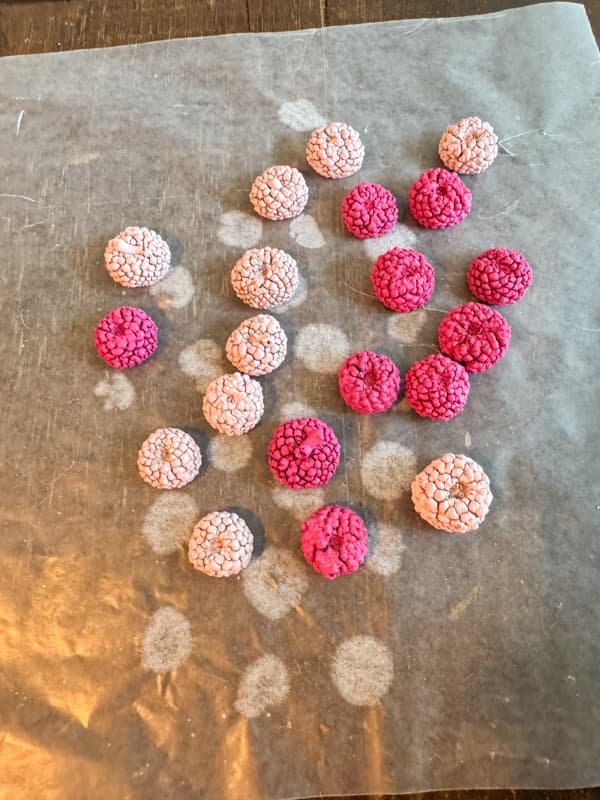
The first step is to gather your acorn caps and spray paint them in your choice of color. For this fun acorn craft, I used two shades of pink. I recommend painting both sides of the acorn cap.
Insider Tip
If your caps want to move around with the force of the spray paint, use painter’s tape to hold them in place. Apply a piece of tape with the sticky side up to the surface you are painting the caps on. Use more tape to hold the sticky tape in place. Press the caps onto the sticky tape and then spray them. They will not move around. Repeat when you turn them over to paint the backside. Some of my caps were heavy and didn’t need taping down, while others were blowing all over the place.
Step Two – How To Make Mushroom Stems
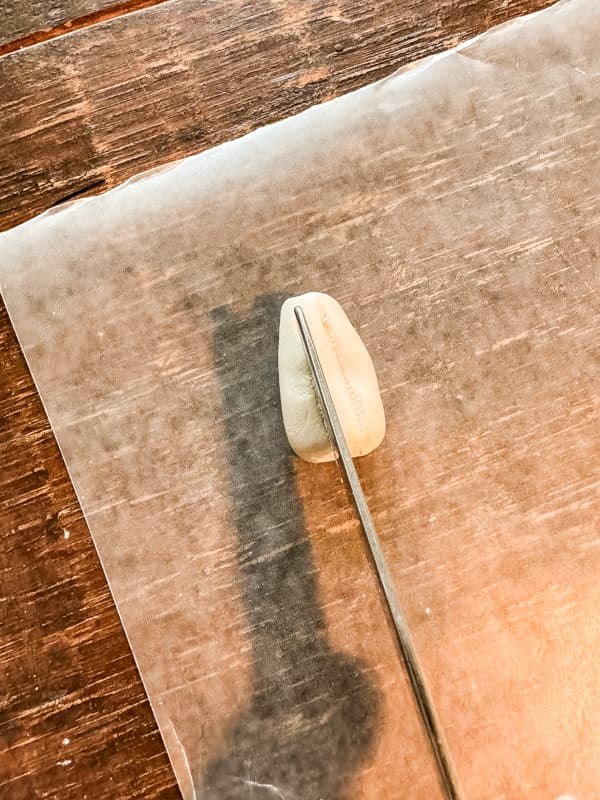
Next, you will need to make stems for the mushroom Christmas ornaments. I decided to use air-dry clay, which only takes a small amount to make several stems. I began by rolling the clay into one long log and cutting small pieces. Then, I roughly shaped the pieces to look like small mushroom stems. Don’t worry about perfection, as no two would look alike.
I used a knife to press grooves into the sides of the stem and flattened the bottoms and tops. Then, I set them aside to dry for approximately three days.
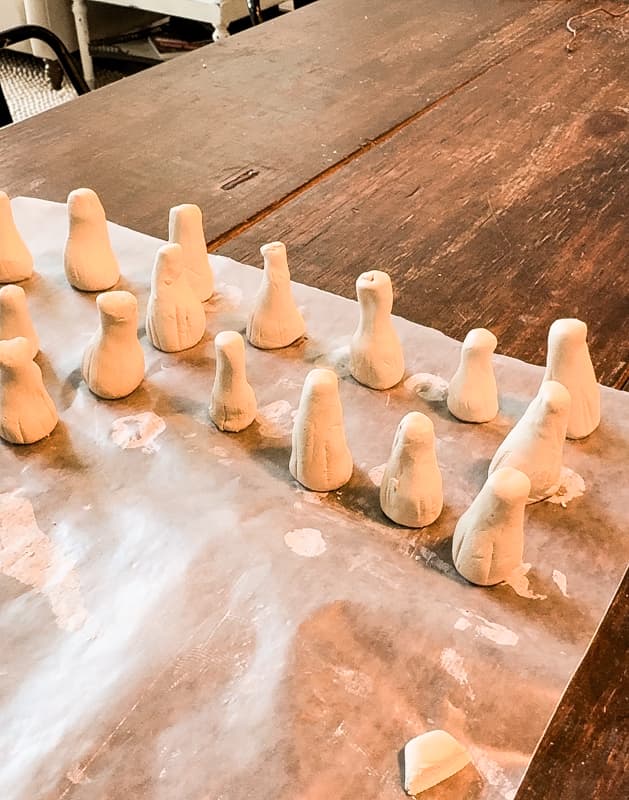
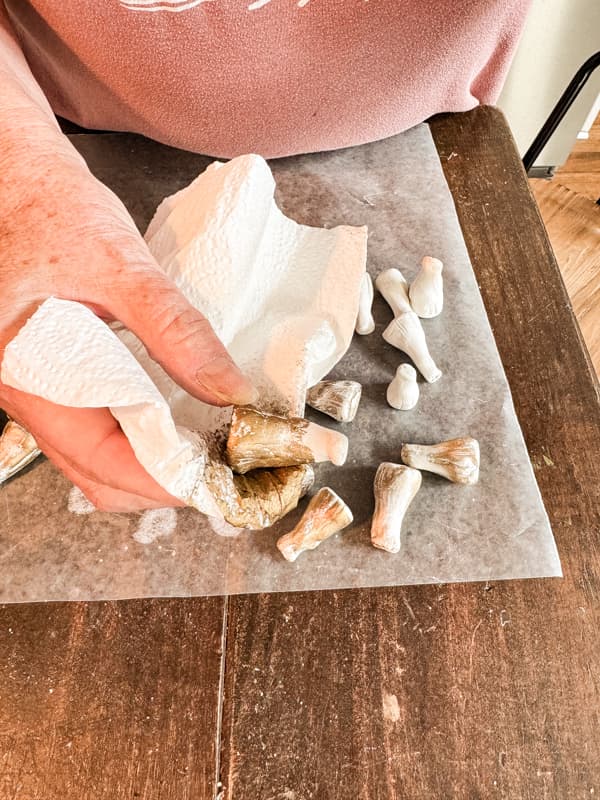
After the mushroom stems dried, I applied Gold Leaf Rub N Buff unevenly over them to highlight their texture. This was a quick swipe with a paper towel without covering it completely.
Step Three – How To Enhance The Acorn Caps
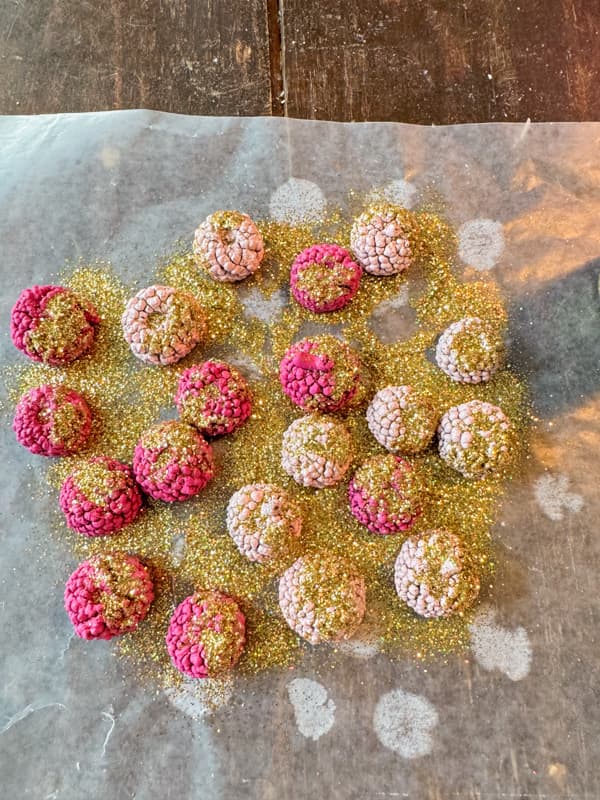
Next, I decided to enhance the acorn cap with glitter. I brushed a small amount of Elmer’s glue onto sections of the caps. I don’t recommend completely covering the tops with glue; a little glitter goes a long way.
Once all the glue has been applied, sprinkle the acorn caps with fine glitter. Shake off excess glitter onto the wax paper and return the unused proportion to the bottle.
Allow the glue to dry completely before moving to step four.
Step Four – Attach Stems To Acorn Caps
Once the Elmer’s glue is dry and the glitter is set, you can attach the stems to the acorn caps. I just added a drop of hot glue to the inside of the cap and pressed the stem into the glue. Hold for a few seconds to ensure that the glue has set.
Step Five – Add Hangers for Mushroom Christmas Ornaments
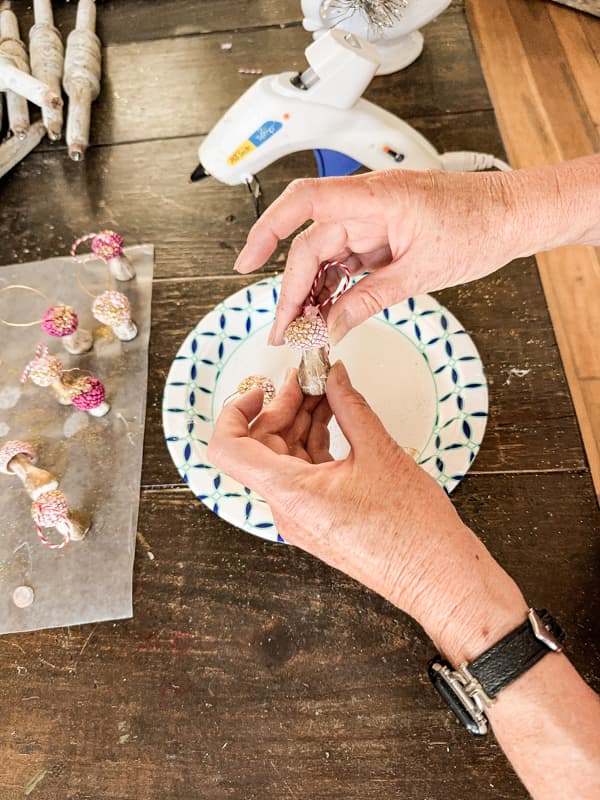
The final step is to add hangers so the mushroom Christmas ornaments can be added to the tree. I used some gold string for some of the hangers but when I ran out, I used some baker’s twine that I had on hand. Both look good on the ornaments.
To attach, add a drop of hot glue to the top of the acorn cap and press the string or twine into the glue. Hold in place until the glue is dry.
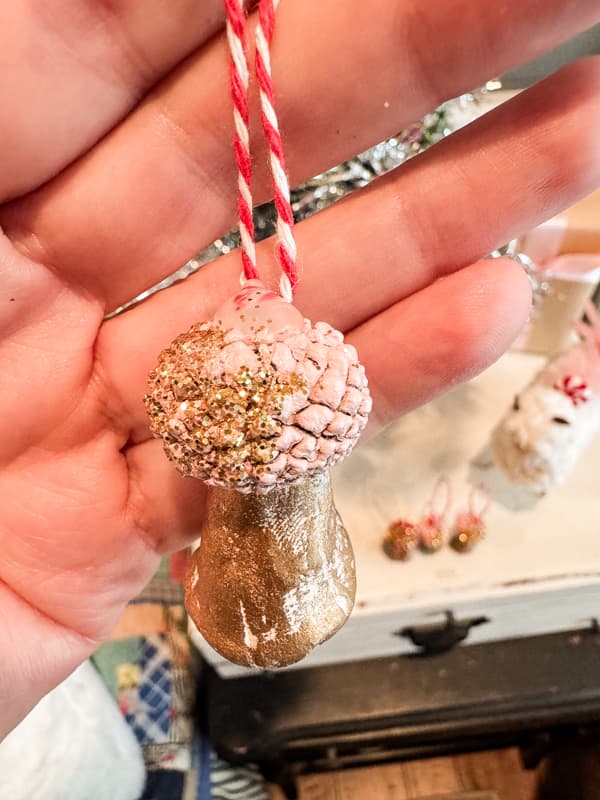
Add Acorn Craft To Christmas Tree
Now that you have completed your acorn craft, it’s time to add these adorable mushrooms to a Christmas tree.
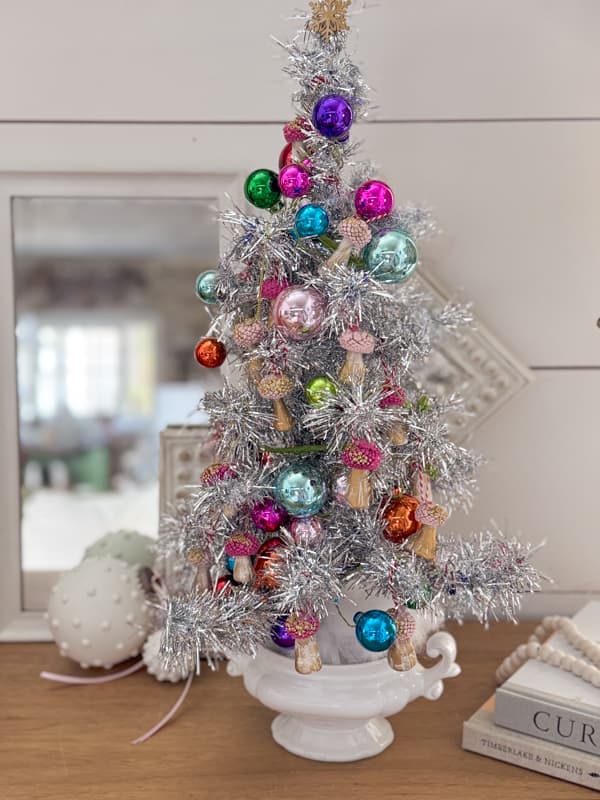
I made these mushroom Christmas ornaments specifically for my new DIY faux vintage aluminum Christmas Tree. I had already added a babble garland in multicolored balls to the tree, and the addition of the mushrooms was the icing on the cake.
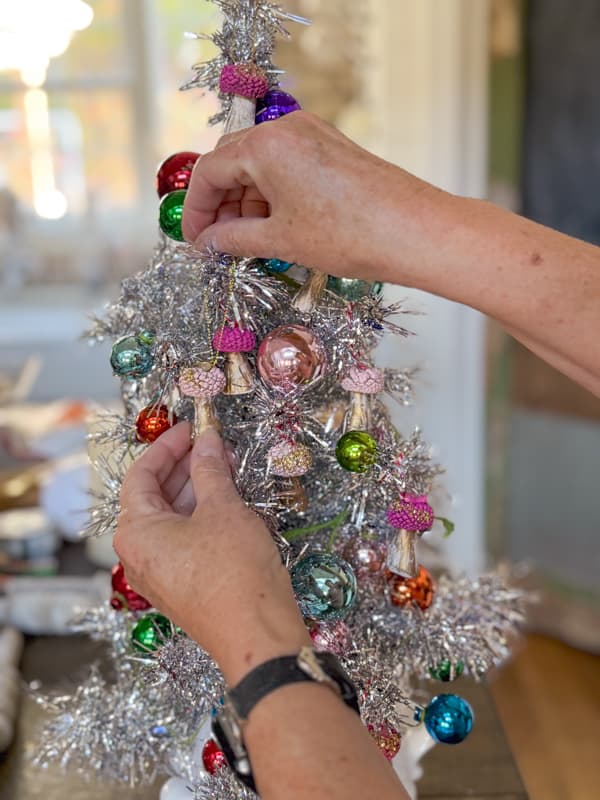
The colorful little mushrooms sparkle and shine against the silver tinsel.
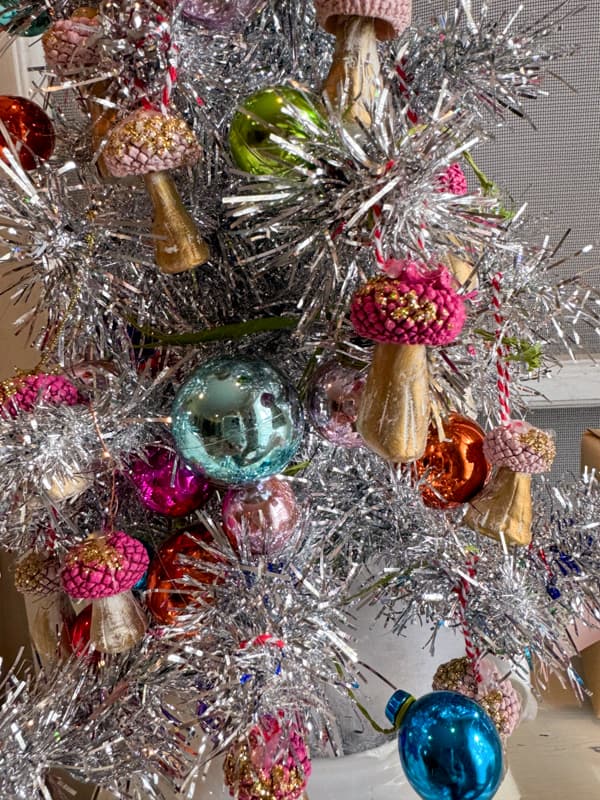
What a fun and whimsical way to celebrate the season. The tree will reside in our guest bedroom, where I’ve slowly added more pink Christmas decorations each year.
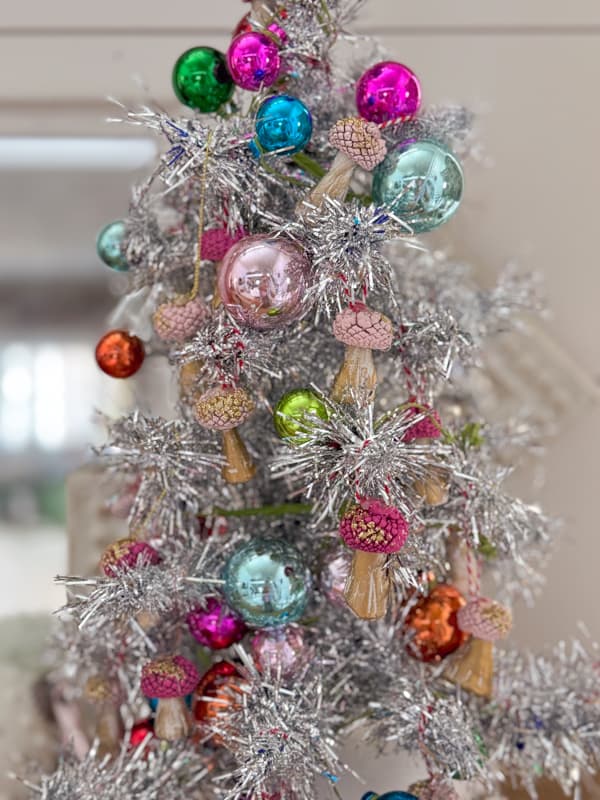
What do you think about the mushrooms? It’s hard to believe they are acorn caps, don’t you agree?
Thank you so much for stopping by. I look forward to sharing my next adventure with you.
Related Articles
If you enjoyed today’s craft tutorial, you will also like these similar articles.
- How To Make a Faux Vintage Aluminum Christmas Tree DIY
- Rustic Pinecone Christmas Tree Centerpiece Tutorial
- Whimsical Pink Bottle Brush Tree Wreath
- Create A Pink Christmas Bedroom Wonderland With Budget Decorations
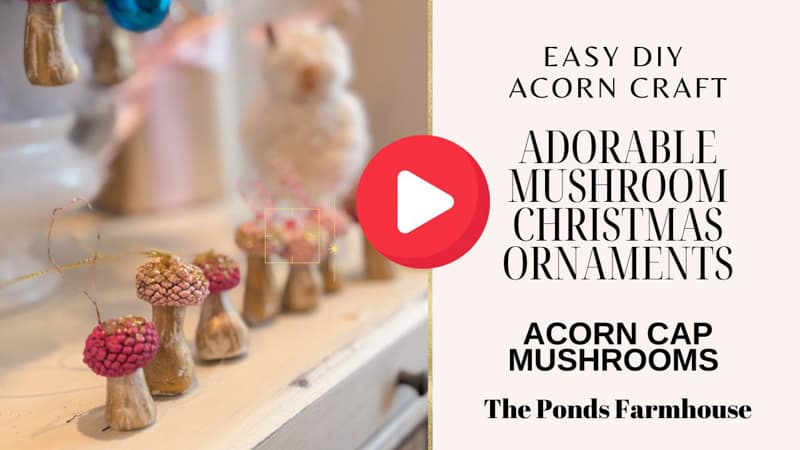
Video
Resource
This time of year, I’m constantly adding to my craft supplies. Click below to see some of my favorite supplies.


Pin It To Remember It
Did you find some great ideas you’d like to save for future reference? To save, hover over the images and pin to your favorite Pinterest Boards when you see the PIN button in the upper left-hand corner.



Rachel- I LOVE how these turned out!! Of course, I love anything with pink and sparkles. So smart to use acorn caps. Pinned.
Anna,
I’m so glad you like this one. They were fun to make.
What a clever (and beautiful) acorn craft idea. They are just so sweet.
Julie,
I’m so glad you like them. Thank you for commenting.
S, Stinkin’ADORABLE!!
Don’t forget to join us over at the Creatively Crafty Linky Party every Wednesday through Sunday
https://creativelybeth.com/creative-crafts-linky-party-2/
Pinned!
Creatively, Beth
Beth,
Thank you for the reminder. Just added.