Create A Rustic-Chic Greenery and Pheasant Feather Centerpiece
Are you looking for a unique greenery centerpiece for Christmas? See how to easily make this DIY centerpiece using fresh greenery and pheasant feathers that will wow your guests. This Christmas centerpiece idea is perfect for dining, entry, and coffee tables. It’s a budget-friendly project, especially when using fresh-cut greenery and a repurposed container like mine.
This DIY centerpiece project combines natural textures and earthy tones to create a stunning statement piece that will elevate any table setting. If you are hosting a Christmas party, this centerpiece is sure to impress, but don’t limit yourself because this rustic-chic project is perfect for any season.
This tutorial is so simple that even a beginner can create amazing table decorations. So, let’s gather your supplies and begin your masterpiece.
(Posts on The Ponds Farmhouse may contain affiliate links. As an Amazon Associate, I earn from qualifying purchases. See the full disclosure details here.)
Table of contents
How To Gather Fresh Greenery
You will first need to gather your greenery to make a fresh greenery centerpiece.
For this project, I used three different fresh evergreens. Here are the gathered green stems that were used for this tutorial.
- Fresh Cedar
- Magnolia Leaf Stems
- Boxwood Stems
If cedar isn’t an option, use leyland pine, frasier fir, or long-needle pine.
You only need a small amount of each, just enough to work around the perimeter of the container you plan to use.
If you prefer, you can use fake evergreens to make your Christmas greenery centerpiece. Using artificial materials, you can keep your table centerpiece and use it repeatedly.
Repurpose or Purchase a Flower Container
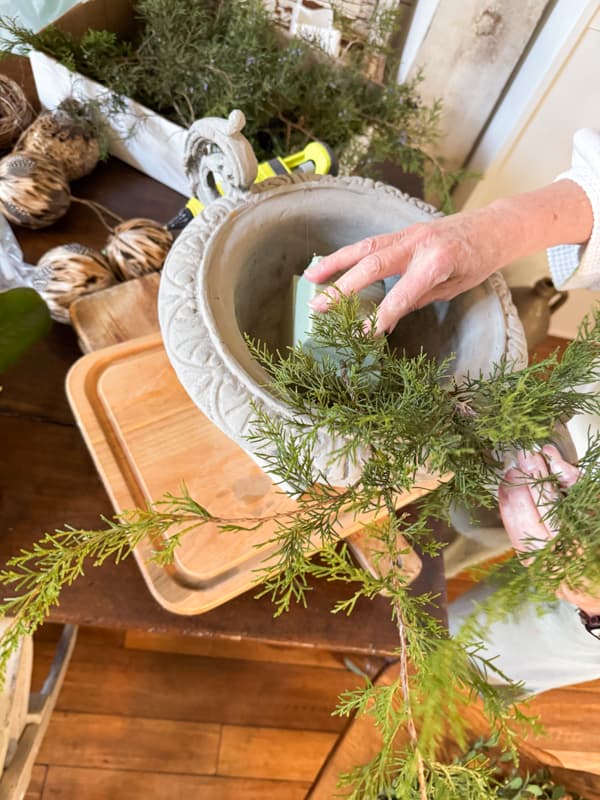
I used a repurposed large urn, which I’ve used for many projects. I like using fresh greenery; therefore, the urn will be empty again in a few weeks.
You can create this unique greenery centerpiece in a bucket, urn, or small planter. Look for a container with an opening 6 inches wide or more for best results.
Supplies
In addition to the greenery and container, you will need a styrofoam block, pheasant feathers, feather ball ornaments, pinecones, pruning shears, and a hot glue gun.
You can substitute the feather ornaments with dried fruit, antlers, or artificial fruit if you prefer.
How To Make Greenery and Pheasant Feather Centerpiece.
Gather your supplies, heat the hot glue gun, and let’s begin.
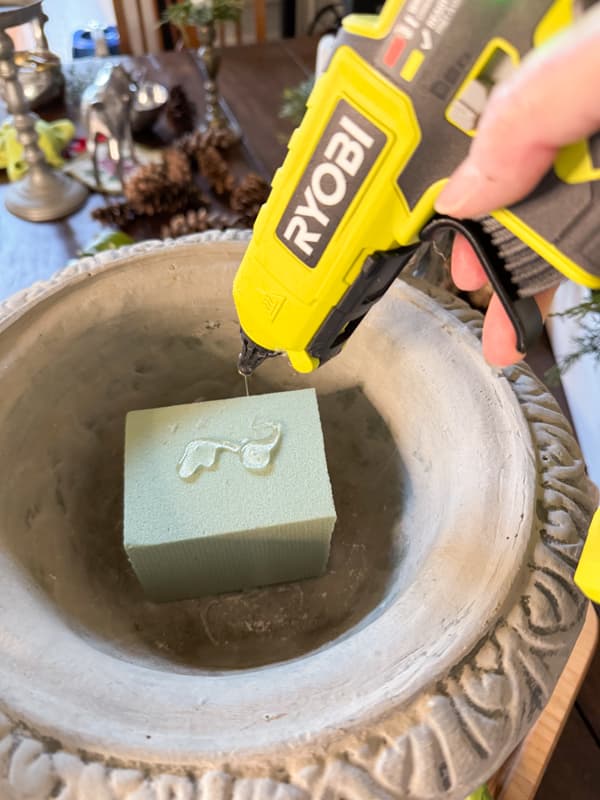
The first step is to attach 1/2 of the styrofoam block to the container with hot glue. Cut the block in half and apply a generous amount of hot glue. Then, press the block into the bottom of the container.
Add Cedar Greenery
Begin with the cedar greenery and choose a long piece that will extend beyond the container rim once it’s secure in the styrofoam. Remove any of the lower stems with the pruning shears so it can easily slide into the block.
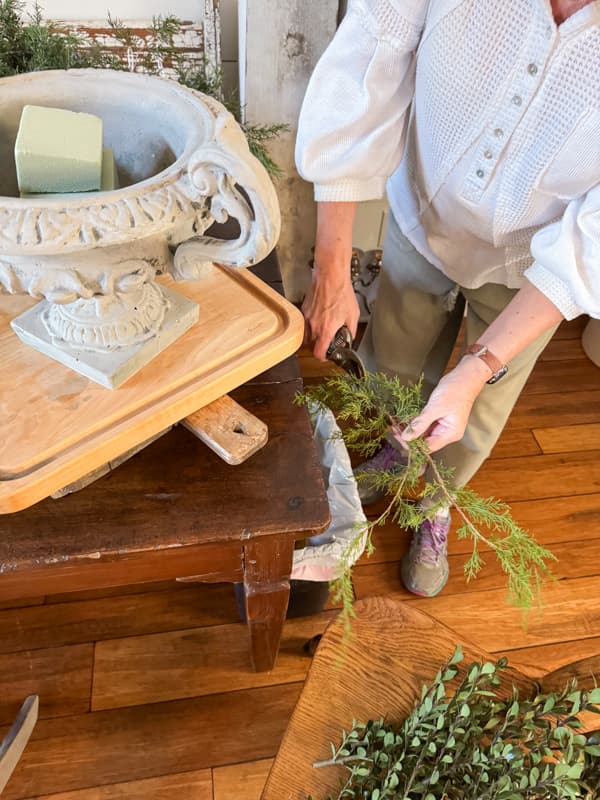
Press the bare stem into the side of the styrofoam, allowing the stem to lay along the rim of the container.
I wanted one side to drape down longer than the other side. If you want that same style, fill in the longer pieces first.
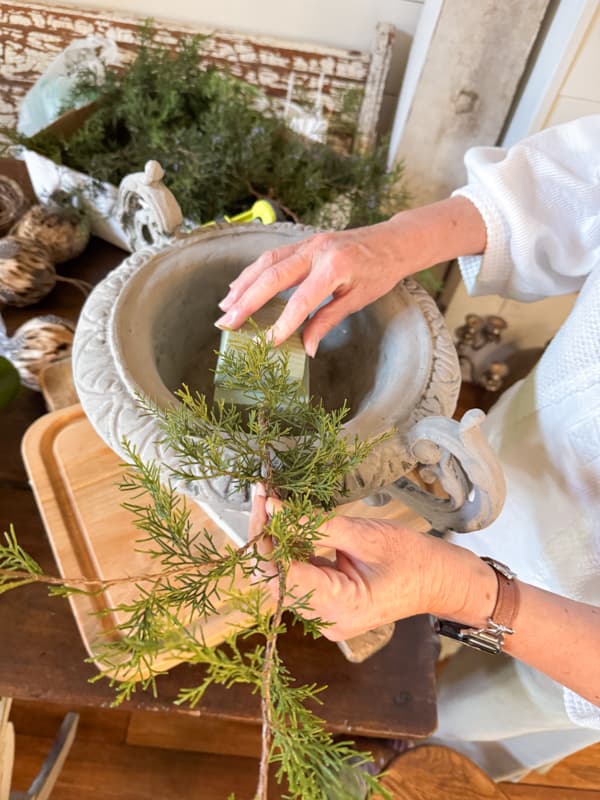
Continue to fill around the edge of the container, pushing the stems into the side of the styrofoam until it’s covered.
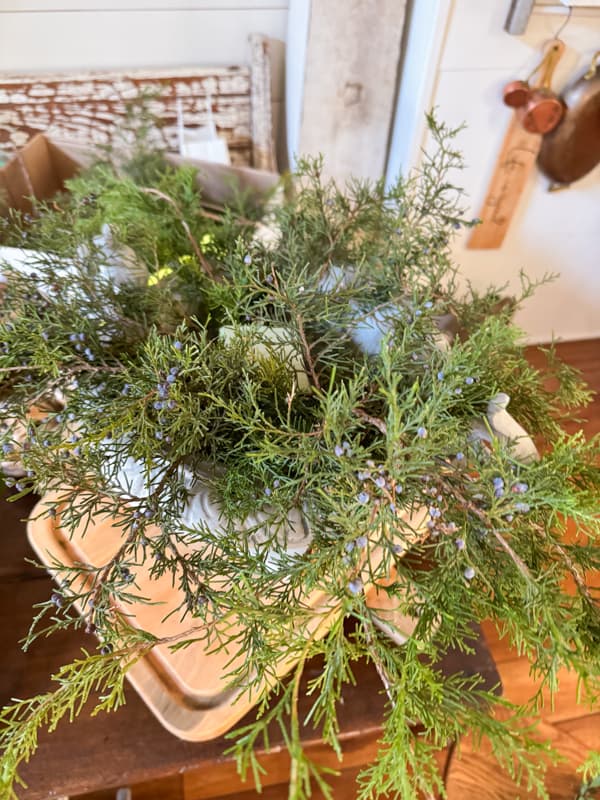
Use your hot glue gun and attach the other half of the styrofoam to the first piece. Hold until the glue is set.
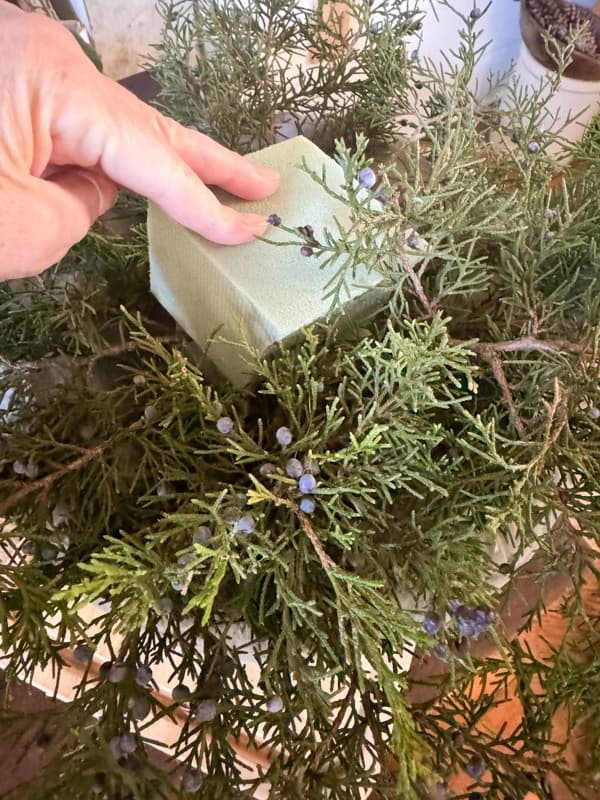
Add Fresh Magnolia Leaf Stems
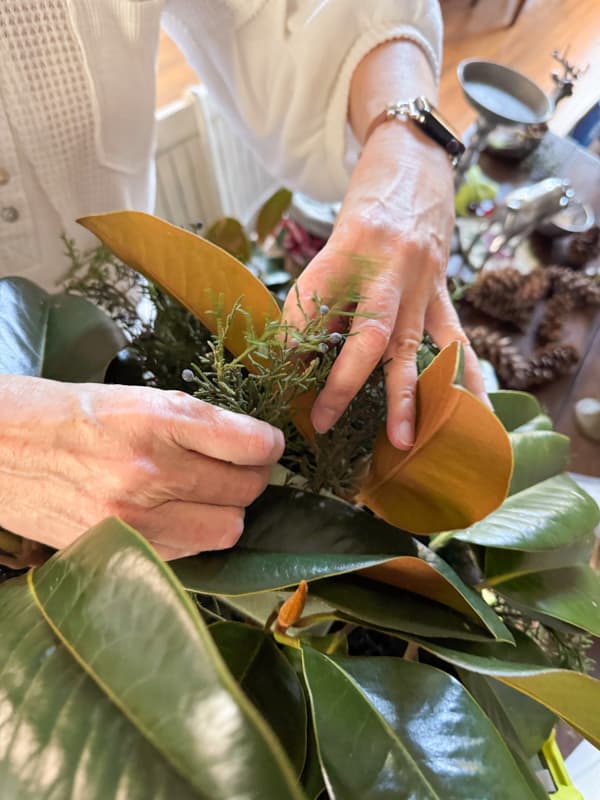
Add the magnolia leaf stems to the side of the new styrofoam piece for the second round.
Cut the leaves away from the stem’s lower part and ensure the remaining stem isn’t too long. The magnolia leaves should be closer to the center of the container.
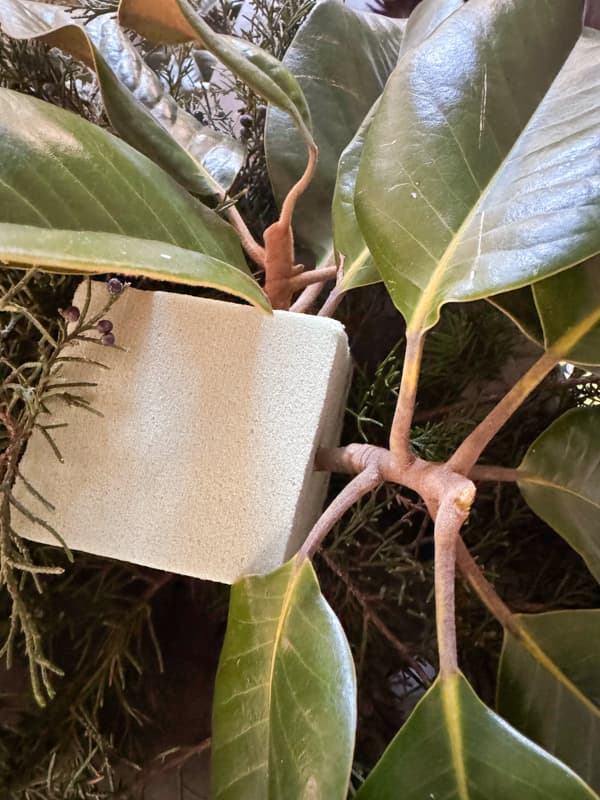
Once you’ve circled the container with the magnolia leaves, fill any open spaces around the sides with small pieces of cedar. If the stems are not long enough, you can use hot glue to attach them.
Boxwood Stems
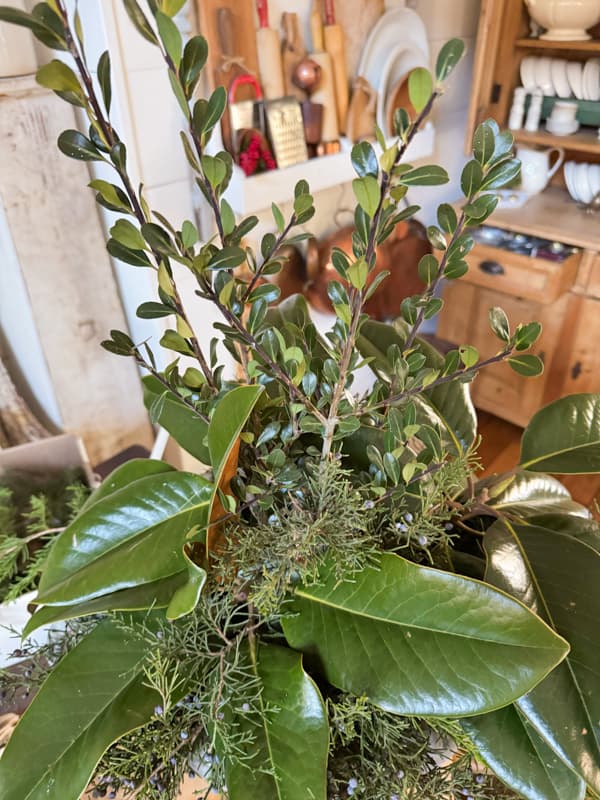
Now, you are ready to fill the top of the arrangement with boxwood stems.
Once again, cut the lower leaves from the stem and push it into the styrofoam straight up.
Fill in the top with approximately 6 – 7 pieces of boxwood, allowing them to fan outward slightly.
Add Feather Ornaments and Pinecones for Christmas Centerpiece Idea.
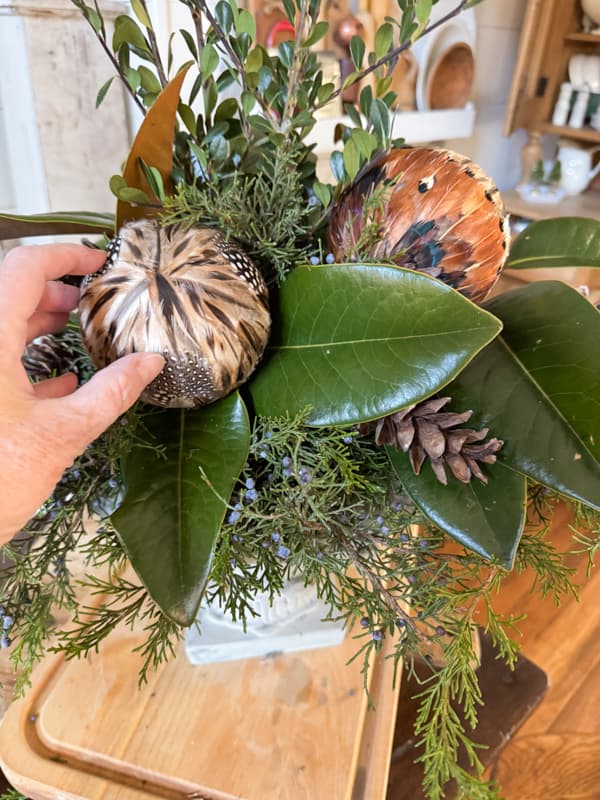
For this next step, the feather ornaments and pinecones can be substituted for other items that will work with your decor. Some suggestions for a Christmas Centerpiece Idea would be faux pomegranates, oranges, or antlers.
I wanted to continue the rustic farmhouse theme, using three feather ornaments and foraged pinecones from our property.
Using hot glue, nestle the feather ornaments into the arrangement. The ornaments are large, and I felt three were substantial.
I placed the first two at the front and side, while the last one was at the back of the centerpiece.
Next, add a few pinecones. Stand back from the arrangement and look for gaps. Use hot glue to attach pinecones to areas that need something extra.
How To Add The Pheasant Feathers To DIY Centerpiece
Finally, you are ready for the final adornment of the DIY Centerpiece.
To add the pheasant feathers to the DIY Greenery Centerpiece, begin at the top and push them into the foam close to the boxwood. Place several around and in between the boxwood stems.
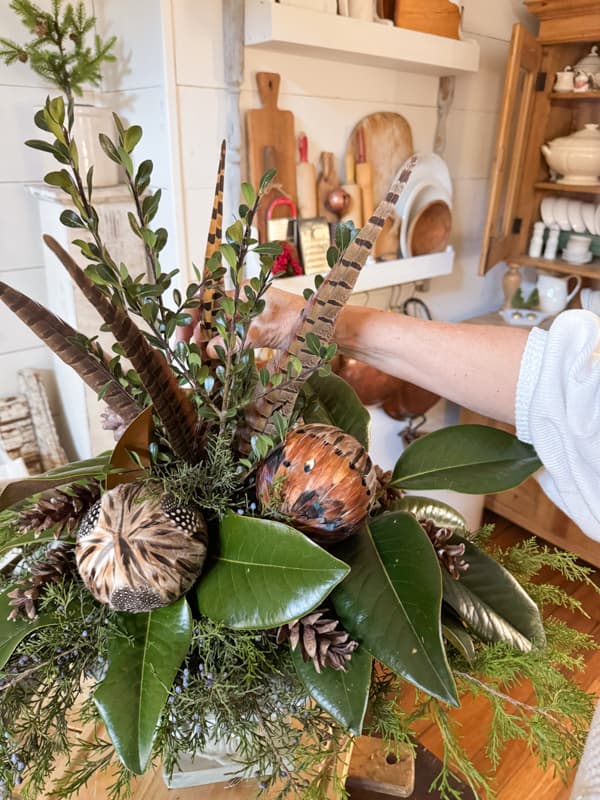
In addition, add a few of the feathers to the side of the arrangement where you placed the longer cedar stems. I used an entire package of these pheasant feathers for this arrangement.
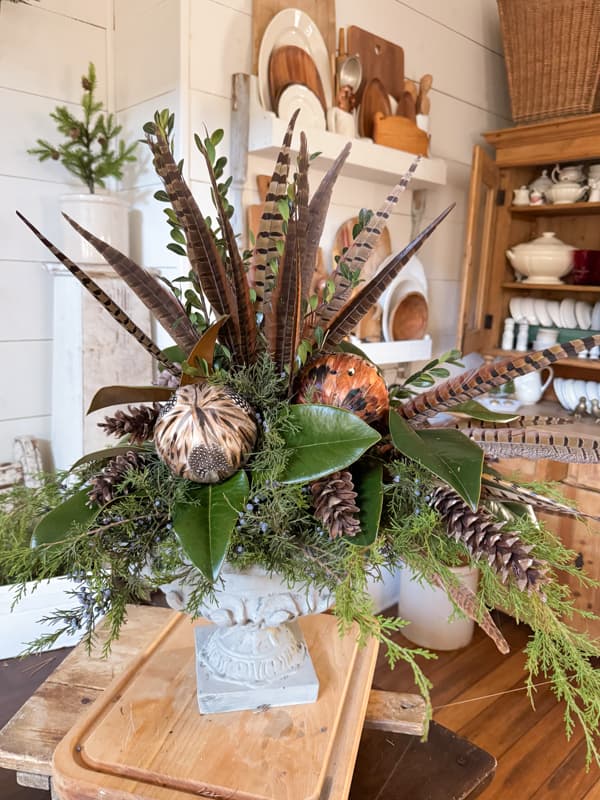
DIY Rustic-Chic Greenery Centerpiece
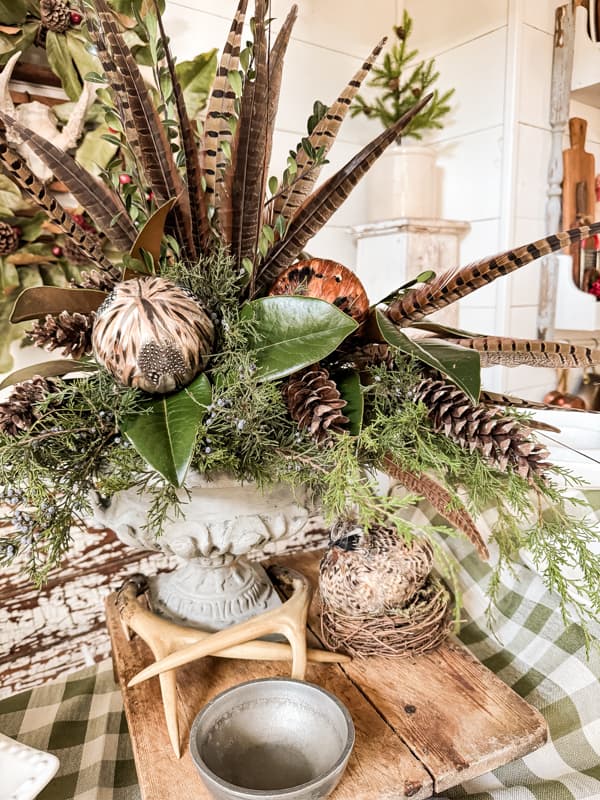
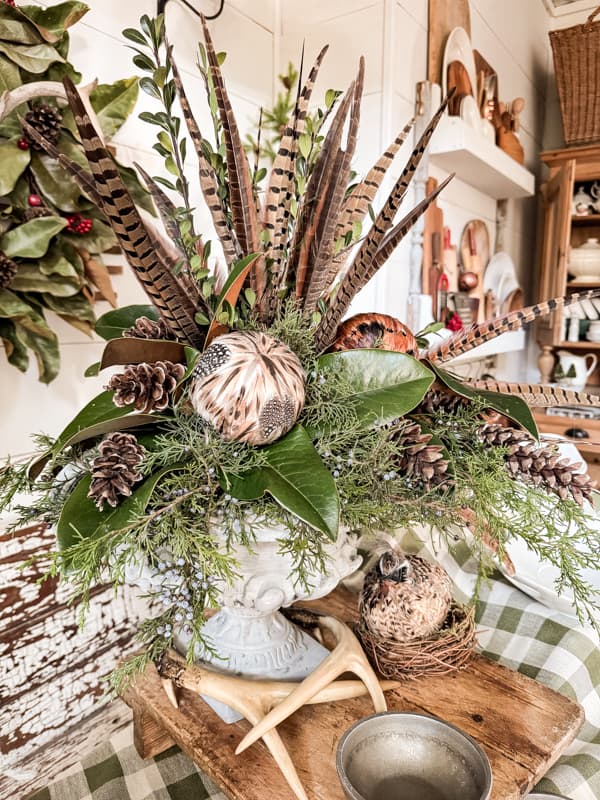
You can see that the rustic-chic greenery centerpiece is asymmetrical, with one side longer and more prominent than the other.
I love how the cedar, long tail feathers, and pinecones drape downward for added dramatic style.
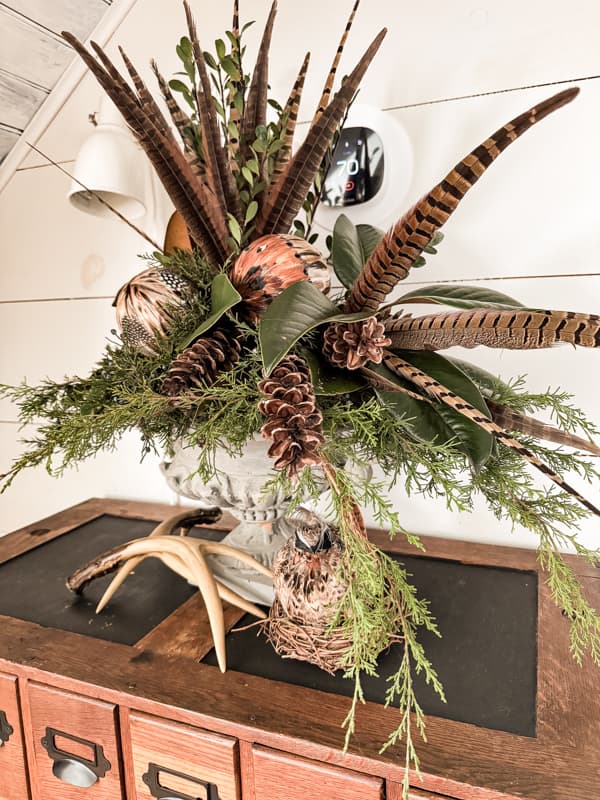
The feather ornament is more prominent on the other side of the Christmas centerpiece idea, therefore keeping the arrangement somewhat balanced.
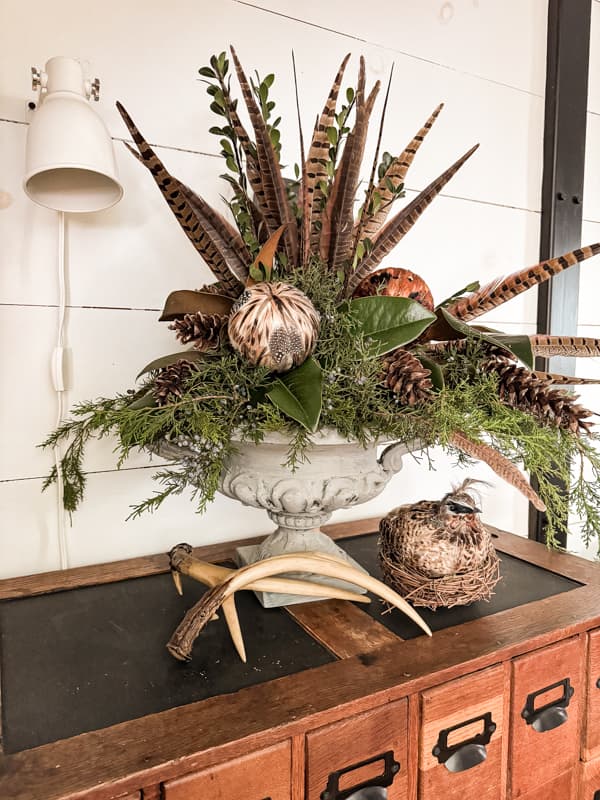
To complement the Rustic-Chic Greenery and Pheasant Feather Centerpiece, a faux Pheasant is perched in a bird’s nest, and a set of deer antlers surround the base of the arrangement.
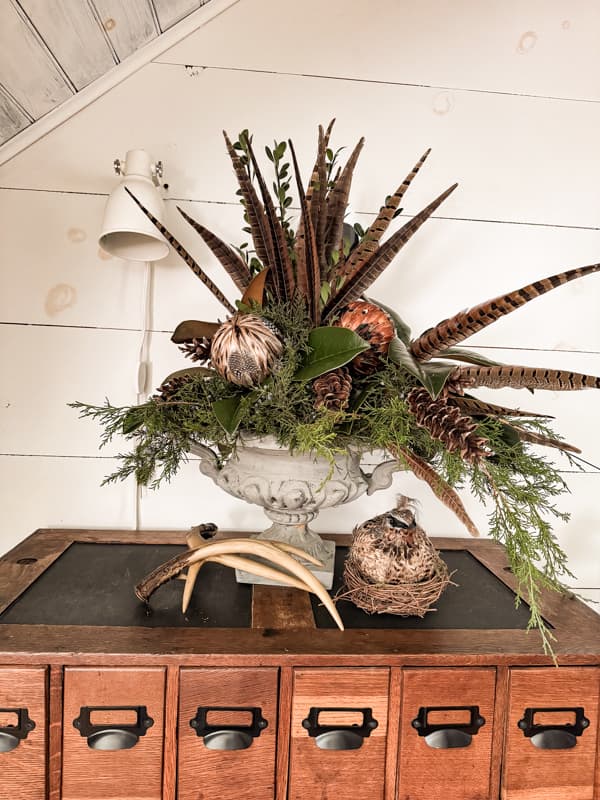
Christmas Centerpiece Idea
The greenery centerpiece will be on my dining table for our annual Christmas party. In our monthly Supper Club series, you can see more details on how to host a Charcuterie Christmas Party next week.
Resources
Centerpiece Ideas
See more DIY Centerpiece Ideas.
I hope you enjoyed today’s tutorial, and I look forward to sharing the full table with you next week.
If you are inspired to make your arrangement centerpiece for Christmas, I’d love to see your version.
If you have any questions, please let me know.

Pin It To Remember It
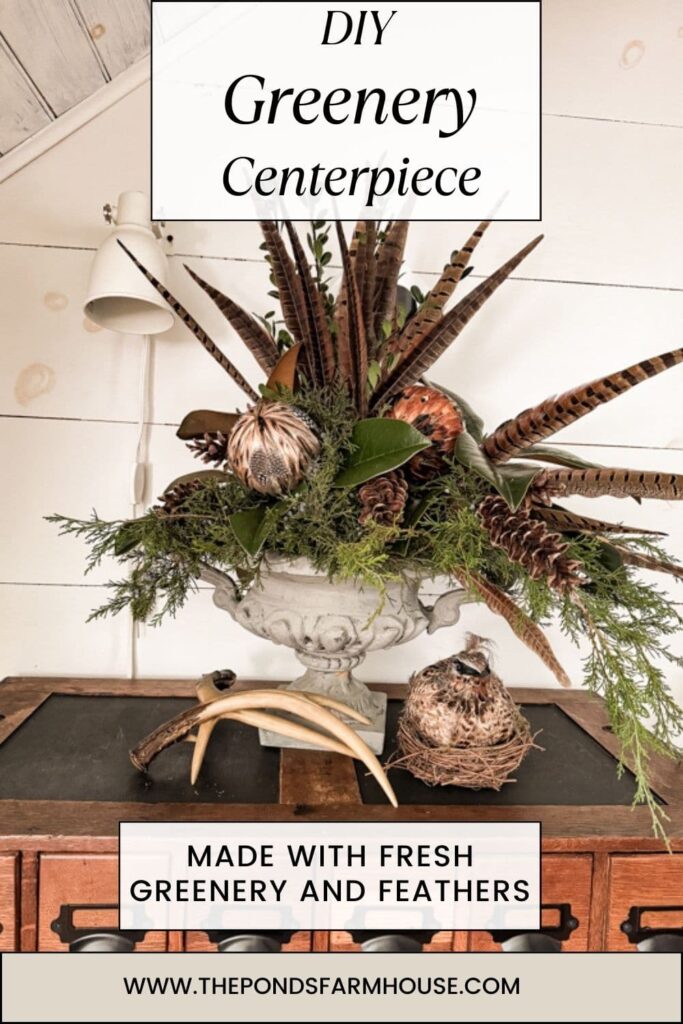
Did you find some great ideas you’d like to save for future reference? Hover over the images you’d like to save and pin to your favorite Pinterest Boards when you see the PIN button.




This is lovely…and you are so lucky to live where you have access to all of the different greenery. That’s a good price on the pheasant feathers, too. Thanks for the link.
Teddee,
I’m so glad you like it and thanks for your sweet comments.
Beautiful!!! Thank you for sharing.
Blessings to you, Candy
Candy,
you are welcome. Thank you for stopping by.
Oh my goodess. TThis is stunning. You just can’t go wrong with antlers, magnolia leaves and pheasant feathers. So beautiful.
Renae,
Thank you. I love the centerpiece too.
This centerpiece is so beautiful. Love all the elements you used.
Your posts are so great and thank you for showing sources. Hope to do this one.
Oh you are so sweet. Thanks for your encouragement.
Love the way this came together so much, Rachel! The colors, the textures, the urn – it’s all perfection. Plus, I really appreciate how this is something that can take you from Fall all the way to Spring and throughout the holiday season. It’s just gorgeous! Just pinned and excited to share on today’s post too. Big hugs, CoCo
CoCo,
I really appreciate you for sharing this idea. Happy Holidays.
Rachel, I love this centerpiece! It can be used after Christmas which is a plus in my book! Beautiful job, friend!
Kim
I really appreciate this. Thanks for your constant support this past year.
Thank you once again for sharing this it is beautiful!
Blessings, Candy
Candy,
I’m so glad you like the arrangement. It was so easy and inexpensive to make. Have a wonderful rest of your week and Merry Christmas.
That is my kind of arrangement, simply beautiful.
Wendy,
I’m so glad you like it. Merry Christmas