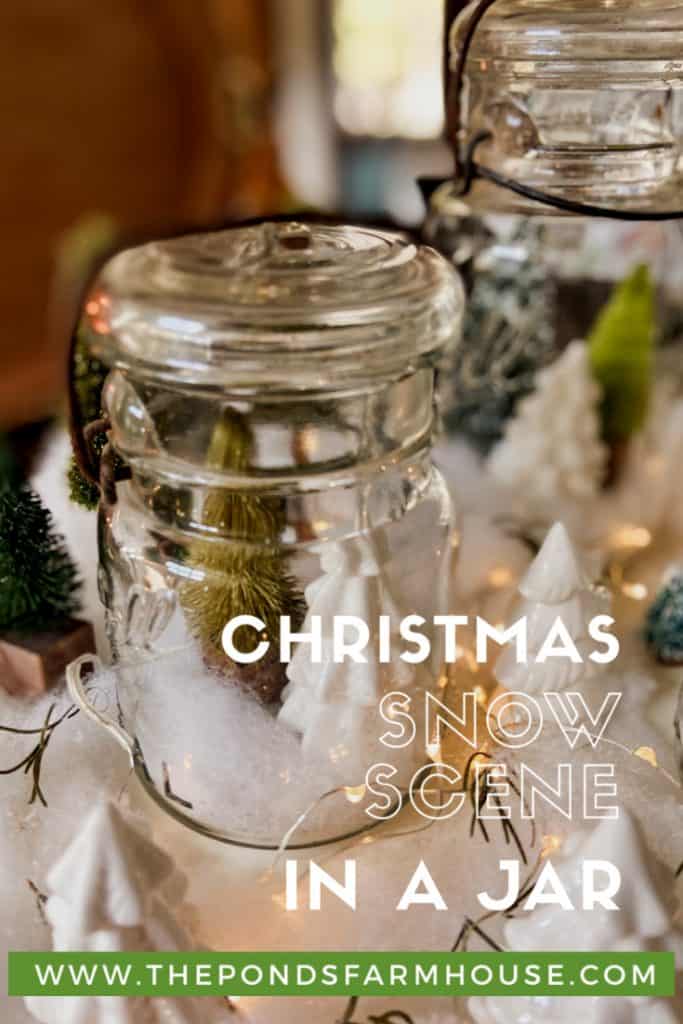
Christmas Snow Scene in a Jar
Don’t you just love a snow globe? I’m loving seeing all the creative and fun ways to create a similar snow scene using jars. Today I’m joining Cindy at County Road 407 for a Pinterest inspiration Challenge!
Here’s how to make a couple different Christmas Snow Scene in a Jar. First, using thrift store and dollar store items and then using vintage mason jars and a cake stand. In addition, each of the participants are making their own Christmas Snow Scene in a Jar based on this inspiration pin from Katrin at Northern Feeling. Be sure to check out the other creative ideas being shared at the end of this post.
My Christmas Snow Scene in a Jar
First, the original plan was use vintage mason jars for the Christmas Snow Scene. But in the meantime, I found a really perfect jar at the thrift store for only $2.00.
So, long story short, I couldn’t resist sharing both versions for this Pinterest challenge.
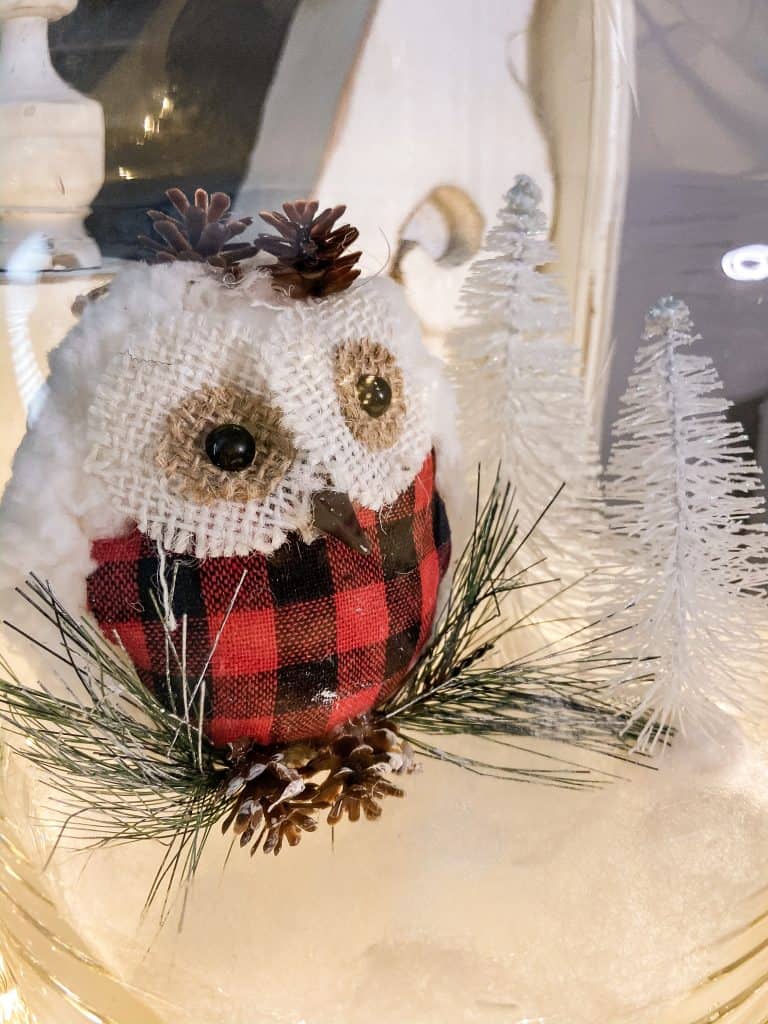
The Thrift Store Version
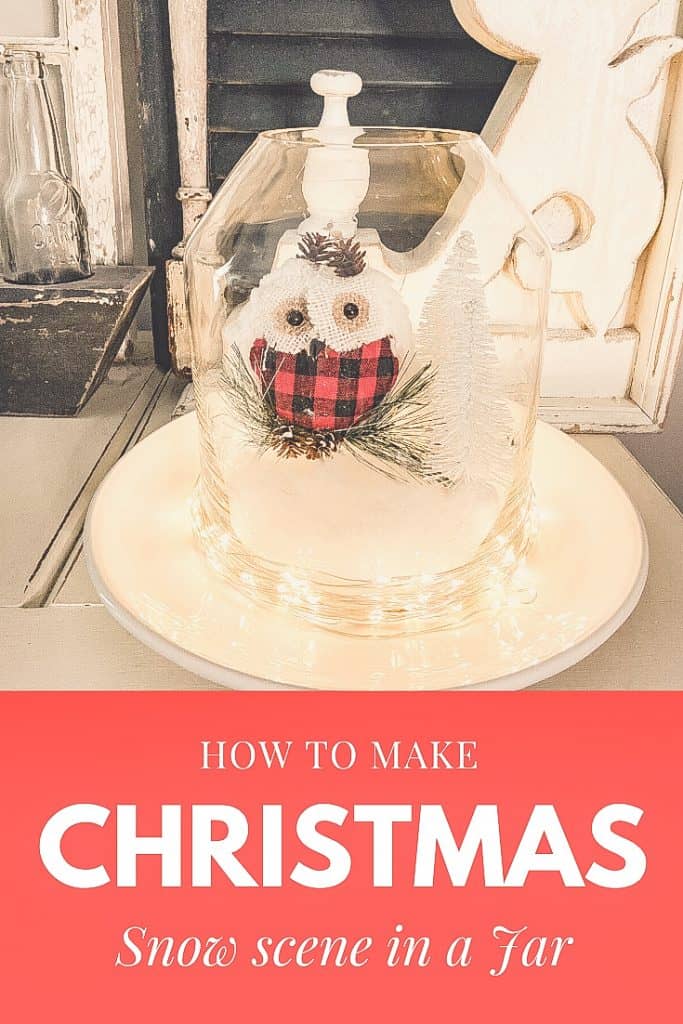
Because the jar was so inexpensive, I thought it would be fun to keep the whole project budget friendly. As a result, I used Dollar Tree items to make this Christmas Snow Scene.
The cute owl ornament and the two white bottle brush trees only cost an $2.00 at The Dollar Tree and so far the total investment is only $4.00.
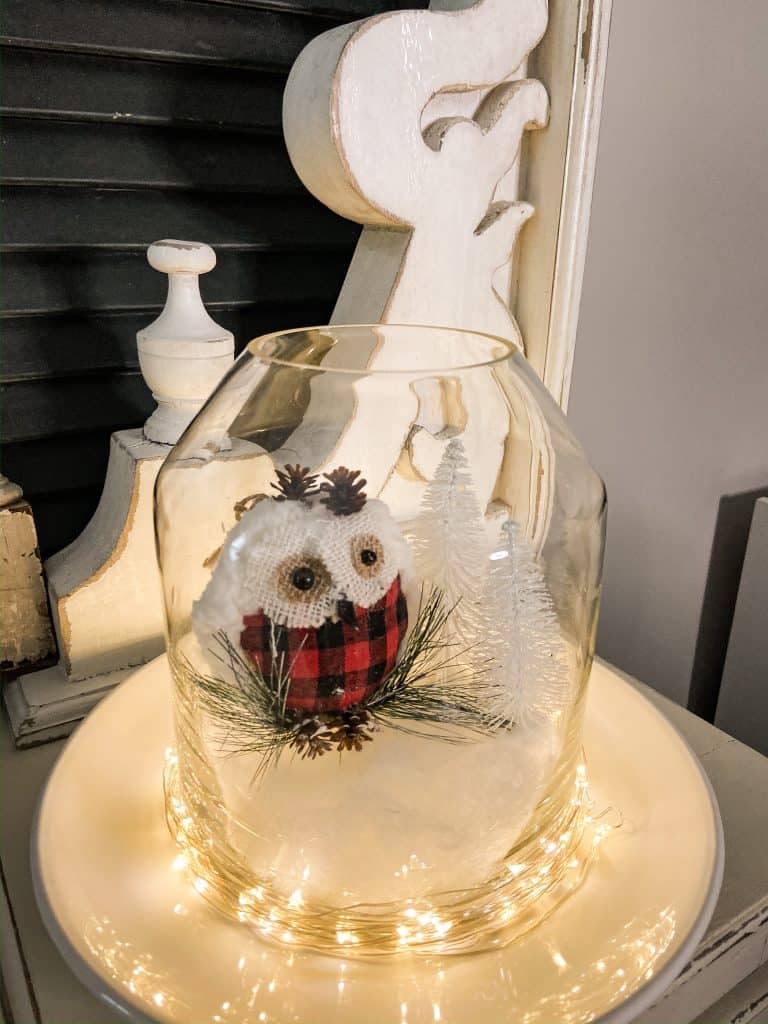
Here you see a thrifted white ironstone plate, which was a perfect fit for the glass jar.

To add a touch of sparkle, battery operated twinkle lights, left over from last Christmas, were wrapped around the jar. In order to avoid an additional purchase, poly fill was shredded to fill the bottom of the jar.
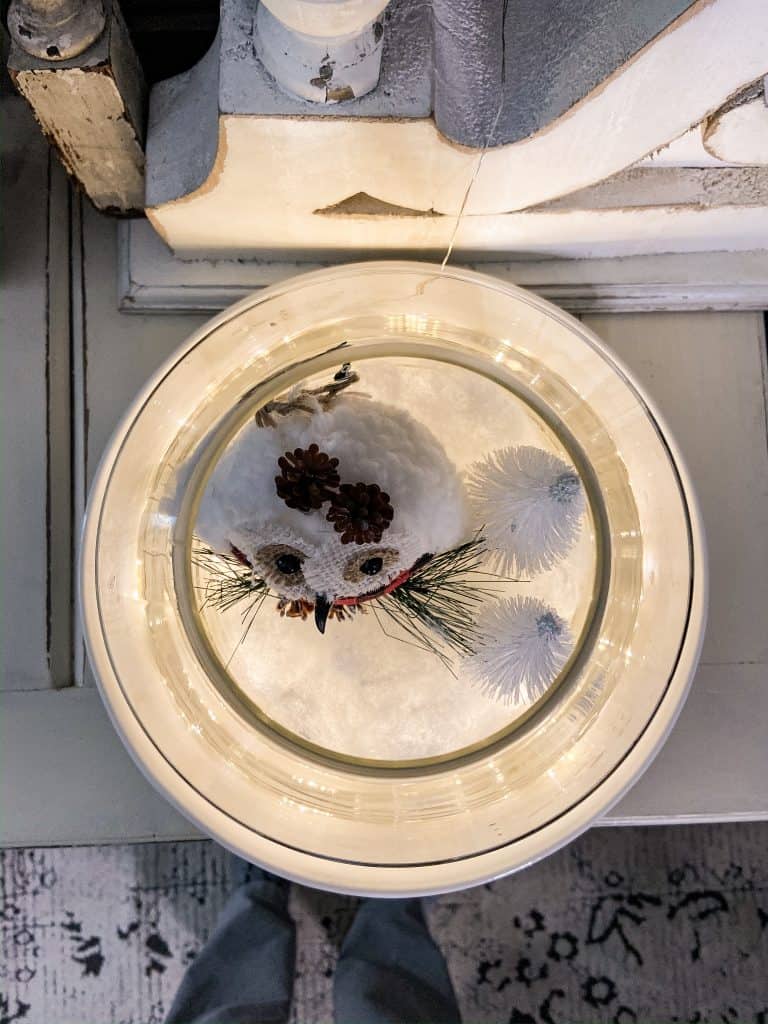
Here is an overhead view of the cute little owl and trees in the thrift store jar.

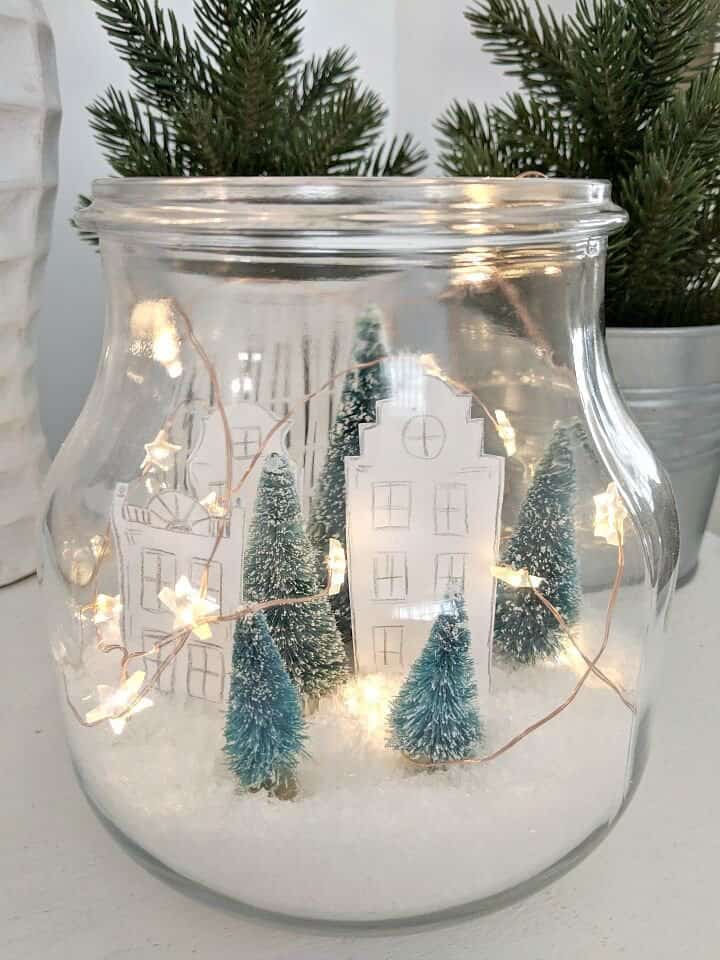
Vintage Mason Jar Christmas Snow Scene
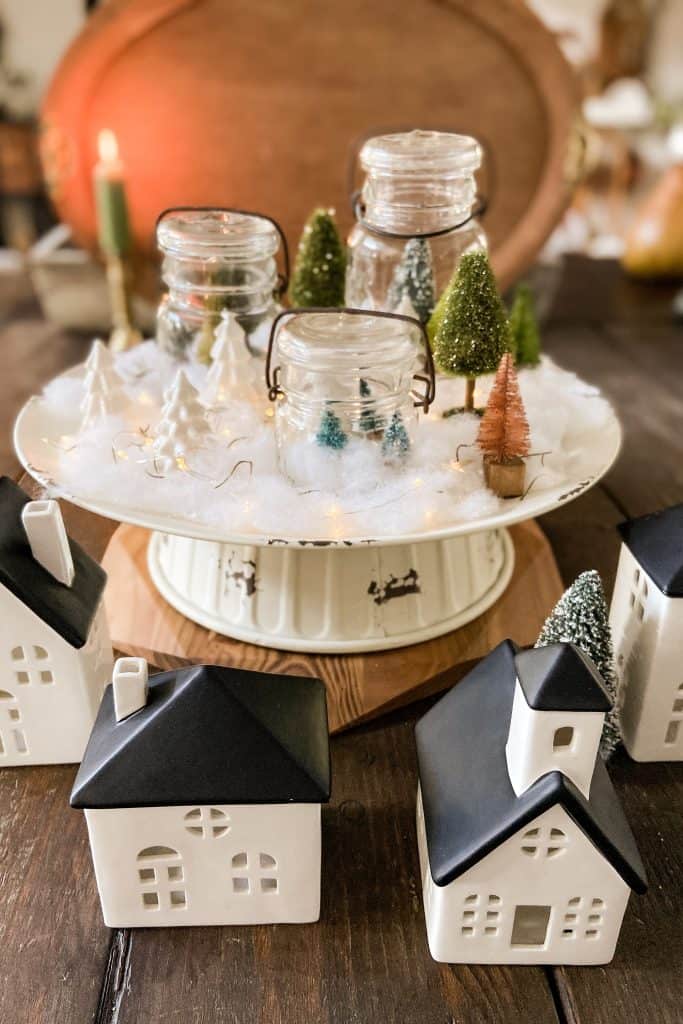
Now, back to my original plan, which was to use my collection of old mason canning jars to create a Vintage Jar Snow Scene.
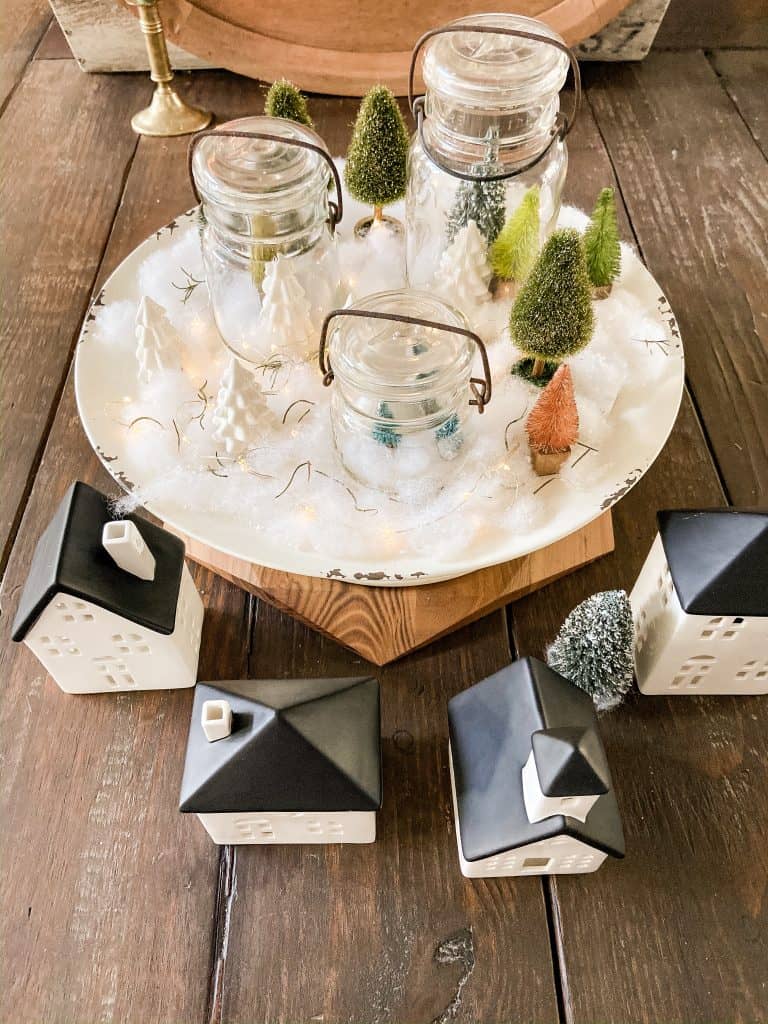
In addition, a metal cake stand was used to corral the jars and create a village snow scene. You can purchase faux snow, however I used poly fill, which I had on hand.
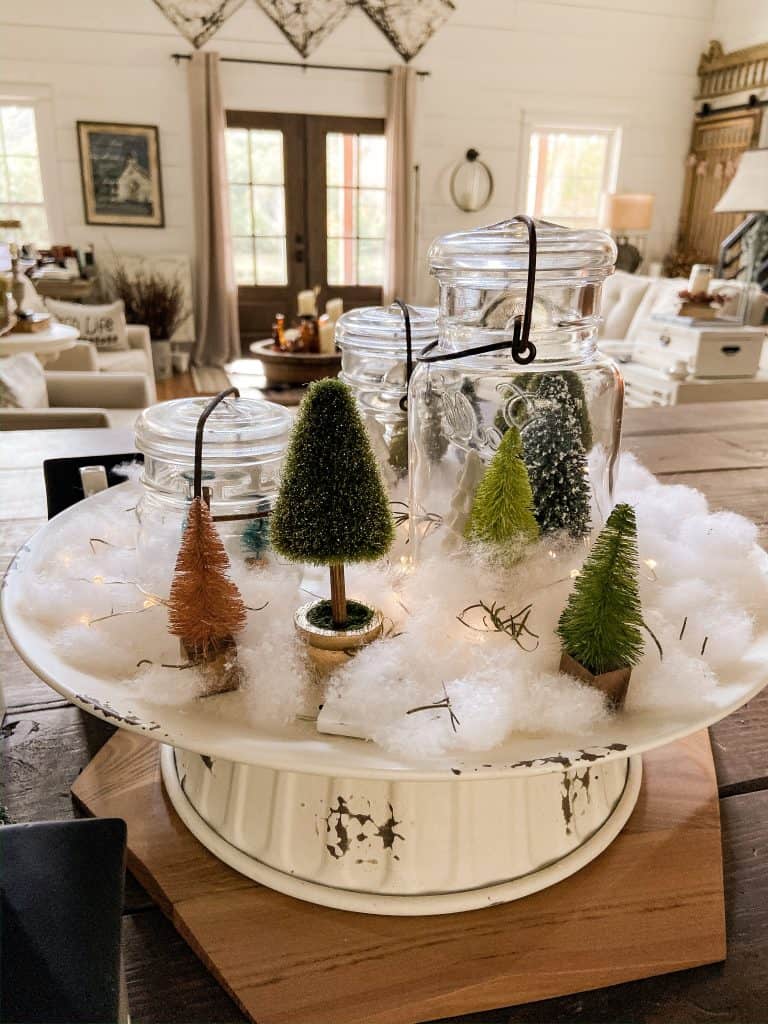
To brighten up the display, some battery operated twinkle lights were added to the shredded poly fill snow.
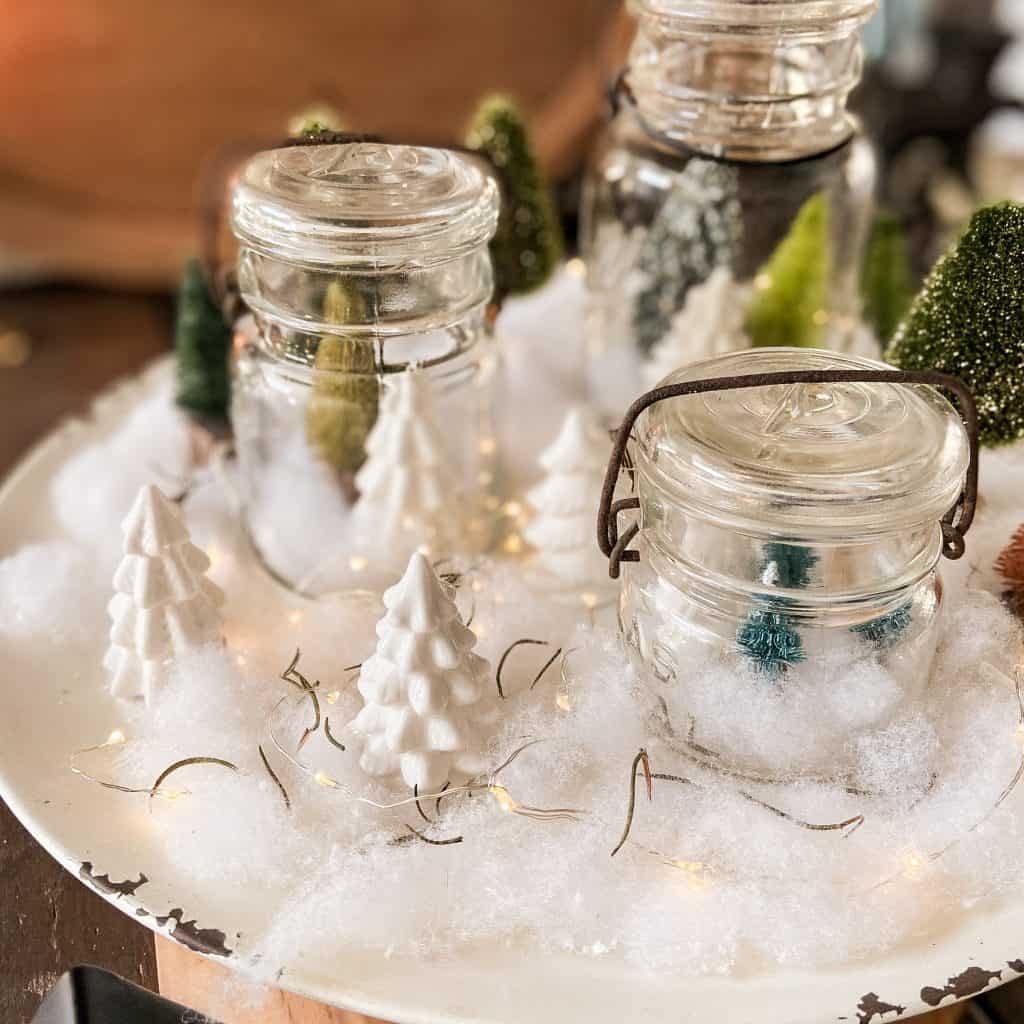
Just fill each jar with a little poly fill and add your desired Christmas Decor. I used a combination of ceramic and bottle brush trees from Vintage Cottage 150 and The Dollar Tree! In addition, some rosemary herb stems were added to the faux snow for a little fresh scent and a touch of color.
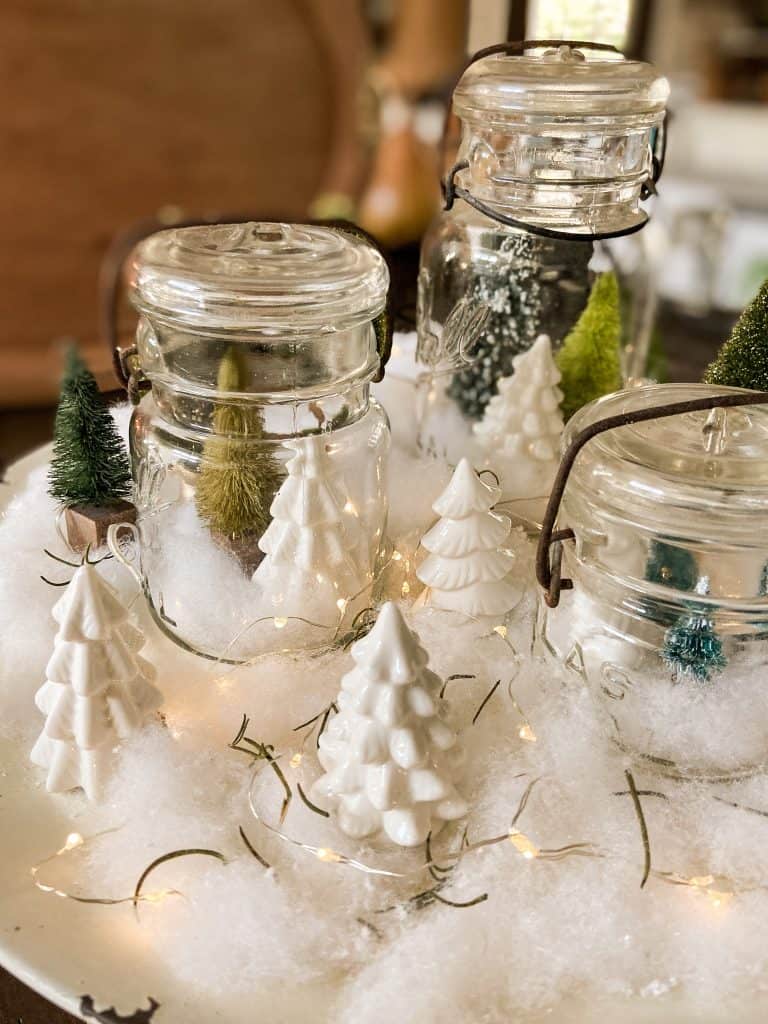
Once the mason jars were in place, a few more ceramic and bottle brush trees were added to the cake stand.
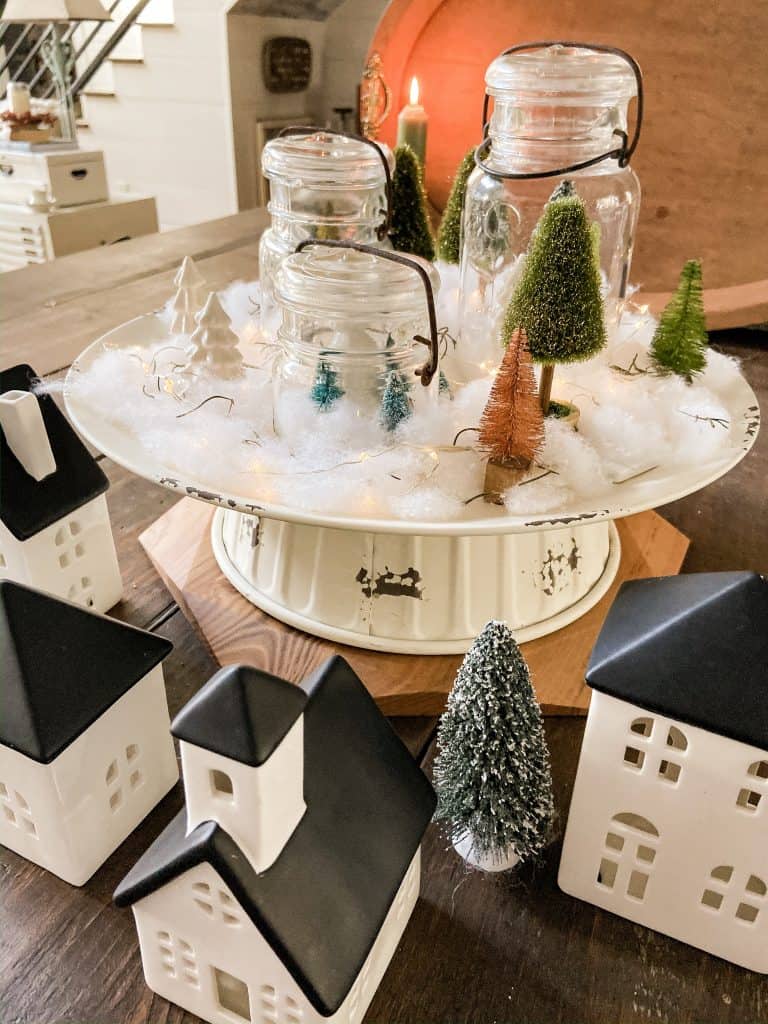
In addition, these cute ceramic village pieces fill in the space underneath the cake stand and you can find these pieces Target.
Some additional faux snow may be added to the village as the calendar moves closer to Christmas Day!
Don’t forget to see more Jar inspiration below!
You can choose your favorite or choose to pin both.


Super cute Rachel. I luv owls. I’ll be decorating my tree with them this year! Luv it.
Ann,
Thanks so much sweetie!
Love that you used this cute owl and wrapped the lights around the outside of the jar…A cute twist on the standard way….Love it!
Thanks so much for sharing!!
Hugs,
Debbie
Debbie,
I really appreciate your encouragement.
Rachel
hi rachel _love the black and white houses. I have a white one from dollar section last year and love it! Love the cake plate to elevate and those little jars are adorable! laura
Laura,
Thanks for these encouraging words.
RAchel
Whooooo made a darling craft!!! Truly a charming vignette.
Thanks so much Laura!
You did such a great job! I love how you used those adorable mason jars! Very cute and stylish! Thanks for the inspo… Pinning!
Korilyn,
I appreciate your kind words so much.
Rachel
ADORABLE and PINNED!
Miche,
Thank you so much for your encouragement.
Rachel
I love your idea of filling Mason jars with snow and trees and grouping them together with twinkle lights. This looks so good and the glow from the lights in the evening must be especially pretty.
Paula,
Thanks for stopping by. I appreciate the support.
Rachel
The little owl is perfect and your jar village is stunning. So much inspiration. I need to think outside the box this year.
Hey Marty
Thank you for your kind words. I appreciate you for stopping by.
Rachel
Oh my golly, I love that you used Ball jars! And when I was struggling with my fairy lights, why didn’t I think to just wrap them around the outside of the jar?! I seriously with I had as much talent as you do in your pinky finger. Thank you for joining in this month. Pinned!
Cindy,
You are so sweet and so encouraging. Thank you sweet friend.
Rachel
Your little village of ball jars is so pretty, and unique! I remember you did something similar with the cloche challenge, and I loved it then, too! And the houses are such a cute addition, too, Rachel! Just lovely!
Julie,
I really appreciate your encouragement.
Rachel
Vintage jars! Oh how I love the whole look of grouping them together with trees on the inside and out. So beautiful Rachel!
Michelle,
Thank you for these sweet compliments.
Rachel
Rachel, I love how you’ve put together a beautiful snowy vignette! Those mason jars are so unique and perfect for displaying your collection of trees. I absolutely adore your rustic cake stand as well. Now that I’ve seen several folks using cake stands to elevate their scenes, I’m going to experiment more with that. Happy to be on this hop with you!
Crissy,
Thank you so much.
Rachel
That’s it! I’m dragging out all my vintage mason jars with the hinged lids to make a snowy scene like yours! Adorable! Love the owl jar too. Thanks for the inspiration!
So fun joining you for this challenge!
Amber,
Thank you so much.
Rachel
So cute Rachel! I love that little buffalo plaid owl and I love your village of jars! So pretty and so much inspiration!
Kristin,
I really appreciate your encouragement.
Rachel
Very cute vignette, Rachel. Love your sweet little owl. Your entire snow scenes on the cake stand is a great idea and is lovely for the holidays.
Carol,
Thank you for these sweet compliments.
Rachel
I just love what you did here with the challenge Rachel. Pinned.
Kim,
I really appreciate this.
Rachel
Rachel – Once again, two sips of coffee and then into wonderland of Rachel with bottle brush trees and redo rather than need to buy. You are an encouragement to the young and not so young. The market wants you to fall in love with all the new and purchase purchase purchase and not everyone can or should do that. You are a trainer in ways to work outside the box and everything looks unique and is fabulous.
My very best to you and have a wonderful Thanksgiving.
Diana,
You are so so kind to take the time to share your thoughts with me and lift me up with your comments. I appreciate these sweet compliments to much. You have the best day.
Rachel