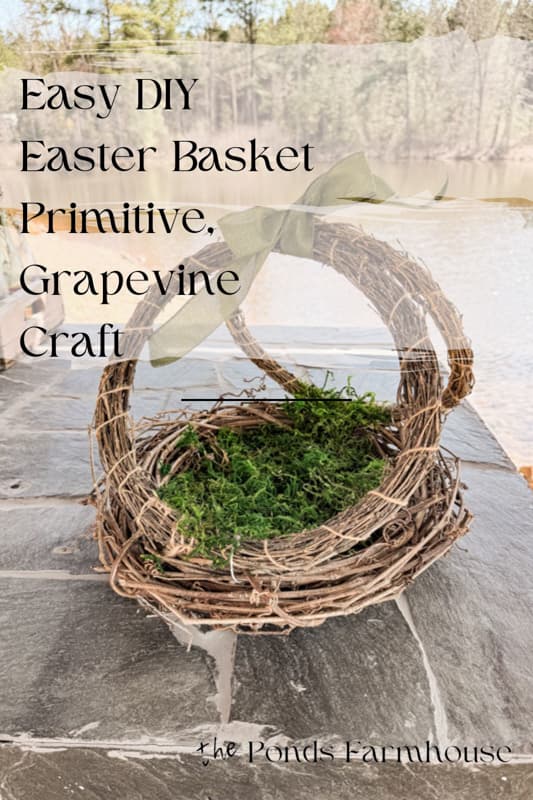
Easy DIY Easter Basket Tutorial: Rustic Primitive Grapevine Craft
Y’all know I’ve been saving money this year making handmade Easter decorations. I’ve wanted to create a timeless, rustic Easter basket reminiscent of simpler times. Using just a few grapevine wreaths, I’ve crafted a primitive Easter basket that brings a touch of nature’s beauty indoors. Join me as I share this easy DIY tutorial, perfect for adding a touch of vintage charm to your Easter celebrations.
(Posts on The Ponds Farmhouse may contain affiliate links. As an Amazon Associate, I earn from qualifying purchases. See the full disclosure details here.)
DIY Primitive Easter Basket
For this year’s decorations, I’ve been envisioning a rustic, primitive Easter basket filled with natural elements. However, I’ve not been able to find an authentic vintage basket that fits the bill. So I decided to see if I could make a DIY Easter Basket using grapevine. I have grapevine growing in the trees around my property and have made several wreaths using the natural material. Then inspiration struck and I realized I could use the grapevine wreaths to make the basket instead of pulling fresh vines from the trees. Such a time saver. So here’s what I did.
Supply List
- Three Grapevine Wreaths – 1 larger and full wreath 16″ , 2 smaller wreaths 12″ approximately the same size
- Wire Ties
- Burlap Fabric Stiffened With Glue or Recycled Cardboard
- Hole Punch
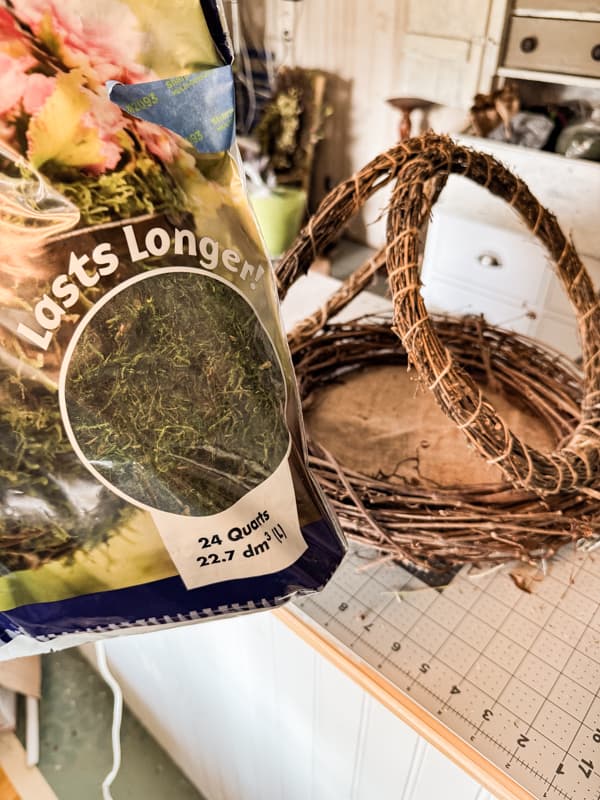
- Moss
- Hot Glue Gun
- Ribbon (optional)
Step 1 – How To Make The Basket Bottom
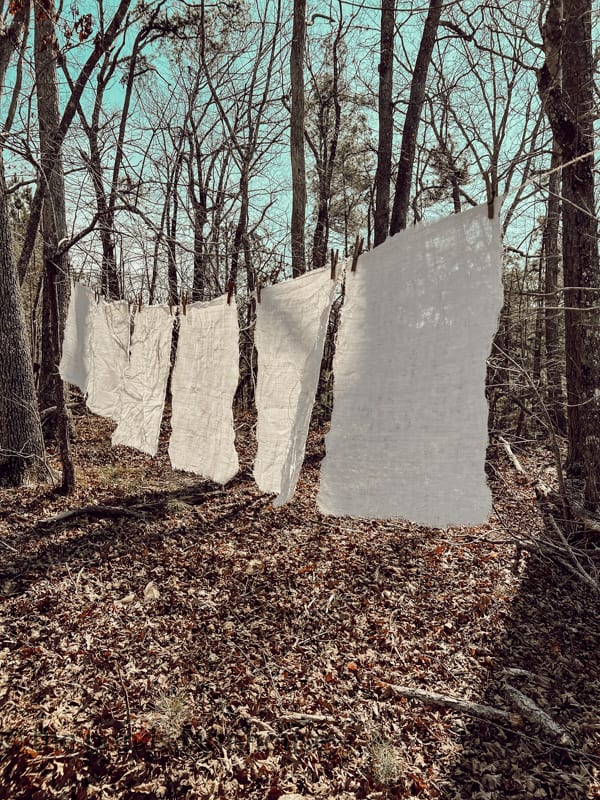
After you have all your supplies, you will need to make a bottom for the basket. I used a piece of stiffened burlap left over from this placemat project. I liked the burlap’s rustic look, and if you’d like to use the same material, here’s how to stiffen the fabric.
- Mix craft glue with equal parts water and stir well.
- Submerge the fabric into the mixture.
- Squeeze out excess moisture.
- Hang to dry and pull the fabric to remove wrinkles. (The fabric may drip, so I recommend hanging it outdoors away from anything the glue might damage.)
- Once dry, you may need to press with a hot iron to smooth the fabric.
However, you can create the bottom using a recycled cardboard box if you want a sturdy bottom or don’t want to go to this trouble.
Insider Tip
If you plan to fill your basket with heavy materials, you will want to use a strong cardboard and may need to add more twist ties than I used. I am planning to add very light weight organic element to decorate the basket so the stiffened burlap will be fine for my basket.
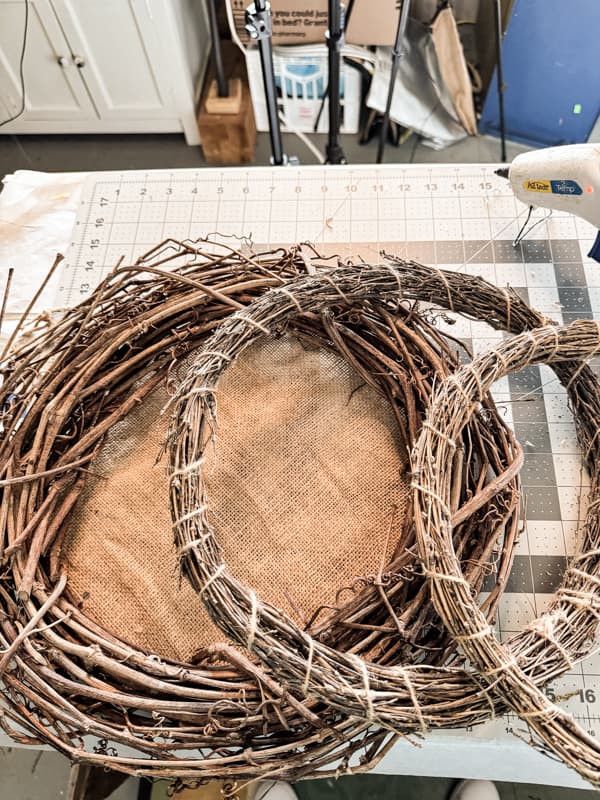
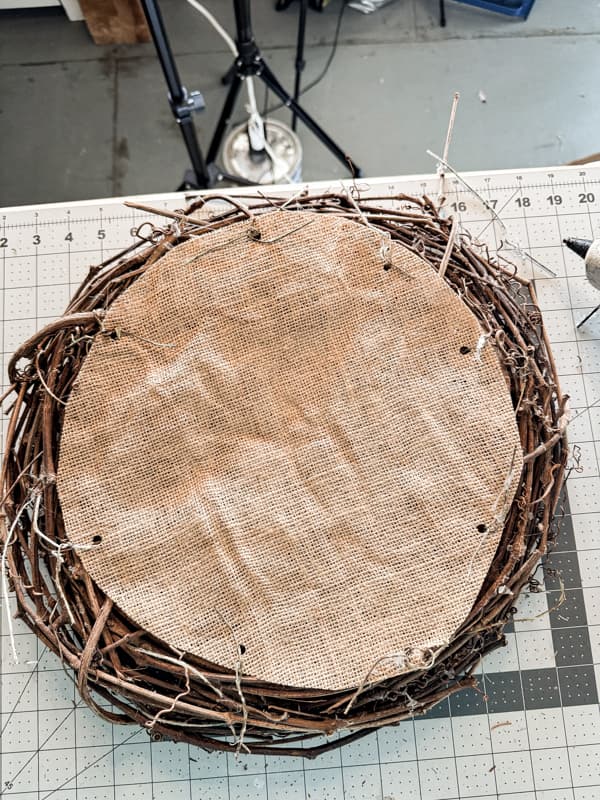
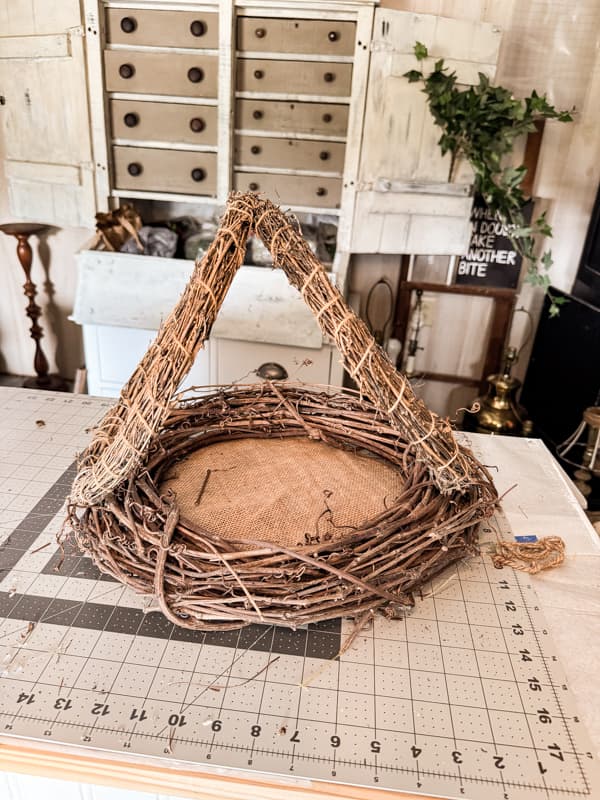
Step 2 – Attach Bottom To Large Wreath
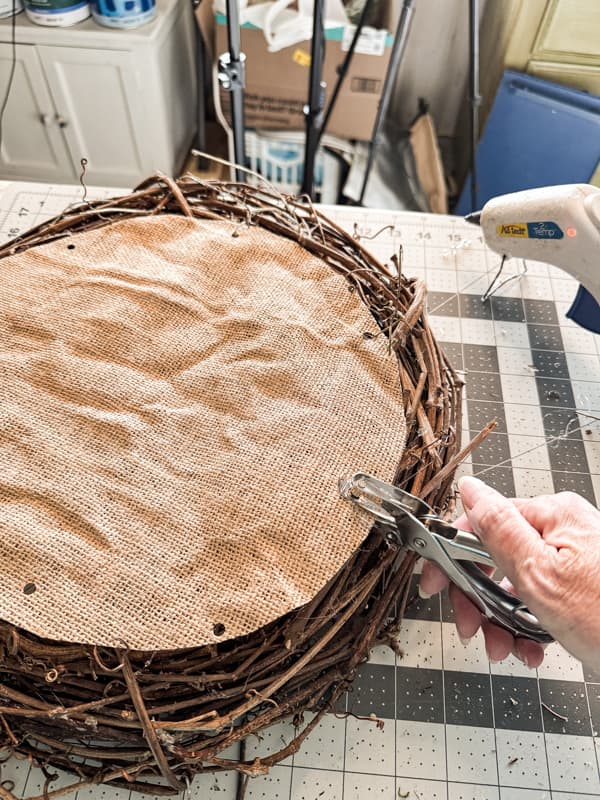
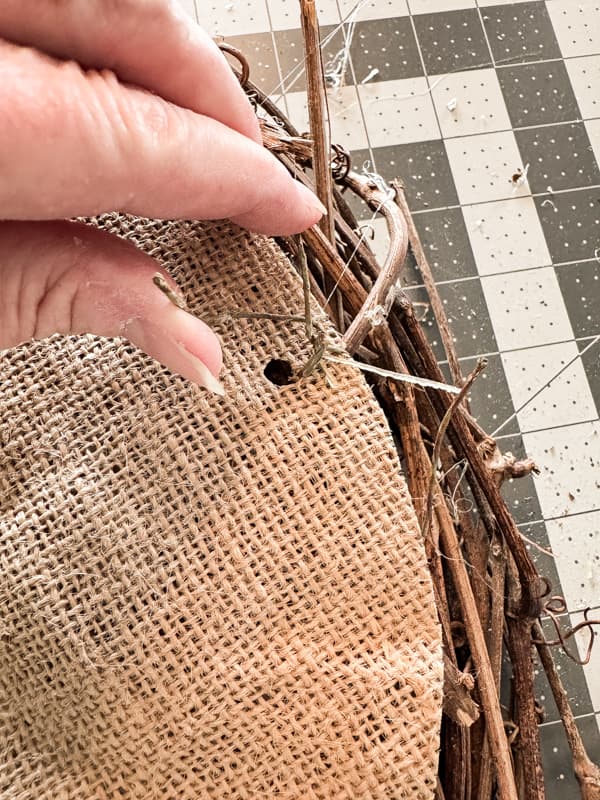
Once you have your material for the basket bottom, you will need wire ties and hot glue. Begin by tracing the size of the grapevine wreath onto your material. Ensure that the fabric or cardboard fits in the middle of the wreath. You don’t want it sticking out around the outside, but it needs to be larger than the center.
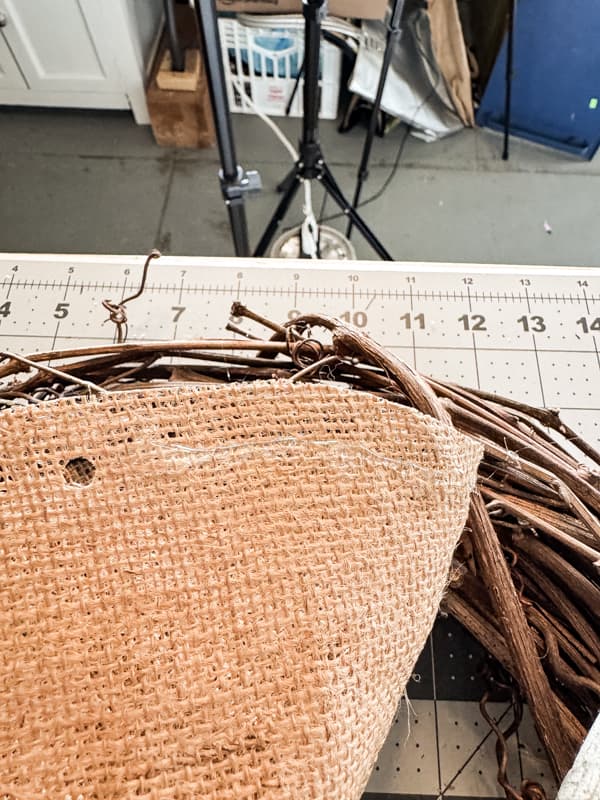
Use the hole punch to create several holes around the fabric’s diameter. Run the wire ties around a few stems of the grapevine wreath and into the punched hole. Twist to secure.
Add a bead of hot glue between each wire tie and press into the grapevine. Continue around the fabric or cardboard until the bottom is secure.
Step 3 – Attach Basket Handles
Next, attach the basket handles using the two smaller grapevine wreaths. Align the wreaths and use the twist ties to hold them together. Attach each handle in two spots, approximately 4 inches apart. Repeat on the opposite side of the bottom wreath.
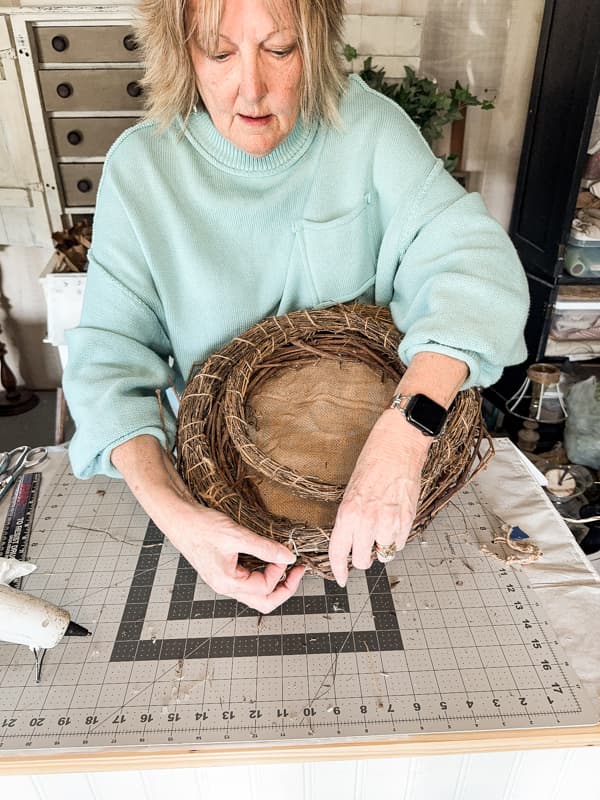
Finally, bring the two small wreaths together at the top and secure with another wire tie.
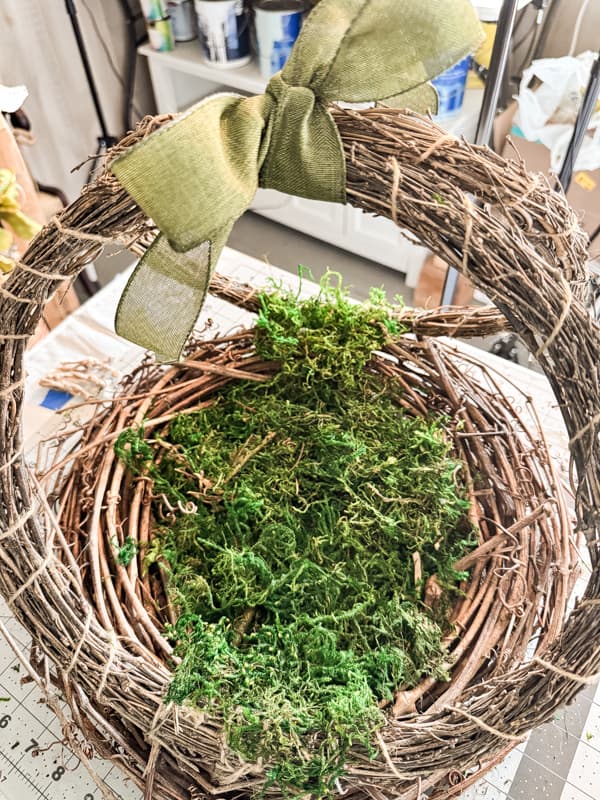
Step 4 – Add Moss (optional step)
Finally, fill the bottom of your primitive Easter basket with moss if desired. You can use shredded paper or other basket fillers if you prefer. However, I wanted the rustic and natural feel of the preserved moss, so here’s how I attached the moss.
I added a bead of hot glue around the inside edge of the basket bottom and pressed a small amount of moss into the glue. This helps to keep the moss from working its way out of the grapevine wreath edges. Fill the basket with moss until you are happy with the look. In addition, I wanted to conceal a few twist ties, so I added more hot glue and moss.
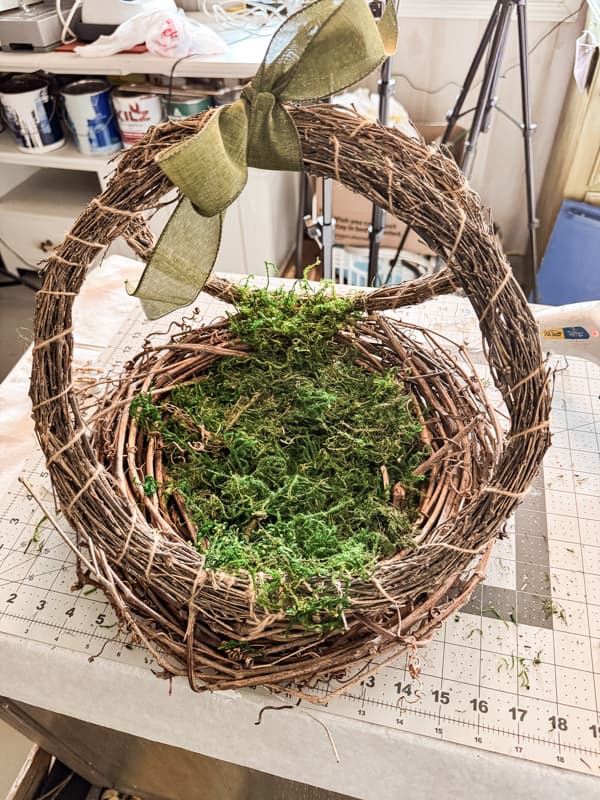
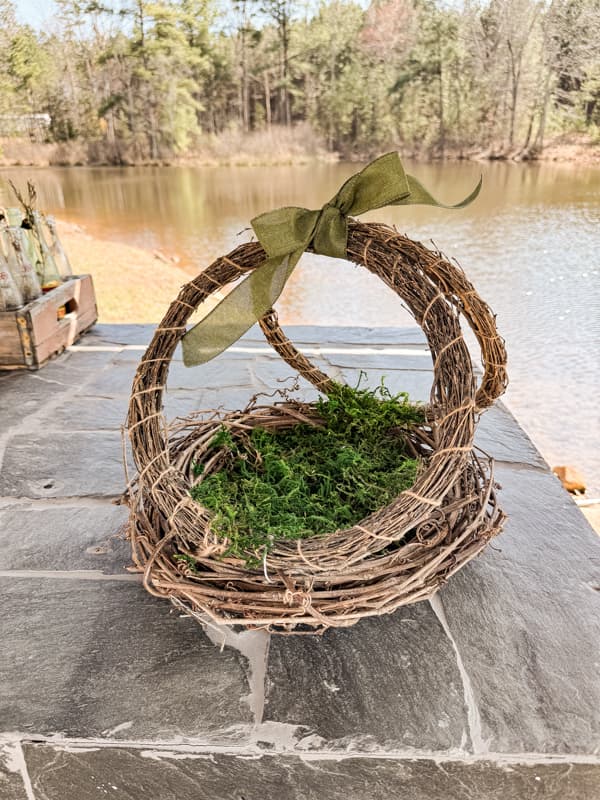
Rustic DIY Easter Basket
The basket only took a few minutes to construct and looks perfectly rustic and primitive. I tied a bow to the handle to conceal the twist ties, but I’m on the fence about keeping it.
Next week, I’ll share how I plan to style the basket with additional organic elements. So stay tuned and see what I do about the bow!
Resources: Shop This Post
Thank you for stopping by today and I look forward to sharing my next adventure with you.


Rachel, this basket is so darn cute! I just love it! The moss at the bottom and that pretty green bow is perfect! You are just amazing at all the wonderful ideas you bring us. The picture of your basket with the lake in the background is so pretty! Thanks for all you do! Have a great weekend!
Mary-Ann,
Thank you so much! I’m adding the decorations to the basket this weekend and will share with you next week. I hope you like the end result.