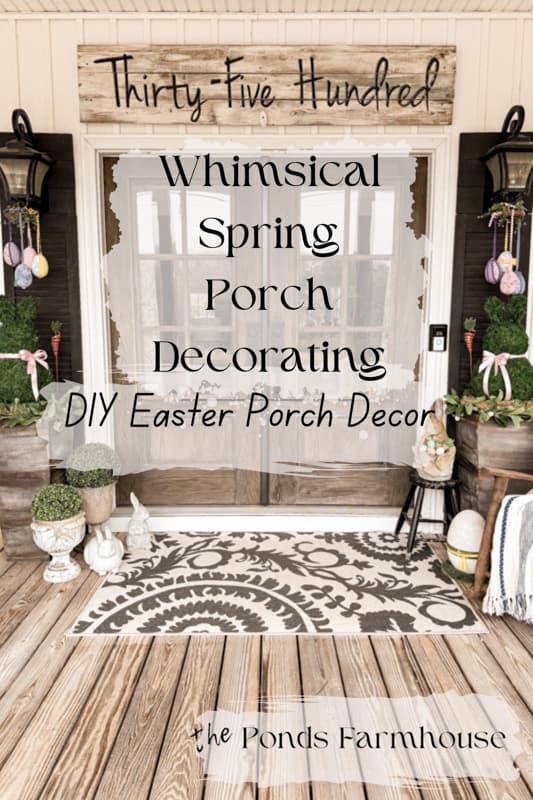
A Whimsical Spring Welcome: DIY Porch Easter Decorating Ideas 2025
Don’t you love saving money on your seasonal decorations? This year I saved so much money crafting Easter decor, designed specifically for my front porch. After sharing the tutorials for the DIY Dollar Tree Moss Bunnies and those cute scrap fabric Easter eggs, I couldn’t wait to style them around my front doors. The result? A whimsical porch that’s both charming and unique. Let’s take a closer look at how these DIY projects came together to create a warm and inviting Easter welcome!
(Posts on The Ponds Farmhouse may contain affiliate links. As an Amazon Associate, I earn from qualifying purchases. See the full disclosure details here.)
DIY Easter Decorations
I previously shared a couple of DIY Easter project tutorials that I planned to use on my front porch for Easter. First, I made two large Moss Easter bunnies using Dollar Tree bowls. They only cost $17.00 compared to smaller ones with hefty price tags. Next, I shared the cutest scrap fabric Easter egg tutorial with two options for making fabric Easter eggs. The eggs are customizable to work with any decor style. Finally, I combined these two crafts to create a whimsical Spring front porch.
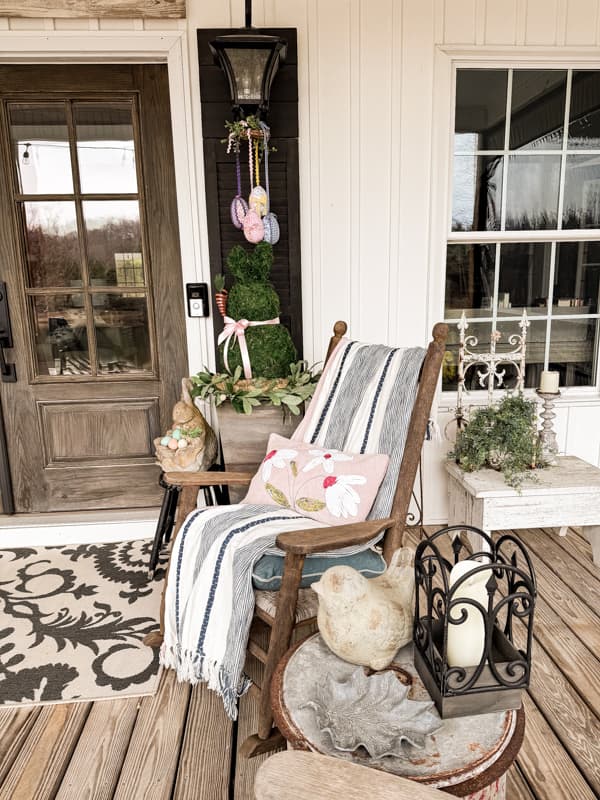
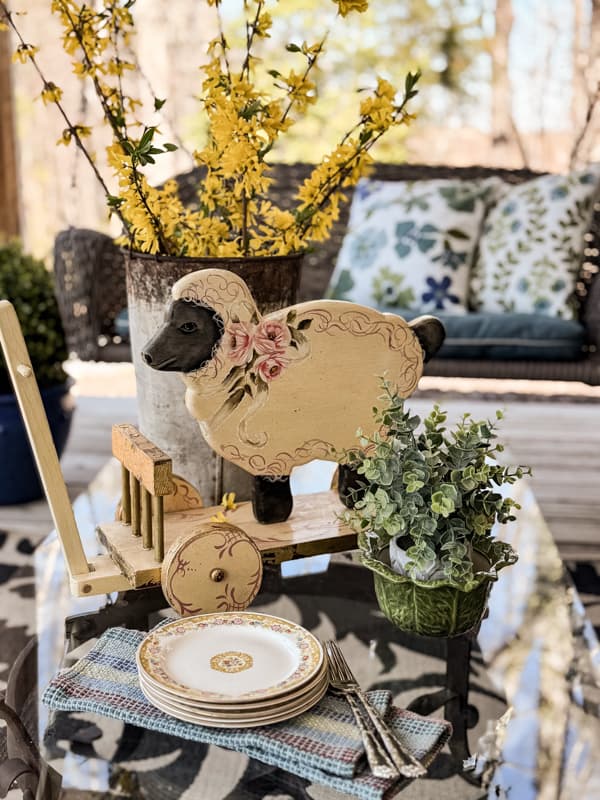
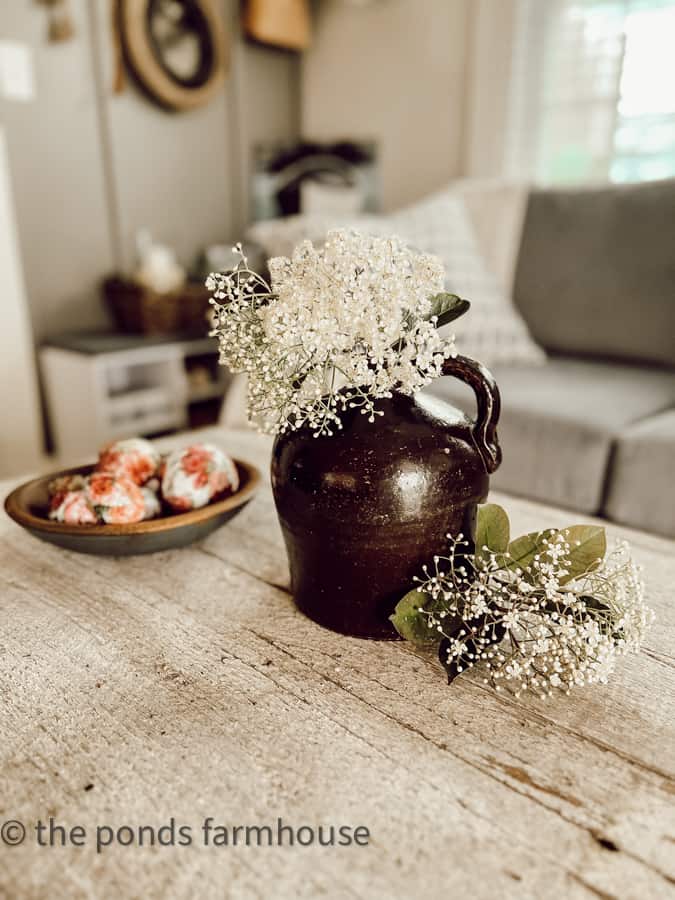
In addition, I decorated the seating area with pillows and cushions surrounded by greenery topiaries. Then, a new-to-me thrifted primitive Easter pull toy takes center stage on the coffee table, paired with fresh flowers blooming now. It’s a charming spot to enjoy the pond views. See the details at the end of this article.
Whimsical Spring Porch For Easter
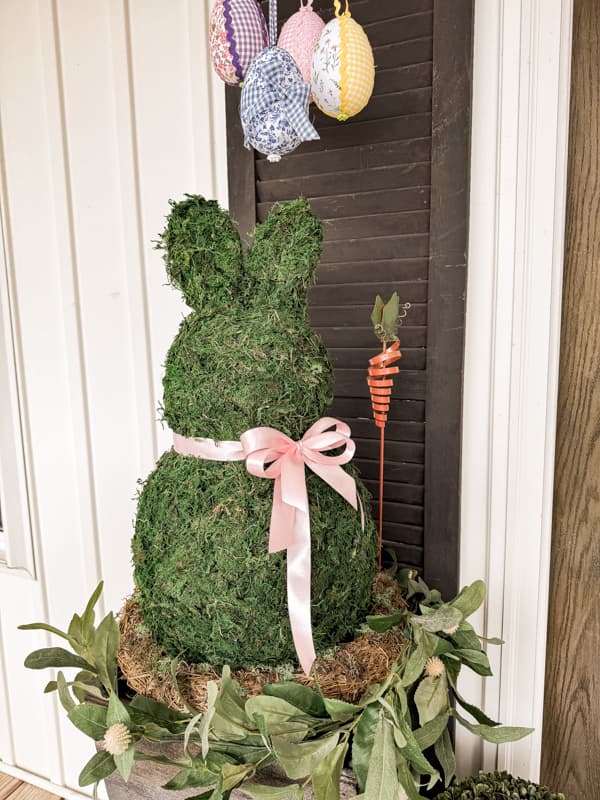
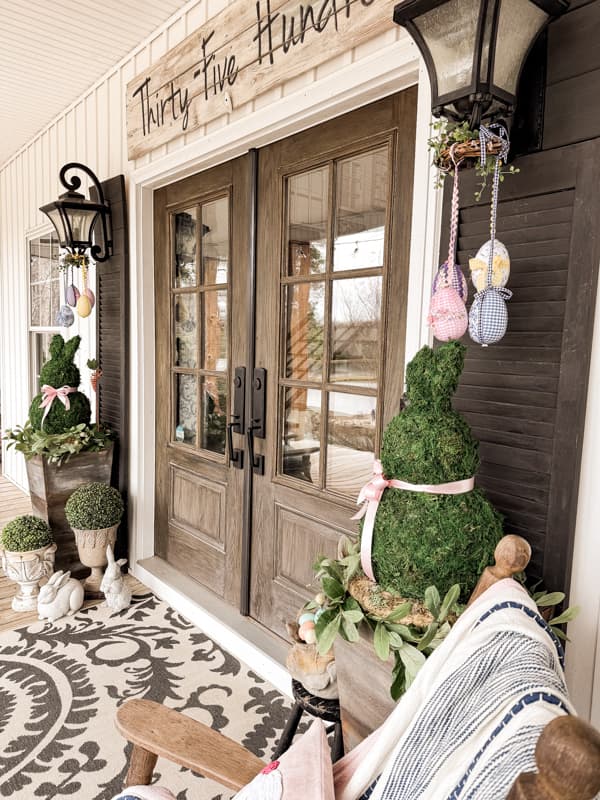
When I began seeing all the large Easter bunnies this year, I knew I wanted them for this year’s Spring porch decorations. However, the cost was beyond my budget because I would need two to fill the planters on either side of the front doors. Therefore, I made mine using Dollar Tree supplies, which turned out perfectly.
How To Fill The Planters
To fill around the bunnies in the planters, I recycled two old straw wreaths and wrapped a thistle garland around the base. I added a carrot garden spike I found at Dollar Tree to complete the planter decorations.
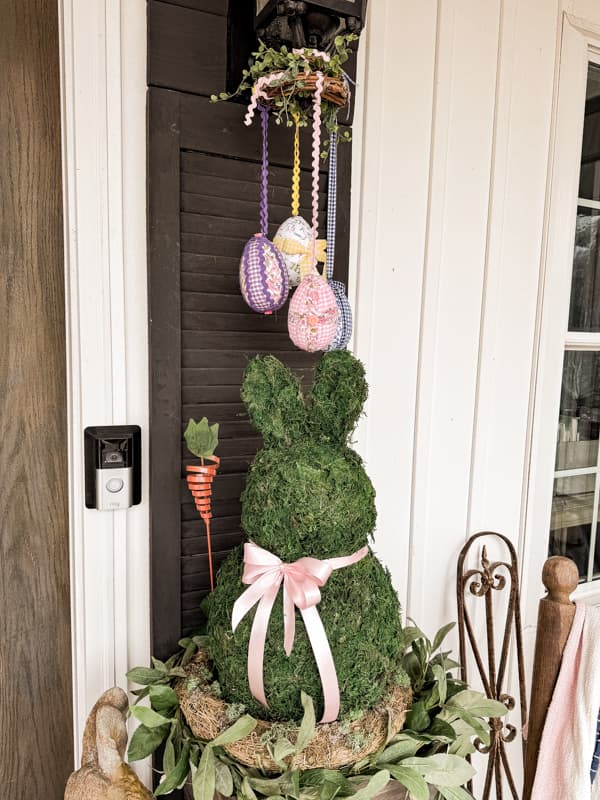
The planters are tall, so there is very little space between the large bunnies and the light fixture. There is not enough room for a wreath, but the space looked empty without something to fill in. After I made the scrap fabric Easter eggs, I knew they would look adorable with the bunnies.
How To Hang The Fabric Easter Eggs
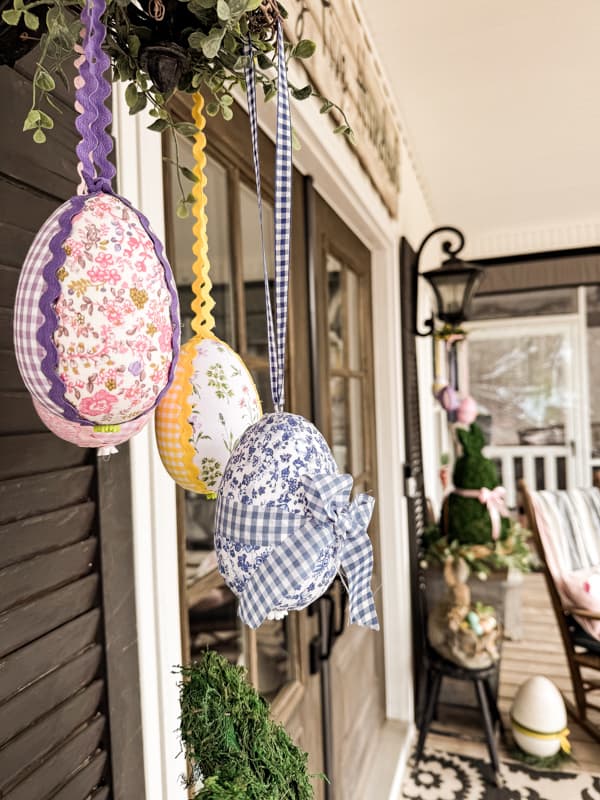
When I made the scrap fabric Easter eggs, I added extra ribbon to some of them to allow for hanging. Once I was finished, I realized that I would need all the eggs for the front porch. Therefore, I used small eye hooks at the top of each egg and added additional ribbon for hanging.
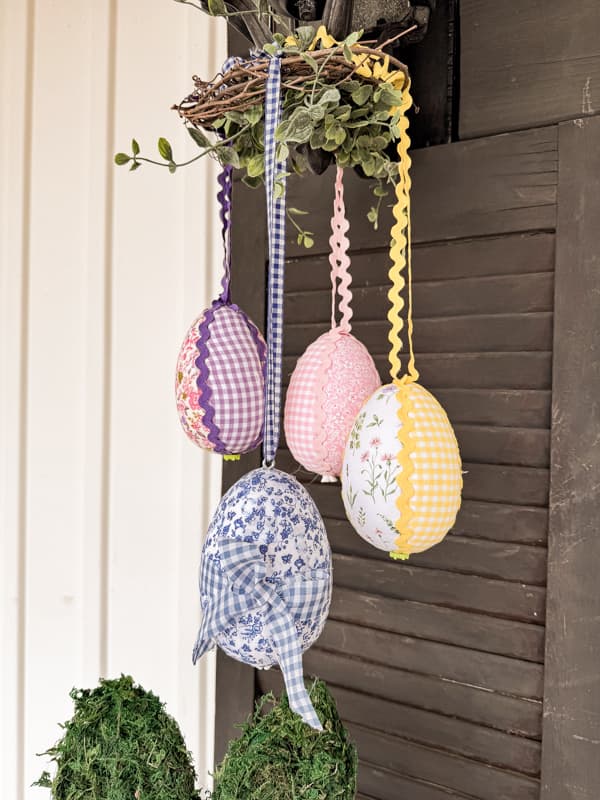
Then, I used two small grapevine wreaths and greenery candle rings to hang the eggs. I began by tying the eggs to the grapevine at various heights and spacing them evenly around the ring. Then, I added the greenery ring to the center, pulling some of the greenery above and below the grapevine wreath.
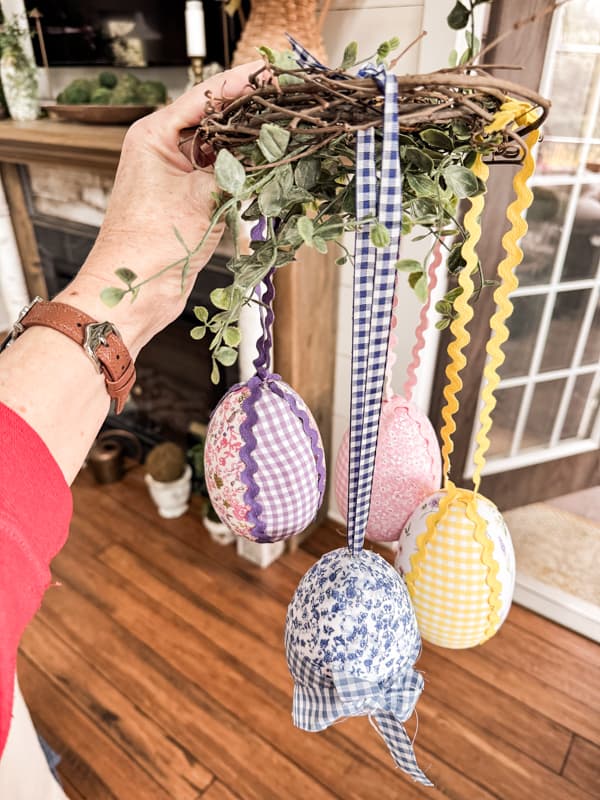
Finally, I used more ribbon to attach the rings to the light fixture above the bunnies. The eggs fill the space and give the arrangement a whimsical, unique, and eye-catching style.
How To Complete the Spring Porch Decorations
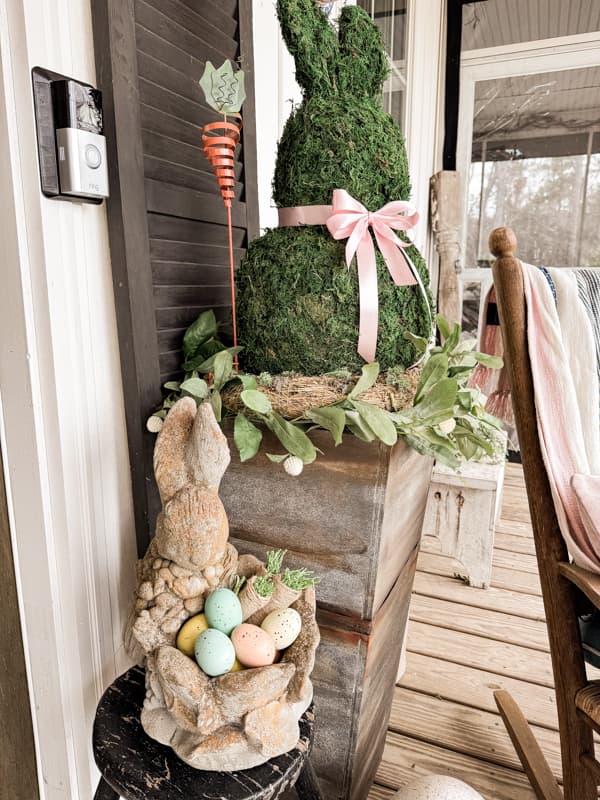
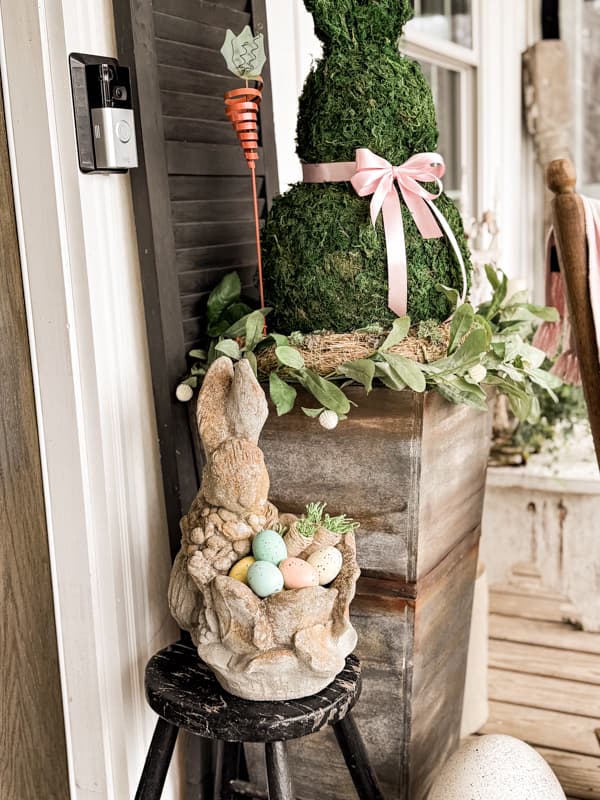
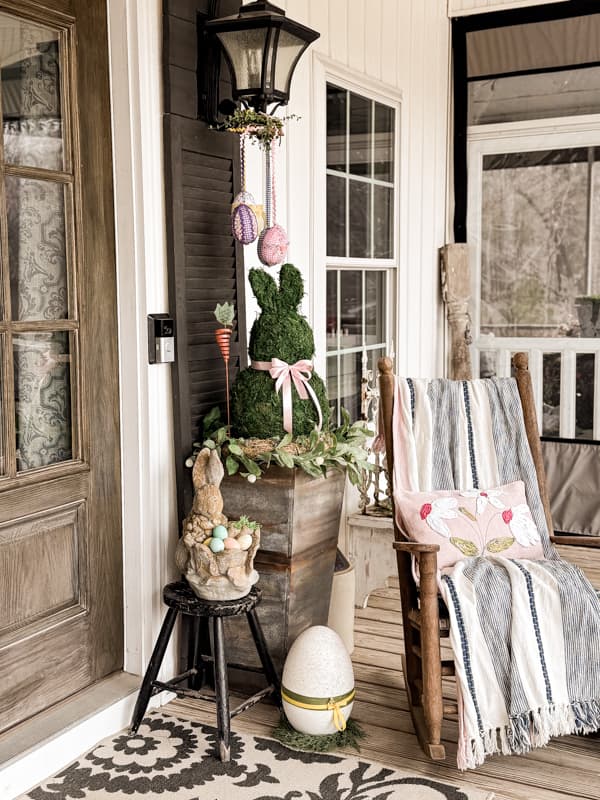
With the bunnies and Easter eggs as the focal point, I added a few more Easter touches to complete the Spring porch decorations. First, I pulled several of my concrete bunny statuaries to surround the planters. A favorite is the concrete bunny planter which I added to a vintage stool for height. Instead of adding a plant, I filled the planter with Easter eggs and faux carrots.
In addition, I added a couple more DIY projects from previous years to complete the vignette. The large Easter egg was from last year’s Dollar Tree front porch decorations and the scrap fabric pillow was from a few years ago.
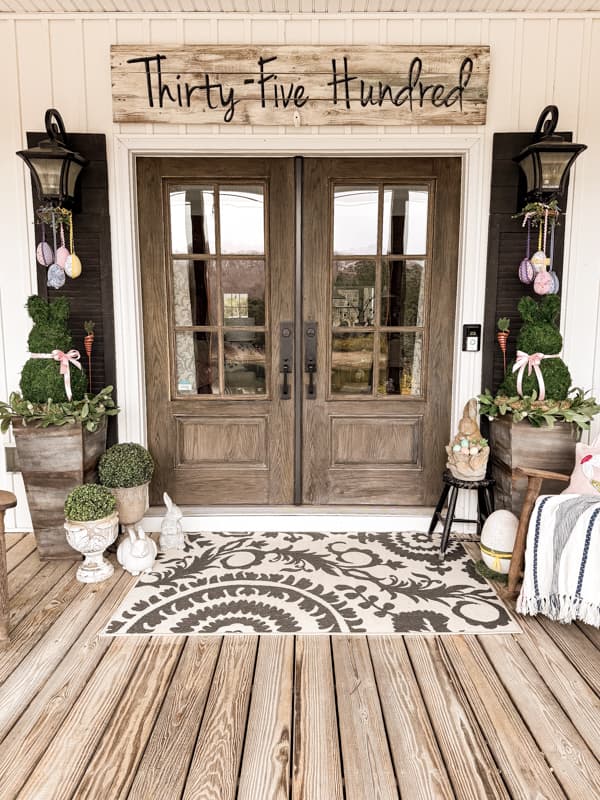
To balance the other side of the doorway, I used a couple of planters filled with faux boxwood and two more concrete bunnies. An oversized outdoor rug and the DIY address sign complete the whimsical and inviting front porch decorations.

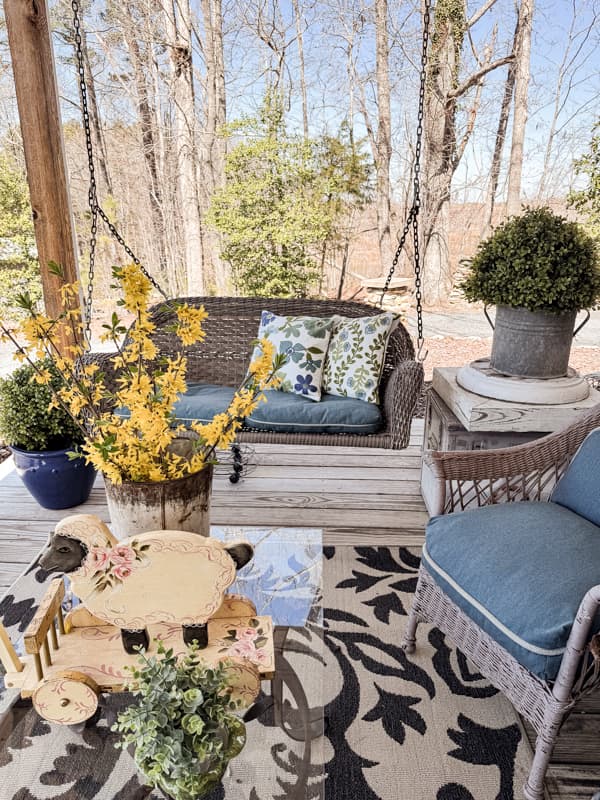
Front Porch Seating Area
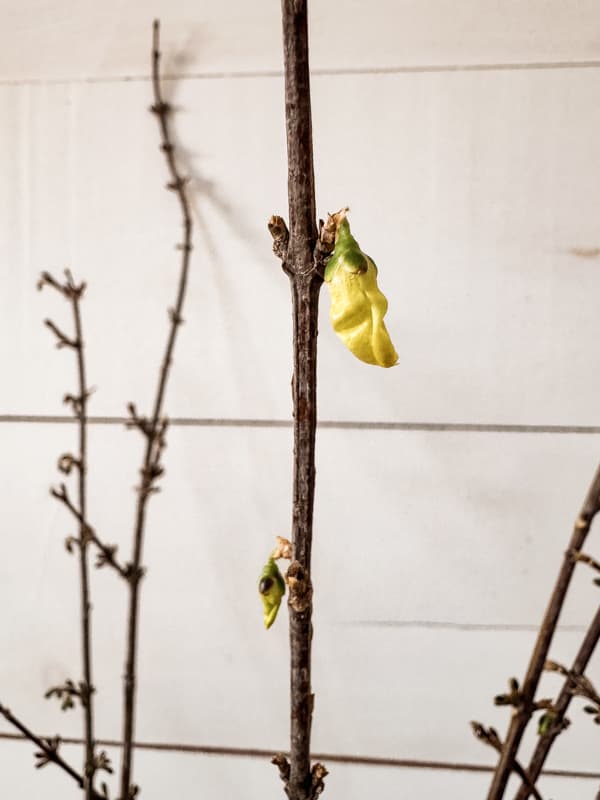
The other end of the porch includes a porch swing with spring pillows and the coffee table is decorated with fresh forsythia flowers, a thrifted primitive lamb pull toy and vintage dishes.
FAQ
Resources: Shop This Post
Thank you for stopping by today and I look forward to sharing my next adventure with you!


I look forward to your decorating your home whatever the season. I really like your Moss Bunnies..ever so cool!! You are lucky to have a trailer to put all your valuables, I dont, so I have to decorate with what I have putting my decor in different places. What I dont want anymore or what I cant repurpose I donate. I do buy some new items or make new crafts but it has to be something that I can use for more than 1 season. You are so creative and very inspirational to me. Love your blog.
Lorri,
I’m so happy that you wrote and lifted me up with your kind words of encouragement. I would not have a storage trailer if I wasn’t doing this crazy blogging journey. I know some people buy new every year to style their homes, but I’m more of a let’s repurpose it kind of girl. I’m so happy you are enjoying my adventures and look forward to sharing more with you. Have the best week.
Rachel, your porch is so beautifully decorated! I just love everything you have on it! I just have to keep looking and looking at it! That little primitive lamb pull toy is just adorable. You always find such interesting items to use. I like how you attached your beautifully decorated eggs to the grapevine wreath and then to your porch light. Such a great idea. Those moss bunnies are darling and I love that lovely pink bow that you added. You are such an amazing gal and have been blessed with so many wonderful gifts. Thanks, once again, for all you bring us, Rachel. Our homes look so pretty with all your DIY’s. I am so happy that I found your posts.
Mary Ann
You are just so kind. I’m so glad you like the porch decor. It’s been a labor of love, starting with Dollar Tree Bunnies and then the fabric Easter eggs. I’ve been very into lambs for Easter the last few years and have collected several at thrift stores. This lamb pull toy stole my heart. Wish I had a grandbaby to give it to. Instead, I’ll just decorate with it. I appreciate all your comments and encouragement so much. You are the best and I hope you are having an amazing week.