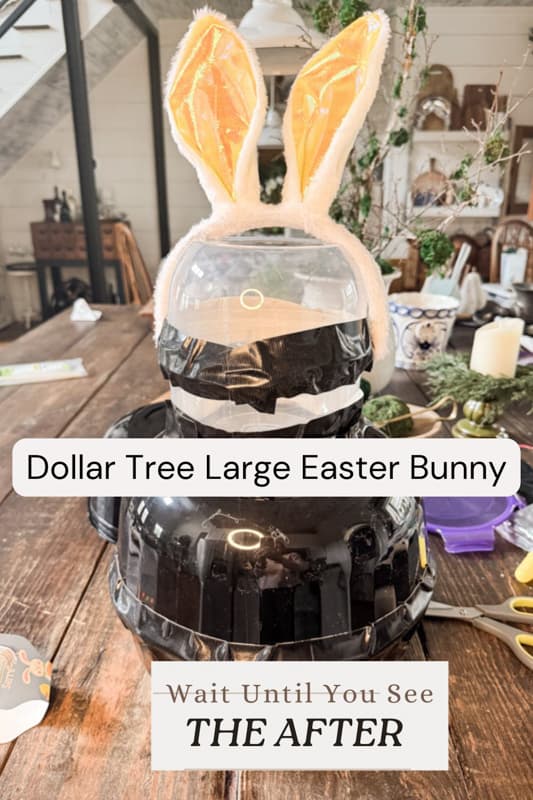
DIY Large Moss Bunny for Under $17! (Dollar Tree Easter Craft)
Everywhere I look this year, those adorable large decorative Easter bunnies are taunting me with their sky-high price tags! What if I told you could create a giant moss bunny for under $17? That’s right, with a few simple Dollar Tree supplies, I’ll take you step-by-step through the process of making one perfect for your porch.
(Posts on The Ponds Farmhouse may contain affiliate links. As an Amazon Associate, I earn from qualifying purchases. See the full disclosure details here.)
Why Make A Dollar Tree Craft Easter Bunny?
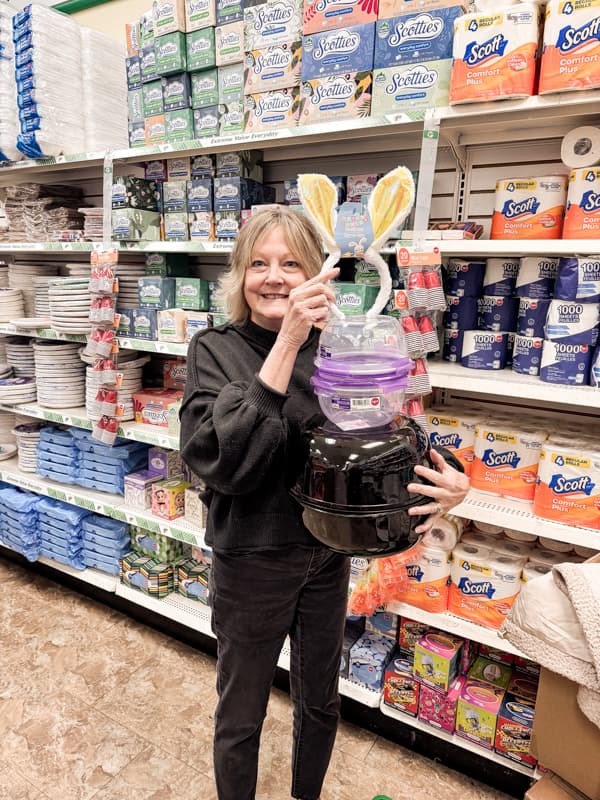
Okay, I must admit that I’m obsessed with these large Easter bunny porch decorations I see everywhere this year. So when I realized the cheapest one I could find was $60.00 and much smaller than I needed, I looked for an alternative. You know I love a good Dollar Tree craft challenge, and I found everything I needed for under $17.00. I now have two large decorative Easter bunnies for my front porch for just $34.00, and they were easy to make. I’ll show you how.
Supply List
- 2 – Large Plastic Bowls (Dollar Tree $1.25 each)
- 2 – Small Plastic Bowls (Dollar Tree $1.25 each)
- 1 – Roll of Black Duct Tape ($1.25 each) Will make two bunnies!
- 2 – Bunny Ear Headbands ($1.25 Each at Dollar Tree)
- 1 – Can of Dark Green Spray Paint (more than enough for two bunnies and any cheap brand will work)
- 1 – Package of Green Moss (enough for two bunnies) I found this to be cheaper than purchasing the small packages at Dollar Tree.
- Elmer’s Glue
- Hot Glue Gun
- Plastic Gloves
Step 1 – Prepare Easter Bunny Body
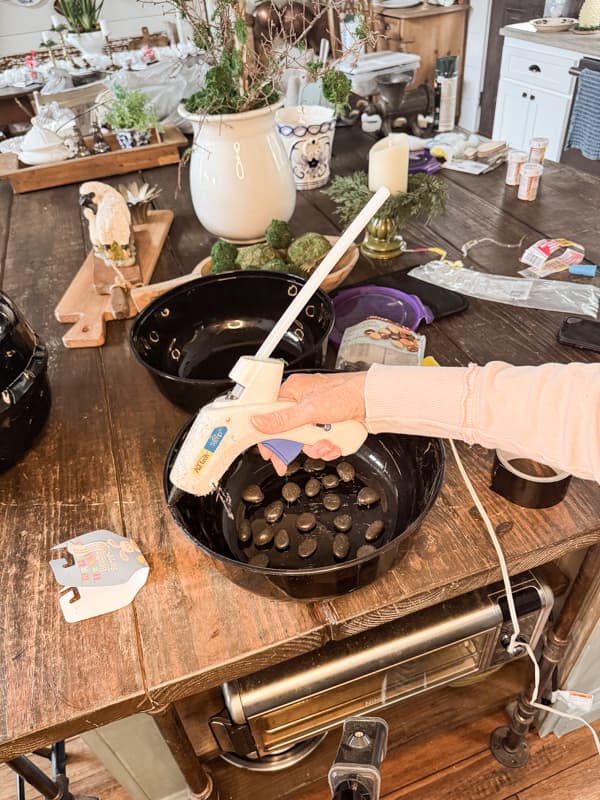
I learned my lesson last Christmas when I made natural green topiaries but failed to add weight to the bottom to keep them from blowing over. So, the first thing I did was hot glue several pebbles into the bottom of the plastic bowl. This will keep them from sliding around and provide enough weight to secure the decorative Easter bunnies in my planters.
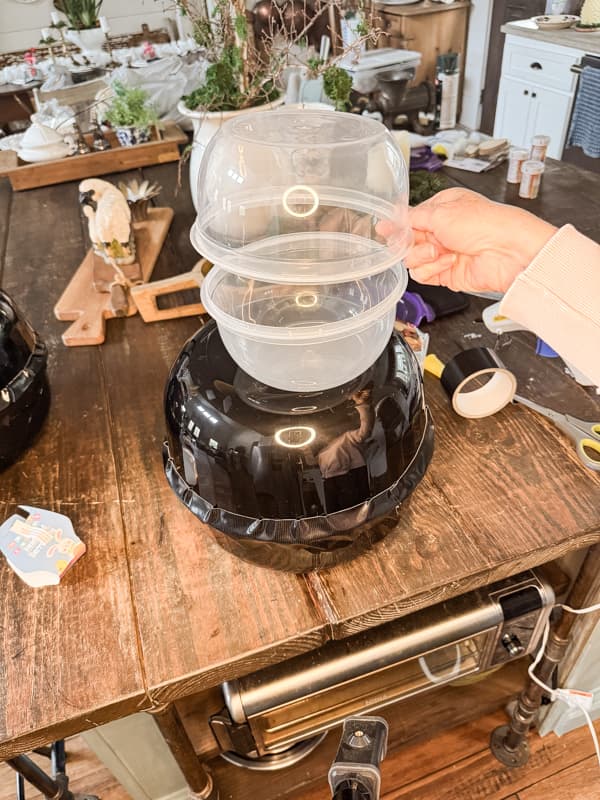
How To Attach Bowls
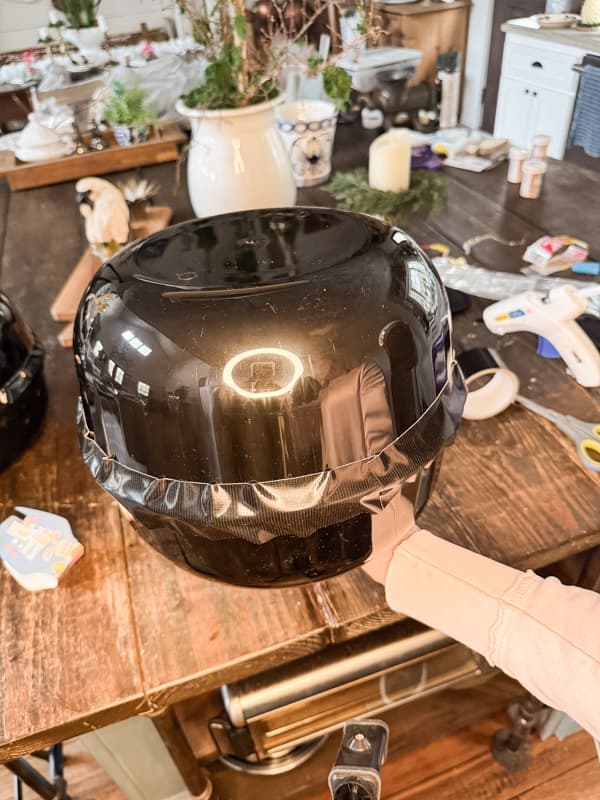
Next, I attached the two bowls at the rims. Apply a bead of hot glue around the entire rim and press the bowls together. In addition, I added black duct tape around the rims for added security.
Step 2 – How To Make The Bunny Head
Next, to make a bunny head, I used the two smaller bowls and attached them with hot glue and then a round of duct tape as well.
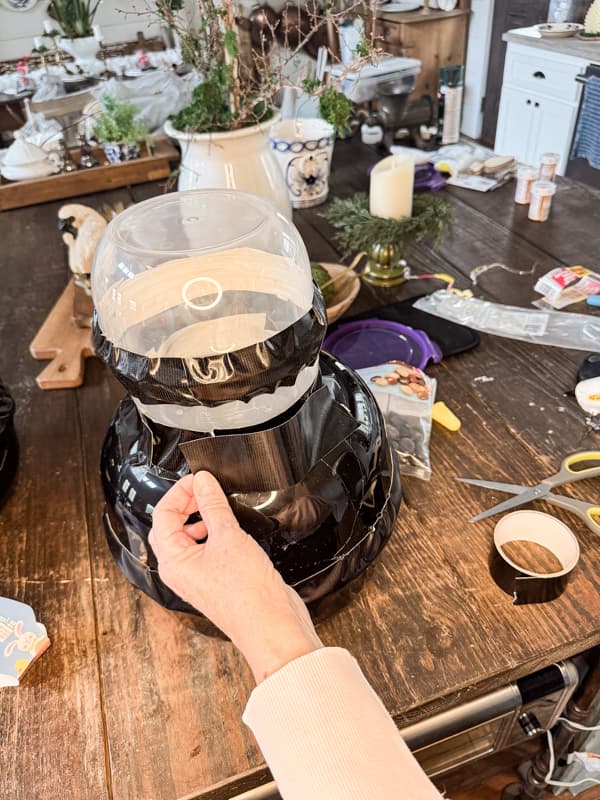
How To Attach The Head To Bunny Body
Then, I added enough hot glue between the two bowls to attach the head to the body. I also wrapped more duct tape around the neck to secure it.
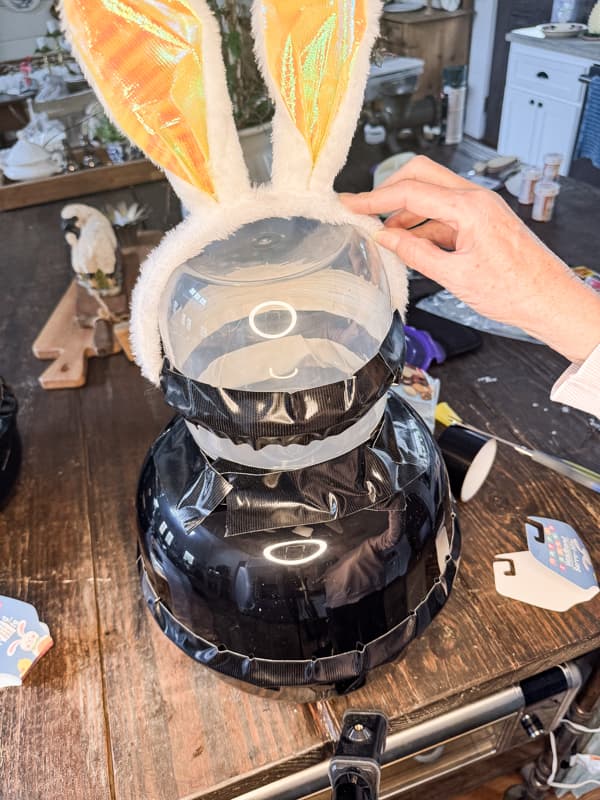
Step 3 – How To Add Bunny Ears
Finally, I used the bunny ear headband to create the bunny ears. I added a bead of hot glue on the sides of the top plastic bowl and pressed the headband into the glue. Before the glue sets, check to see that the ears are straight and in the correct position.
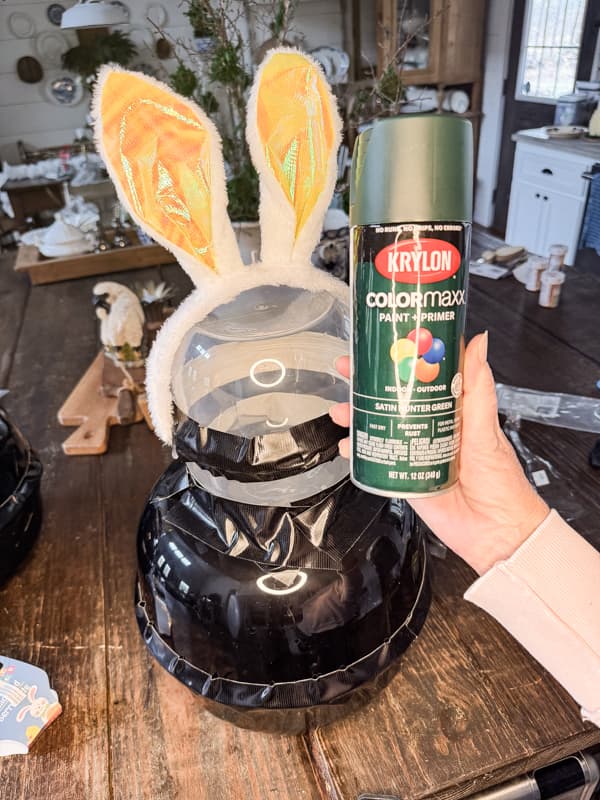
Step 4 – Spray Paint Dollar Tree Bunny Green
Now, you are ready to paint the Dollar Tree craft bunny with green spray paint. Place the DIY bunny in a well-ventilated space and spray all the light areas green. I added some green paint to the black areas, which is optional. Getting the ears and clear plastic as green as possible is important. Allow the spray paint to dry before proceeding.
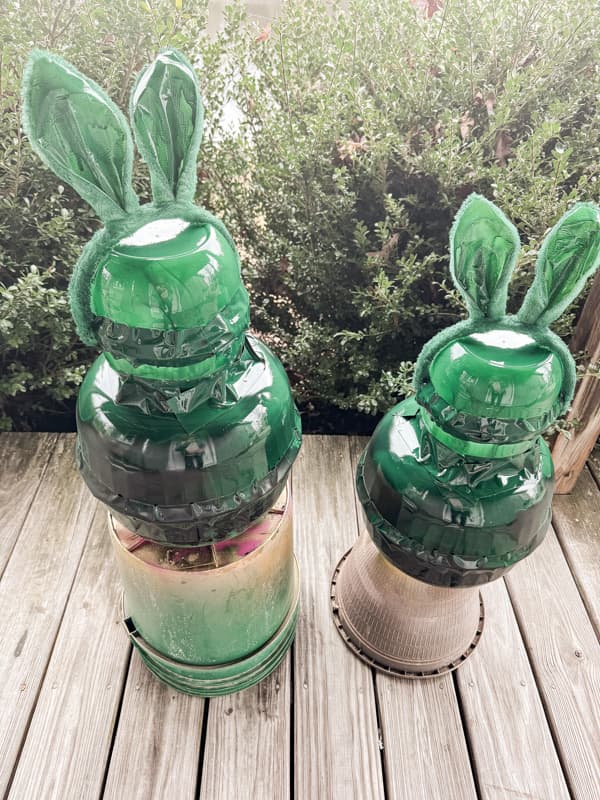
Insider Tip: Oops! One Mistake
After spray painting the Dollar Tree Bunnies, I realized that the gap between the headband and the bowl would need to be filled. I used a recycled plastic grocery bag and stuffed it under the headband. Then I used more of the duct tape to cover the bag and secure it at the front and back of the headband.
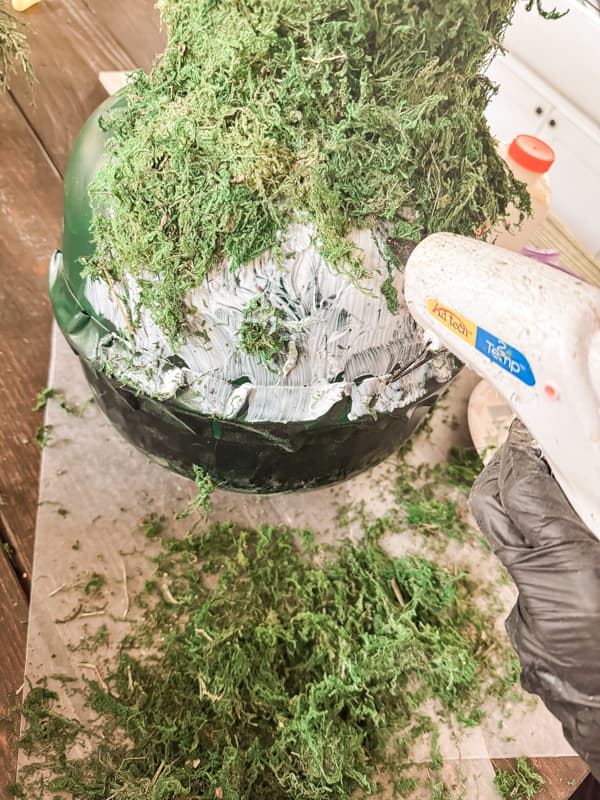
Step 5 – How To Add Moss To DIY Easter Bunny
Finally, we are ready to add the moss to the DIY decorative Easter Bunny! I began by adding Elmer’s glue to small sections with a paintbrush. Then, I pressed small sections of moss into the glue. I quickly realized that this process was messy and not very efficient. Therefore, I decided to add hot glue in addition to the craft glue.
Painting the entire base with craft glue saved on the need for excessive hot glue. So, I painted the sections with glue and then added swirls of hot glue over the top. Once the area was covered, I pressed the sections of moss into the glue. The hot glue grabbed the moss and held it until the craft glue could dry. The combination allowed me to complete the application in good time.
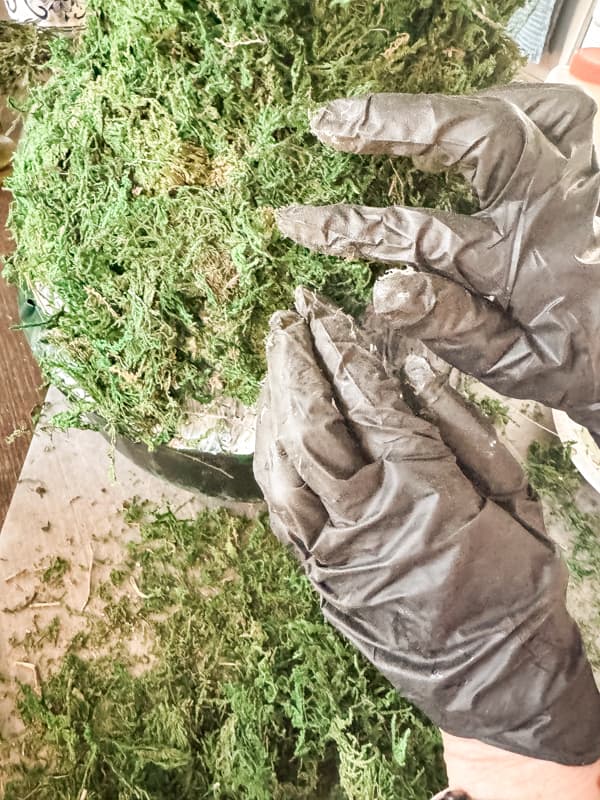
I worked from top to bottom in small sections. Don’t try to cover large areas, as the hot glue will begin to dry before you apply the moss. This process was a little messy because I wanted to break up the moss into small, thin pieces. After placing each section, I pressed the area with my gloved hands to ensure the moss adhered to the glue. Once the bowls are thoroughly covered, set your bunny aside to allow for drying.
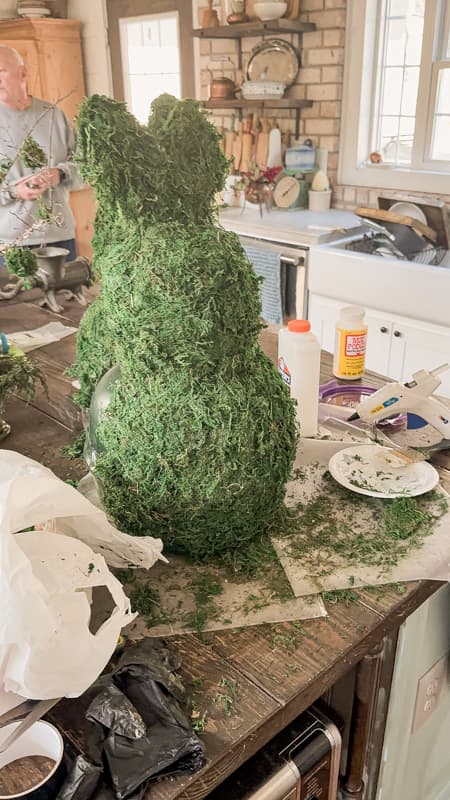
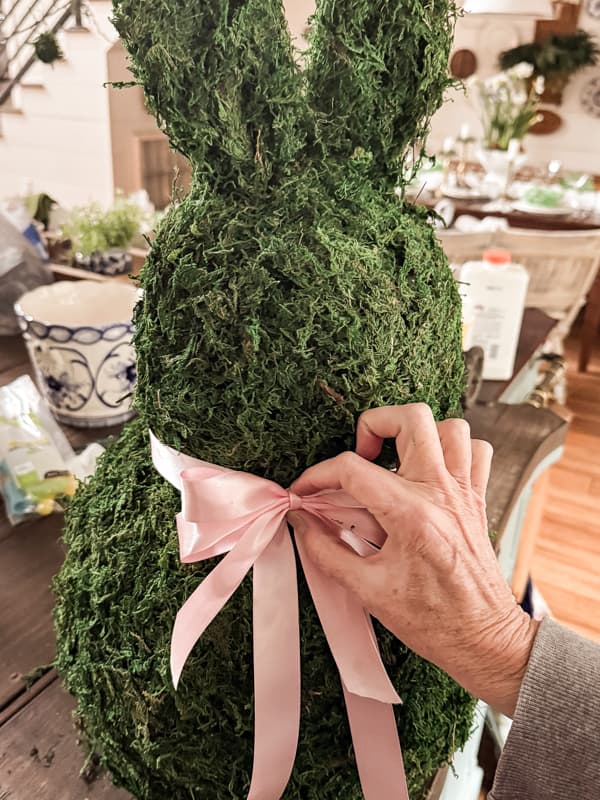
Step 6 – Decorate Your Moss Bunny
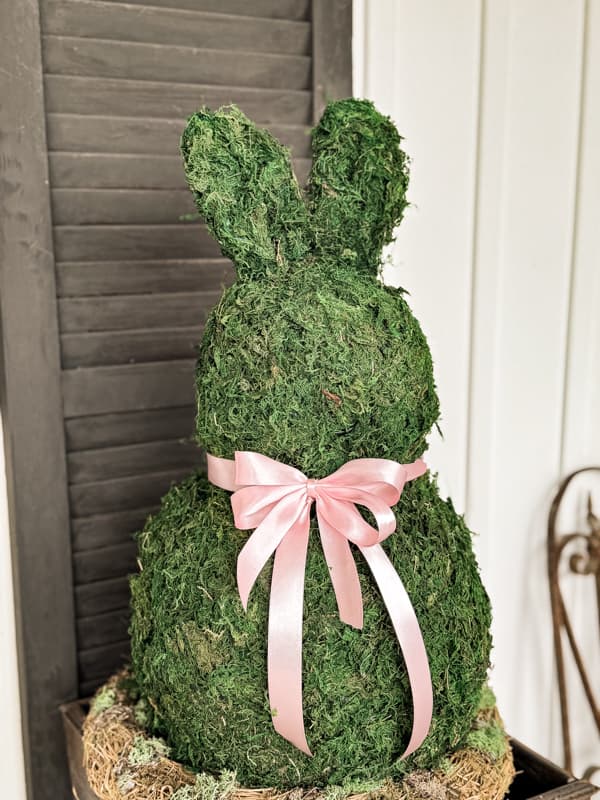
Once you have all the moss in place and the glue is dry, you can accessorize your adorable Easter porch decoration. I added a pink satin bow around the neck.

However, you can add beads or buttons for eyes and a nose. I’ve seen some with twinkle lights wrapped around the bunny’s body. In addition, you can make your bunnies larger or smaller by adjusting the bowl sizes. There are so many options when making this Dollar Tree Easter craft.
FAQ
Easter Porch Decorations
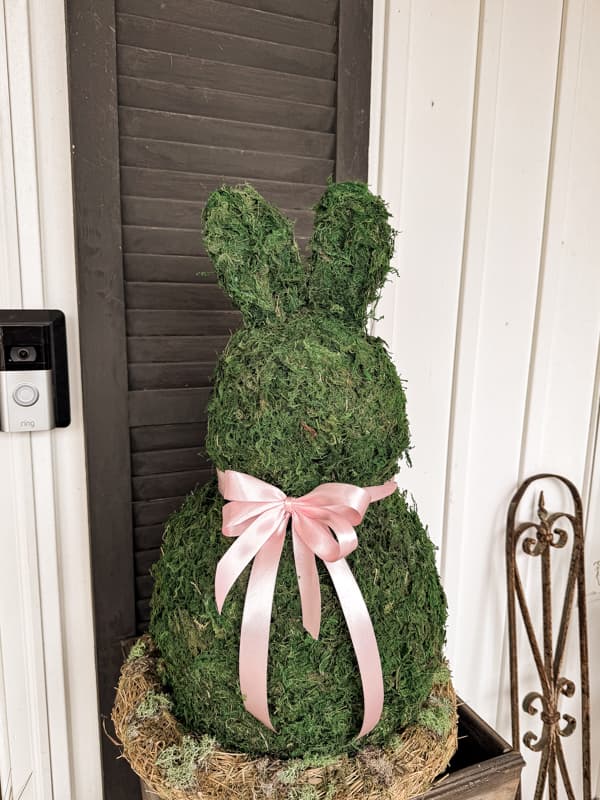
I plan to add my two inexpensive decorative Easter bunnies to my front porch planters as soon as the weather permits. I did a test run and love the size of the bunnies. Over the next few weeks, I’ll add more greenery and flowers to enhance the Easter decorations, so stay tuned.
Related Articles
- Mossy DIY Vintage Birdhouse Makeover
- How To Keep Moss Looking Fresh For Years
- Moss Rabbit Topiary DIY (Dollar Tree Craft)
Video

I hope you enjoyed this money-saving tutorial. I look forward to sharing more budget-friendly ideas soon.


Hurray. Your project looks like a high end bunny. I’m going to get my supples to follow your tutorial before the snow falls.
Heather,
I’m so glad you like this idea and I hope you found everything you need. We are still waiting on the snow. None in sight yet. Have the best day.
What a cute moss bunny. Perfect for inside or outside.
Tammy,
Thank you! I appreciate this.
OMG, Rachel! You are on a roll with all your fun craft ideas, but this one takes the cake!!! I just shared these bunnies with my teacher and our other para in our classroom. I said we could make these and there would be an awful mess all over the place with moss everywhere, but they would turn out sooo cutely! <3
Definitely going to make a bunny for home. <3
Barbara,
Yes, the moss can be messy but so worth it. Thanks for all your comments.
Hi Rachel ! I am sharing this post with my readers in my March Unboxing post. Love this idea!
Anna,
I really appreciate this. Thank you!
Again, THE CUTEST RABBIT ever!!! So happy to share him over at Share Your Style #454 for you, Rachel.
Hugs and springtime blessings to you,
Barb
Barbara,
I really appreciate this. Thanks for sharing.
This is soooo cute I love it. Was thinking I would probably need to put some sand or stones in bottom bowl for some weight to help keep the bunny from blowing away. I do have a large covered porch but we get a lot of wind. Thanks so much for sharing.
Blessings, Candy
Candy,
I’m so glad you like this idea. Yes, I put some small stones in the bottom of the bowl. I used hot glue so they wouldn’t roll around and the bunny would stay balanced. Let me know if you make one, I’d love to see a photo and share it on my weekly Dirt Road Adventures.