Easy Paper Bag Snowflakes: 7 Unique Designs For Winter Decor
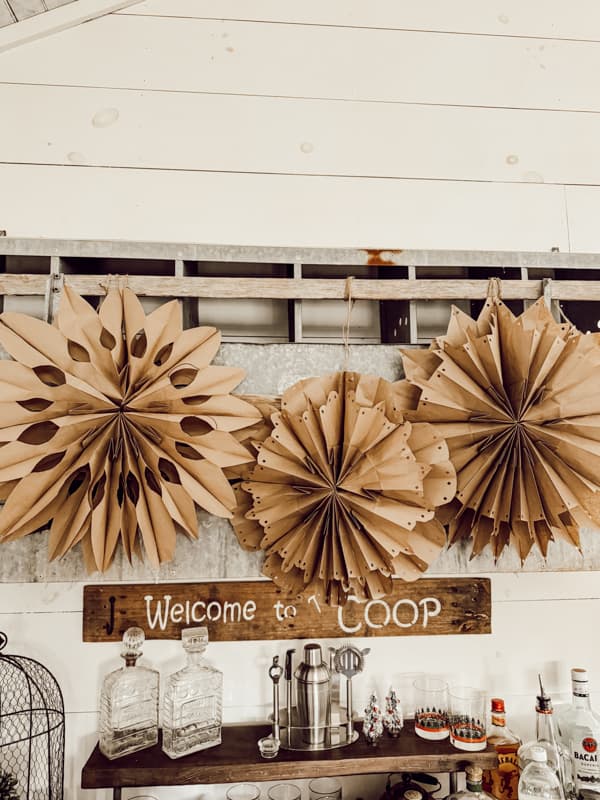
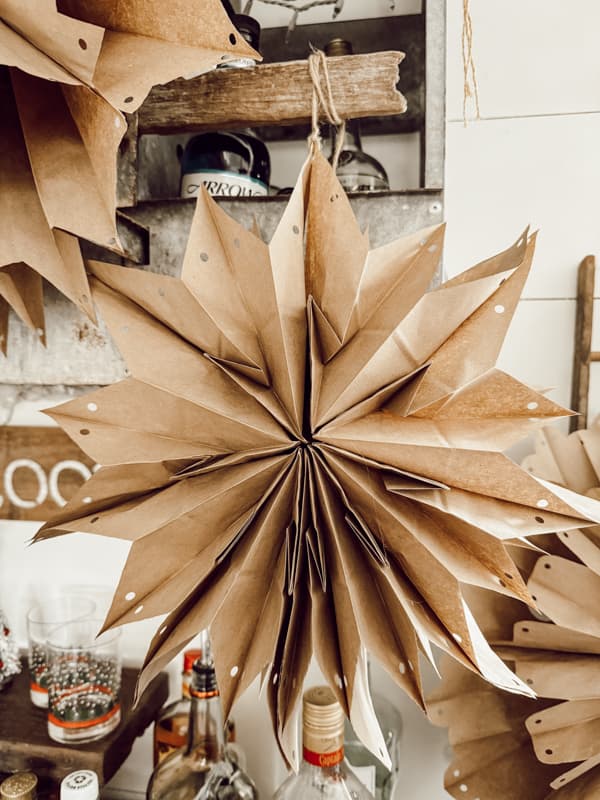
Can you believe Winter begins on Saturday? It’s not too late to embrace the magic of the season! Since Christmas is just days away, let me share how you can add winter charm that will last beyond the holidays. Today, we’re diving into the delightful world of paper bag snowflakes by showing you 7 unique ways to make them. For the last few years, I have been making these 3-D snowflakes for holiday decorating, and love using them to add a touch of whimsy to my winter decor.
With a few simple tools, you and your family can transform ordinary brown paper bags into stunning snowflakes that will enhance your home all through the winter months. Let me show you how easy these snowflakes are to make.
(Posts on The Ponds Farmhouse may contain affiliate links. As an Amazon Associate, I earn from qualifying purchases. See the full disclosure details here.)
Table of contents
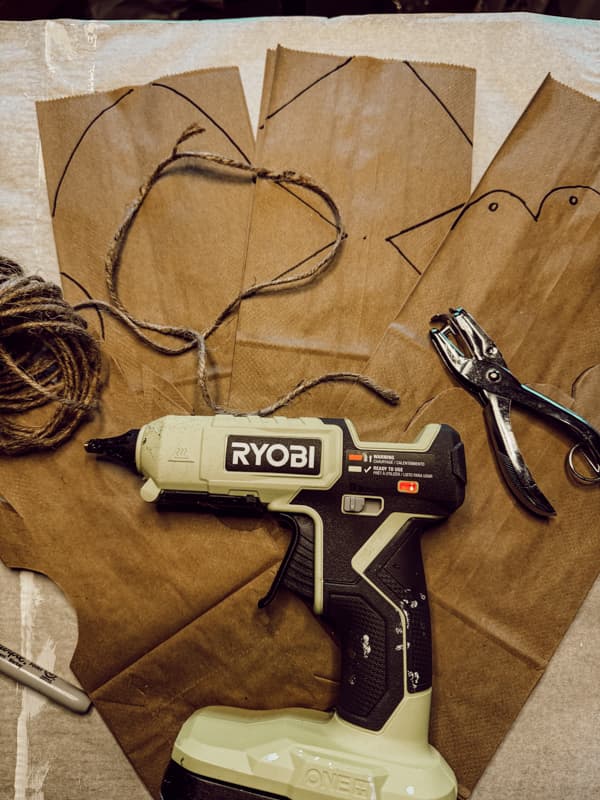
Paper Bag Snowflake Supplies
- Brown Paper Bags 9 per snowflake. You can also use white bags if you prefer.
- Hot Glue Gun
- Hot Glue Sticks
- Hole Punch
- Jute Twine
Full Size 3-D Snowflakes
The first step is to create your designs. I used regular lunch-size brown paper bags. You can use smaller bags, and different colors are available. You can also adjust the size of your snowflakes by reducing or increasing the size of the paper bags. A regular lunch size paper bag make a larger snowflake. I’ll show you five full-size snowflakes and two smaller-sized ones.
DIY Lunch Size Paper Bag Snowflake Tutorials
The first 3-D snowflakes I’m sharing are full-sized, and you can create different designs with just a few adjustments. You will need a minimum of nine paper bags per snowflake. I have 10 in some of the options. Each design construction will be similar, but I’ll share any adjustments and photos of all seven designs.
1. Scalloped 3-D Snowflake
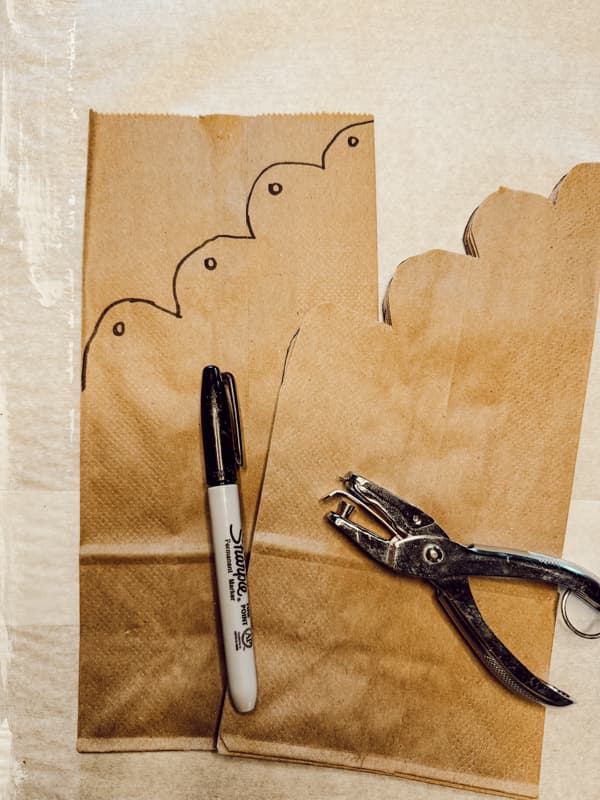
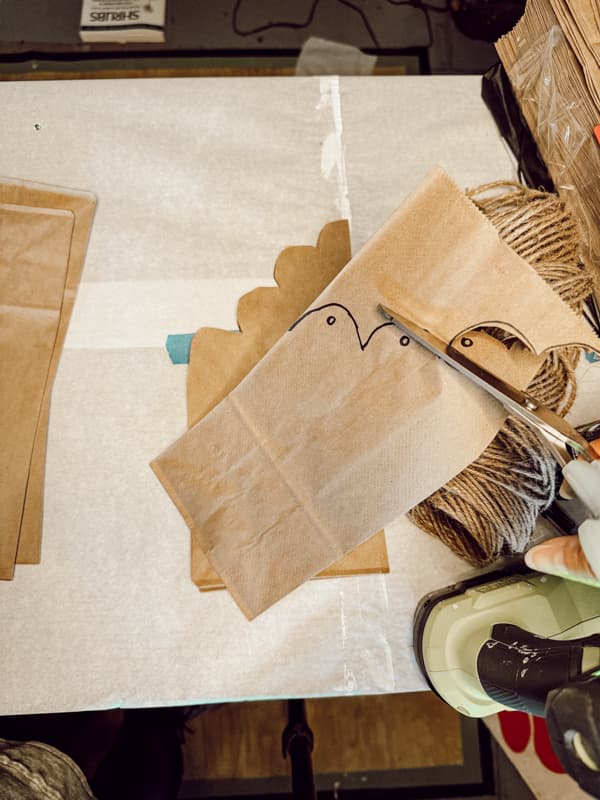
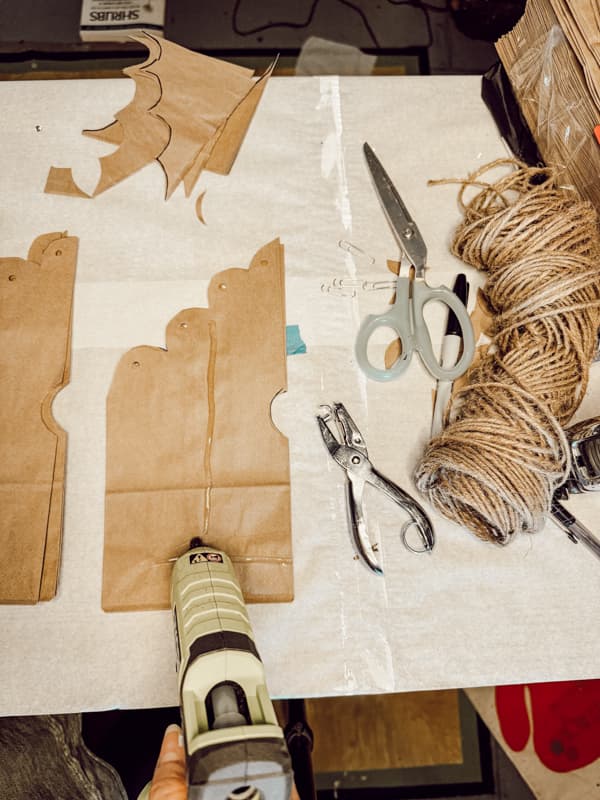
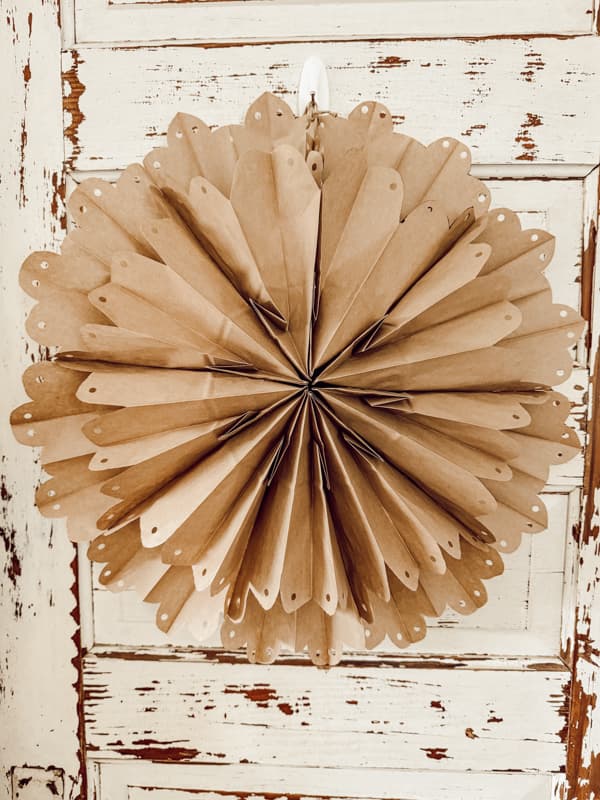
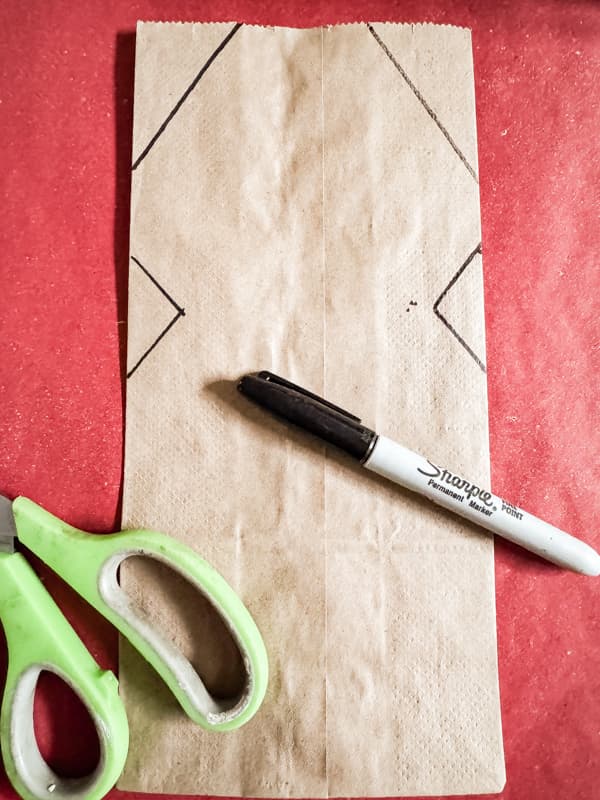
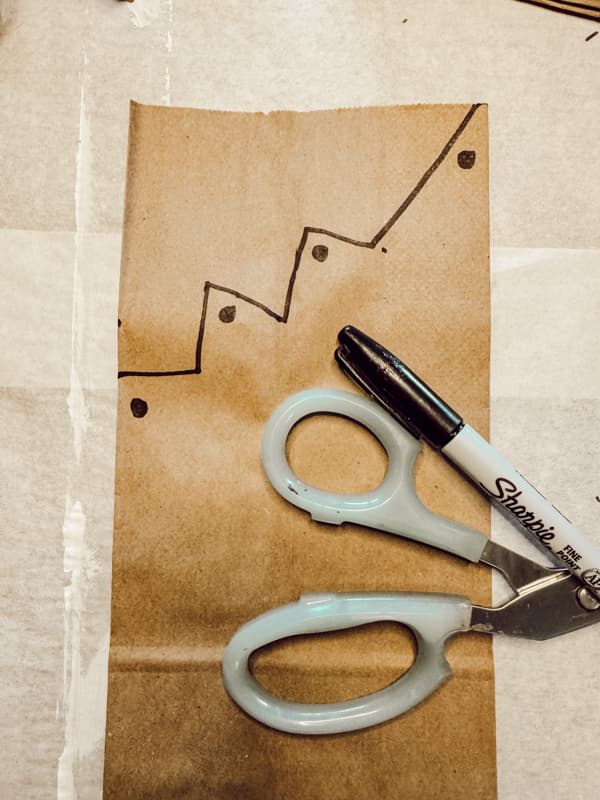
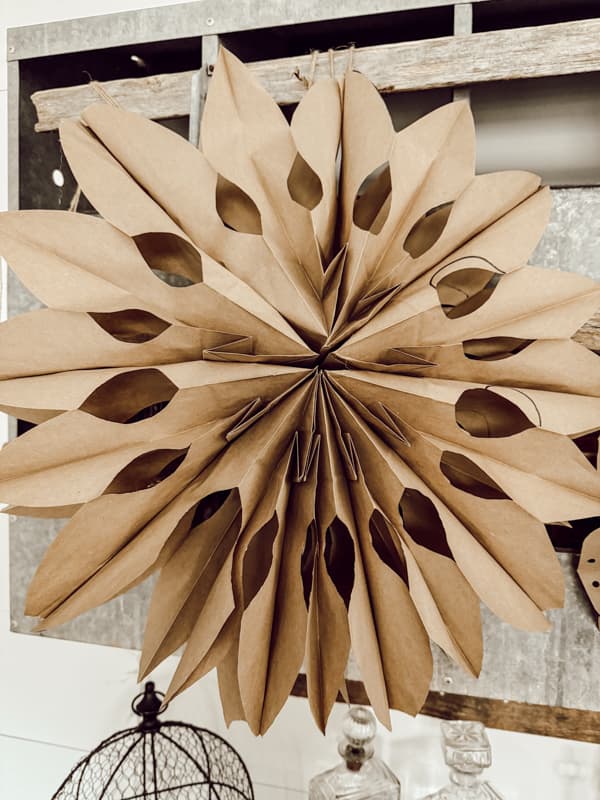
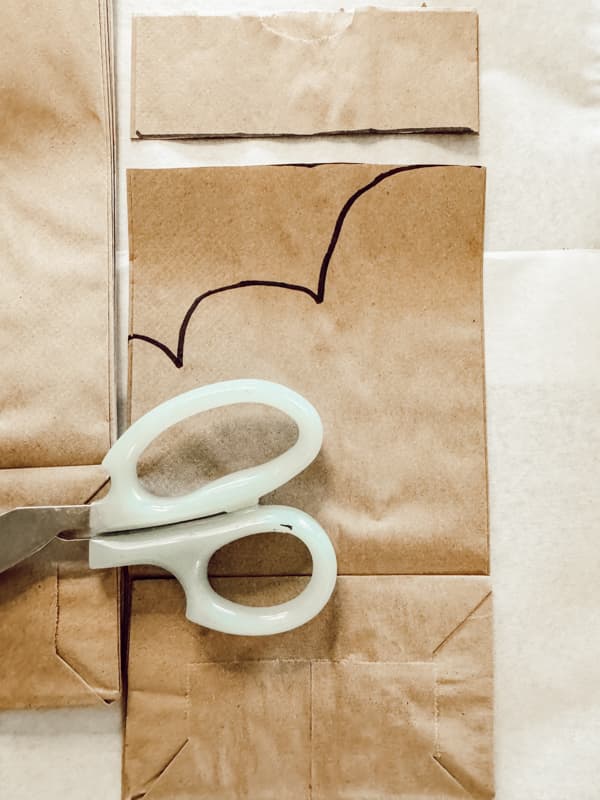
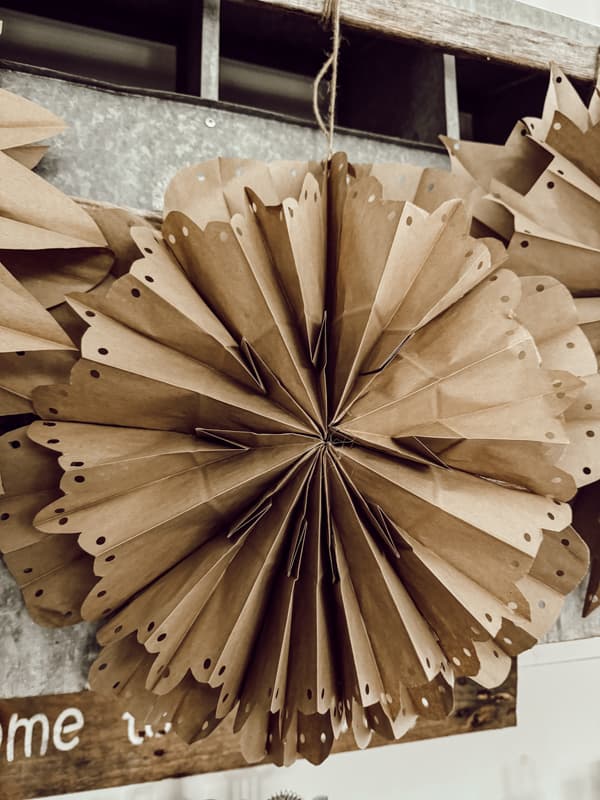
One of my favorite 3-D snowflake designs is this scalloped version. Draw four scallops on an angle, as shown on the paper bag below. Cut the design with sharp scissors. Once you have the original design, use it as a template to trace the other nine bags. You can cut several bags at once to save time. Add a hole punch to the center of each of the four scallops.
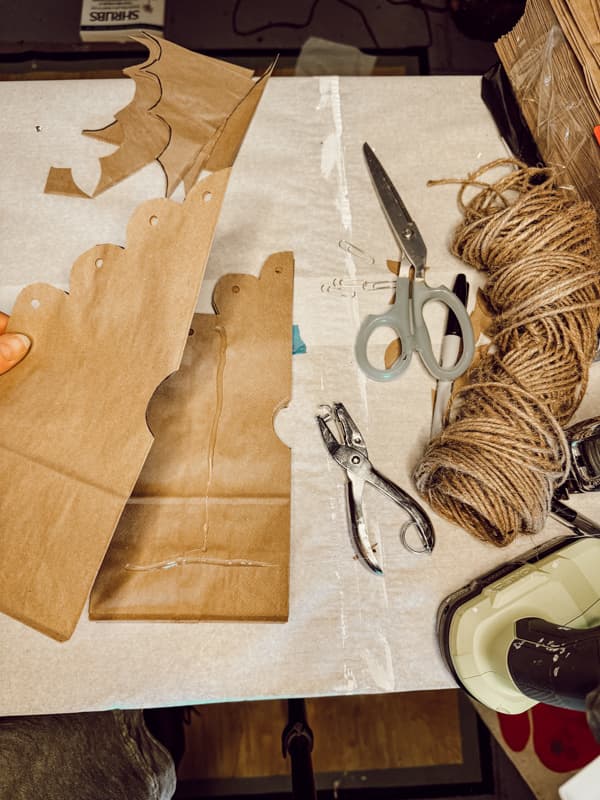
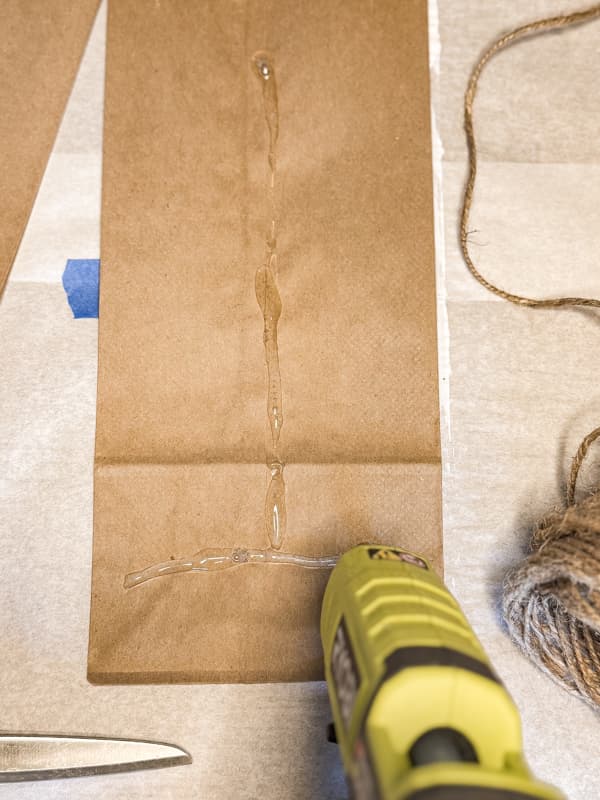
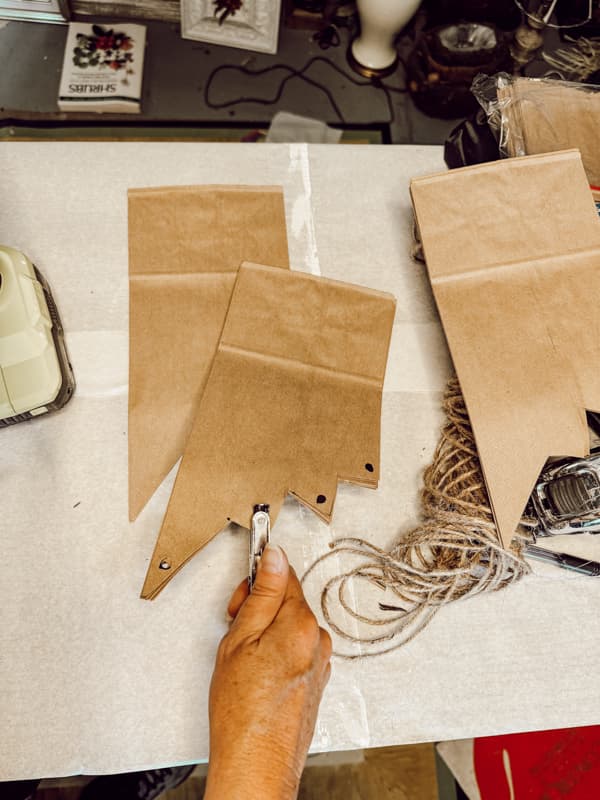
Add an upside-down T-shaped bead of hot glue to each paper bag. Apply down the center of each bag and across the bottom. Add a paper bag to the glue and press into place. Keep all bags turned in the same direction for the best results.
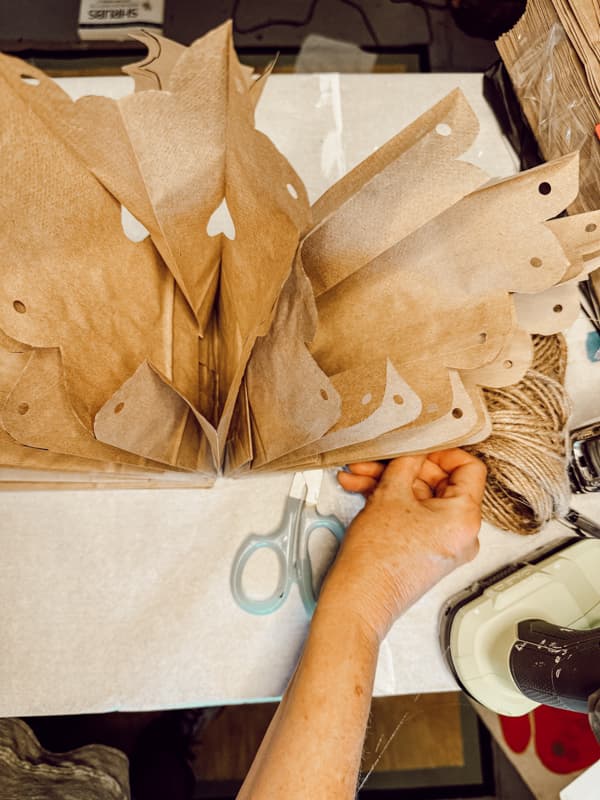
Continue until you have added all nine bags. Allow the glue to dry for a few minutes, and then open your snowflake.
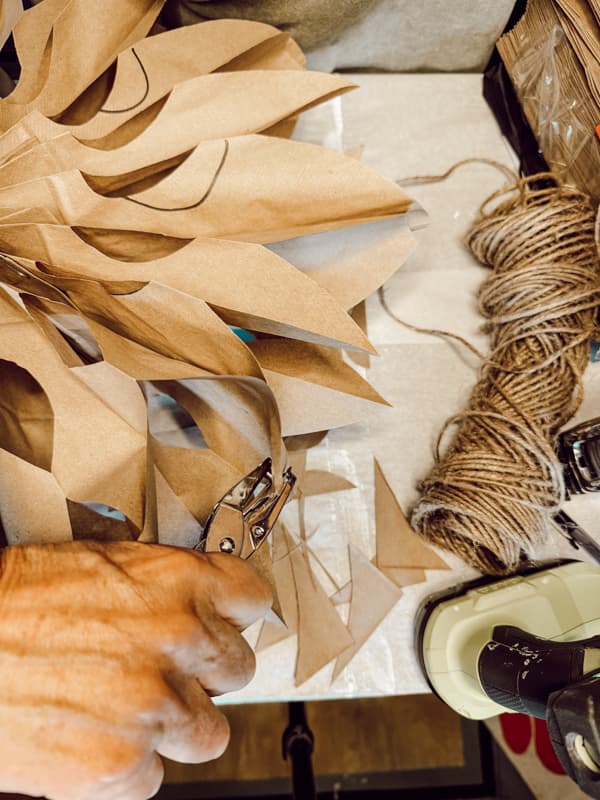
To join the ends together, use the hole punch to create a coordinating hole and tie it together with jute twine. You can add a bead of hot glue along the outer edges to seal them together. Or, if you’d like to be able to store the snowflakes flat, secure the outside edges with a paper clip or two. Remove the paper clips and jute twine once the season is over. You can then store the pieces in small stacks.
The snowflakes look festive, styled alone or grouped together.
Insider Tips
Here are a few tips and suggestions.
- Don’t cut your design too close to the center of the bag. The side cut-outs will be separated oif you cut to close to the center.
- Only glue the outer edges of the snowflakes together if you plan to toss them after the season. If you want to save them from year to year, use paper clips or some other temporary way to hold the two ends together. I use paper clips and tie at the top with jute twine. This can be removed at the end of the season, and you can stack your snowflakes and store them for next year.
- Don’t worry about perfection. Your designs will look amazing even if they are not cut evenly or shaped precisely like the ones pictured
- If you want an invisible hanger, consider using a fishing line to hang from the ceiling. They look lovely displayed this way. a
2. Basic Snowflake Design
As you will notice, all the designs are created with the same basic techniques. The only difference is the pattern. This is a fun project that lets the kid get creative with different designs and patterns.
To create this basic snowflake template, draw your pattern on one paper bag. Use sharp scissors to cut out the design. Stack bags evenly and hold them together tightly if cutting more than one at a time.
Add hot glue in a T shape down the center and across the bottom of each bag. Ensure that all the bags are turned in the same direction. With this simple design, you can cut out the sections as you add the bags with hot glue.
3. Pointed Snowflake
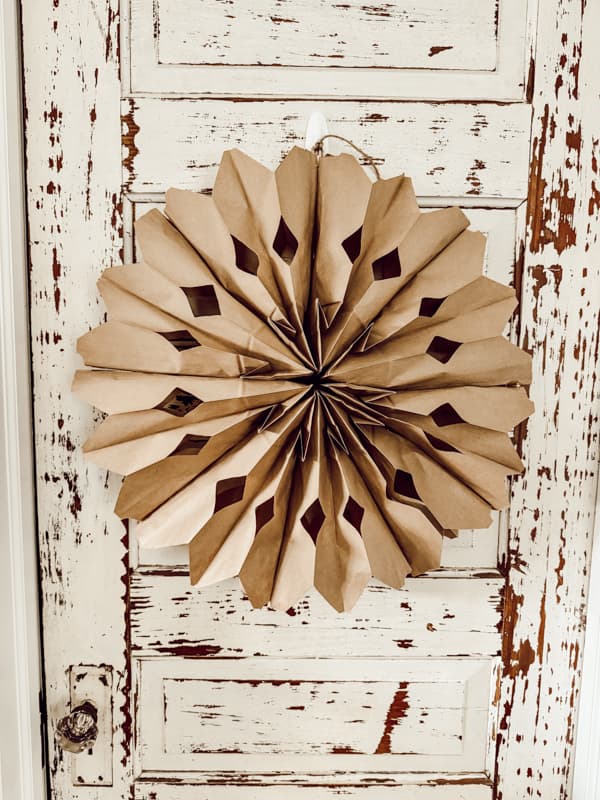
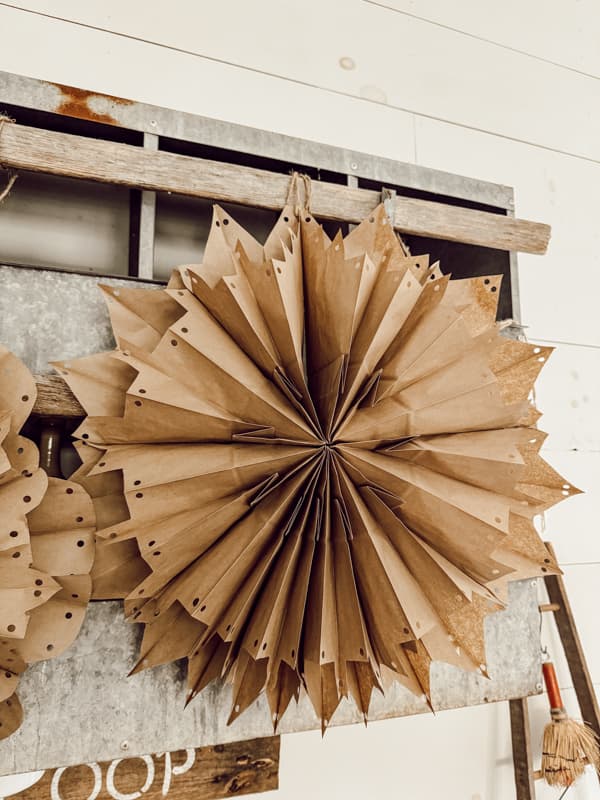
Similar to the scallop design is this pointed version. Draw your design on the angle and punch a hole in the center of each point.
4. Star Snowflake
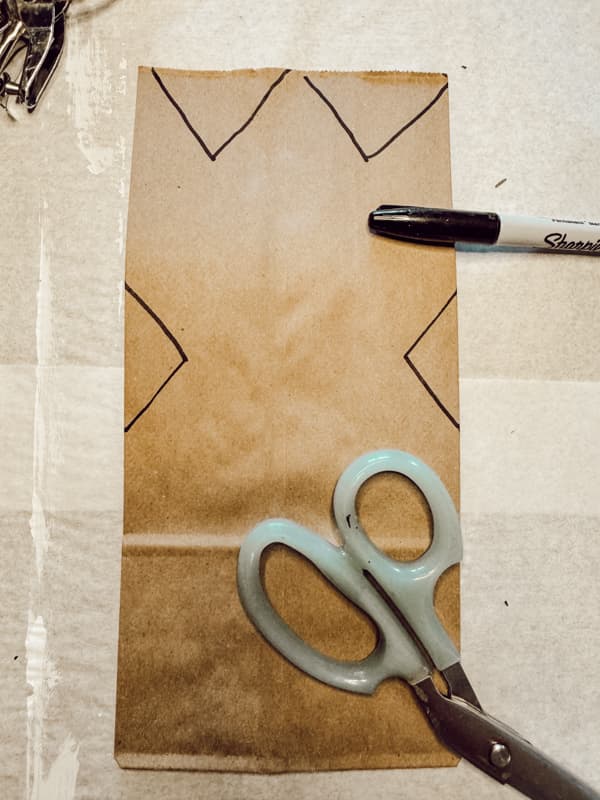
This version is similar to the pointed one. As you can see, slight changes to the pattern will make each snowflake unique.
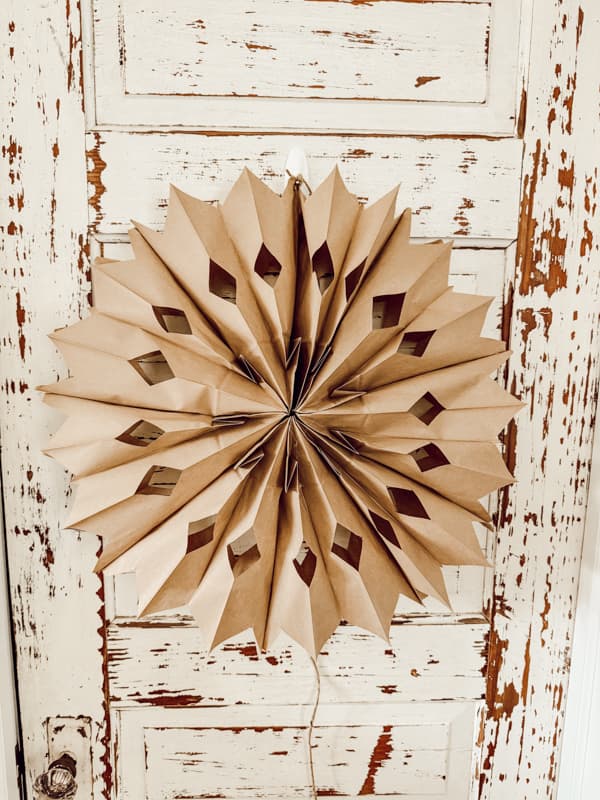
5. Flower Shaped Snowflake
Another easy design that reminds me of a flower.
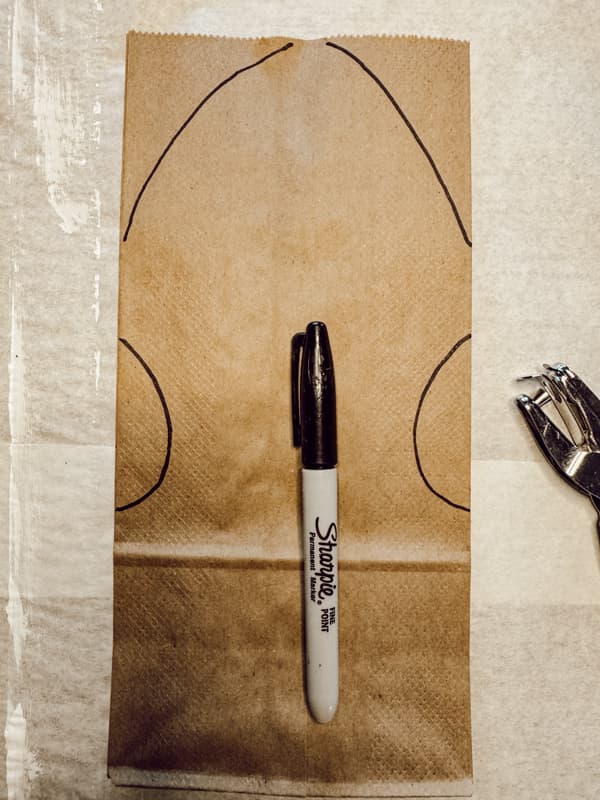
Small Snowflake Designs
Here are a couple of smaller paper bag snowflakes that are created using the same bags with a simple adjustment.
6. Small Star Design
The small star design is so easy to make. Begin by cutting 1- 2 inches off the top of the bag. Then, cut the edges into a peak, similar to a house roof. Punch three holes as shown below and apply the hot glue in the upside-down T shape.
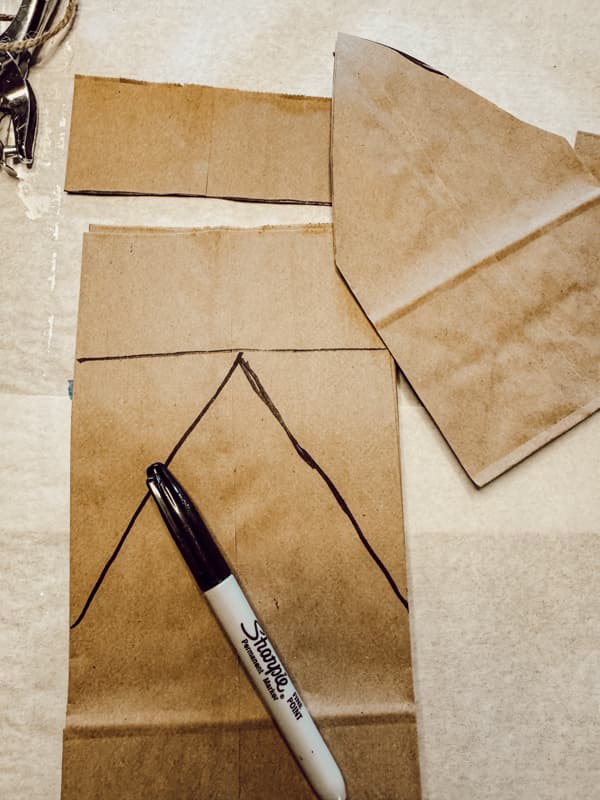
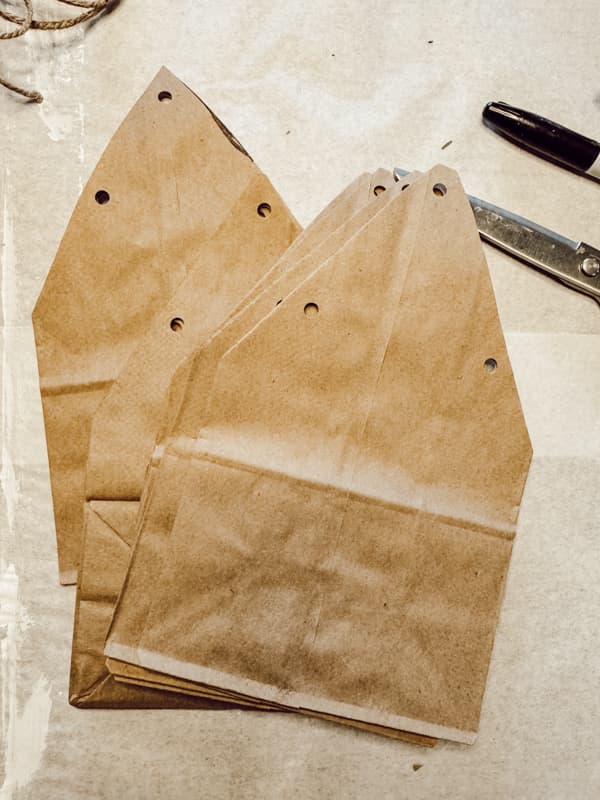
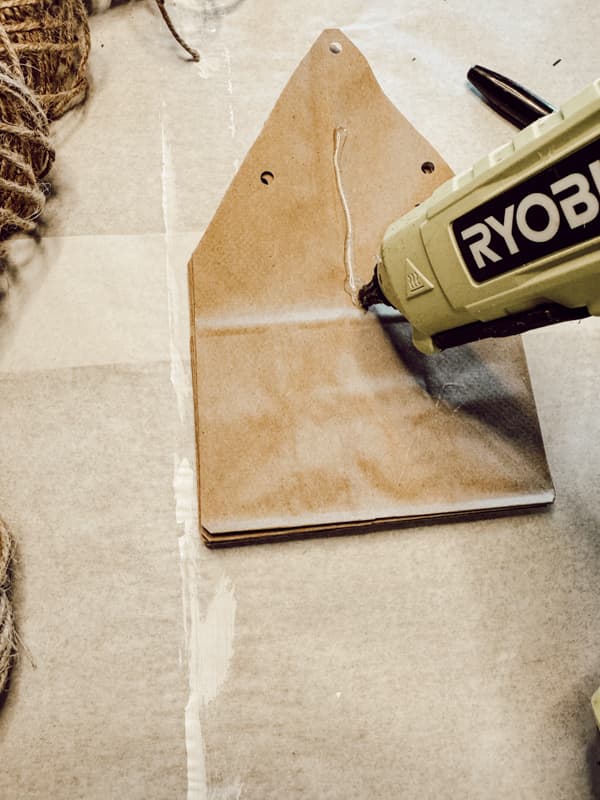
It’s a very cute star that will add variety to your larger snowflakes.
7. Small Scallop Paper Bag Snowflake
Finally, the last design is a smaller version of the large scallop paper bag snowflake. It only has three scallops and is one to two inches shorter.
How To Decorate With Paper Bag Snowflakes
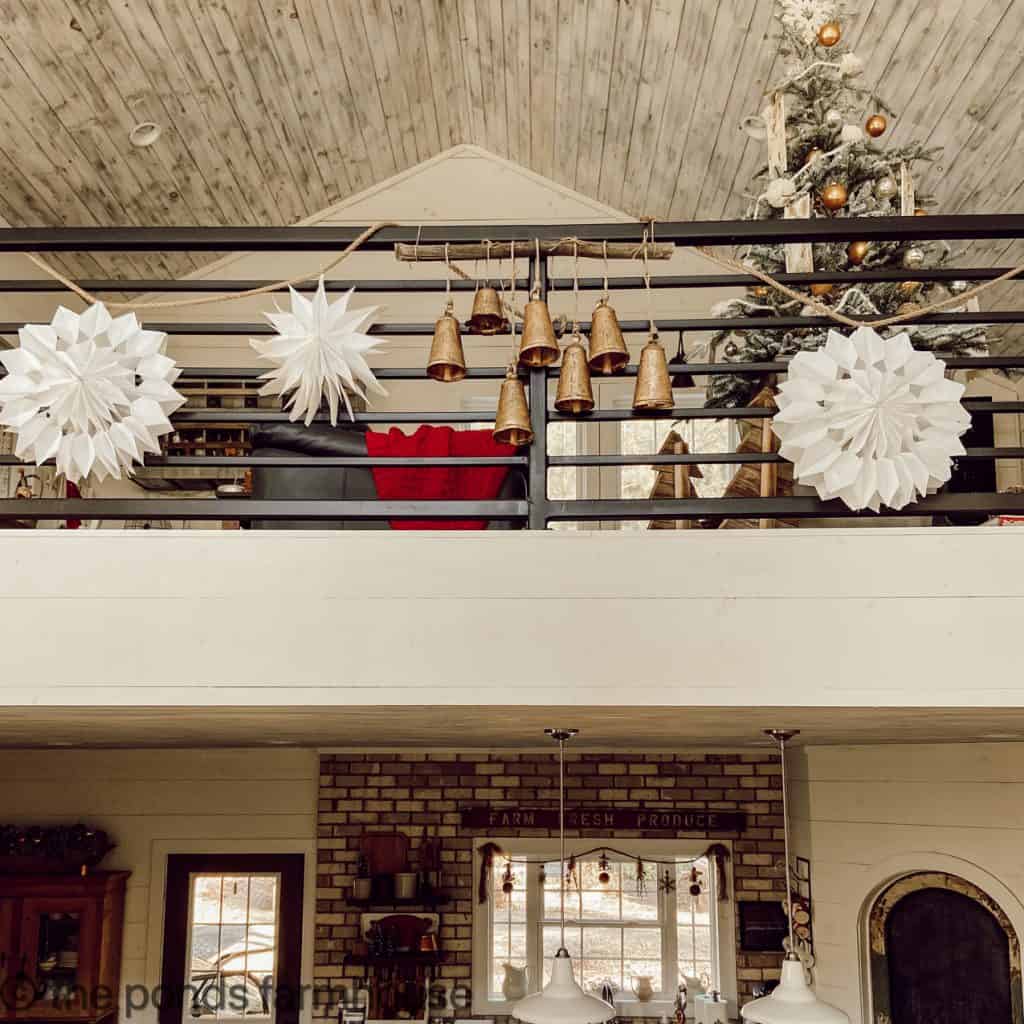
I have used paper bag snowflakes to decorate my loft area this year. You can hang them from the ceiling, on mantels, banisters and more. This year they add a festive feeling to the Coop Bar.
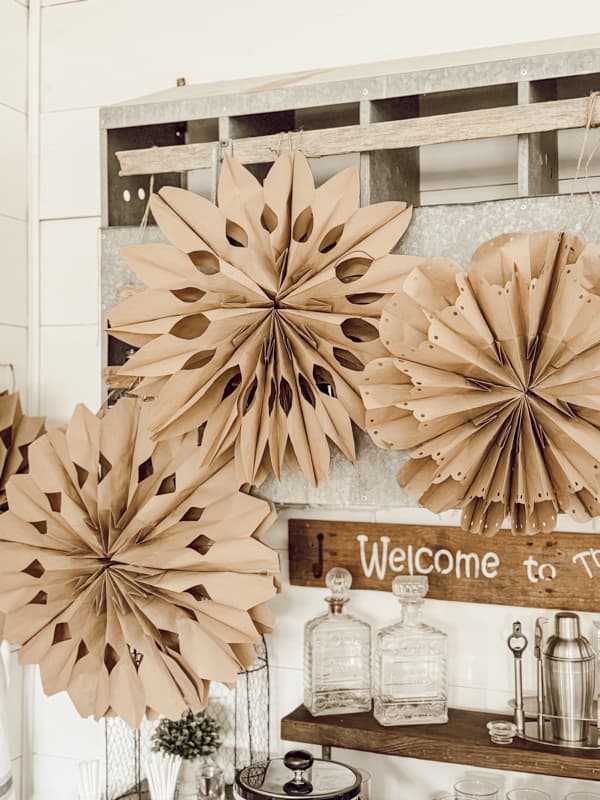
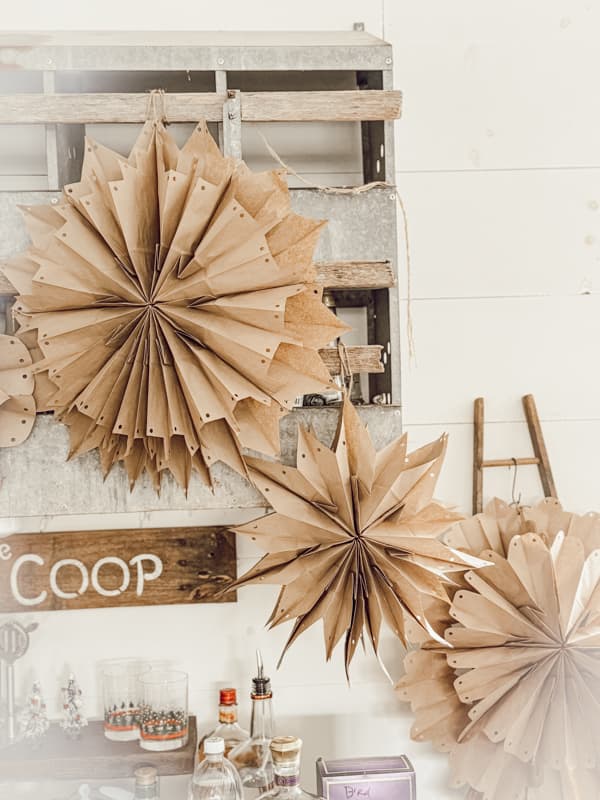
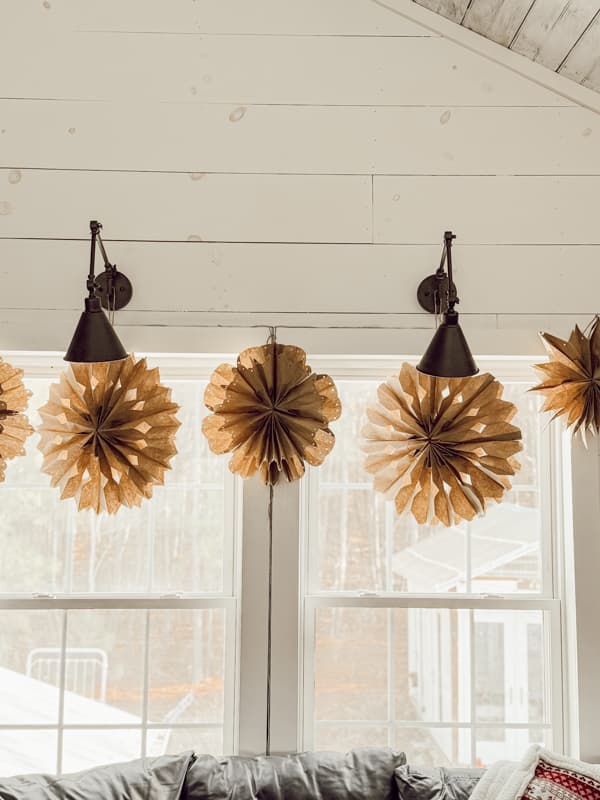
In addition, I added a few across the top of the windows. They will stay here until closer to Spring.
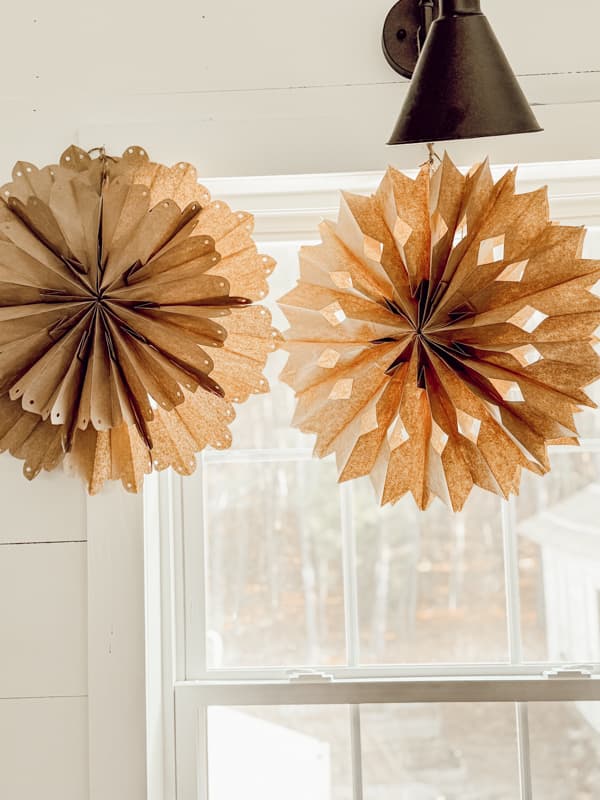
I have previously decorated the loft banister with a snowflake and bell garland that you can see here.
I hope you enjoyed today’s 3-D Snowflake ideas. I’d love to see your creative ideas.



Wow, I love these. I have seen these around and always wanted to try to make a few but was never sure of how. Thank you for the tutorial as it makes it seem much easier then I thought. I need to get some bags now.
Thanks for sharing!
Merry Christmas,
Candy
Candy,
Thank you for stopping by. I’m so glad this is something you can use. Merry Christmas.
Hi Rachel, I have made snowflakes in the past with natural bags but really like your patterns. I ordered white bags but unfortunately they arrived with black printing on one side. Grrrr. Such is the life of a creator.
Vicky
Yes! I have had that happen. Some of the patterns will still work if you turn the printed side to the back. Hope you can use some of them.
I love these!! What a simple yet impactful decor idea for after the holidays! They look amazing stacked one on top of another.
Rachel,
I’m so glad you like them. Thank you for stopping by.
Rachel, your paper bag snowflakes are so beautiful! I am definitely going to make some over the next few months so that they will be ready for next Christmas. I am going to use the white and brown paper bags. I have never seen such lovely snowflakes. Thanks for sharing your wonderful DIY with us. As always, your instructions are great! Hope you have a wonderful Christmas and I wish you all the best in the New Year!
Mary-Ann,
I’m so glad you like this project. You can make them and keep them folded so they will be perfect for next year. Have a blessed holiday my friend.
These are so cute, Rachel! I need to make these with my granddaughter!
Kim,
I’m so glad you like them. Yes! that will be so fun.