Easy DIY Gift Ideas With Napkin Decoupage
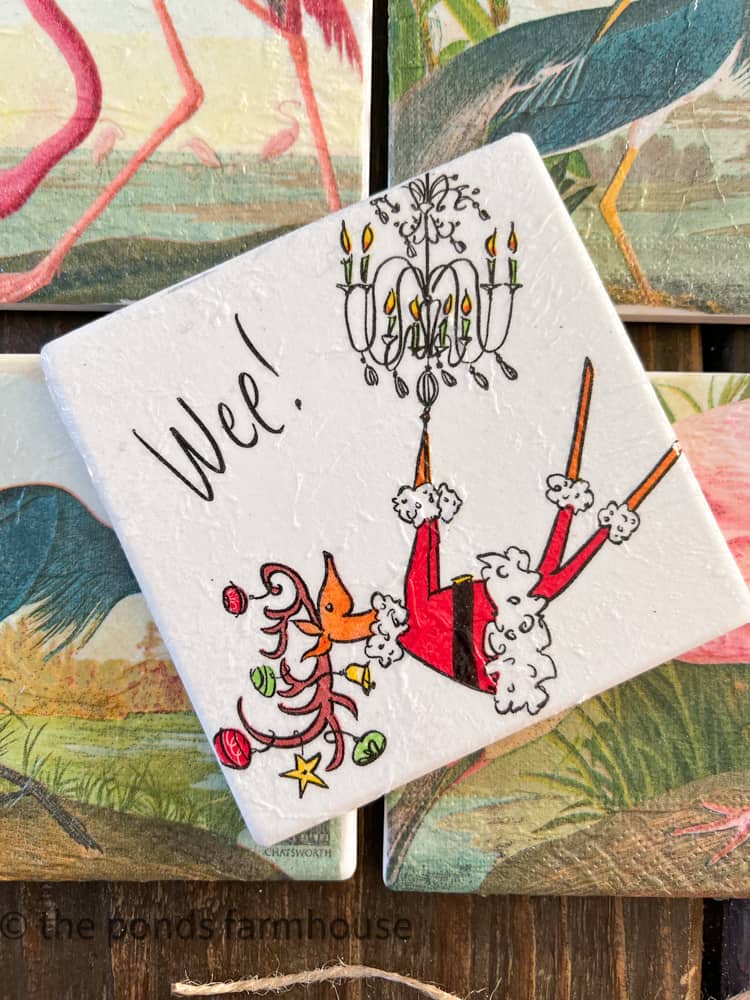
Are you looking for some easy DIY Gift Ideas? You have to try these easy-to-make napkin decoupage coasters from DIY Coaster Tiles.
I know it’s Black Friday, and you are probably shopping for gifts. However, these will make great inexpensive gifts, and the options are unlimited.
I love picking up cocktail napkins with fun images, and this year, I decided to turn some of them into gifts.
(Posts on The Ponds Farmhouse may contain affiliate links. As an Amazon Associate, I earn from qualifying purchases. See the full disclosure details here.)
Supplies for DIY Gift Ideas with Napkin Decoupage
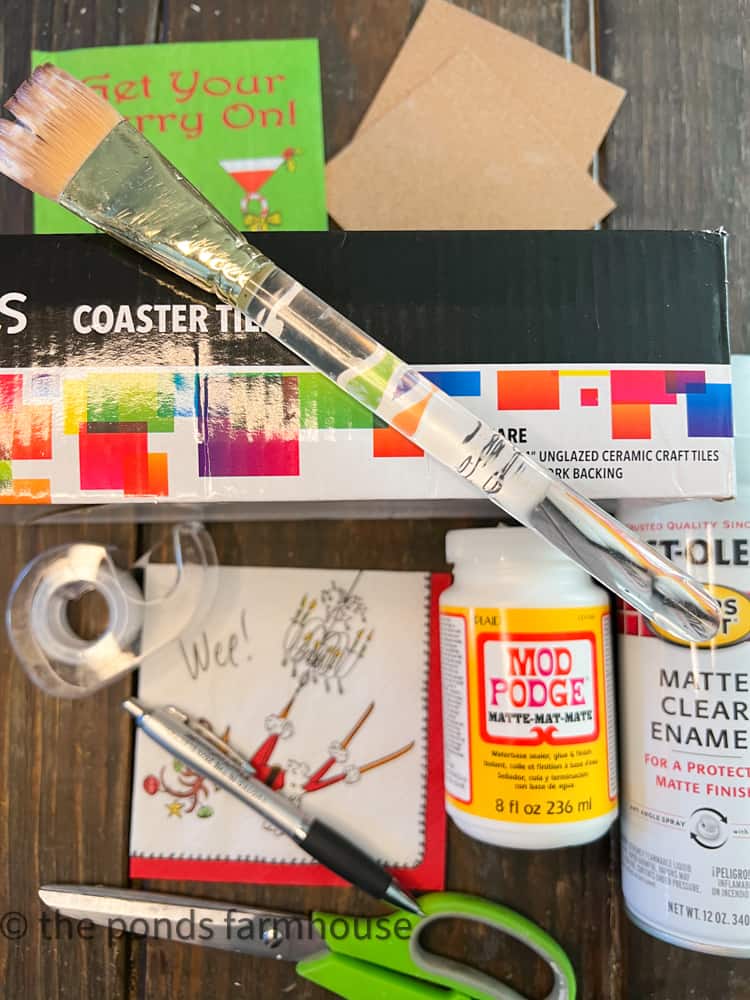
After you find your napkins, you will need a few other supplies.
- Coaster Tiles with Adhesive Cork Backing
- Matte Mod Podge
- Matte Waterproof Clear Sealer
- Paint Brush
- Tape
- Scissors
- Ink Pen
DIY Gift Ideas Christmas Coasters
My first attempt is these DIY Gift Ideas Christmas Coasters with the fun reindeer.
Prepare Napkin for Napkin Decoupage
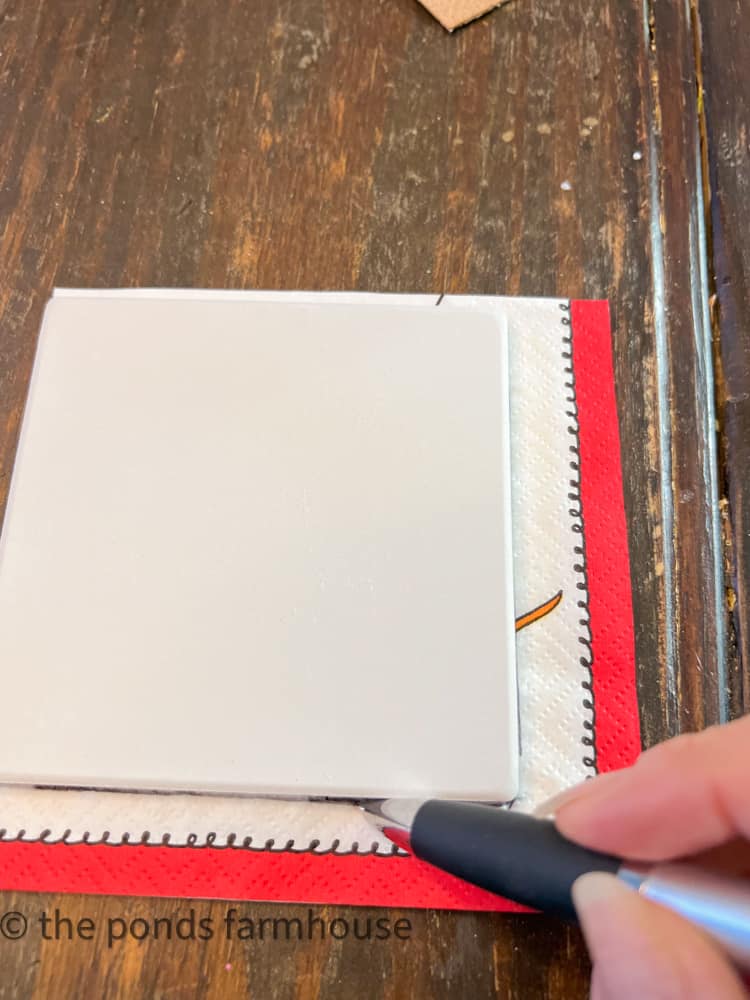
Begin by laying the tile coaster over the design in a desirable position. Trace around the coaster with an ink pen.
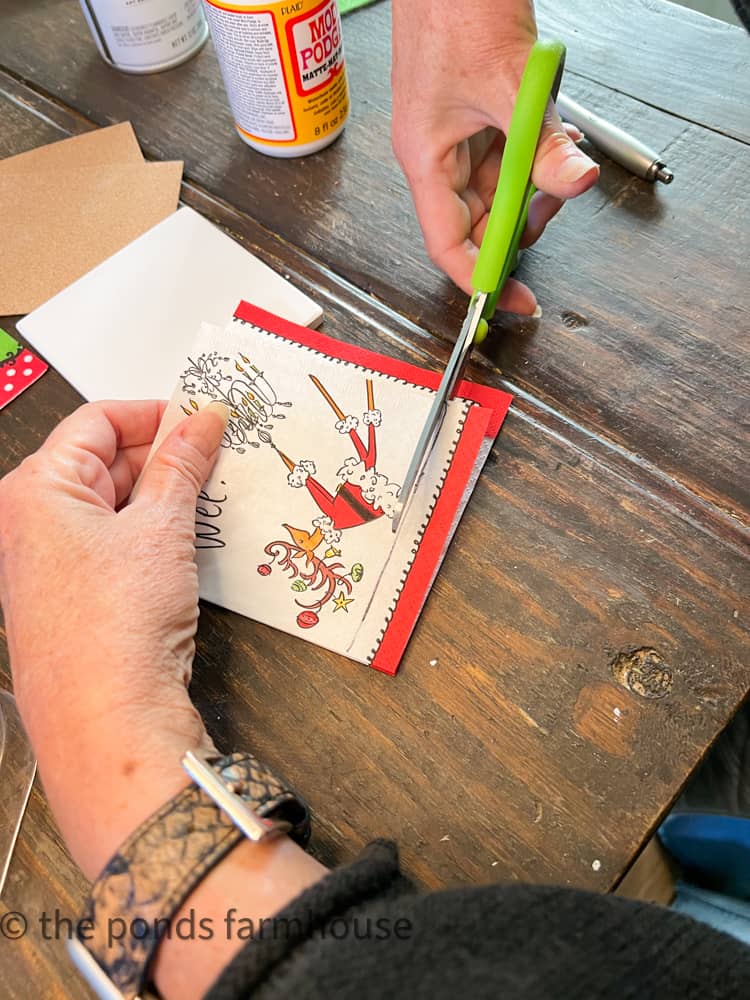
Next, cut the napkin along the trace lines with sharp scissors.
Separate The Napkin Layers
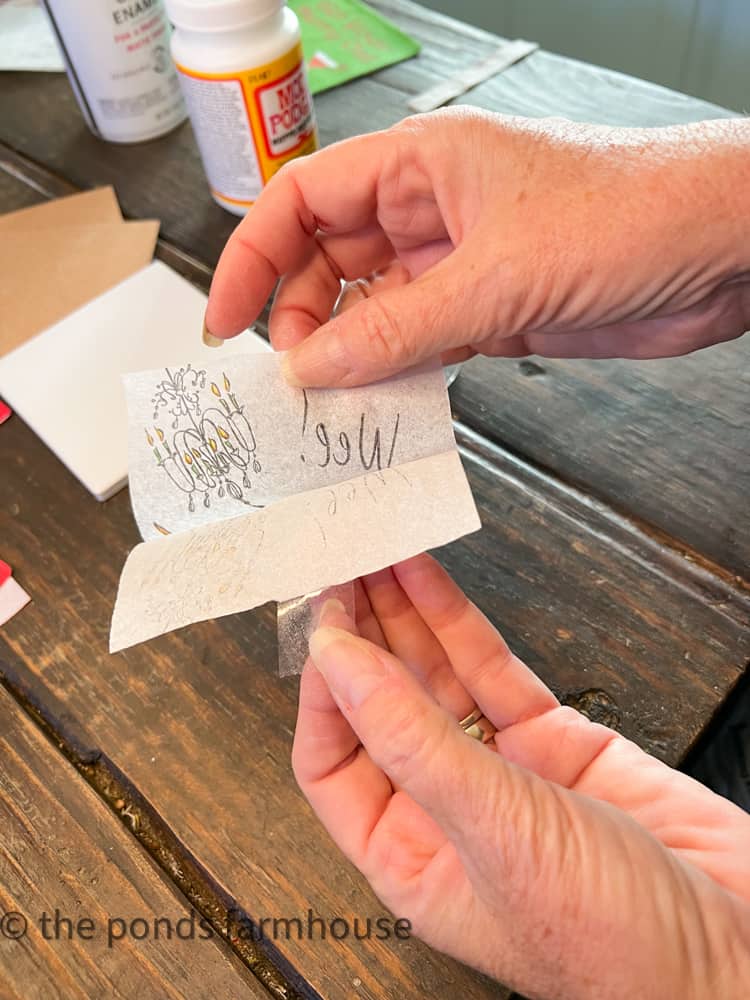
Now you want to separate the three layers of the napkin.
This tip really helps to prevent the napkins from becoming damaged.
Add a piece of clear tape to the backside of the napkin.
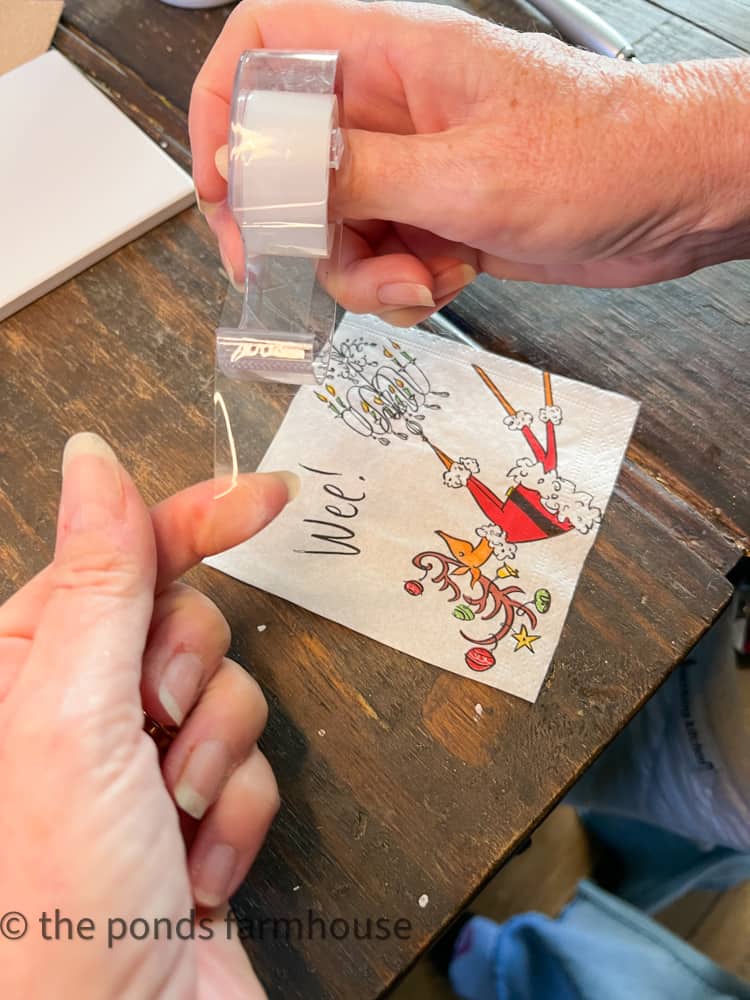
The tape should extend beyond the edge of the napkin. Gently pull the tape and lift the single-ply decorative side of the napkin away from the two back layers.
You may only remove one of the layers the first time and may need to repeat to get both layers detached from the decorative layer.
Make Napkin Decoupage Coasters
Once all the napkins are prepared, begin to make the napkin decoupage coasters by applying a coat of mod podge to one side of the coaster tiles.
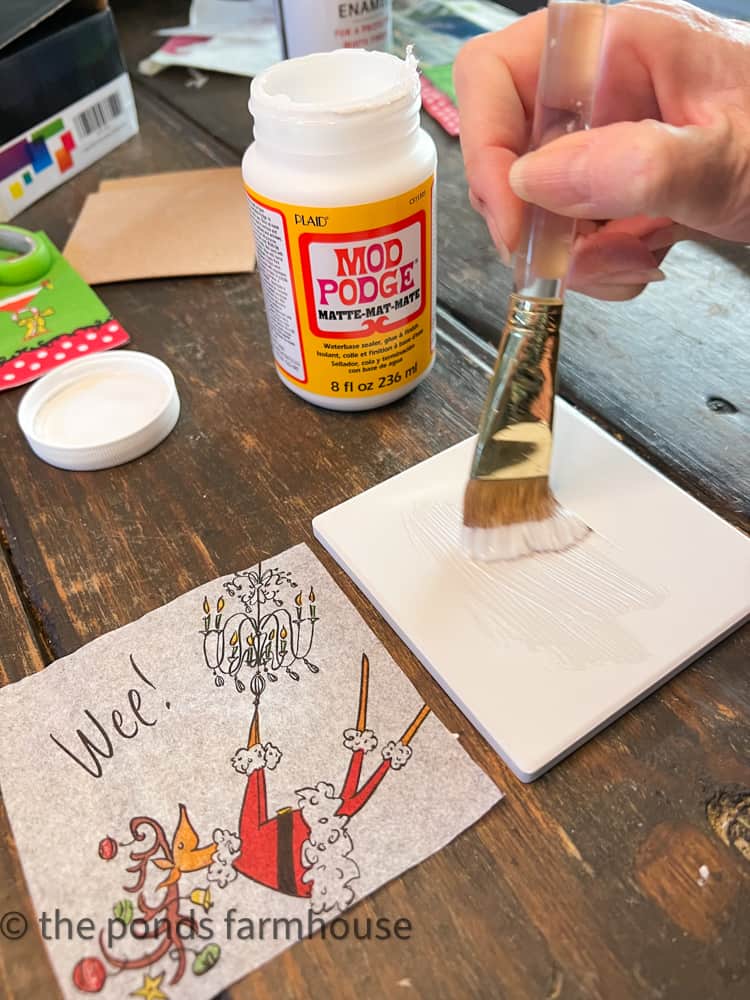
Position the decorative napkin over the tile and lay it over the mod podge.
Lightly tap the napkin into place and smooth any bubbles.
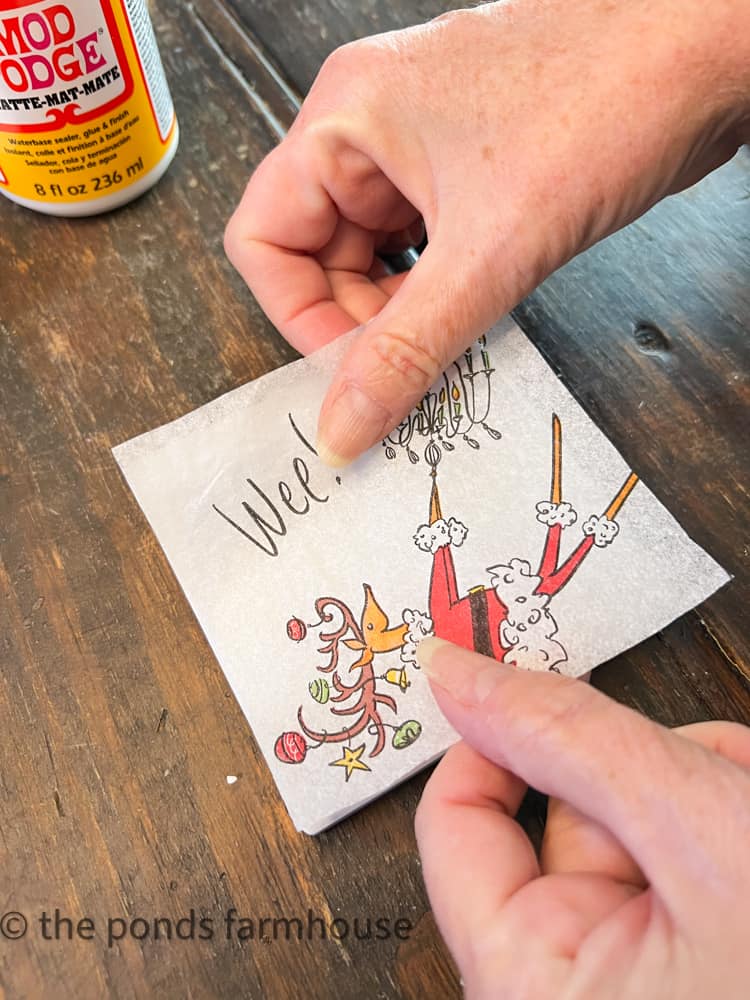
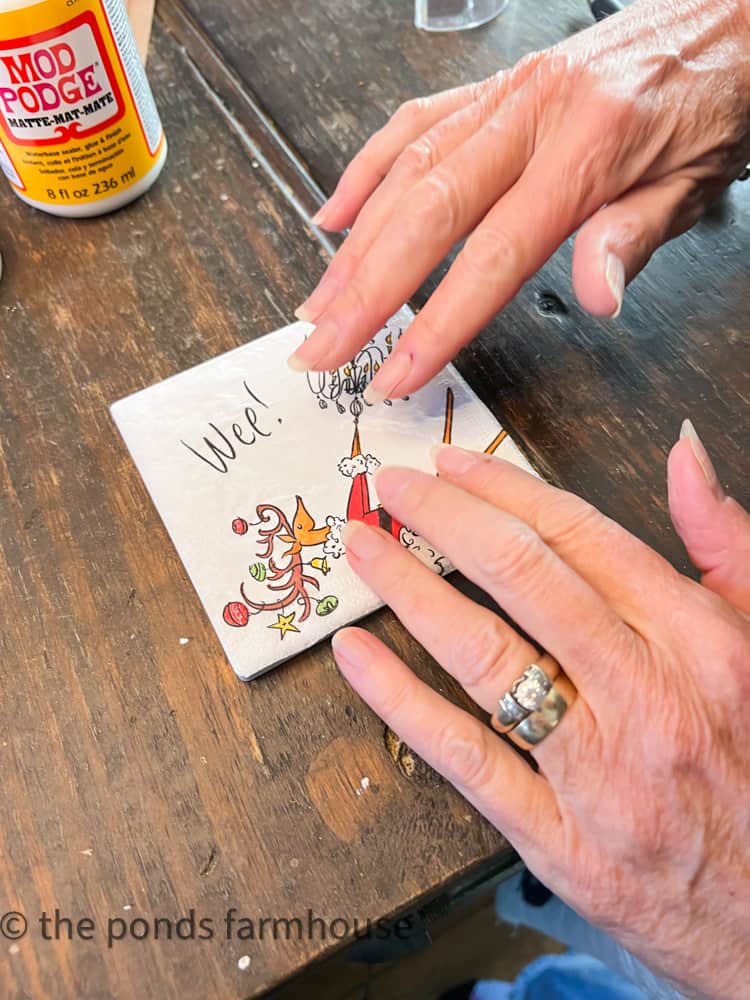
Next, apply another light coat of mod podge over the napkin using the brush to smooth any bubbles or wrinkles. Don’t worry about perfecting it because there will be some wrinkles in the napkin.
In addition, be cautious not to brush too vigorously, or you will tear the napkin.
If this should happen, move the tile to a sink and wash the napkin and mod podge from the tile. Then allow the tile to dry before reapplying.
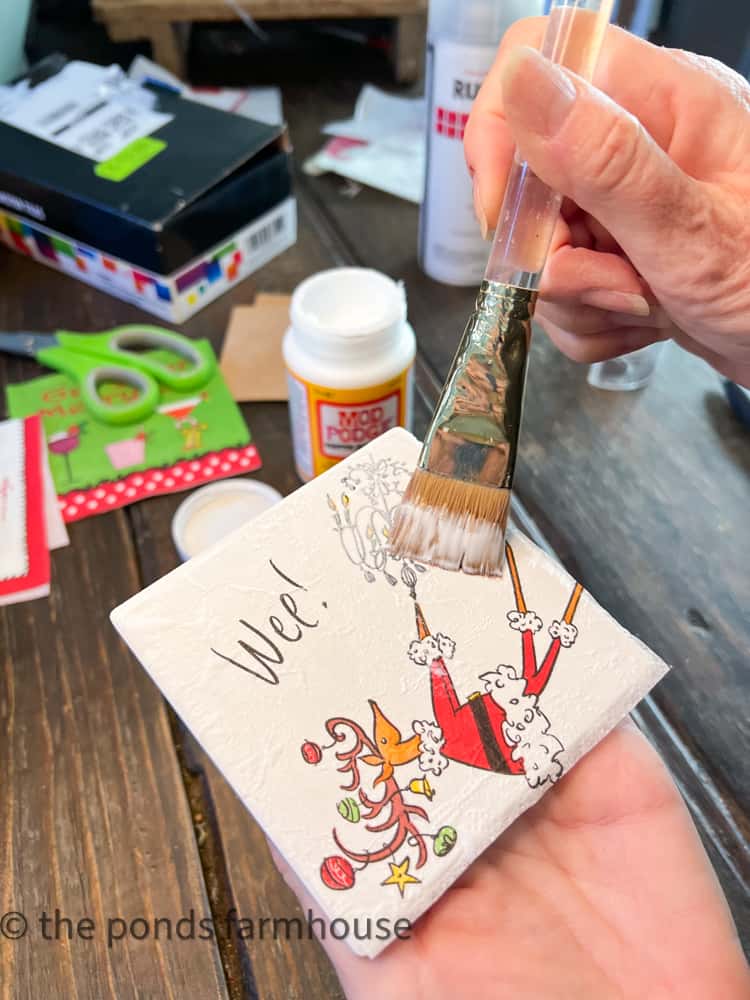
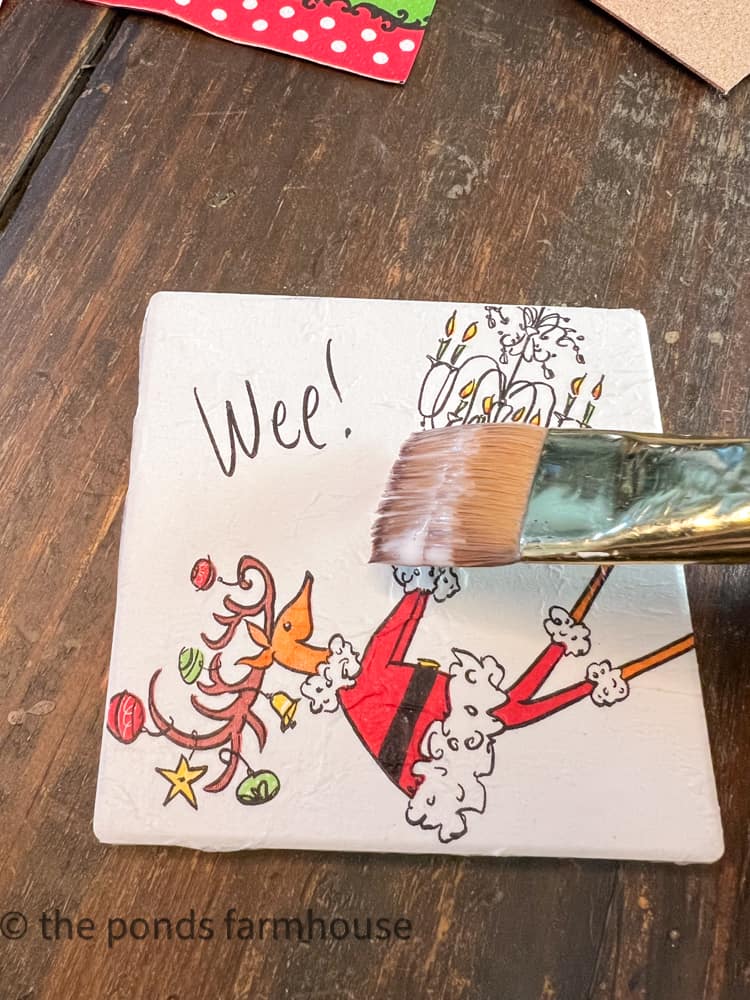
Next, allow the coaster to dry for approx. 30-45 minutes, and apply another coat of mod podge.
You will once again notice some bubbling. However, this is normal, and you should gently use the brush to press out as many bubbles as possible.
Seal Napkin Decoupage Coasters
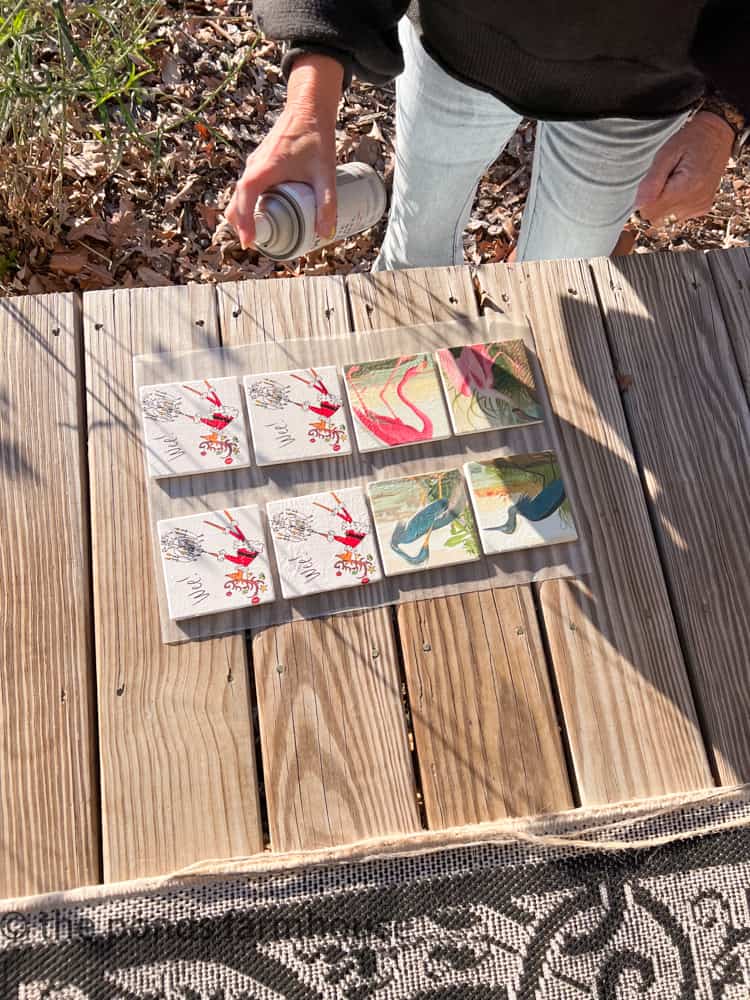
Finally, allow the mod podge to dry approx. 1-2 hours and use a waterproof Clear Matte spray paint to seal the napkin decoupage coasters.
Be sure to use the spray sealer in a well-ventilated area.
Allow coasters to dry, and don’t expose them to water for at least seven days.
Add Cork Backing
To finish the coasters, add the adhesive cork backing to each tile.
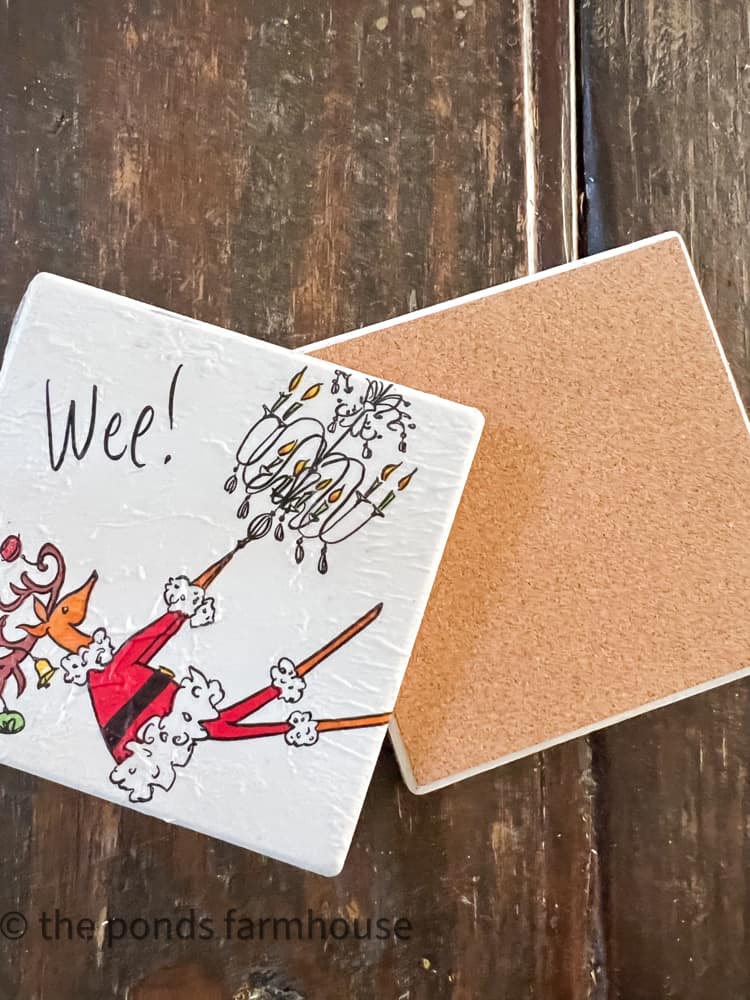
Perfect DIY Gift Ideas For Christmas Presents
I love these DIY Gift Ideas Christmas Presents.
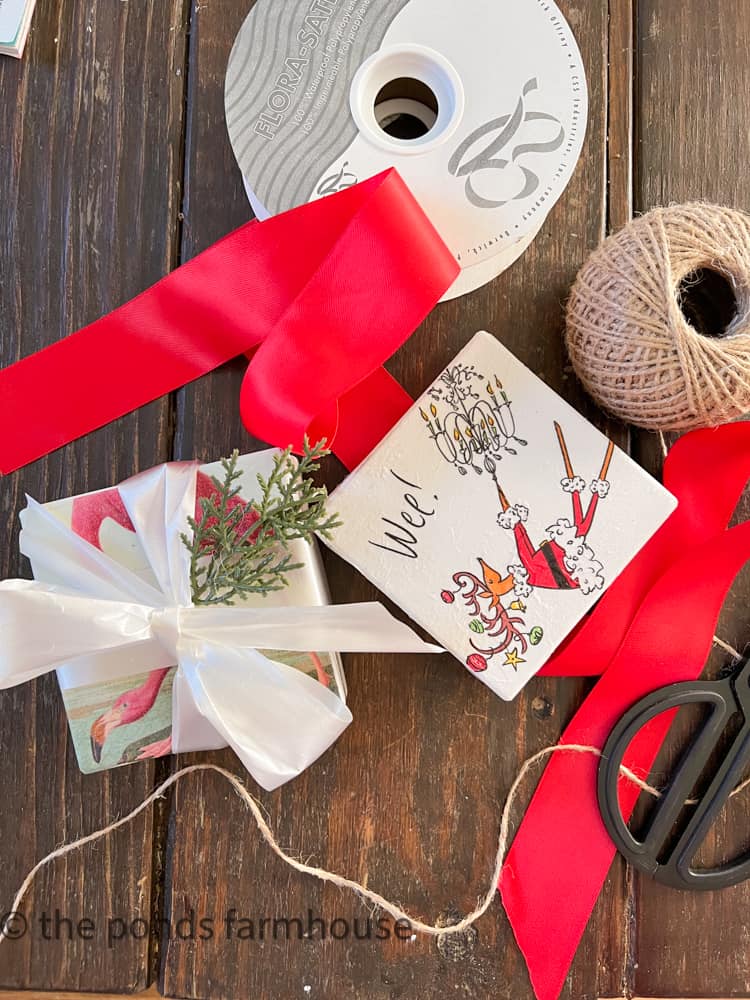
I can’t believe it has taken me so long to try this project. I’m slightly addicted because it was so easy, and I love how they turned out.
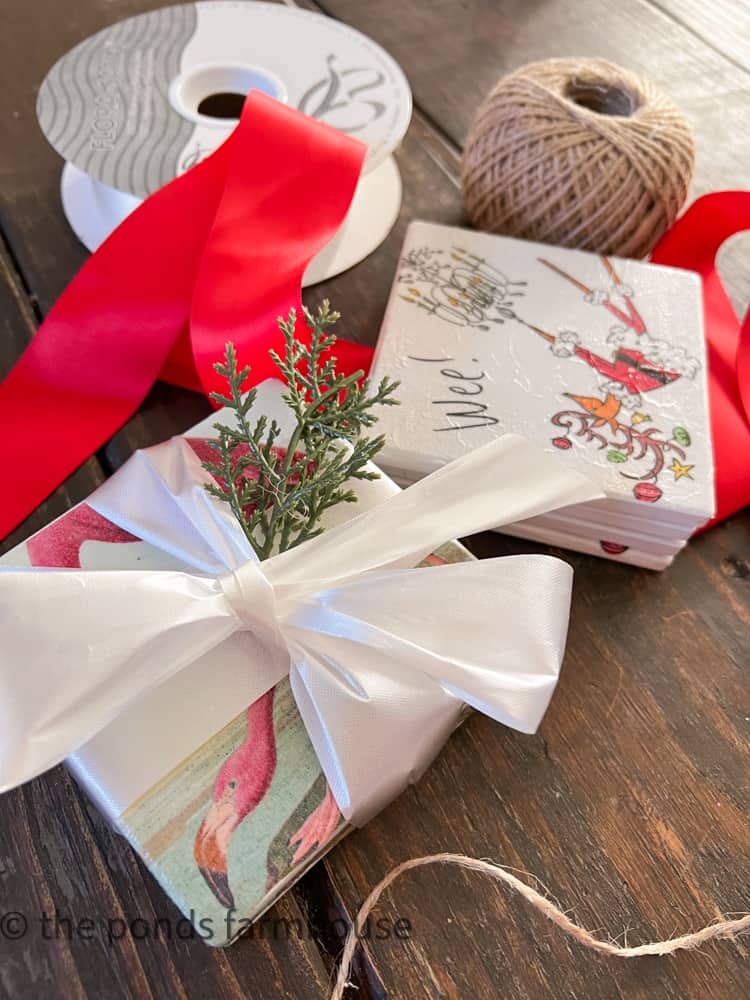
DIY Napkin Decoupage Coasters
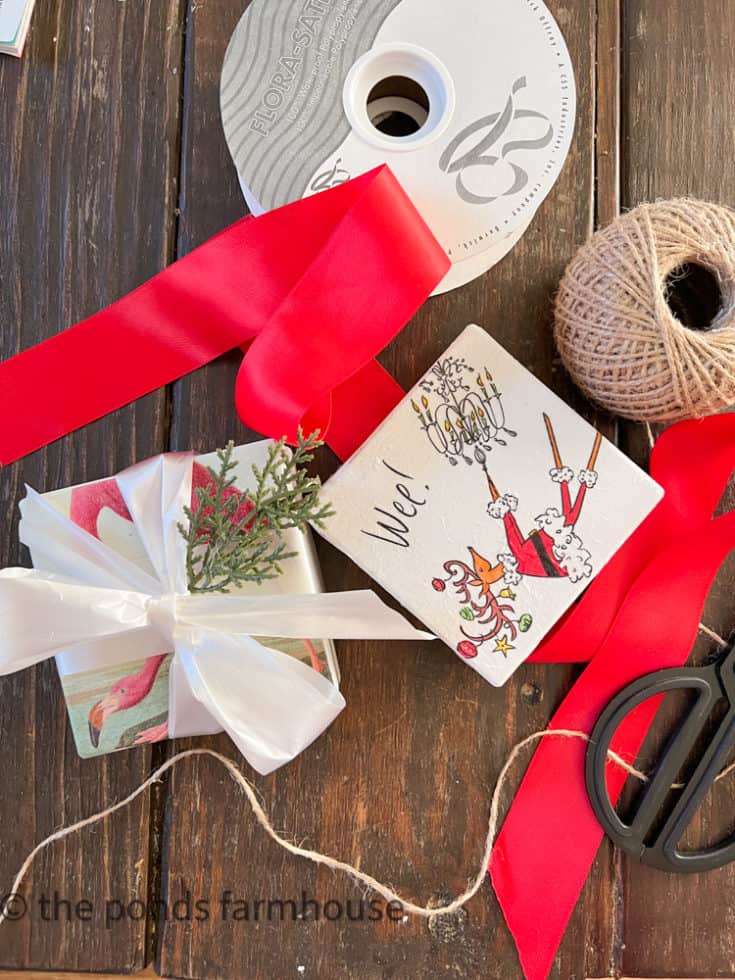
How To Make Napkin Decoupage Coasters
Materials
- Ceramic Coaster Tiles
- Mod Podge
- Napkins
- Tape
- Clear Matte Sealer
Tools
- Scissors
- Ink Pen
Instructions
- Cut napkin to the size of ceramic tile
- Separate the 3 ply napkin
- Paint a coat of mod podge on top of the coaster tile
- Apply one ply decorative napkin to the tile, pressing onto the tile
- Use mod podge to coat the napkin and smooth out bubbles
- Allow to dry 30-45 minutes
- Apply a second coat of mod podge. Once again, smooth bubbles as best you can.
- Allow drying time.
- Spray with Clear Matte Waterproof Sealer.
- Allow to dry throughly
- Apply cork backing to the coaster tiles
- Allow the sealer to cure for 7 days before exposing it to water.
Recommended Products
As an Amazon Associate and member of other affiliate programs, I earn from qualifying purchases.
-
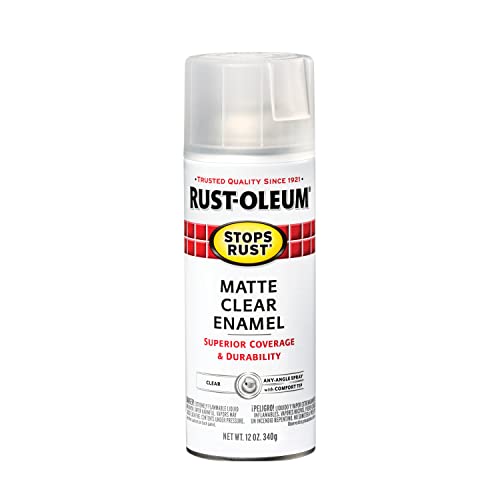 Rust-Oleum 285093 Stops Rust Spray Paint, 12 Oz, Matte Clear
 -
 Mod Podge CS11302 Waterbase Sealer, Glue and Finish, 16 oz, Matte
 -
 Ceramic Tiles for Crafts Coasters,12 Ceramic White Tiles Unglazed 4x4 with Cork Backing Pads, Use with Alcohol Ink or Acrylic Pouring, DIY Make Your Own Coasters, Mosaics, Painting Projects, Decoupage
Other Napkin Decoupage Ideas
You may also like these other Napkin Decoupage Ideas.
Napkin Decoupage Ideas
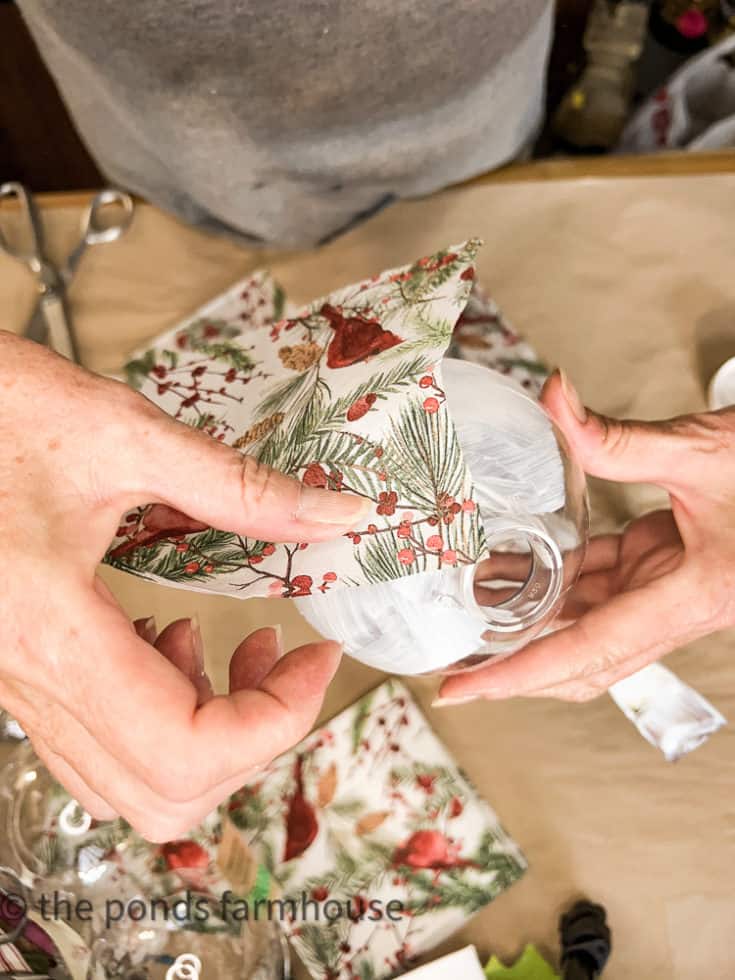
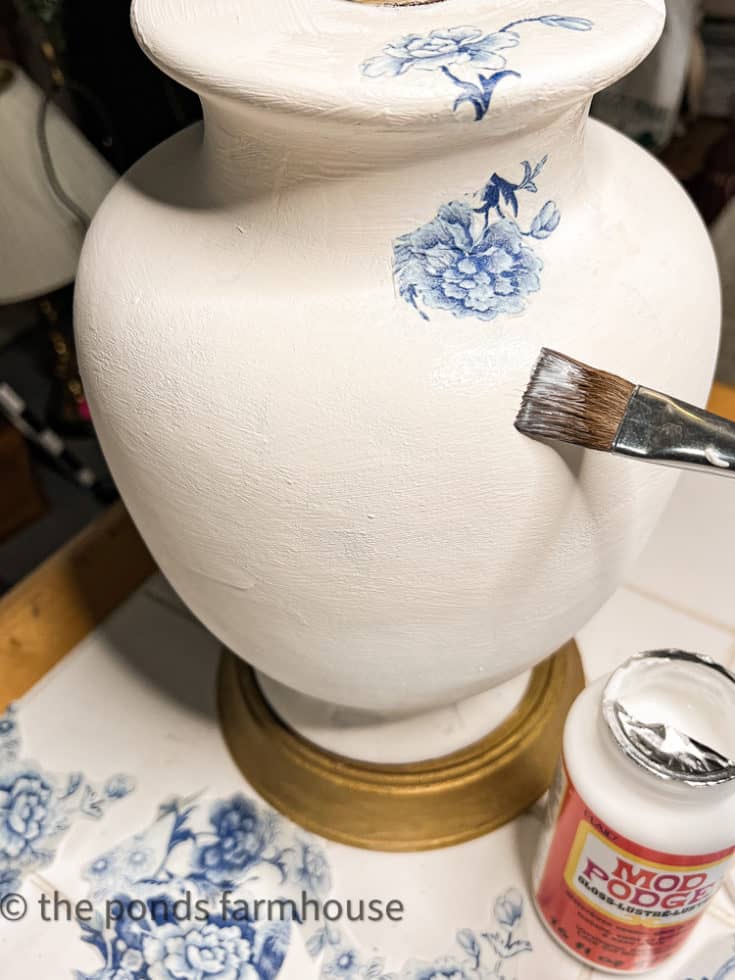
Easy way to transform a cheap thrifted lamp into a trending decor accessory.

Pin It To Remember It
Did you find some great ideas you’d like to save for future reference? Hover over the images you’d like to save and pin to your favorite Pinterest Boards when you see the PIN button.
Click Image For Details



Love these coasters, and they look easy-peasy! You’ve just solved the question of what to gift 4 of my friends this Christmas. Once again, Rachel to the rescue!
Gail,
I’m so glad you found this helpful.
I love this idea. It would make the sweetest hostess gift.
Renae,
Yes I agree. Thanks.
Who knew all the things you can do with a napkin? Love all your great ideas, Rachel.
Kim,
I agree. There are so many options.
These are awesome ideas Rachel! I’ve made the decoupage coasters before and they came out so pretty! Now you’ve inspired me to try it with ornaments!
Nicolle,
I want to napkin decoupage everything. LOL
Love this idea Rachel!
Thanks so much.
I love anything decoupage! These are so adorable, Rachel! I may have to make some for some Christmas gifts! Thanks for the great share! Enjoy the rest of your holiday weekend!
Kim
these are gifts for sure.
Thanks for sharing.
I Love these! I have a question: Are the tops of the coasters slipppery if glass is wet on bottom?
Christine,
I can’t be sure, as these are my first attempt, and they haven’t been cured yet. I’ll post an update when I have tried them.