5 Easy Dollar Tree Ornaments Makeovers: Boutique Style Christmas Decor
Want to create the look of boutique-style Christmas decor without the expensive price tag? Wait until you see these 5 unique Dollar Tree Ornament makeovers. With these easy instructions, you can turn inexpensive ornaments into unique, one-of-a-kind Christmas decor like you’ve seen in high-end boutiques. You only need a few supplies and some Dollar Tree ornaments, and I’ll show you all the easy tips and tricks.
(Posts on The Ponds Farmhouse may contain affiliate links. As an Amazon Associate, I earn from qualifying purchases. See the full disclosure details here.)
Table of contents
Antique Gold Christmas Ornaments
I’ve been seeing these large antique gold ornaments in boutiques this year. At $11.99 each, I knew I had to look for an alternative. So, off the Dollar Tree, I went. You’ll not believe how easy it is to get this same look for less than $2.00 each.

Large Dollar Tree Ornaments
You guessed it, these are approximately the same size as the large Dollar Tree Ornaments. However, they come in some unappealing colors and finishes. Never fear because I know how to use a can of spray paint. So here’s what I did.

Spray Paint Ornaments
I began by removing all the ornament caps and spray-painting them black and the caps bronze. The caps wanted to move around, so I secured them with painter’s tape before spraying.


Once the ornaments were dry, I added antique gold Rub N Buff to give them an antique look. I started with a paper towel and gloves, but then I got smart and put the ornament in a plastic bag with a small amount of the Rub N Buff.


I have been using all the shades of Rub N Buff this year! They are amazing and easy to work with. The ornaments look so much like the ones I saw in the boutique.

Napkin Decoupage Ornaments
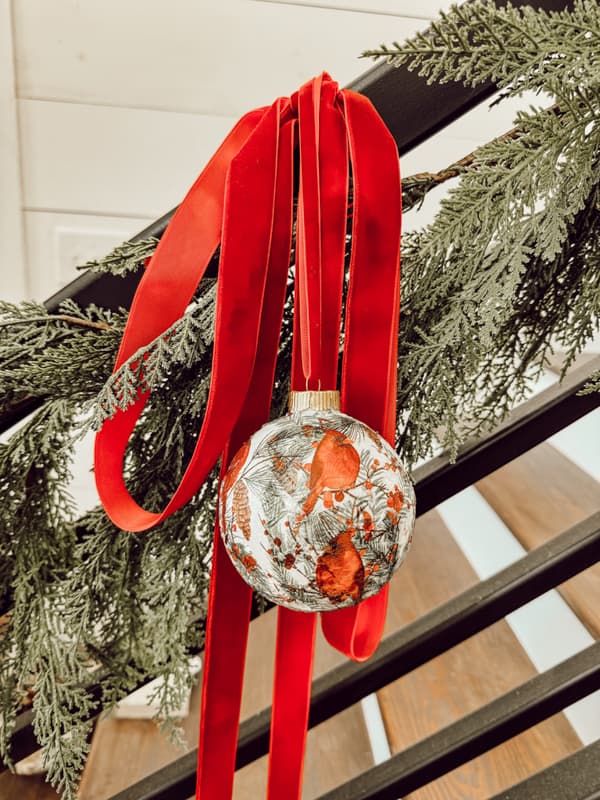
One of my favorite crafts is napkin decoupage. There are so many options for creating unique, one-of-a-kind decorations. I’ve made napkin decoupage ornaments a couple of times and couldn’t resist adding these green and cream napkins to some oversized Dollar Tree ornaments.
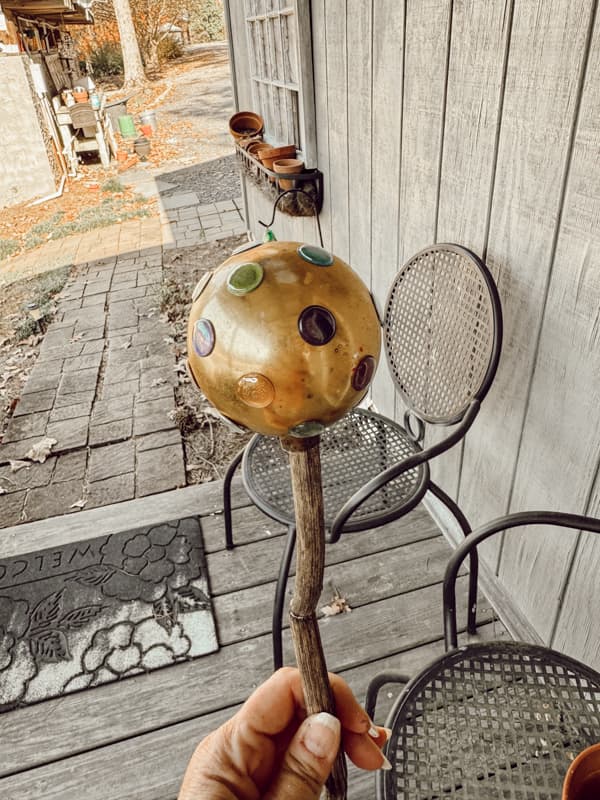
The ornaments come in a variety of colors, so they need to be painted white or cream first. Begin by removing the ornament caps and painting them if you desire. Then, find something that will fit into the ornament hole. I used sticks from my yard and stuck them in the ground to paint the ornaments with chalky white spray paint.
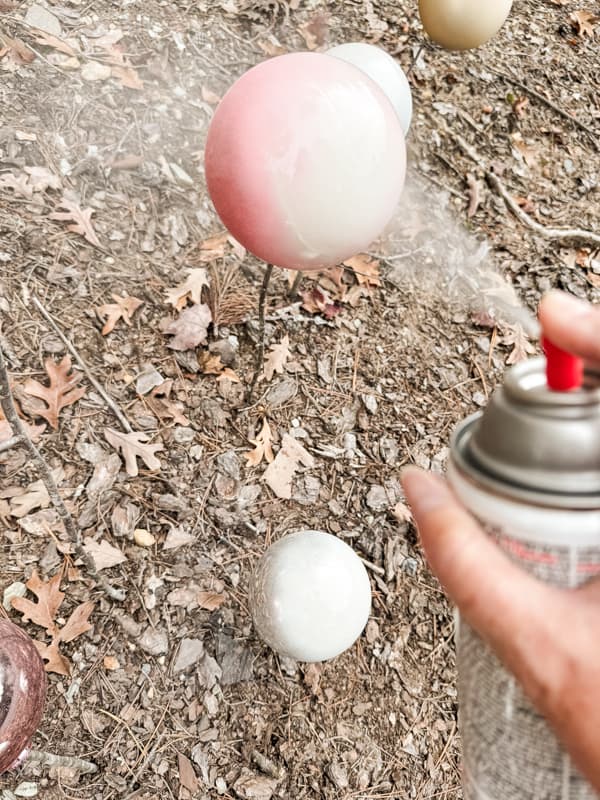
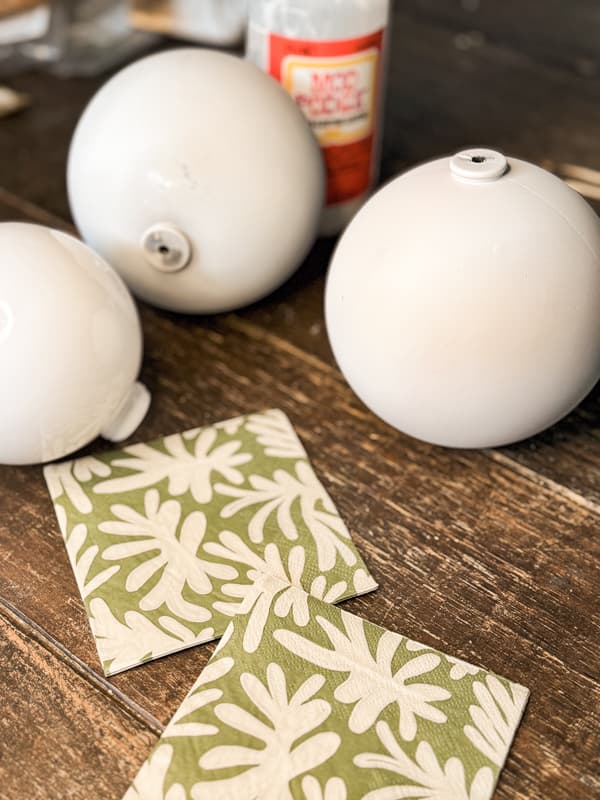
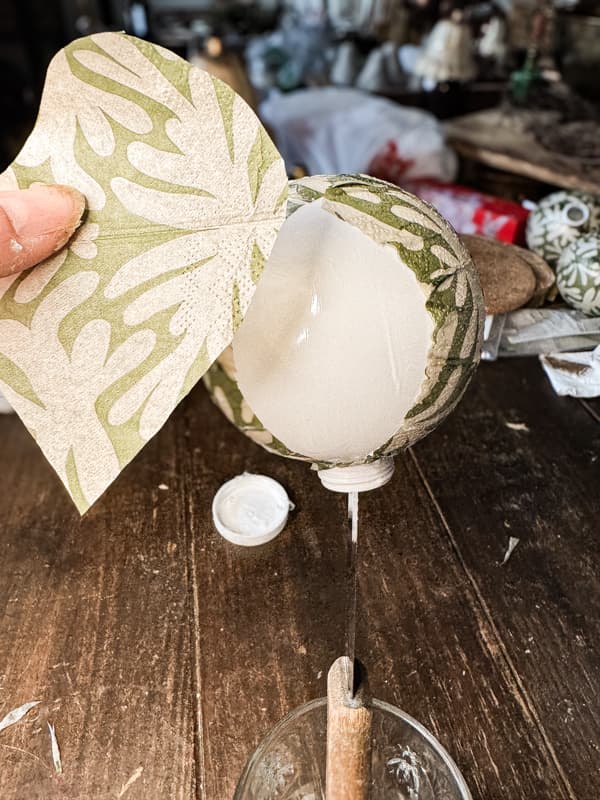
Next, separate the napkin and cut the top layer into shapes to fit around the ornaments. You may need to cut the napkins as you go along, so keep scissors handy.
I like to secure the ornaments with something that will fit inside the hole and hold it steady. I used a steak knife for these ornaments. Whatever works, right? Then, I applied the Mod Podge in small sections and gently pressed the napkin into place. Finally, I applied another coat of Mod Podge over the napkin with a small brush to smooth out wrinkles, bubbles, and creases.


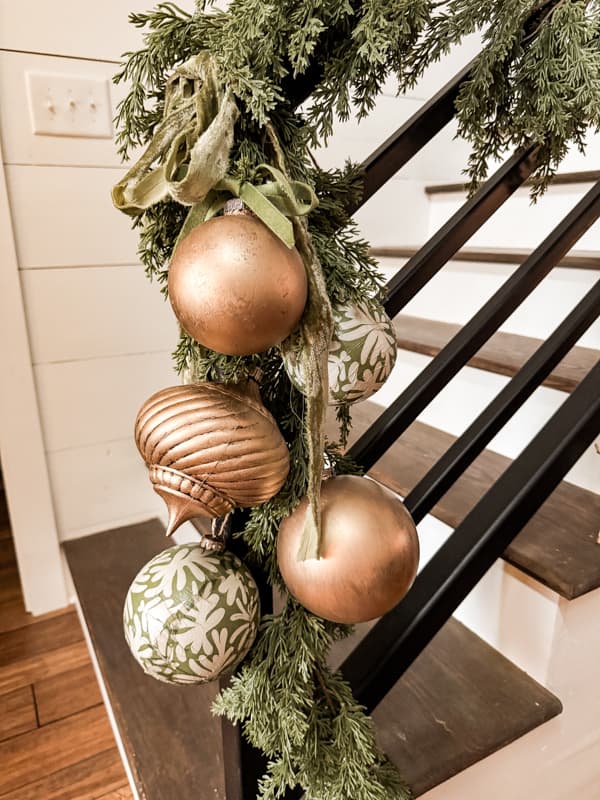
I mixed the napkin decoupage ornaments with the antique gold ones on my staircase railing.


This was my first attempt at making napkin decoupage ornaments. The full tutorial is available at Easy Napkin Decoupage Christmas Ornaments.
Insider Tip
When napkins are applied to round objects, creases, overlaps, and wrinkles are impossible to prevent. However, use the brush to gently work out any bubbles and smooth the creases as best you can. The end result will still look amazing. Working with a flat, hard surface, you can use a heat press to prevent wrinkles. For more details, you can read Upcycle A Thrifted Decorative Tray In Minutes With Napkin Decoupage.
Old Book Page Christmas Ornaments
Another way to use big Dollar Tree Christmas ornaments is to upcycle old book pages. This is one of my all-time favorite DIY projects.

How To Add Book Pages To Dollar Tree Ornaments
To create stunning, old-world-looking ornaments, you need only a few large Dollar Tree ornaments, an old book or magazine, glue, and glitter.
I recommend using hot glue to attach the paper petals to the ornament. Once the ornament is covered, you can enhance it with glitter if you would like. I added dots of Elmer’s glue to the center of each petal and then sprinkled with a fine silver glitter.
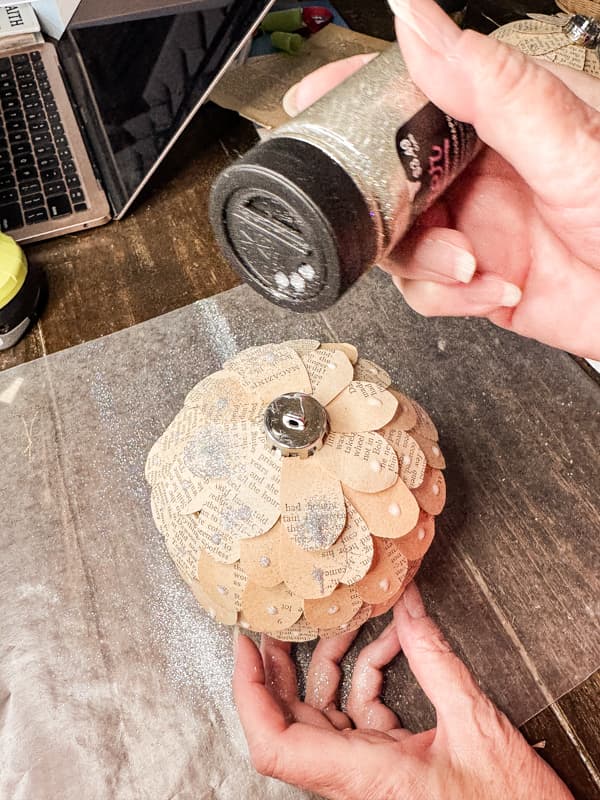
You can tie a ribbon to the ornament cap and hang it on your tree or add it to a shelf, garland, or candlestick holder.
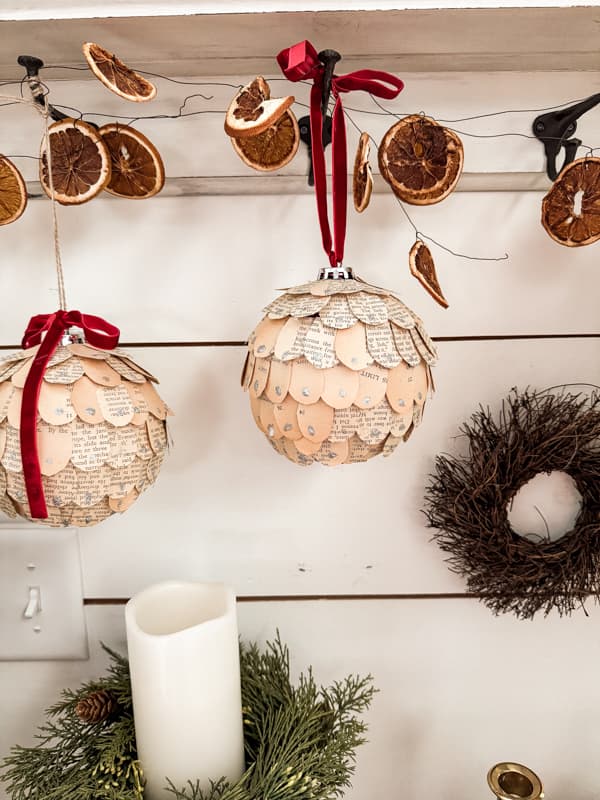

Read Upcycle Old Books With Big Christmas Ornaments from Dollar Tree for more details.
Ticking Fabric Dollar Tree Ornaments
Y’all, I made these adorable ticking fabric DIY ornaments years ago and still use them today. This is one of the easiest projects to make. All you need is red and white ticking fabric, Dollar Tree ornaments, and hot glue. You can make a variety of sizes. I made several with the large ornament.

I made these Christmas ornaments by tearing the ticking fabric into small strips. You will need several strips to cover the ornament. To add the fabric to the ornaments, follow these steps.
- Add a drop of hot glue to the end of a fabric strip and attach it close to the ornament cap. Press until glue is set.
- Start randomly wrapping the fabric around the ball ornament, pulling the fabric strips taut.
- When you reach the end of one strip, use hot glue to secure it.
- Start another piece of fabric where the last piece ends by attaching it with hot glue.
- Continue in the fashion until the entire ball is covered with fabric.
- Now decorate with your ticking fabric ornament.

These fabric ornaments look good on a tree, on a candle holder, or add several to a bowl.
Insider Tip – Christmas Fabric Ornaments
To make Christmas Fabric Ornaments, choose any fabric that works with your decor. The one advantage of ticking fabric is that the color is spun into the fabric instead of printed on the top. Therefore, both sides of the ticking fabric can be used, and the ornament will look great. When using printed fabrics, you must keep the material in the same direction throughout the craft.
Vintage Hobnail-Inspired Christmas Ornaments
Finally, y’all know I love milk glass. Last year, I couldn’t resist turning some of my Dollar Tree Christmas ornaments into faux hobnail ornaments. And they turned out even better than I expected. This year, I am using them above my entry table.
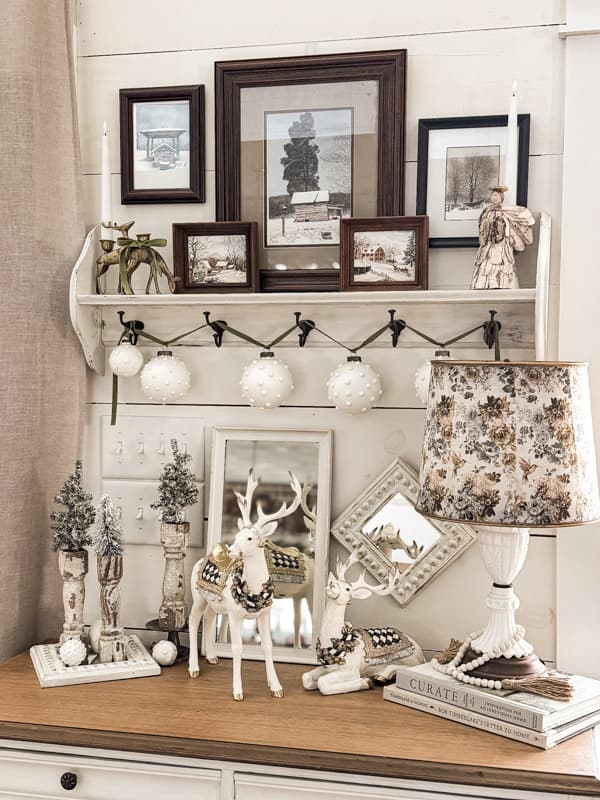
It all began with some cheap Dollar Tree supplies. First, I added the sticker dots to the ornaments and then spray-painted them with Krylon Chalky Finish Classic White. And ta-da, vintage-looking Christmas decor that you’d never guess was from Dollar Tree ornaments.
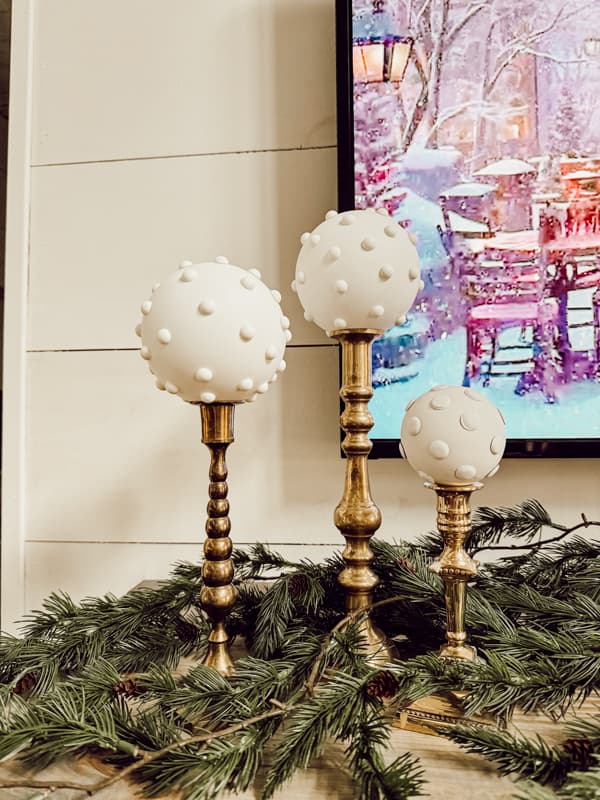
See the full tutorial at Easy DIY Hobnail Milk Glass Ornaments with Dollar Tree Supplies.
Resources
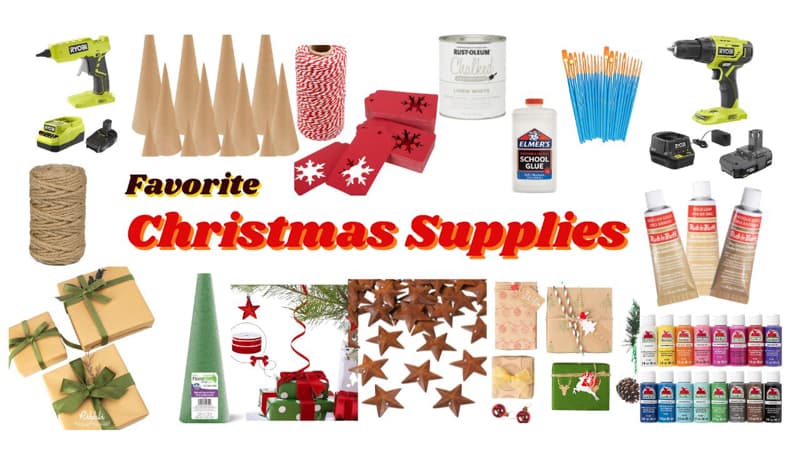
You can find the supplies I used for these projects by clicking any of the images below.
